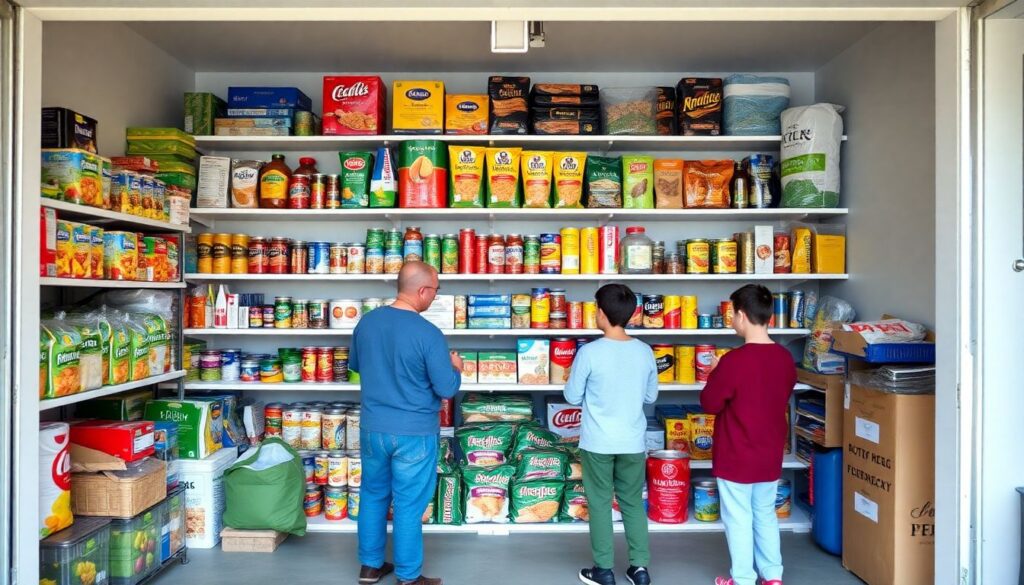
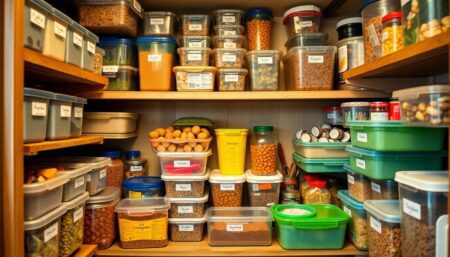
Have you ever wondered how much food you’d need to survive a long-term emergency? What if the power grid went down, or a natural disaster struck, leaving you isolated and without access to fresh supplies for months? Building a 6-month food supply, often referred to as a long-term food storage or prepper pantry, is not just a smart idea, but a necessity in today’s uncertain world. According to a survey by the American Red Cross, only 38% of Americans have gathered emergency supplies, leaving a significant portion of the population vulnerable in case of a crisis. But fear not, dear reader, for we are about to embark on an exciting journey to create your very own emergency food supply that will see you through even the toughest of times.
First, let’s address the elephant in the room. The idea of storing enough food to last six months might seem daunting, if not downright impossible. But let us assure you, with the right knowledge, planning, and a little bit of elbow grease, it’s entirely achievable. In fact, by the end of this article, you’ll not only have a clear understanding of how to build a 6-month food supply, but you’ll also gain insights into the science behind food storage, the art of meal planning, and the satisfaction of knowing you’re prepared for whatever life throws your way.
So, are you ready to take the first step towards self-sufficiency? Let’s dive in! But before we do, we’d like to address a common misconception. Building a 6-month food supply doesn’t mean you have to stockpile canned goods until your pantry looks like a scene from a post-apocalyptic movie. Instead, think of it as an opportunity to create a diverse, nutritious, and delicious prepper pantry that will nourish both your body and your soul. After all, who said emergency food has to be bland and unappealing?
In this ultimate guide, we promise to walk you through every step of the process, from understanding your caloric needs and choosing the right foods, to rotation strategies and storage solutions. We’ll also explore the fascinating world of food preservation techniques, from dehydrating and fermenting to canning and freeze-drying. And because we understand that everyone’s situation is unique, we’ll provide tips on how to adapt your food supply to suit your dietary needs, lifestyle, and budget.
But enough with the chit-chat, let’s get down to business. By the end of this article, you’ll be able to:
- Calculate your daily caloric needs and translate that into a 6-month food supply.
- Identify the best foods to store for long-term emergencies.
- Create a diverse and balanced meal plan that will keep you satisfied and healthy.
- Implement a rotation strategy to ensure your food supply remains fresh and safe to eat.
- Choose the right storage solutions to protect your food from pests, moisture, and temperature fluctuations.
- Understand and apply various food preservation techniques to extend the shelf life of your supplies.
- Adapt your food supply to suit your specific dietary needs and preferences.
So, buckle up, dear reader, as we embark on this exciting journey towards self-sufficiency. Together, we’ll turn your pantry into a fortress of food security, ready to weather any storm. Let’s get started!
Mastering Long-Term Food Storage for Your Prepper Pantry
Embarking on the journey to master long-term food storage for your prepper pantry is like becoming a culinary time traveler, ensuring your future self a diverse and delicious menu even when the world outside your pantry seems uncertain. The art of long-term food storage is not just about filling shelves with canned goods; it’s about understanding the science behind preservation, the dance of rotation, and the joy of rediscovering forgotten flavors. Imagine your pantry as a culinary time capsule, where each jar or package is a story waiting to be told, a meal waiting to be savored. The key to mastering this art lies in understanding the shelf life of various foods, the importance of proper packaging and storage conditions, and the strategic planning of your pantry layout. It’s about creating a symphony of flavors that will stand the test of time, ready to nourish and comfort you and your loved ones when needed. So, let’s roll up our sleeves, don our aprons, and dive into the fascinating world of long-term food storage, where every jar sealed and every shelf organized is a step towards a future filled with culinary adventures.

Understanding the Importance of a 6-Month Food Supply
In the modern world, we’re accustomed to the convenience of grocery stores, where fresh produce, meats, and pantry staples are always just a short drive away. However, this ‘just in time’ inventory management system, while efficient, is also fragile. It relies on a complex web of transportation, logistics, and distribution that can be disrupted by a variety of scenarios. Let’s explore a few.
Imagine a severe winter storm that knocks out power lines and closes roads. Stores may run out of stock quickly, and restocking could be delayed for days, if not weeks. Or consider a labor strike at a major distribution center, causing shortages across multiple regions. Even a global pandemic can lead to panic buying and empty shelves.
This is where maintaining a 6-month food supply comes into play. This ‘just in case’ inventory management strategy provides a safety net, ensuring you have essential food items on hand regardless of external circumstances. It’s not about hoarding or doomsday prepping; it’s about being prepared and having peace of mind.
Having a 6-month food supply means you’re less likely to panic when you see empty shelves. It means you can help others in your community who might not have prepared as much. It means you can focus on other aspects of your life, knowing that one of your most basic needs is taken care of. So, while it might seem like a lot of food to store, it’s a small price to pay for the security and tranquility it provides.
Assessing Your Current Food Inventory
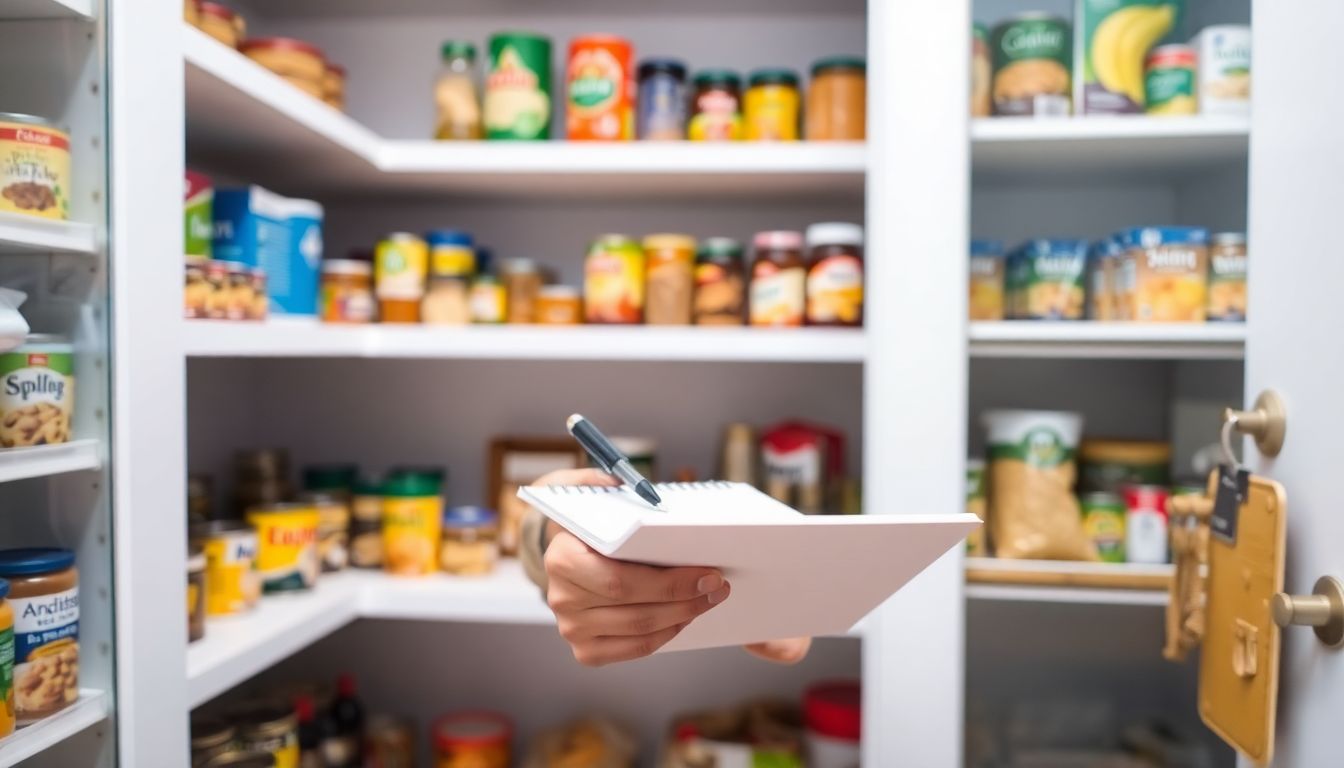
Welcome to your kitchen pantry, the heart of your home’s culinary adventures! Today, we’re going to embark on a fun and crucial mission: assessing your current food inventory. This isn’t just about counting cans and boxes; it’s about understanding your family’s unique dietary needs and ensuring your pantry is a well-oiled machine ready to serve up delicious and nutritious meals. Let’s start with the basics. Grab a pen, a notepad, and a flashlight (just in case it’s darker than you thought). First, you’ll want to check the expiration dates on all your products. This isn’t a task to be taken lightly; it’s a matter of safety and freshness. So, let’s get organized. Pull out all the items, check the dates, and make a list. Here’s a simple way to do it:
- Create three categories: ‘Use by’, ‘Best before’, and ‘Open since’.
- For each category, list the items and their respective dates.
- Don’t forget to include the location of the item in your pantry for easy access later.
Now, let’s move on to identifying gaps in your inventory. This is where you get to be a culinary detective. Look at your list, consider your family’s dietary needs, and ask yourself, ‘What are we missing?’ Are you a family of pasta lovers but have no tomato sauce? Or perhaps you’re trying to incorporate more plant-based meals but have no lentils or chickpeas? Make a note of these gaps. Lastly, let’s talk about your family’s unique dietary needs. This could be anything from gluten-free to vegan, or perhaps you’re trying to reduce your sugar intake. Whatever it is, make sure your inventory reflects these needs. It’s also a good time to consider any allergies or intolerances in your household. By the end of this process, you should have a clear understanding of what you have, what you need, and what you can use to create delicious, nutritious meals for your family. It’s like a culinary puzzle, and you’re the mastermind putting all the pieces together. So, grab your list, head to the store, and let the cooking adventures begin!
Identifying Staple Foods for Long-Term Storage
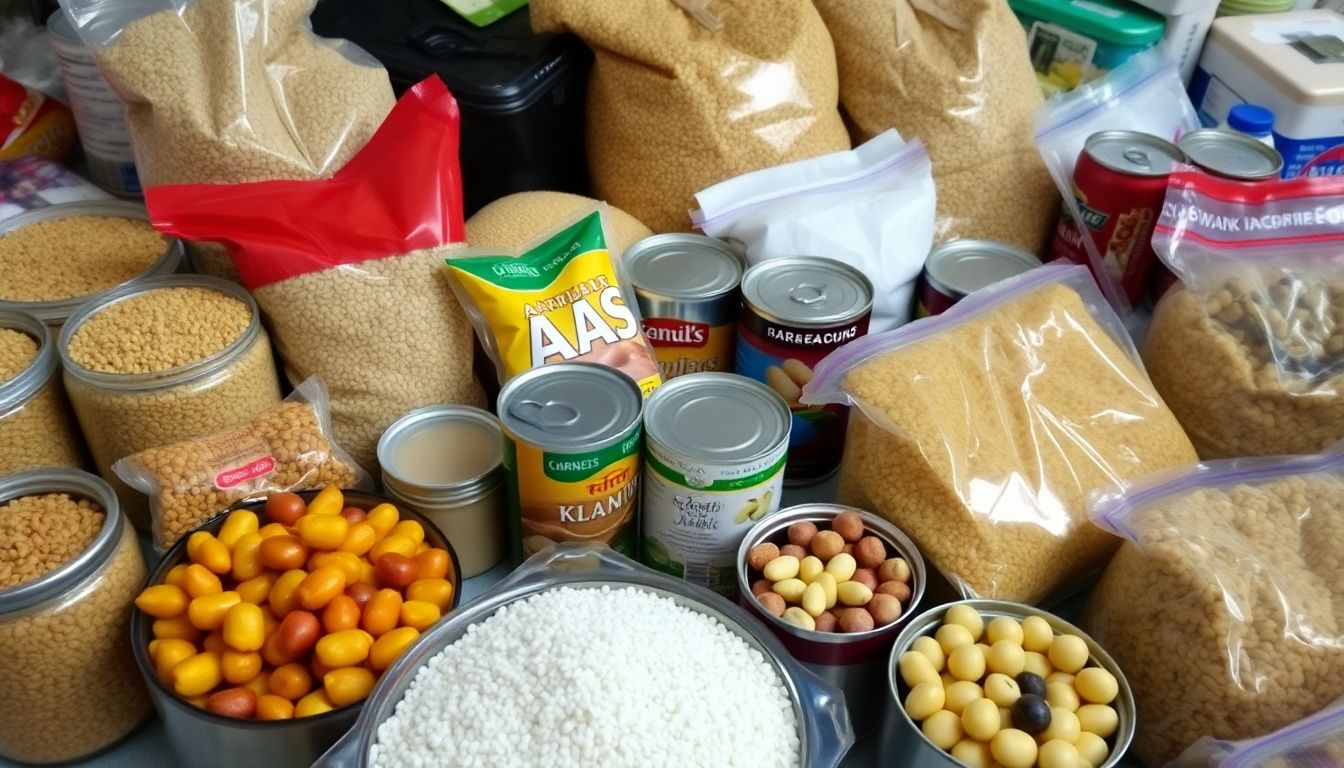
When planning for long-term food storage, it’s crucial to select staple foods that can withstand the test of time while providing essential nutrients and calories. Ideal long-term storage foods share several key characteristics. They are typically high in calorie density, ensuring you get the most energy from the least space. Low moisture content is another vital factor as it helps prevent spoilage and reduces the risk of pests. Additionally, these foods should be nutrient-dense, providing a wide range of vitamins and minerals to support a balanced diet. Lastly, they should have a long shelf life and be easy to store and prepare.
Let’s explore some staple foods to consider for long-term storage, organized by food groups:
- Grains and Cereals: Whole grains like wheat, rice, and oats are excellent choices due to their high calorie density and long shelf life. They can be stored in airtight containers and have a shelf life of up to 30 years when properly stored. Consider products with a high fat content, like whole grain pasta, as fat helps extend shelf life.
- Legumes: Dried beans, lentils, and peas are high in protein and fiber, making them excellent choices for long-term storage. They have a low moisture content and can last for up to 30 years when stored properly.
- Protein Sources: Canned meats, fish, and poultry can provide essential proteins. While their shelf life is shorter than other items, they can last for several years. Alternatively, consider powdered milk and eggs, which have a much longer shelf life and can be used to make various dishes.
- Fats and Oils: Fats and oils are high in calories and can last for up to a year when stored properly. Opt for oils with high smoke points, like olive oil, and store them in a cool, dark place.
- Fruits and Vegetables: While fresh fruits and vegetables have a short shelf life, canned and dried fruits and vegetables can last for several years. They are high in vitamins and minerals, making them an essential part of any long-term storage plan.
- Sugars and Sweeteners: White sugar and honey can last for many years when stored properly. They provide quick energy and can be used to preserve other foods.
- Beverages: Instant coffee, tea, and powdered drink mixes can provide much-needed variety and comfort in a long-term storage scenario.

Calculating Your Family’s Food Needs
Calculating your family’s food needs is a crucial step in ensuring everyone stays healthy and nourished, especially during extended periods like a 6-month supply. The process involves determining daily caloric and nutritional needs, then translating those into a sustainable food supply. Let’s dive into a simple, step-by-step guide to help you achieve this.
First, calculate the daily caloric needs for each family member. A common formula used is the Mifflin-St. Jeor equation, which considers age, sex, weight, and height. Here’s a simplified version:
- For men: (10 × weight in kg) + (6.25 × height in cm)
- (5 × age in years) + 5
- For women: (10 × weight in kg) + (6.25 × height in cm)
- (5 × age in years)
- 161For example, let’s calculate for a 35-year-old man weighing 75 kg and 180 cm tall:(10 × 75) + (6.25 × 180)
- (5 × 35) + 5 = 2,400 calories/dayNext, determine the nutritional needs. The Dietary Reference Intakes (DRIs) recommend a balanced diet consisting of 45-65% carbohydrates, 10-35% protein, and 20-35% fats. For our example, let’s use 50% carbs, 25% protein, and 25% fats.
Now, let’s translate these needs into a 6-month food supply. Assume a 30-day month for simplicity. Our 35-year-old man needs about 2,400 calories/day, so for 6 months (180 days), he would need:2,400 calories/day × 180 days = 432,000 caloriesBased on our nutritional breakdown:
- Carbohydrates: 50% of 432,000 = 216,000 calories
- Protein: 25% of 432,000 = 108,000 calories
- Fats: 25% of 432,000 = 108,000 caloriesTo convert these into food, consider the caloric density of common foods:
- Carbohydrates: 1 kg of pasta = 3,600 calories
- Protein: 1 kg of chicken breast = 2,400 calories
- Fats: 1 kg of olive oil = 9,000 caloriesFor our example, you would need:
- Carbohydrates: 216,000 / 3,600 = 60 kg of pasta
- Protein: 108,000 / 2,400 = 45 kg of chicken breast
- Fats: 108,000 / 9,000 = 12 kg of olive oilRepeat this process for each family member, adjusting for age, sex, and activity level. Don’t forget to consider variety and balance in your food supply, including fruits, vegetables, and other essential nutrients. Lastly, always check expiration dates and rotate your stock to ensure freshness.
In conclusion, calculating your family’s food needs involves a bit of math and planning, but it’s a rewarding process that ensures everyone stays well-fed and healthy, no matter what the future holds.
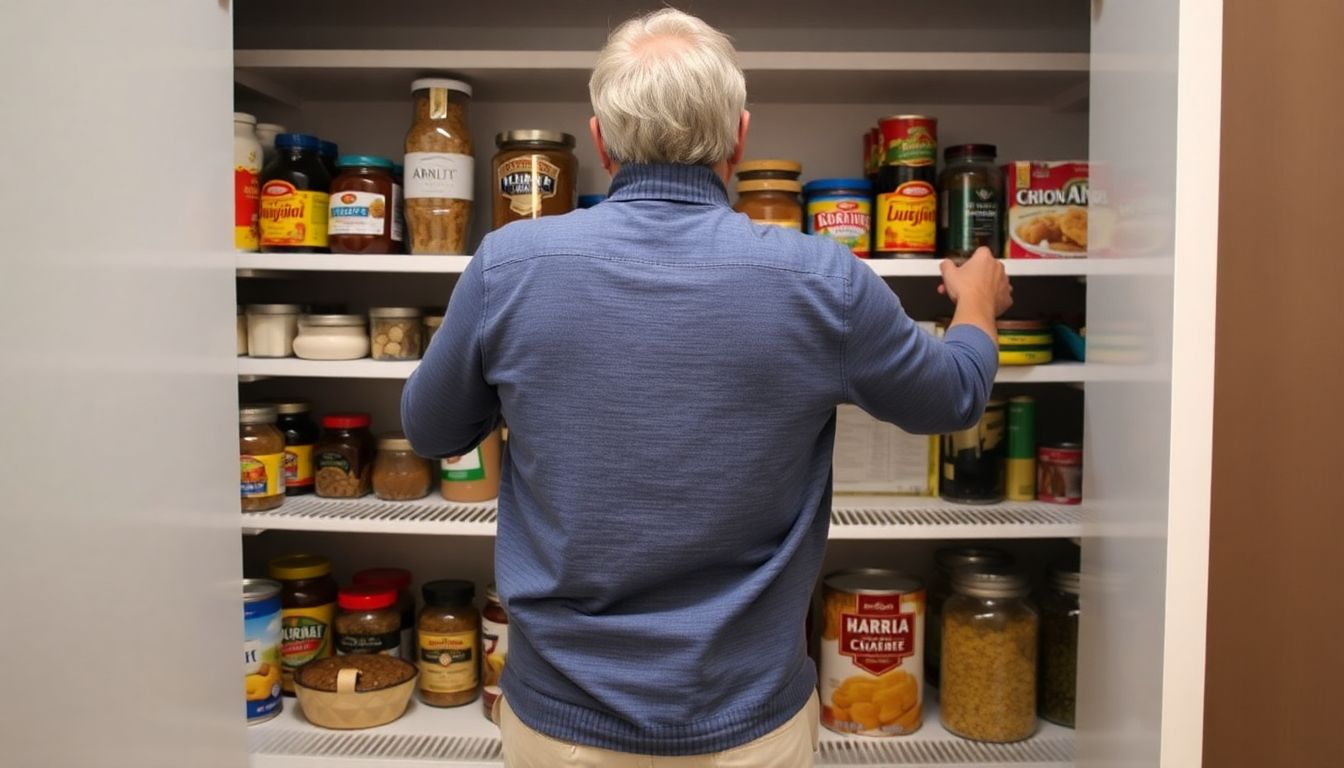
Rotating Your Food Supply: First-In, First-Out (FIFO)
In the culinary world and pantries alike, the adage ‘first in, first out’ (FIFO) is a fundamental principle that ensures food safety and minimizes waste. The FIFO method is a simple yet effective inventory management technique that dictates using the oldest items in your food supply first. This approach is particularly important in kitchens and households where ingredients and leftovers are constantly being added and removed.
The process begins with understanding your inventory. Regularly inspect your pantry, fridge, and freezer, noting the dates when each item was acquired. This can be done manually by labeling items with the date they were brought home, or using apps designed for inventory management. The goal is to have a clear picture of what you have and when it was purchased.
To implement FIFO, follow these steps:
- Store new items at the back of shelves or in designated ‘new’ areas, pushing older items forward.
- When selecting items for meals, choose those at the front, ensuring older items are used first.
- Regularly check your inventory, removing any items that have expired or are nearing expiration.
- When restocking, place new items at the back, maintaining the FIFO order.
Regular inventory checks are crucial for several reasons. They help prevent overstocking, which can lead to waste and spoilage. They also ensure that you’re using items before they expire, saving you money and reducing food waste. Additionally, they help you plan meals more effectively, as you’ll have a clear understanding of what ingredients you have on hand.
Restocking is another critical aspect of the FIFO method. When you run out of an item, replace it with a new one, but remember to place it at the back of the shelf or in the ‘new’ area. This ensures that the oldest items are still at the front, ready to be used next. By following these steps and maintaining a regular inventory check schedule, you can effectively manage your food supply using the FIFO method.
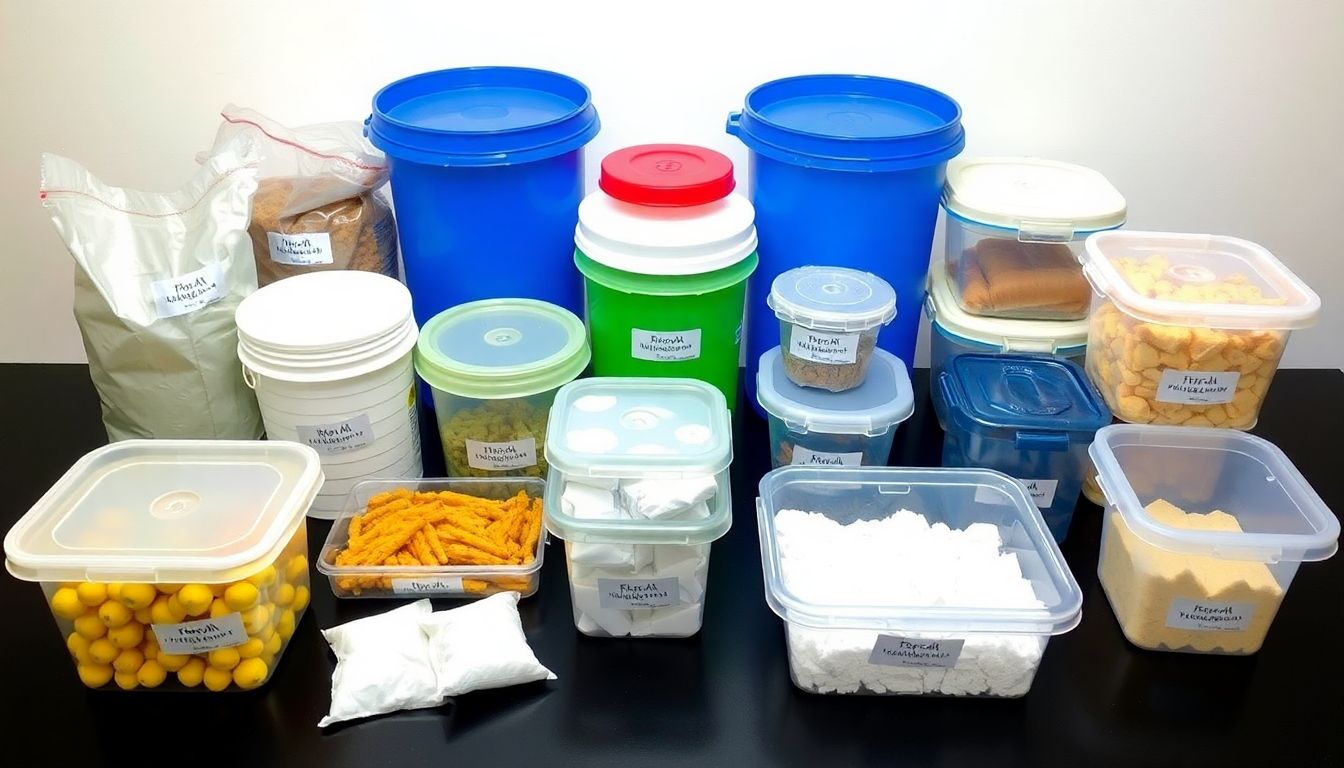
Storing Food in a Variety of Containers
When it comes to long-term food storage, the container you choose plays a pivotal role in preserving the freshness and nutritional value of your food. Different containers offer unique benefits, and understanding their advantages can help you make informed decisions for your pantry.
The humble mylar bag, often paired with oxygen absorbers, is a popular choice among preppers. Mylar is a durable, lightweight, and oxygen-impermeable material that, when sealed properly, creates an impenetrable barrier against air and moisture. This makes it an excellent choice for storing dry goods like grains, beans, and pasta. To enhance its protective capabilities, oxygen absorbers can be added to the bag. These small packets remove excess oxygen, preventing the growth of mold, bacteria, and pests, and extending the shelf life of your food.
Buckets, on the other hand, are robust and versatile. They are typically made of high-density polyethylene (HDPE), which is food-safe and resistant to chemicals and impact. Buckets are ideal for storing large quantities of food, such as rice, sugar, or flour. They can also be used to store home-canned goods or even water. To maintain a dry environment within the bucket, desiccants like silica gel packets can be placed inside. These absorb excess moisture, preventing the growth of mold and mildew.
Food-grade plastic containers are another excellent option for long-term food storage. They are lightweight, stackable, and come in various sizes, making them convenient for storing a wide range of foods. These containers are often used in conjunction with gamma seal lids, which create an airtight and waterproof seal. This combination provides an effective barrier against pests, moisture, and oxygen, ensuring the longevity of your stored food.
In conclusion, the choice of container for long-term food storage depends on the type of food, the quantity you want to store, and your personal preferences. Each container has its unique advantages, and combining them with oxygen absorbers and desiccants can further enhance their protective capabilities. By understanding these options, you can create a well-stocked, long-lasting pantry that will serve you well in times of need.
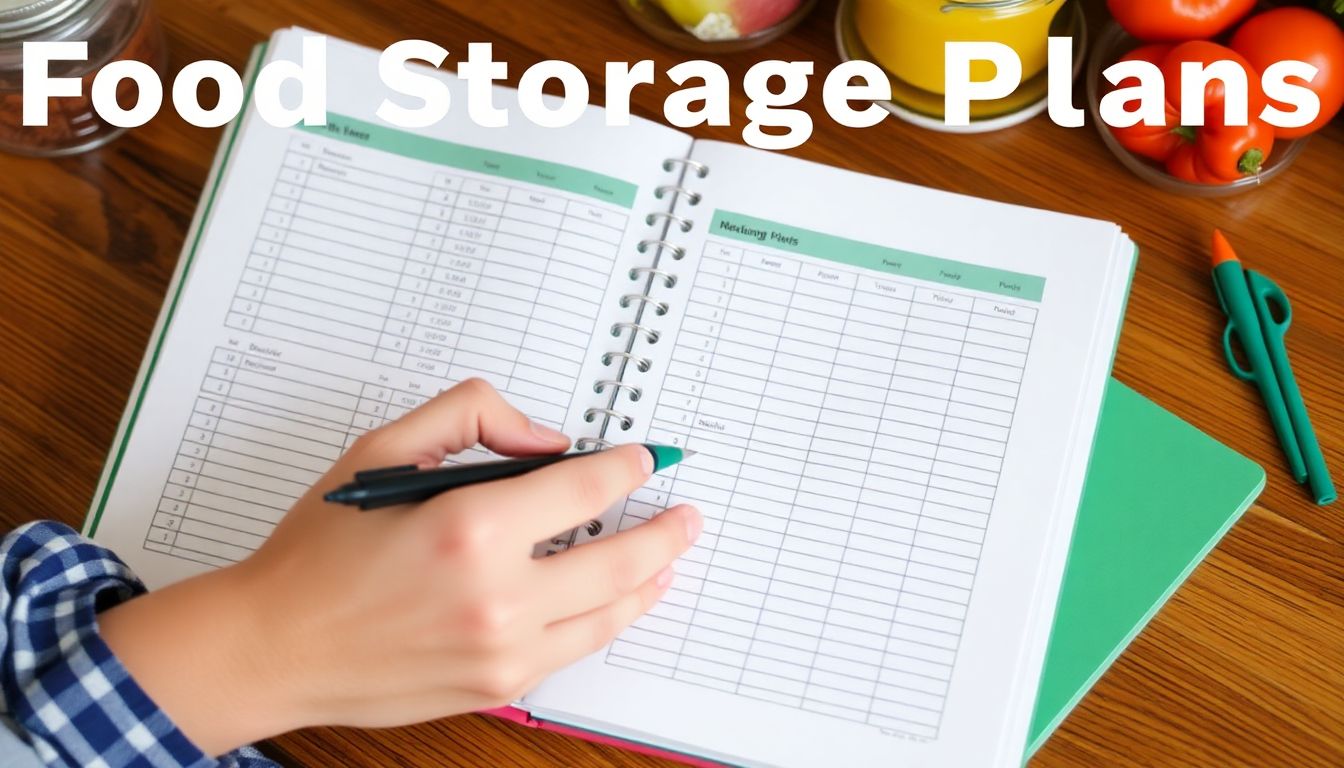
Creating a Food Storage Plan and Budget
Creating a comprehensive food storage plan is a fantastic way to ensure you’re always prepared, save money, and maintain a balanced diet. Let’s embark on this culinary journey together, step by step.
First, set a budget. Determine how much you’re willing to spend on food storage each month. This could be based on your current grocery bill or a percentage of your income you’d like to allocate. Remember, the goal is to save money, not break the bank.
Next, prioritize your food groups. The USDA’s MyPlate suggests making half your plate fruits and vegetables, followed by grains, protein, and dairy. Adjust this according to your family’s preferences and dietary needs. For instance, if you’re plant-based, you might want to prioritize plant proteins.
Now, let’s schedule regular purchases. This could be weekly, bi-weekly, or monthly, depending on your budget and storage space. Create a shopping list based on your priorities and budget. Don’t forget to check store sales and use coupons to maximize savings.
Lastly, tracking expenses and progress is crucial. Keep a record of what you spend and what you have in storage. This will help you avoid overbuying, ensure you’re sticking to your budget, and make informed decisions about what to purchase next. You can use a simple spreadsheet or even a pen and paper. The key is to be consistent.
Here’s a simple way to track your progress:
- List all the food items you have in storage.
- Next to each item, note the quantity and expiration date.
- Keep a running total of your food storage budget, subtracting what you’ve spent and adding what you’ve saved.
By following these steps, you’ll not only have a well-stocked pantry but also a clear understanding of your food storage journey. Happy planning!

Storing Water: The Most Important Resource
Water, the elixir of life, is an indispensable resource that we often take for granted. However, in times of crisis or emergency, access to clean water can become a critical issue. This is why storing water is not just a smart idea, but a necessity. The U.S. Federal Emergency Management Agency (FEMA) recommends storing at least one gallon of water per person per day. This might seem like a lot, but consider that we use water for drinking, cooking, cleaning, and personal hygiene. A gallon a day ensures that you have enough water for all these purposes.
The question then becomes, how do we store this water? There are several methods, each with its own advantages. Water barrels, for instance, are a popular choice. They are durable, can hold a large quantity of water, and are relatively inexpensive. However, they require a significant amount of space and can be heavy when full.
Another option is hydration packs. These are lightweight, portable, and perfect for outdoor activities or emergency situations where you need to move around. They can be easily refilled and are designed to keep water cool. However, they have a smaller capacity compared to water barrels.
Regardless of the method you choose, it’s important to remember that stored water should be rotated every six months to ensure freshness. Also, it’s a good idea to store water in a cool, dark place to prevent algae growth.
In conclusion, storing water is a vital step in preparing for emergencies. It’s a simple task that can make a big difference in ensuring your family’s safety and comfort in times of crisis. So, start storing today, and remember, a gallon a day keeps disaster at bay!
Preparing for Special Dietary Needs
Embracing special dietary needs in your long-term food storage plan is not only considerate but also ensures everyone’s well-being during emergencies. Let’s delve into how to accommodate these needs, making your pantry a haven of inclusivity and nourishment.
Firstly, understand the dietary requirements. Vegetarians and vegans avoid meat and animal products, respectively. Gluten-free diets exclude wheat, barley, and rye, while allergy-specific diets vary widely, from peanuts to shellfish.
Next, identify staple foods that align with these diets. For vegetarians and vegans, consider beans, lentils, tofu, nuts, seeds, and a variety of grains like quinoa and brown rice. Gluten-free options include corn, rice, and potato-based products, as well as legumes and nuts. Always check labels to ensure they’re free from allergens.
Now, let’s discuss storage. Rotate your stock regularly to maintain freshness. Use airtight containers to prevent pests and moisture, and store in a cool, dry place. For long-term storage, consider freeze-drying or vacuum sealing.
Variety is key to prevent boredom. Plan meals around your stored ingredients, ensuring a balance of nutrients. For instance, combine beans and grains for a complete protein, or use nuts and seeds for healthy fats.
Lastly, don’t forget to involve everyone in the process. Teach children about different diets, and involve them in meal planning and preparation. This not only educates but also fosters a culture of inclusivity and understanding.
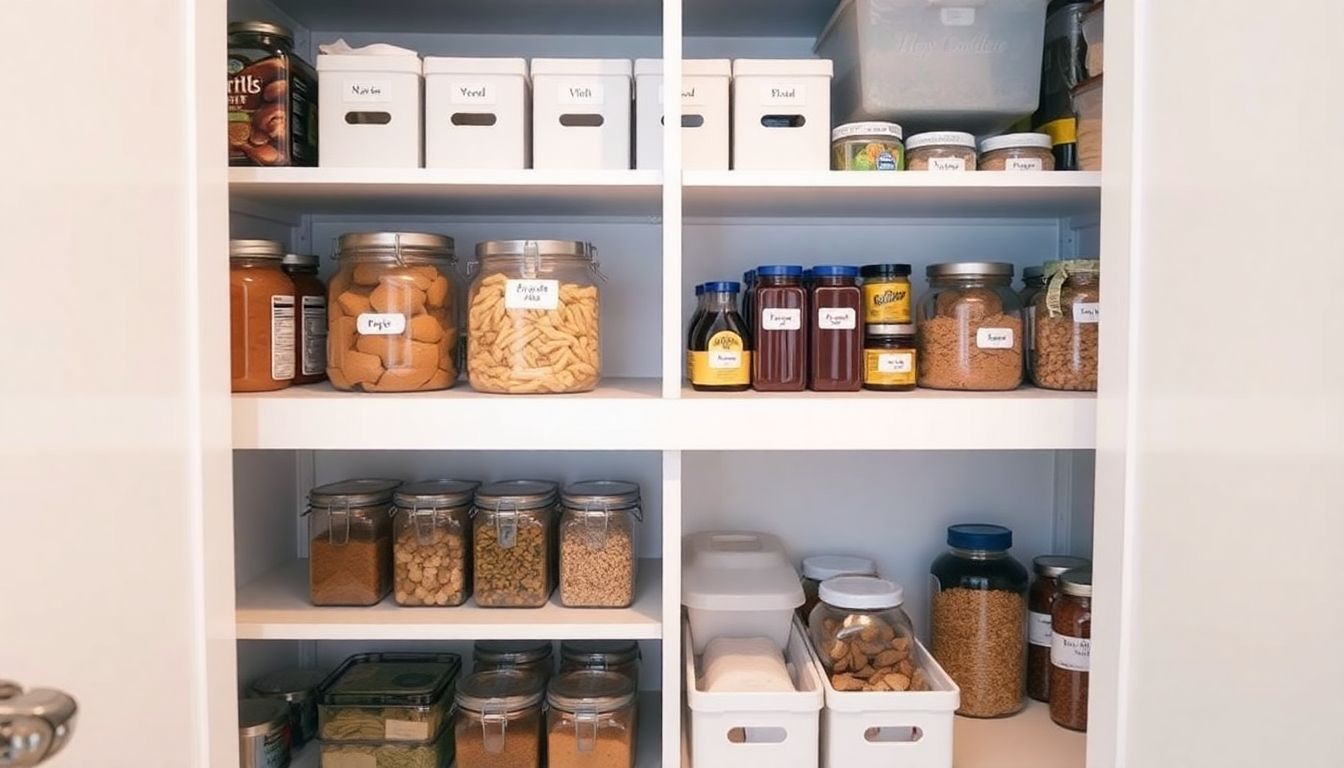
Maintaining a Well-Organized Prepper Pantry
Maintaining a well-organized prepper pantry is not just about having enough food to last through emergencies, but also about ensuring you can access and manage your supplies efficiently. Here are some tips to help you create a well-organized prepper pantry:
Firstly, labeling is your friend. Label everything! This includes cans, jars, and even boxes. Use a permanent marker or printable labels to indicate the contents, expiration date, and any specific storage instructions. This will save you from having to open and check each item when you need something.
Next, categorize your supplies. Group similar items together, such as canned goods, grains, meats, and baking supplies. This will make it easier to find what you need and also help you identify any gaps in your inventory. You can use clear bins or baskets to keep these groups organized and visible.
Now, let’s talk about shelving and storage solutions. Maximize your space by using adjustable shelving units. These allow you to customize the shelf height to accommodate different sized items. Consider using shelf dividers to keep cans and boxes from toppling over. Over-the-door organizers can provide extra space for small items, and stackable bins can help keep the floor clear.
Here are some additional tips to make the most of your prepper pantry:
- Rotate your stock: Use the ‘first in, first out’ method to ensure you’re using the oldest items first. This will help prevent waste and keep your pantry well-stocked.
- Keep a inventory list: Maintain a written or digital record of your pantry’s contents. This will help you track what you have, what you need, and when items expire.
- Store heavy items at the bottom: To prevent accidents and make the most of your space, store heavier items on lower shelves.
- Keep it cool and dry: Maintain a consistent temperature and low humidity to prevent spoilage and pests.
By following these tips, you’ll have a prepper pantry that’s not only well-stocked but also well-organized and easy to manage. Happy prepping!

Testing Your Food Storage: Rotating and Tasting
Regularly testing your food storage is a crucial practice that ensures the safety and quality of your food supplies. This process involves two key steps: rotation and tasting. Let’s dive into each of these, shall we?
The first step, rotation, is like a game of musical chairs, but with your pantry items. The goal is to ensure that the oldest items are used first, preventing them from expiring or losing their quality. Here’s how you can play this game:
- Store new items at the back of the shelf and older ones at the front.
- When you need an item, take the one from the front.
- This ‘First In, First Out’ (FIFO) method ensures that nothing lingers too long in your pantry.
Now, onto the second step, tasting. This is where you get to be the food critic of your own pantry. Tasting your stored food regularly helps you identify any off flavors, textures, or signs of spoilage. Here’s a simple guide:
- Before tasting, check the item’s appearance, smell, and texture. If anything seems off, don’t taste it.
- If it passes the initial check, take a small bite. If it tastes fine, great! If not, it’s time to discard it.
- Remember, when in doubt, throw it out. It’s better to be safe than sorry.
By regularly rotating and tasting your food storage, you’re not just ensuring that you’re eating safe and good food, but also making the most out of your supplies. It’s like a dance, a dance with your pantry, ensuring that nothing goes to waste, and everything is up to your high culinary standards.

Building Community: Sharing Knowledge and Resources
In the dynamic tapestry of life, one thread that weaves resilience and strength is the power of community. Building a community of like-minded individuals is not merely an act of convenience, but a strategic move towards collective empowerment, especially in the face of adversity. Imagine a scenario where an emergency situation arises, be it a natural disaster, a global pandemic, or an unexpected personal crisis. In such times, having a robust network of individuals who share your values, skills, and resources can be a lifeline.
Sharing knowledge is the cornerstone of this community building process. It’s like planting seeds in a garden; each piece of information shared has the potential to grow into a bountiful harvest of understanding and wisdom. By exchanging insights, experiences, and expertise, we create a collective intelligence that transcends individual limitations. This shared knowledge becomes a beacon of guidance, illuminating the path forward even in the darkest of times.
Resources, both tangible and intangible, are another vital aspect of community building. Tangible resources could range from tools and equipment to food and shelter. Intangible resources, on the other hand, might include emotional support, moral encouragement, or even shared access to online platforms or networks. When these resources are pooled together and shared equitably, they form a safety net that can catch us when we fall and boost us when we need to rise.
Support, the third pillar of this community, is the glue that binds everything together. It’s the comforting hand that holds us up when we’re overwhelmed, the listening ear that hears our fears and concerns, and the voice that reassures us that we’re not alone. In an emergency, support can mean the difference between despair and hope, between stagnation and progress.
Building such a community is not a one-time task, but an ongoing process that requires effort, patience, and understanding. It involves reaching out to others, fostering relationships, and creating spaces for open dialogue and collaboration. It’s about recognizing that we’re all in this together, and that our collective strength is far greater than our individual might.
In essence, building a community of like-minded individuals who can share knowledge, resources, and support is not just a smart move; it’s a necessity. It’s about creating a web of interdependence that can catch us when we fall, boost us when we’re down, and celebrate with us when we rise. It’s about understanding that our shared humanity is our greatest asset, and that by investing in it, we invest in our collective future.
FAQ
What is the importance of having a 6-month food supply for long-term storage?
How much food should I aim to store for a 6-month supply?
What are the best foods to store for long-term food storage?
- Grains: White rice, wheat, oats, and pasta
- Legumes: Beans, lentils, and split peas
- Protein: Canned meats, fish, and dried beans
- Fruits and Vegetables: Canned and dried fruits, and vegetables
- Fats: Olive oil, shortening, and lard
- Sugars and Salt: White sugar, brown sugar, and salt
- Other essentials: Honey, peanut butter, and powdered milk
How should I rotate my food storage to ensure freshness?
- First-In, First-Out (FIFO): Store new items at the back of your pantry or on top of older ones. When you need to use an item, take it from the front or bottom.
- Monthly Check: Regularly inspect your food storage for any signs of spoilage, such as mold, pests, or unusual odors. Remove and replace any questionable items.
- Use a Rotation System: Consider using a rotation system like the ‘pantry inventory sheet’ or ‘shelf life rotation’ method to keep track of your supplies and their expiration dates.
What is the best way to store water for long-term use?
- Container: Use food-grade, BPA-free containers specifically designed for water storage. Avoid using milk jugs or other plastic containers that can leach chemicals into the water.
- Location: Store water in a cool, dark place away from direct sunlight and heat sources. A basement, closet, or under a bed are good options.
- Treatment: Treat water with unscented bleach or water purification tablets before storing to kill any bacteria or viruses. The general guideline is 8 drops of bleach per gallon of water or 1 purification tablet per 2 liters of water.
- Rotation: Rotate your water supply every six months to ensure freshness and safety.
How can I preserve my food storage from pests?
- Seal Containers: Store food in airtight, sealed containers made of plastic, metal, or glass. This denies pests access to the food and prevents contamination.
- Use Mothballs: Place mothballs in your pantry or storage area to deter pests. Be sure to follow the manufacturer’s instructions for safe use.
- Regular Inspection: Regularly inspect your food storage for any signs of pests, such as droppings, gnaw marks, or unusual odors. Remove and replace any compromised items.
- Keep it Clean: Maintain a clean storage area to minimize the attraction of pests. Sweep and mop floors regularly, and store food off the ground.
What should I do with my food storage in case of a power outage?
- Refrigerated and Frozen Foods: If the power outage is expected to last more than a few hours, transfer refrigerated and frozen foods to a cooler or insulated container with ice packs. Alternatively, consider investing in a generator to keep your refrigerator and freezer running.
- Canned Goods: Canned goods can be heated on a camp stove or over an open fire, providing a hot meal during a power outage.
- Non-Perishable Items: Focus on using non-perishable items during a power outage to minimize waste and reduce the need for refrigeration.
- Rotate Your Supplies: After the power outage, be sure to rotate your food storage supplies to ensure freshness and safety.


