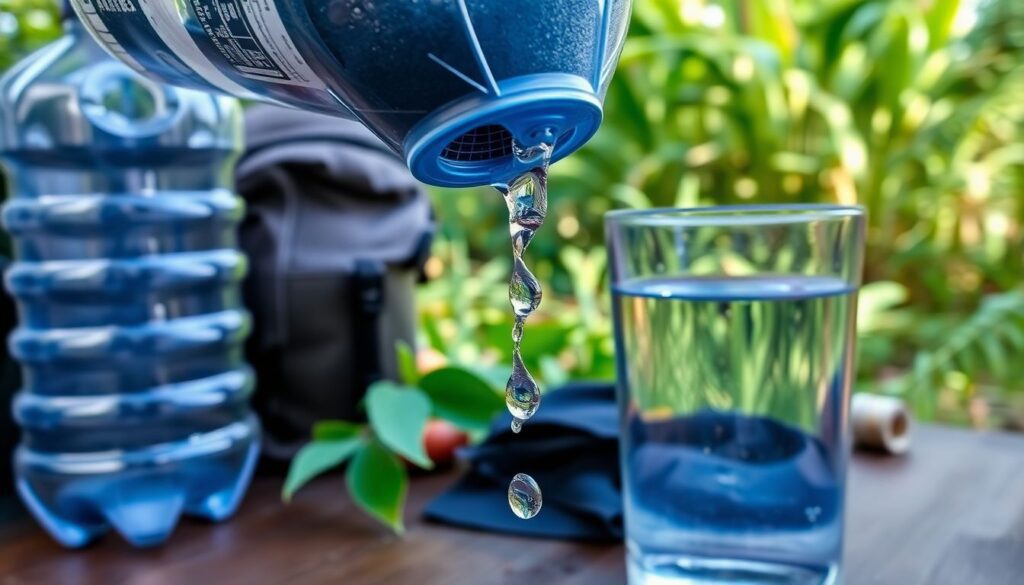
Have you ever wondered how you could ensure a clean and safe water supply in case of an emergency or while out in the wilderness? With a DIY water filtration system, you can turn questionable water sources into drinkable water, making it an essential skill for anyone interested in survival, camping, or off-grid living. In this comprehensive guide, we’ll delve into the fascinating world of homemade water purification, exploring various methods and materials to build your own survival hydration systems.
According to the United Nations, around 2.2 billion people lack access to safely managed drinking water, and every minute a child under 15 dies from a water-related disease. These alarming statistics highlight the importance of understanding and implementing water purification techniques. By the end of this article, you’ll not only gain the knowledge to create your own water filtration system but also appreciate the significance of clean water in our daily lives and the potential impact of these skills in emergency situations.
So, let’s embark on this enlightening journey and agree that learning to purify water is a valuable skill that could one day save lives. I promise to provide you with a detailed, step-by-step guide on creating various DIY water filtration systems using common and readily available materials. And as a preview, we’ll explore methods ranging from simple cloth filters to advanced systems like the Sawyer Squeeze and even solar disinfection. So, grab a pen, and let’s dive in!
Master Homemade Water Purification for Off-Grid Hydration
In the realm of off-grid living, access to clean water is not just a convenience, but a necessity. While there are numerous water purification systems available in the market, there’s a certain satisfaction and peace of mind that comes from knowing how to purify water using simple, homemade methods. This is where the art of mastering homemade water purification comes into play. Imagine being able to transform a seemingly ordinary stream or rainwater into a life-saving source of hydration, all with the help of some basic ingredients and a little bit of know-how. It’s like having a secret superpower, one that could make all the difference in a survival situation. So, let’s embark on this fascinating journey to explore the world of homemade water purification. We’ll delve into the science behind various purification methods, from the humble yet effective boiling and filtration techniques to the more advanced uses of solar disinfection and homemade iodine solutions. Each method has its own unique advantages and challenges, and we’ll explore them all in detail. Who knows, you might just find a newfound appreciation for the humble water molecule and the incredible lengths it goes through to keep us hydrated and healthy. So, grab your notebook and let’s get started. After all, knowledge is power, and in the off-grid world, it could be the power of life.
Understanding the Importance of Water Filtration
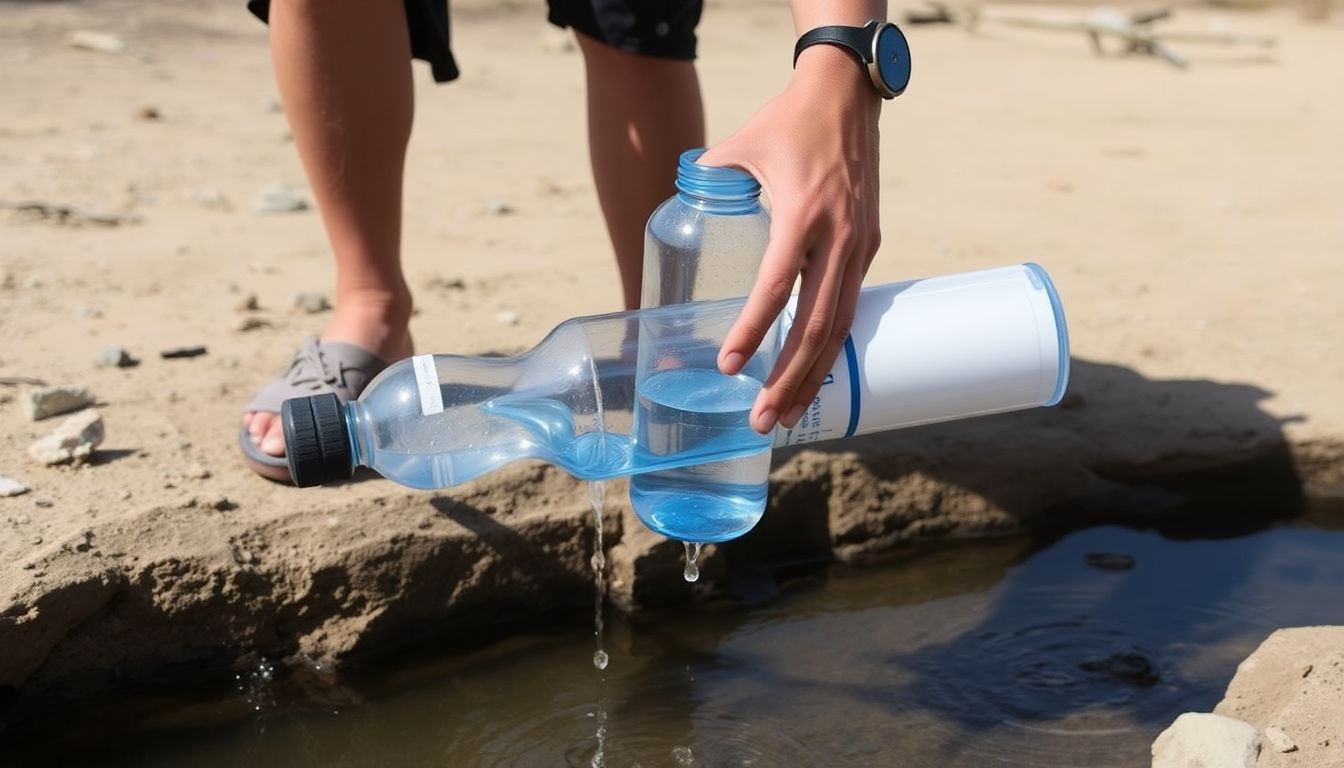
In the grand tapestry of life, few elements are as vital as water. Yet, not all water is created equal, especially in survival situations. Untreated water, while seemingly innocuous, can harbor a plethora of pathogens and contaminants that can lead to severe illnesses or even death. This is where the crucial role of water filtration comes into play.
The process of water filtration is akin to a guardian angel, protecting us from the invisible enemies lurking in untreated water. It removes impurities, bacteria, and viruses, making water safe for consumption. In survival situations, where access to clean water is often limited, having a reliable hydration system equipped with a water filter can mean the difference between life and death.
However, the importance of water filtration extends far beyond survival situations. Globally, we’re facing a water crisis of unprecedented proportions. According to the United Nations, by 2025, two-thirds of the world’s population could be living in water-stressed conditions. This crisis is exacerbated by pollution, climate change, and overuse. In such a scenario, DIY water filtration solutions can play a significant role in ensuring access to clean water.
There are numerous DIY water filtration methods that can be employed, depending on the resources available. For instance, the use of sand, gravel, and charcoal in a simple filtration system can remove a significant amount of impurities. Boiling water is another effective method, although it requires a heat source. UV purifiers and solar disinfection are also viable options, harnessing the power of the sun to kill bacteria and viruses.
In conclusion, understanding the importance of water filtration is not just about survival in extreme situations. It’s about recognizing the global water crisis and our role in mitigating it. It’s about ensuring that we have access to clean, safe water, not just for ourselves, but for future generations as well.
Gathering Materials for Your DIY Water Filter
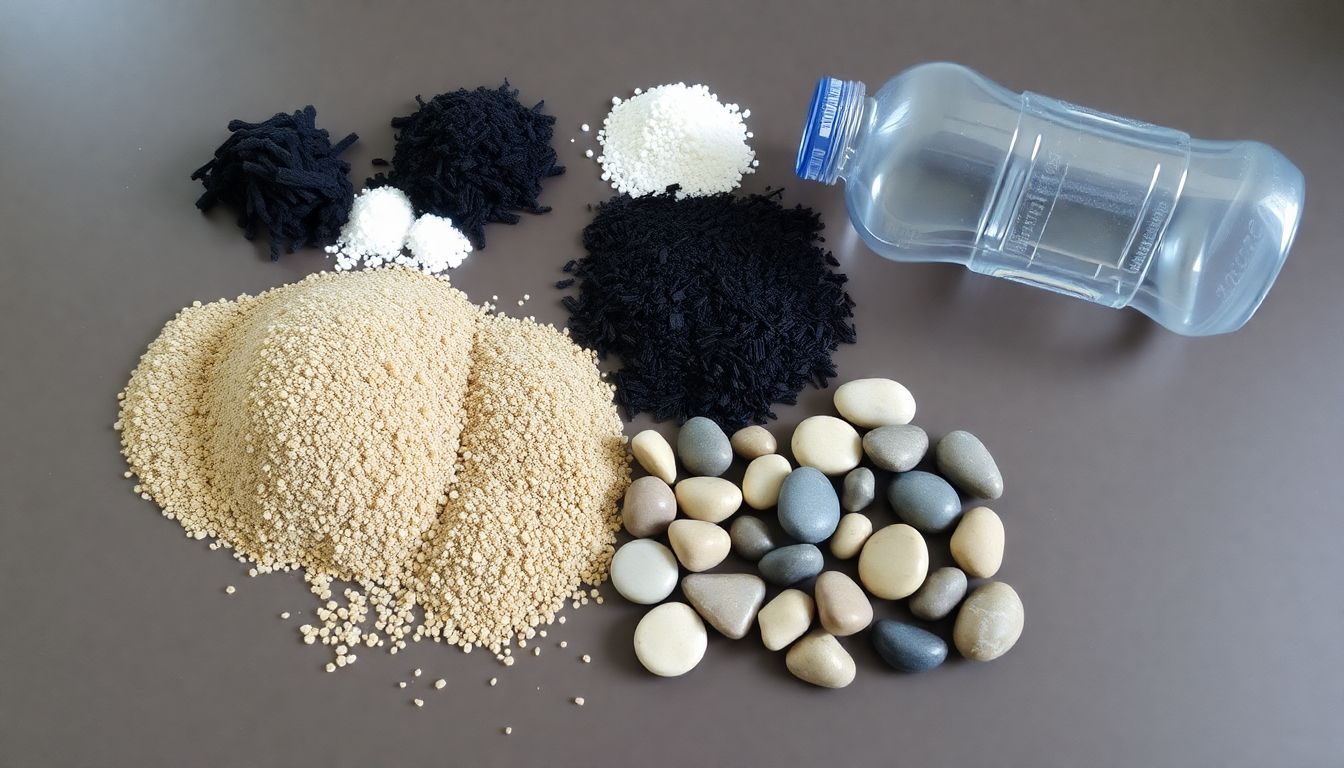
Creating a DIY water filter can be a rewarding and eco-friendly project. The process involves gathering a variety of materials, both natural and household items, each playing a crucial role in the filtration process. Let’s dive into the essential components you’ll need.
Natural Materials:
- Nature provides us with an abundance of materials that can help purify water. Here are some key natural components:
Activated Charcoal:
- This is a must-have for any DIY water filter. It’s made from coconut shells or other plant materials that have been heated and treated with oxygen. Activated charcoal is excellent at absorbing impurities, including chlorine, some volatile organic compounds (VOCs), and unpleasant tastes and odors. You can find it in health food stores, online, or even make it at home using natural materials.
Sand:
- A coarse-grained sand, such as river sand, is ideal for a DIY filter. It helps to remove sediment, rust, and other large particles from the water. You can collect it from a clean riverbed or purchase it from a hardware store.
Gravel:
- Similar to sand, gravel helps to remove larger particles and provides a support layer for the other filter materials. You can find gravel at garden centers or hardware stores.
Peat Moss:
This is a unique material that helps to remove heavy metals and other contaminants from water. It’s typically found in garden centers or online.
Household Items:
- Many items you already have at home can be repurposed for your DIY water filter.
Plastic Bottles:
- Empty 2-liter soda bottles or 5-gallon water jugs can serve as the container for your filter. They are inexpensive, durable, and easy to find.
Coffee Filters or Cloth:
- These can be used as a final filtration step to remove any remaining particles and ensure clarity. You can find them in any grocery store.
Rubber Bands:
- These are essential for securing the layers of your filter and preventing them from mixing.
Scissors:
To cut and shape your filter materials.
Once you’ve gathered all your materials, you’re ready to start assembling your DIY water filter. The process involves layering these materials in a specific order to ensure optimal filtration. With a little creativity and these simple materials, you can create a water filter that’s not only functional but also a testament to the power of upcycling and sustainability.
The Science Behind Water Filtration
Water filtration is a complex yet fascinating process that ensures the water we consume is safe and clean. It begins with understanding the contaminants we’re dealing with. These can be categorized into three main types: physical, chemical, and biological. Physical contaminants include sediment, rust, and scale, while chemical contaminants encompass pesticides, herbicides, and industrial solvents. Biological contaminants, on the other hand, are microscopic organisms like bacteria, viruses, and protozoa.
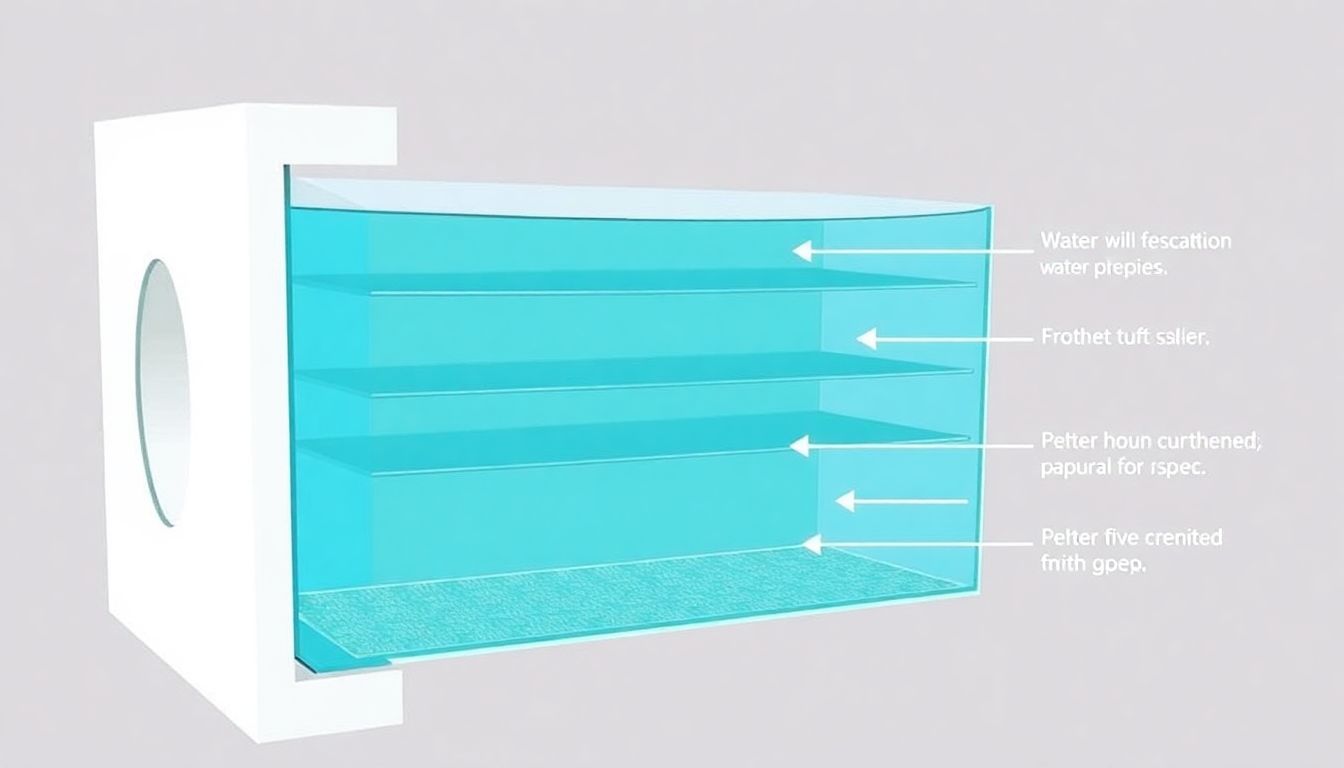
The filtration process employs several layers, each with a specific role in removing these contaminants. Let’s delve into how they work together.
The first line of defense is often a sediment filter. This coarse filter removes larger particles like dirt, rust, and scale. It’s like the bouncer at a club, stopping the big guys at the door. Next up is the activated carbon filter. Activated carbon, also known as activated charcoal, is a form of carbon that has been processed to have small, low-volume pores that increase the surface area available for adsorption or absorption. This filter is excellent at removing chemical contaminants, giving water its fresh taste.
After the carbon filter, water may pass through a reverse osmosis membrane. This semipermeable membrane allows only water molecules to pass through, leaving behind dissolved salts, metals, and other impurities. It’s like a bouncer with a very strict guest list. Finally, a UV purifier or a final activated carbon filter may be used to eliminate any remaining biological contaminants or improve taste.
These layers work together in a symbiotic manner. The sediment filter protects the subsequent filters from clogging, the activated carbon filter improves taste and removes chemicals, the reverse osmosis membrane removes dissolved impurities, and the final filter ensures water is free from any remaining contaminants. It’s a well-choreographed dance, resulting in clean, safe water ready for consumption.
Building a Simple DIY Water Filter
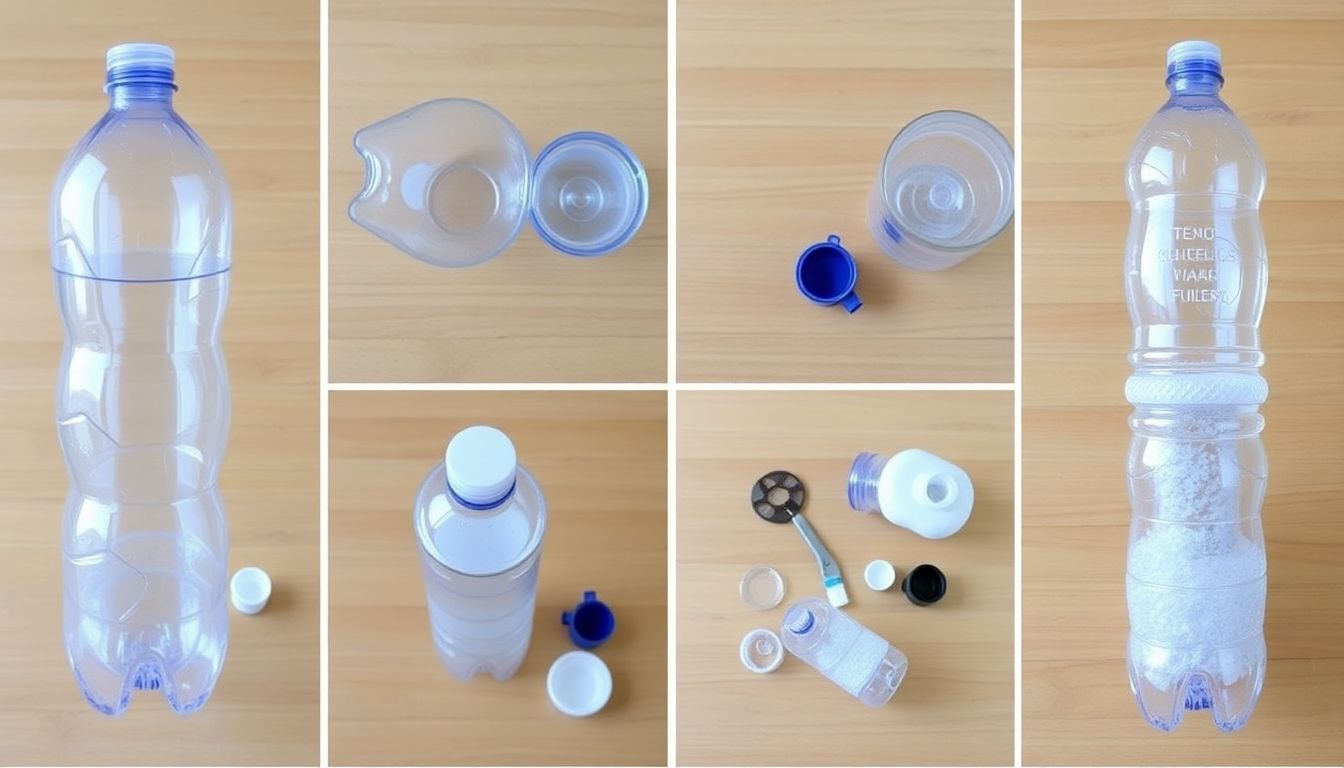
Building a simple DIY water filter can be a fun and educational project, especially if you’re interested in sustainability or survival skills. Today, we’ll create a basic water filter using common household items: a plastic bottle, activated carbon, and a coffee filter. This filter won’t make your water drinkable on its own, but it’s a great starting point to understand the principles of water filtration. Let’s dive in!
First, gather your materials: an empty 2-liter plastic bottle, activated carbon (you can find this at pet stores as ‘fish tank carbon’), a coffee filter, and some tape. You’ll also need scissors and a marker.
Now, let’s assemble our filter. Start by drawing a line around the bottle about 3 inches from the bottom. This will be our cut line. Using scissors, carefully cut along the line to separate the bottom part of the bottle from the top.
Next, take your coffee filter and place it over the opening of the bottom part of the bottle. Secure it with a rubber band or tape. This will serve as a barrier to prevent the activated carbon from leaking out.
Fill the bottom part of the bottle with your activated carbon. The amount isn’t crucial, but aim for about 1-2 inches deep. Activated carbon is great at absorbing impurities and chemicals, making it a key component in our filter.
Now, place the top part of the bottle back onto the bottom part, with the spout pointing down. This will allow water to flow through the filter as it’s poured in.
To use your filter, simply pour water into the top of the bottle. The water will pass through the activated carbon and the coffee filter, removing some impurities as it goes. Remember, this filter won’t remove viruses or bacteria, so it’s not suitable for purifying water from questionable sources.
To improve the filtration efficiency of your DIY water filter, you can add a layer of sand or small pebbles beneath the activated carbon. This can help remove additional impurities and improve the flow rate. You can also experiment with different types of activated carbon or add other filtration materials like iodine crystals or silver ions for enhanced purification. Happy filtering!
Advanced DIY Water Filtration Methods
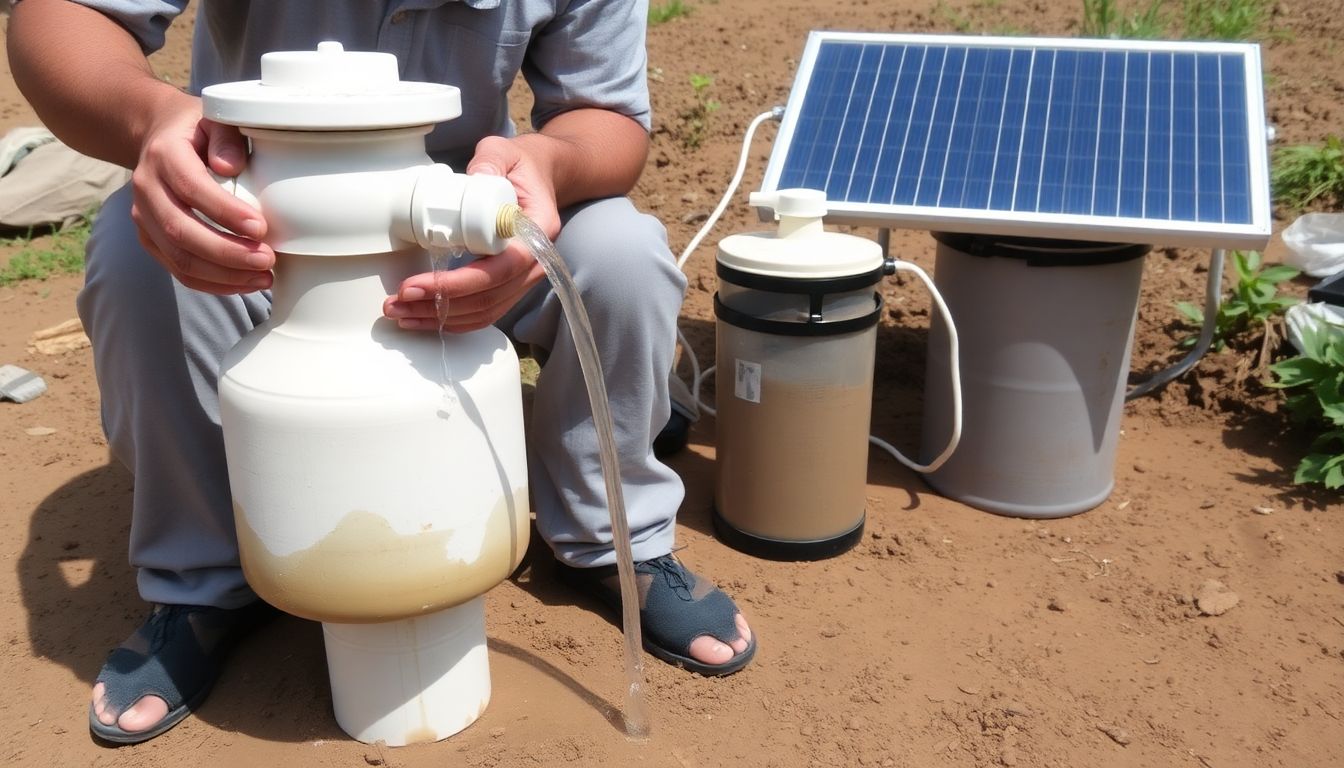
Embarking on the journey of advanced DIY water filtration methods opens up a world of possibilities to ensure clean, safe drinking water. Let’s delve into three sophisticated techniques: ceramic filters, slow sand filters, and solar disinfection.
Ceramic Filters:
These filters, often made from diatomaceous earth, offer a robust barrier against bacteria, protozoa, and even some viruses. They work on the principle of mechanical filtration, trapping contaminants in their porous structure. Pros include their durability, ease of use, and ability to remove a wide range of contaminants. However, they can clog over time, reducing water flow, and require periodic replacement or cleaning. To make one, you’ll need diatomaceous earth, a ceramic pot, a kiln or oven, and a stand to hold the filter.
Slow Sand Filters:
This method is inspired by nature and uses a bed of sand to filter water. As water percolates through the sand, it leaves behind contaminants, providing clean water at the bottom. Pros include their simplicity, low cost, and ability to remove a wide range of contaminants, including bacteria, protozoa, and some viruses. However, they require a large amount of space and can be slow, hence the name ‘slow sand filter’. They also need regular maintenance to remove the top layer of sand where most of the filtration occurs. To build one, you’ll need a large, sealed container, sand, gravel, and a way to collect the filtered water.
Solar Disinfection (SODIS):
This method harnesses the power of the sun to kill bacteria and viruses in water. It’s simple and effective, requiring only a clear plastic bottle and sunlight. Pros include its low cost, ease of use, and effectiveness against bacteria and viruses. However, it’s not effective against chemical contaminants and requires direct sunlight for at least six hours. To use SODIS, fill a clear plastic bottle with water, remove any air bubbles, and place it in direct sunlight for at least six hours. The sun’s UV rays will kill any bacteria or viruses present. Each of these methods has its own set of advantages and disadvantages, and the best choice depends on your specific needs, resources, and the quality of your water source. Happy filtering!
Maintaining and Cleaning Your DIY Water Filter
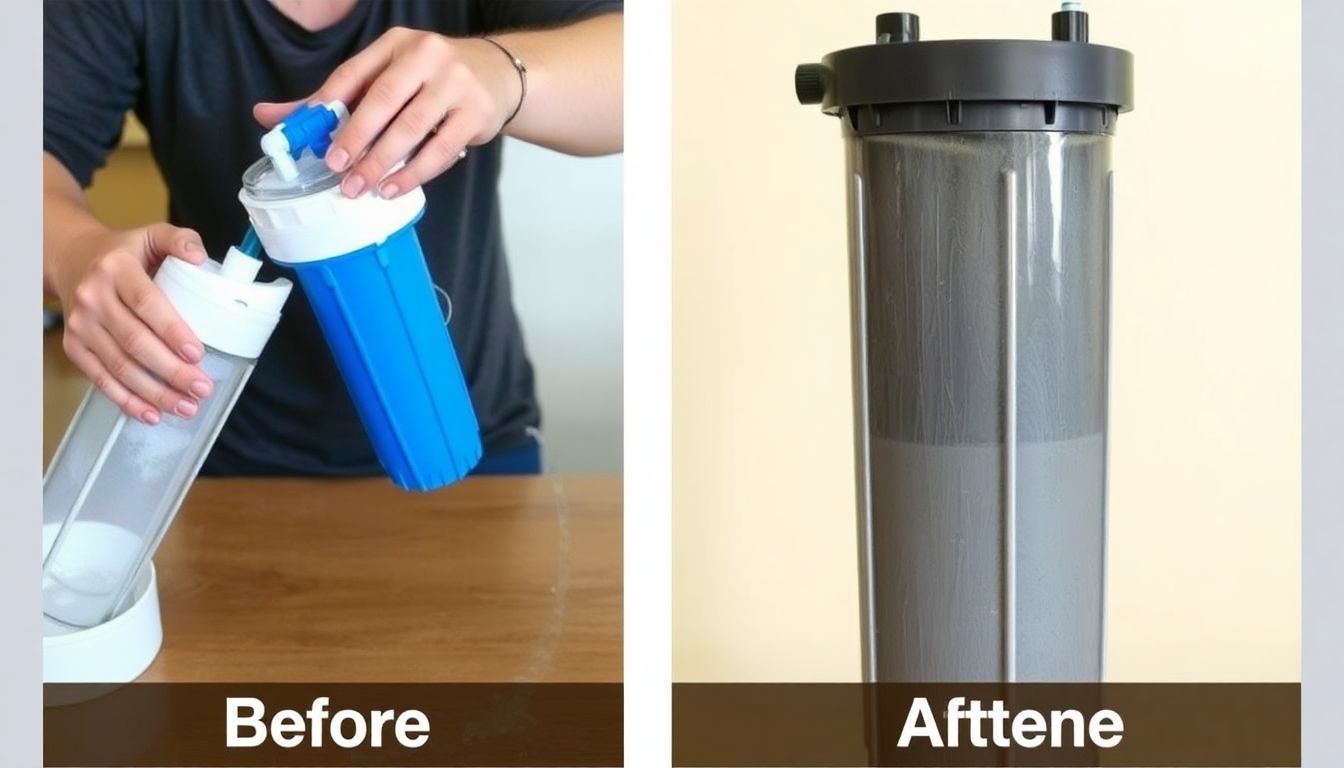
Maintaining and cleaning your DIY water filter is crucial to ensure it continues to provide you with clean, safe drinking water. Regular upkeep not only extends the lifespan of your filter but also maintains its effectiveness in removing impurities. Here’s a simple guide to help you keep your DIY water filter in top shape.
Firstly, let’s discuss how often you should clean your filter. The frequency depends on the type of filter you’re using and the quality of your water. As a general rule, activated carbon filters should be replaced every 3 to 6 months, while ceramic filters can last up to a year. However, if you notice a decrease in water flow or taste, it might be time to clean or replace your filter sooner.
Now, let’s dive into the cleaning process. For activated carbon filters, you can clean them using a mixture of warm water and white vinegar. Soak the filter in this solution for about 30 minutes, then scrub it gently with a soft brush. Rinse it thoroughly with clean water before reinstalling it. For ceramic filters, you can clean them using a mixture of water and bleach. Soak the filter in this solution for about an hour, then scrub it gently and rinse it thoroughly.
When it comes to replacing filter components, it’s important to follow the manufacturer’s guidelines. However, as a general rule, you should replace the entire filter housing every 2 to 3 years, as it can become brittle over time and may crack or leak.
Lastly, let’s talk about storage. If you need to store your filter for a long period, make sure to clean it thoroughly before storing. Allow it to dry completely to prevent mold or mildew growth. Store it in a cool, dry place, away from direct sunlight. If you’re storing a ceramic filter, wrap it in plastic to prevent it from drying out.
By following these tips, you can ensure that your DIY water filter continues to provide you with clean, safe drinking water for years to come. Happy filtering!
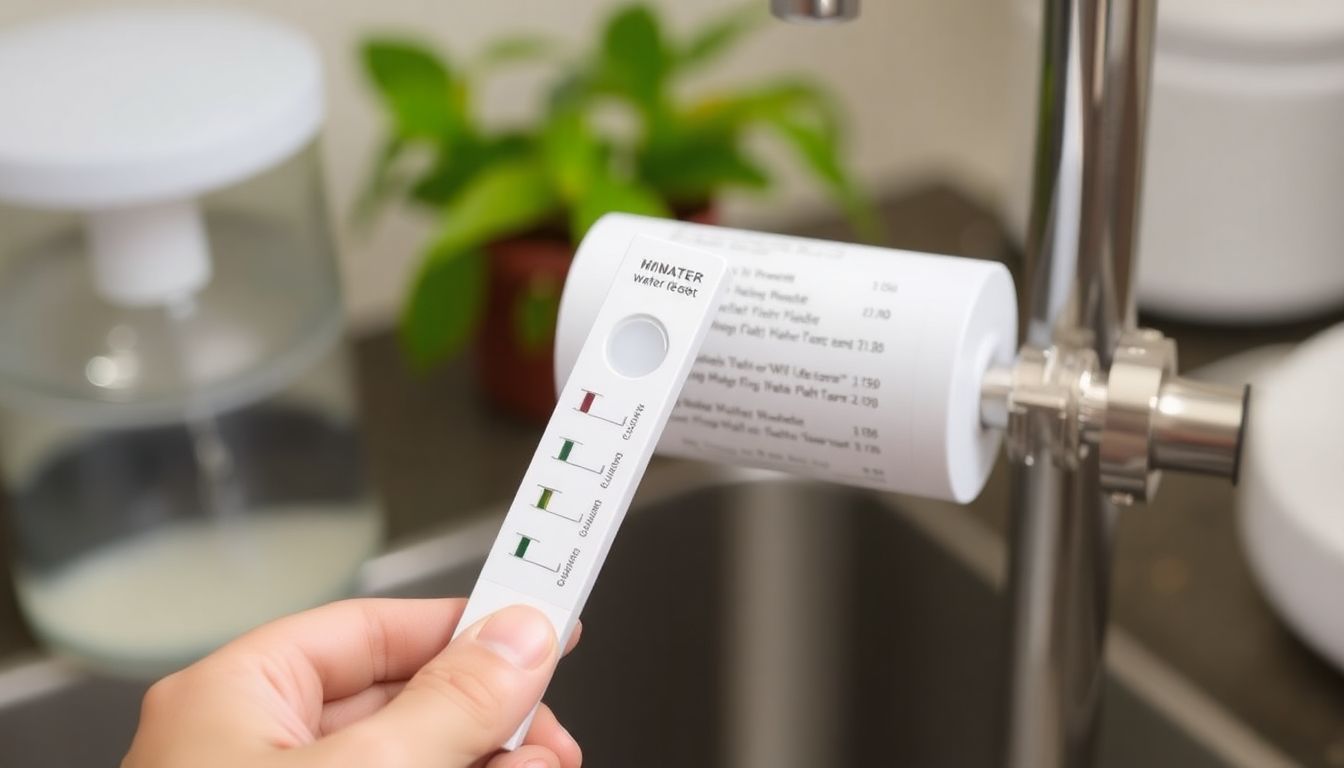
Testing Your DIY Water Filter’s Effectiveness
Testing the effectiveness of your DIY water filter is a crucial step in ensuring the safety and quality of your drinking water. While store-bought filters come with certifications, homemade filters require regular testing to maintain confidence in their performance. Here’s a simple, at-home method to test your DIY water filter’s effectiveness.
The most basic test involves comparing the filtered water with the unfiltered water using your senses and simple tools. Start by collecting water samples from both sources. Observe the color, clarity, and smell of both samples. Unfiltered water may appear cloudy, have an odor, or even contain visible particles. After filtering, the water should be clear and odorless.
Next, use a pH test strip to measure the acidity or alkalinity of both water samples. A pH level between 6.5 and 8.5 is generally considered safe for drinking. If the pH levels differ significantly, it may indicate that your filter is not effectively neutralizing contaminants.
To test for the presence of bacteria, you can use a water quality test kit that includes coliform and E. coli tests. These tests are simple to use and provide results within 24-48 hours. If the filtered water tests positive for bacteria, your filter may not be effectively removing contaminants, or it may be time to replace the filter media.
Regular testing is essential to maintain the effectiveness of your DIY water filter. Over time, filter media can become clogged or exhausted, reducing its ability to remove contaminants. By testing regularly, you can identify any changes in water quality and replace or clean your filter as needed.
Interpreting test results is straightforward. If the filtered water meets or exceeds the quality standards for drinking water, your filter is working effectively. If not, it may be time to adjust your filter design, replace the filter media, or consider other water treatment methods. Always remember that the safety of your drinking water is paramount, and it’s better to be overly cautious than to risk your health.
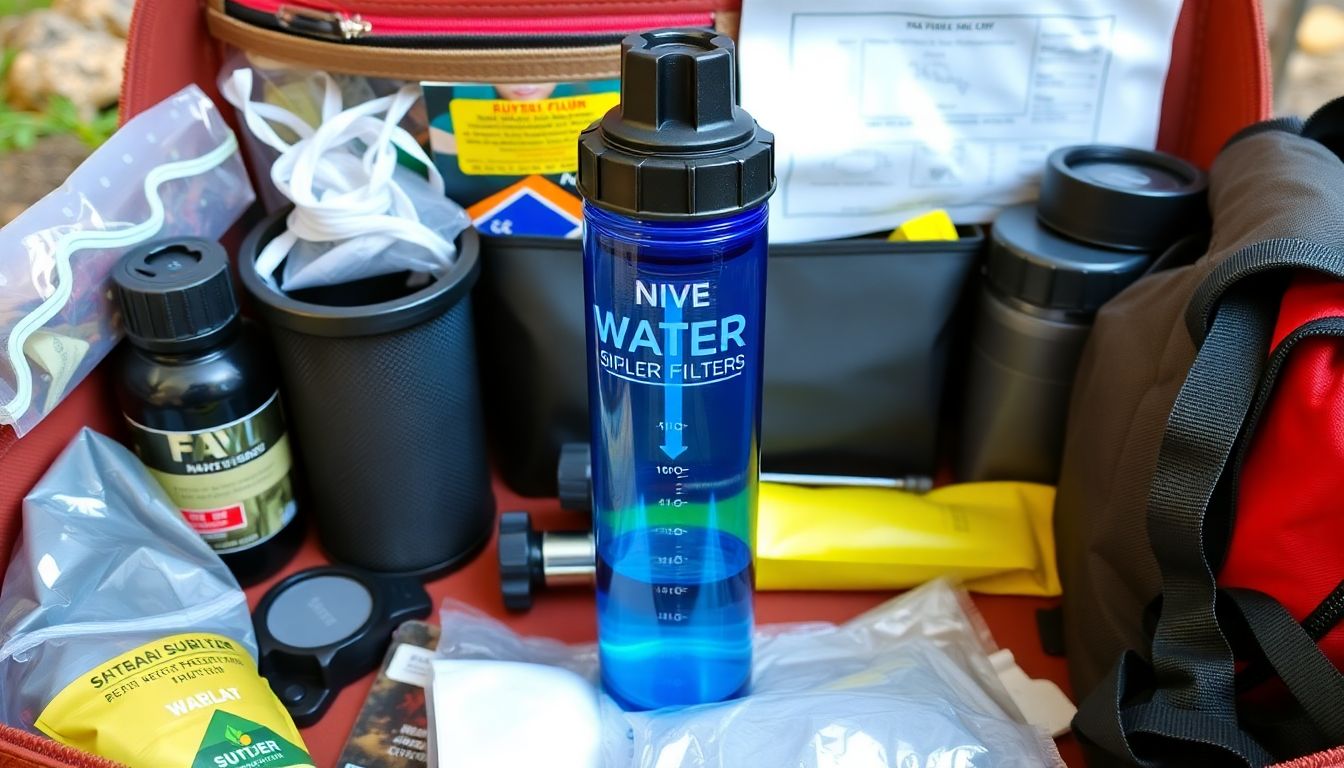
Integrating DIY Water Filtration into Survival Kits
Integrating DIY water filtration systems into survival kits, bug-out bags, and emergency preparedness plans is a crucial step in ensuring your safety and well-being during unexpected situations. Water is an essential resource, and having a reliable way to purify it can mean the difference between life and death. Here, we’ll discuss how to incorporate compact, lightweight DIY water filtration systems into your gear, along with multi-purpose uses to maximize your preparedness.
The first step in integrating a DIY water filtration system into your survival kit is to understand the different methods available. Some popular options include activated carbon filters, ceramic filters, and UV purifiers. Each has its pros and cons, so it’s essential to choose one that best suits your needs and the environment you’ll be in.
Activated carbon filters are lightweight, compact, and can remove a wide range of contaminants, including chemicals, pesticides, and some viruses. They are an excellent choice for bug-out bags and emergency kits due to their portability. However, they may not be as effective against bacteria and parasites, so they should be used in conjunction with other purification methods in some cases.
Ceramic filters, on the other hand, are more robust and can remove bacteria, parasites, and some viruses. They are ideal for long-term survival situations and can be used with a simple gravity-fed system. However, they are heavier and more fragile than activated carbon filters.
UV purifiers use ultraviolet light to kill bacteria, viruses, and parasites. They are lightweight, compact, and easy to use. However, they require batteries and may not be as effective in cloudy or murky water.
Once you’ve chosen your filtration method, it’s time to integrate it into your survival kit. Here are some tips for creating a compact, lightweight design:
- Choose a filter that is small and lightweight, such as a straw-style filter or a compact purifier.
- Pack the filter in a waterproof bag or container to protect it from moisture and damage.
- Include a small, lightweight container for collecting water, such as a collapsible silicone bottle or a plastic bag.
- Consider including a way to treat water that has not been filtered, such as water purification tablets or a small camp stove for boiling.
- Make sure your filtration system is easily accessible in your kit, so you can grab it quickly when needed.
In addition to integrating a DIY water filtration system into your survival kit, it’s essential to consider multi-purpose uses for your gear. For example, activated carbon filters can also be used to filter water for cooking and cleaning. Ceramic filters can be used to create a simple water purification system for a group or community. UV purifiers can be used to sterilize medical equipment or wounds.
By incorporating a DIY water filtration system into your survival kit and considering its multi-purpose uses, you’ll be better prepared to handle unexpected situations and ensure your safety and well-being. Don’t wait until an emergency to think about water purification – integrate a DIY water filtration system into your survival kit today and be ready for anything life throws your way.

DIY Water Filtration for Large Groups and Communities
In the quest for clean water, DIY water filtration methods have traditionally been associated with individual or small group use. However, with a bit of ingenuity and community cooperation, these methods can be scaled up to serve larger groups and communities. Let’s explore how.
The key to scaling up DIY water filtration lies in understanding the principles behind these methods and adapting them to suit larger volumes and more users. For instance, consider the simple sand filter, a common DIY method. In its basic form, it’s a plastic bottle filled with sand and gravel, capable of filtering water for a small family. But scale it up to a large drum filled with layers of sand, gravel, and activated carbon, and you’ve got a community water filter that can serve dozens, if not hundreds, of people.
Disaster relief efforts have been at the forefront of implementing these scaled-up DIY methods. After natural disasters, access to clean water is often limited, and DIY solutions are crucial. Organizations like charity: water and Water Missions International have developed and deployed large-scale DIY water filtration systems in disaster zones. These systems use a combination of filtration methods, including slow sand filters, ceramic filters, and UV treatment, to provide clean water to entire communities.
In developing countries, where access to clean water is a persistent challenge, scaled-up DIY methods are also making a significant impact. In Kenya, for example, the organization ‘A Child’s Hope’ has been implementing large-scale sand dams. These structures collect rainwater and filter it through a layer of sand, providing a clean water source for entire communities. The beauty of these systems is that they’re not only DIY but also community-built, fostering a sense of ownership and responsibility.
So, how can you scale up DIY water filtration in your community? Here are some steps to consider:
- Understand the water source and the community’s needs. Different water sources require different filtration methods.
- Choose a filtration method that can be scaled up. Slow sand filters, for instance, can be built in large drums or even underground.
- Involve the community in the planning and building process. This fosters a sense of ownership and ensures the system’s long-term sustainability.
- Educate the community on the importance of clean water and how to maintain the filtration system.
- Regularly monitor and maintain the system to ensure it continues to provide clean water.
Remember, scaling up DIY water filtration is not just about the hardware; it’s also about the community and their involvement. With the right approach, DIY water filtration can indeed serve larger groups and communities, making a significant impact on public health and well-being.
FAQ
What is DIY water filtration and why is it important, especially in survival situations?
What are the basic principles behind homemade water purification?
What are some common materials used in DIY water filtration systems?
How can I make a simple DIY water filter using just a plastic bottle and some household items?
- Cut the bottom off the bottle and discard it.
- Fill the bottle with layers of the following materials, in this order: a handful of sand, a handful of gravel, a small amount of activated charcoal (if using), and finally, a cloth or coffee filter at the top to prevent the materials from falling out.
- Pour water into the bottle, allowing it to filter through the layers and collect at the bottom. This filtered water can then be poured out for drinking.
What is the role of activated charcoal in DIY water filtration systems?
How can I disinfect water using sunlight, and when is this method effective?
What are some natural materials that can be used in DIY water filtration systems, and how do they work?
- Sand: Sand acts as a physical filter, trapping larger particles and sediment as water passes through it.
- Gravel: Similar to sand, gravel helps to remove larger particles and also aids in water flow, preventing clogging.
- Crushed shells or pottery shards: These materials can be used as alternative filtration media, providing additional surface area for contaminants to adhere to.
- Plants or algae: Some plants and algae can absorb or adsorb certain pollutants, making them useful in biological filtration systems. However, this method is less effective against bacteria and viruses.
These natural materials work through a combination of physical filtration, adsorption (attracting and binding contaminants to their surface), and in some cases, biological processes.
How can I maintain and clean my DIY water filter to ensure its continued effectiveness?
- Regularly replace the filtration materials, especially those that come into direct contact with the water, such as cloth or activated charcoal. The frequency of replacement will depend on the quality of the water being filtered and the amount of use the filter gets.
- Clean the exterior of the filter regularly to remove any dirt or debris that may have accumulated. This can be done with a damp cloth or by rinsing the filter under clean water.
- Backwash the filter periodically by reversing the flow of water through the filter. This helps to remove any trapped contaminants and restore the filter’s efficiency. To backwash, simply pour water through the filter in the opposite direction of its normal flow.
- Store the filter in a clean, dry place when not in use to prevent the growth of mold or bacteria.
By following these maintenance tips, you can help ensure that your DIY water filter continues to provide clean, safe drinking water.
How can I integrate my DIY water filter into a larger survival hydration system?
- Water collection: Set up a rainwater harvesting system or collect water from other sources, such as streams or melted snow, and direct it to your filter for purification.
- Water storage: Store purified water in clean containers, such as food-grade plastic bottles or stainless steel jugs, to ensure a supply of clean water for drinking, cooking, and other uses.
- Water distribution: Set up a gravity-fed drip system or use a manual pump to distribute purified water to different locations, such as a kitchen sink or outdoor shower.
- Water treatment: Combine your DIY water filter with other water treatment methods, such as boiling or using chemical disinfectants, to ensure that your water is free of both chemical and biological contaminants.
- Water monitoring: Regularly test the quality of your water using simple, at-home test kits to ensure that it remains safe to drink and that your filtration system is working properly.
By integrating your DIY water filter into a larger survival hydration system, you can create a more efficient and sustainable water supply for your needs.


