Have you ever found yourself in the heart of nature, surrounded by towering trees and whispering winds, only to realize that your trusty GPS device has decided to take a siesta? Or perhaps you’ve been on the receiving end of the dreaded ‘low battery’ alert, leaving you stranded in the wilderness with nothing but your wits and the faint glow of your phone’s emergency flashlight. Well, fear not, intrepid explorer! This article is here to rescue you from such predicaments and empower you with the ancient art of wilderness navigation without GPS. We’re talking map and compass skills, natural navigation, and orienteering
- the kind of stuff that would make Lewis and Clark proud.
But first, let’s address the elephant in the room. According to a recent survey by the Adventure Travel Trade Association, a whopping 69% of hikers and backpackers rely solely on GPS for navigation. Now, don’t get us wrong, GPS is a marvelous invention that has revolutionized the way we explore the great outdoors. But what happens when the batteries die, the signal is lost, or the device itself decides to take a permanent dirt nap? That’s where our trusty map, compass, and good old-fashioned orienteering skills come into play.
So, you might be wondering, ‘Why should I bother learning these old-school navigation techniques when I’ve got a perfectly good GPS device in my pocket?’ Well, dear reader, allow us to make you a promise. By the time you’ve finished reading this article, you’ll not only gain a solid understanding of map and compass skills, but you’ll also discover the joy of connecting with nature on a deeper level. You’ll learn to read the landscape like a book, to follow the sun’s path like a seasoned sailor, and to navigate by the stars like a modern-day Magellan. You’ll become a true master of the wild, capable of finding your way even when the technological crutch is nowhere to be found.
But wait, there’s more! In this comprehensive guide, we’ll not only teach you the fundamentals of map reading and compass use but also delve into the fascinating world of natural navigation. We’ll explore the art of finding direction using the sun, the moon, the stars, and even the humble plant life. We’ll introduce you to the concept of orienteering, a sport that combines navigation with cross-country running, and we’ll share some real-life stories of people who have relied on these skills to survive in the wild.
So, whether you’re a seasoned outdoorsman looking to expand your skillset or a curious beginner eager to learn the ropes, this article is for you. By the end of it, you’ll be ready to tackle the wilderness with confidence, armed with nothing but a map, a compass, and the knowledge that you can find your way home, no matter what the great outdoors throws at you. So, are you ready to embrace the challenge, to step away from the digital crutch, and to learn the ancient art of wilderness navigation? Then read on, dear adventurer, for the journey of a thousand miles begins with a single step, and the first step on this journey is right here, in this article.
Harness the Power of Map, Compass, and Nature’s Clues for Orienteering Excellence
Embarking on an orienteering adventure is like stepping into a real-life treasure hunt, where the map, compass, and nature’s subtle clues are your trusty companions. Imagine the thrill of navigating through dense forests, across babbling brooks, and over rolling hills, with nothing but your wits and these trusty tools to guide you. The map, a detailed snapshot of the terrain, is your first port of call. It’s a dance of symbols and colors, each one whispering a secret about the land. The compass, a simple yet powerful device, is your North Star. It’s the steady hand that guides you through the wilderness, ensuring you’re always heading in the right direction. But it’s not just about the tools; it’s about reading the language of the land. The way the sun casts its rays at different times of the day, the direction of the wind rustling the leaves, the moss growing on the north side of trees
- these are all nature’s clues, waiting to be deciphered. Harnessing the power of these elements is what sets the novice apart from the orienteering expert. It’s about being one with the landscape, understanding its rhythm, and using that understanding to guide your path. So, grab your map, compass, and a sense of adventure, and let the orienteering journey begin. After all, every step is a discovery, every turn a revelation, and every clue a step closer to your destination.
Understanding Your Tools: Map and Compass Basics
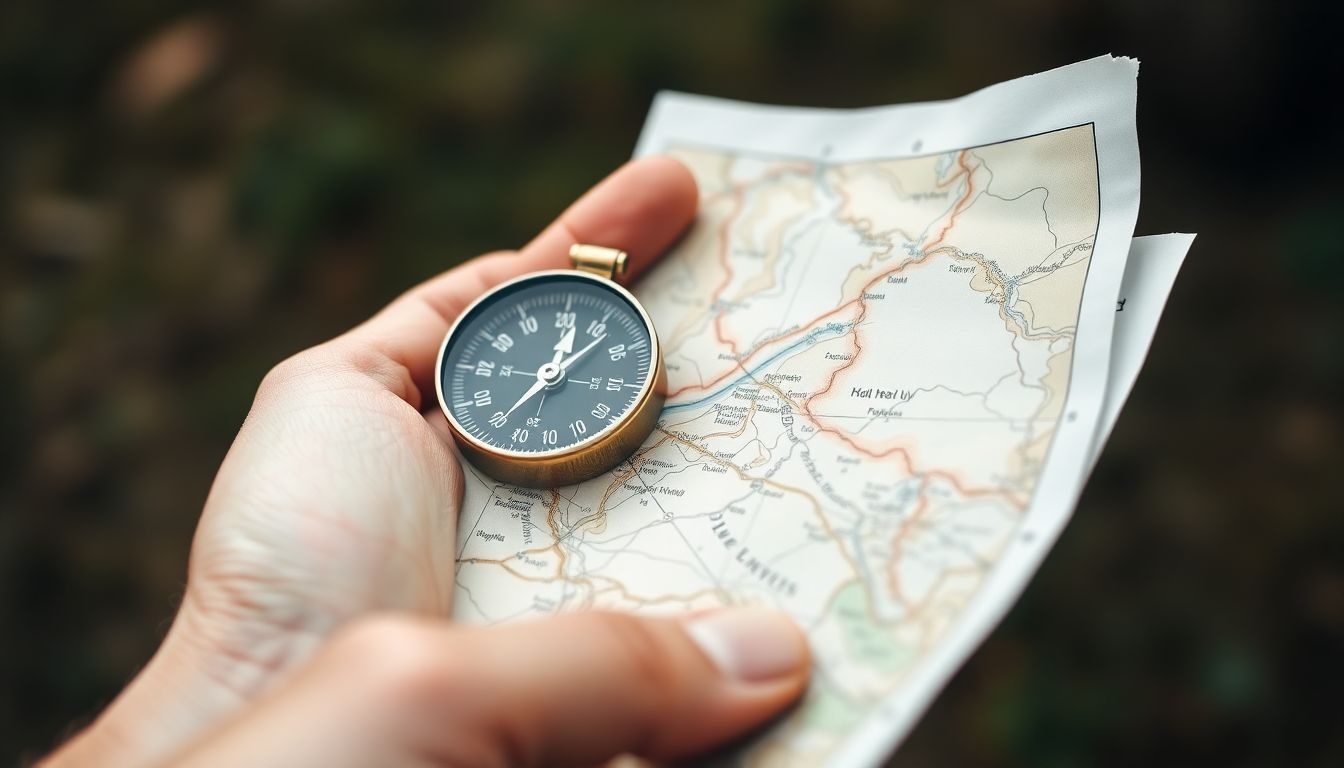
Embarking on a journey into the great outdoors often requires a reliable guide, and your map and compass duo are the perfect navigational team. Let’s delve into the anatomy of these essential tools and explore their key features, usage, and the importance of understanding map scales and symbols.
The map, a two-dimensional representation of the world around us, is a visual guide that allows us to plan our route and understand the terrain. At its core, a map consists of a base, which is typically a flat surface or paper, and a legend, a key that explains the symbols used to represent various features. The map’s scale, usually depicted as a ratio (e.g., 1:24,000), is crucial as it tells us how much the map represents of the real world. For instance, a scale of 1:24,000 means that 1 inch on the map represents 24,000 inches in reality.
To hold and use a map correctly, place your thumb on the map’s edge, aligning it with your intended direction of travel. This allows you to keep your bearings and follow your route accurately. Rotate the map as you walk, keeping the map’s edge parallel to your direction of travel.
A compass, on the other hand, is a simple yet powerful tool that helps us determine our direction using the Earth’s magnetic field. The basic components of a compass include the baseplate, the direction-of-travel arrow, the magnetic needle, and the degree markings. To use a compass, hold it level and flat in your hand, with the direction-of-travel arrow pointing in the direction you wish to go. The magnetic needle will align with the Earth’s magnetic field, giving you your bearing.
Understanding map symbols is vital for interpreting the information on your map. These symbols represent various features such as trails, rivers, peaks, and campsites. Familiarize yourself with these symbols before setting out on your journey. By combining your map’s symbols with your compass’s bearings, you can navigate with confidence, making your outdoor adventures all the more enjoyable and safe.
The Art of Triangulation: Pinpointing Your Position
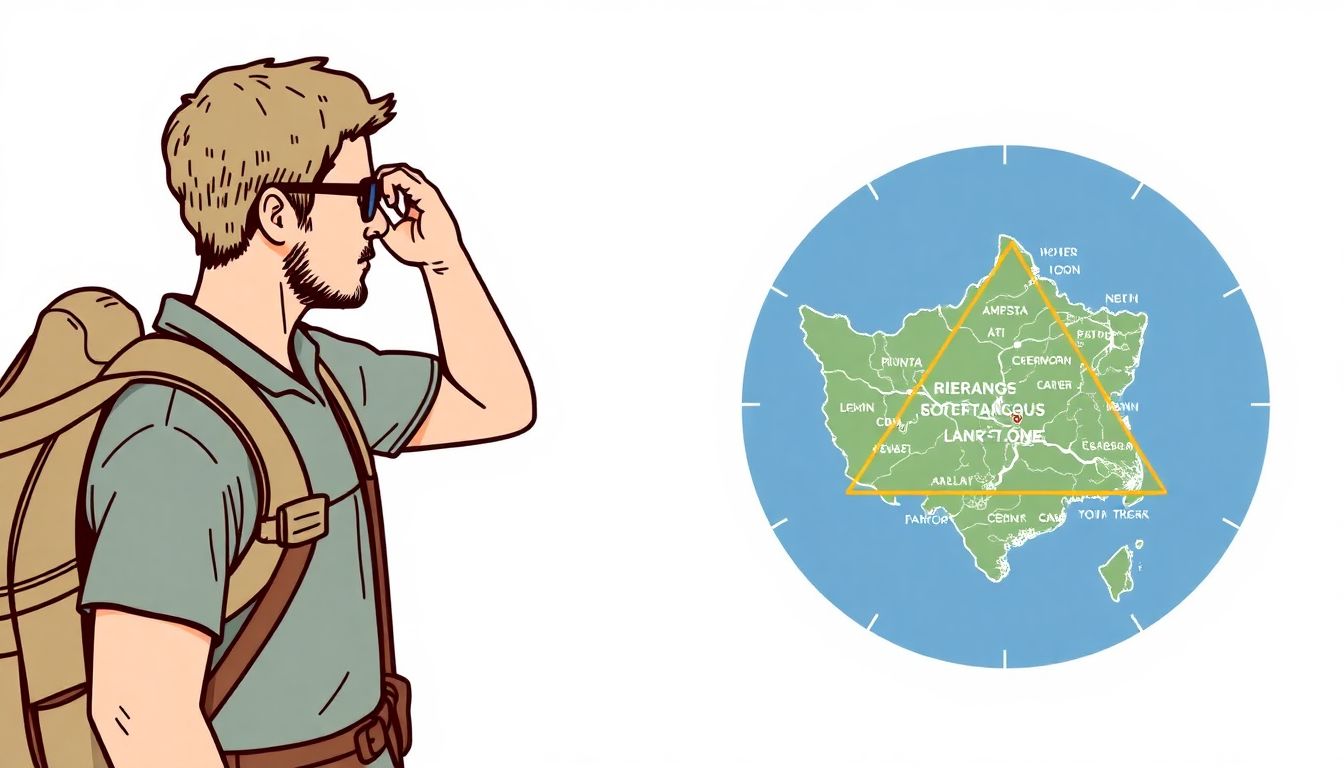
Triangulation, an age-old navigational technique, is like a game of connect-the-dots, but with a compass and a map. It’s a simple yet powerful method to pinpoint your current location using two known points and a compass bearing. Let’s dive into this art of triangulation, shall we?
First, you’ll need two distinct, known points on your map. These could be landmarks, intersections, or any other easily identifiable features. Let’s call these points A and B. Next, you’ll need a compass to measure the angle between these two points from your current location.
Here’s where the fun begins. Stand at your current location and use your compass to measure the bearing (angle) from your current position to point A. Let’s call this angle ‘α’. Then, measure the bearing from your current position to point B. Let’s call this angle ‘β’.
Now, you’re ready to draw your position on the map. Start by drawing a line from point A at an angle ‘α’ from the north direction. This is your first line of position (LOP). Do the same from point B, drawing a line at an angle ‘β’ from the north direction. This is your second LOP.
Where these two lines intersect on the map is your current location! Isn’t that fascinating? You’ve just triangulated your position using nothing but a map, a compass, and a bit of mathematical magic. This method is not only useful for navigation but also adds a touch of adventure to your travels, making every journey an exciting exploration.

Following the Path: Walking on a Bearing
Embarking on a journey guided by a compass is an adventure that combines the thrill of exploration with the satisfaction of precise navigation. To set your compass to a specific bearing, follow these steps:
- First, ensure your compass is in good working condition and free from magnetic interference.
- Hold the compass flat in your hand, with the direction of travel arrow pointing away from you.
- Rotate the bezel (the outer ring) until the red end of the magnetized needle aligns with the orienting arrow. This ensures your compass is correctly calibrated to magnetic north.
- Now, set your desired bearing. Let’s say you want to travel on a bearing of 350 degrees. Rotate the bezel until the 350 degree mark on the bezel aligns with the direction of travel arrow.
Once your compass is set, maintaining a steady pace and direction is crucial. A steady pace helps you cover distance accurately, while a steady direction ensures you stay on course. Here’s how you can achieve this:
- Choose a pace that’s comfortable and sustainable for the duration of your journey. This could be a brisk walk or a slow jog, depending on your fitness level and the terrain.
- To maintain direction, use a combination of visual landmarks and regular compass checks. For instance, if you’re walking towards a prominent hill, keep that hill in sight and check your compass every few minutes to ensure you’re still on course.
- If you’re walking in a straight line, use a technique called ‘sighting’ to maintain direction. Hold your compass out in front of you, align the sighting slot with the direction of travel arrow, and walk towards the object you’ve sighted through the slot.
Remember, the key to accurate navigation is patience and persistence. It’s normal to veer off course slightly, so don’t panic if you need to make small adjustments. Just keep your compass handy, maintain your pace, and enjoy the journey!
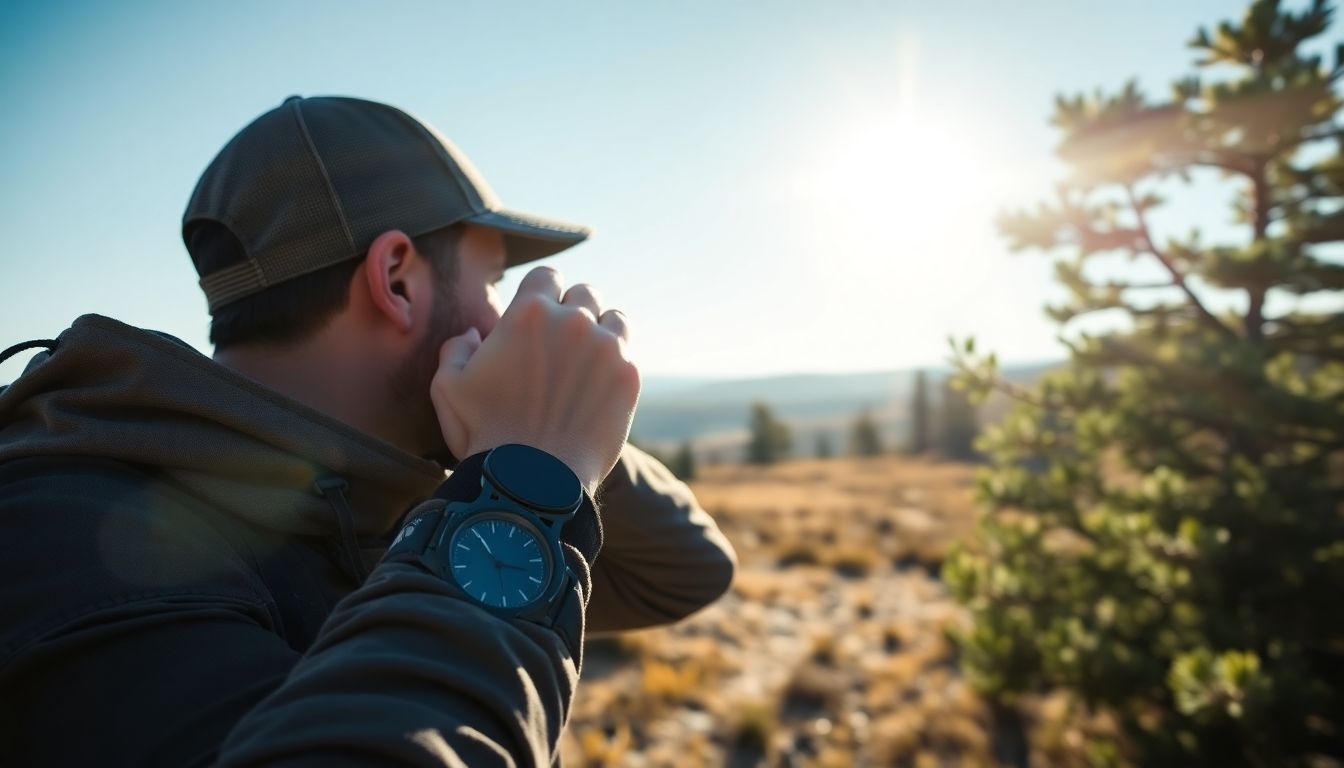
Nature’s Clues: Navigating Without a Compass
In the vast, uncharted wilderness, a compass is often the trusted companion of the explorer. However, what if you find yourself without one? Fear not, for nature is a bountiful teacher, offering a myriad of clues to guide your path. Let us delve into the art of natural navigation, where the sun, stars, plants, and terrain features become your allies.
The sun, that great celestial body that illuminates our days, is a reliable guide. At dawn, it rises in the east, painting the sky with hues of orange and pink. As the day progresses, it arches across the sky, reaching its zenith at midday, and then begins its descent in the west. By observing the sun’s position, you can determine the cardinal directions. However, this method is not foolproof, as the sun’s position varies depending on the time of year and your latitude. To improve accuracy, you can use the shadow cast by a stick. Plant it firmly in the ground and mark the tip of the shadow. Wait for about 15 minutes, then mark the new tip of the shadow. The line connecting the two marks points east-west, with the first mark indicating west.
The night sky, with its constellation of stars, is another valuable tool. The North Star, or Polaris, is a beacon in the northern hemisphere, always pointing north. In the southern hemisphere, the Southern Cross is your guide. To find the North Star, locate the Big Dipper constellation. Draw a line through the two stars at the outer edge of the dipper’s bowl, extend it about five times the distance between the stars, and you’ll find the North Star. In the southern hemisphere, the Southern Cross is easier to spot, with its two long stars pointing towards the south.
Plants and terrain features can also provide valuable clues. In the northern hemisphere, moss tends to grow on the north side of trees and rocks, as it receives more shade and moisture. However, this is not a foolproof method, as moss can grow on any side if conditions are favorable. Terrain features like rivers, mountains, and valleys can also guide your path. Rivers often flow downhill, following the lay of the land, while mountains and valleys can indicate the direction of the nearest lowlands.
In a pinch, even a watch can serve as a makeshift compass. During daylight hours, point the watch’s hour hand at the sun. If you’re in the northern hemisphere, the line between the hour hand and 12 o’clock indicates north. If you’re in the southern hemisphere, it indicates south. At night, you can use the watch to find the North Star. Point the watch’s 12 o’clock position towards the sun’s last known position, then move the hour hand back the number of hours since sunset. The line between the 12 o’clock position and the hour hand now indicates the North Star’s position.
Natural navigation is a skill that requires patience, observation, and practice. It is not always accurate, but with time and experience, you can learn to read the signs that nature provides. So, the next time you find yourself without a compass, look around, and let nature guide your way.
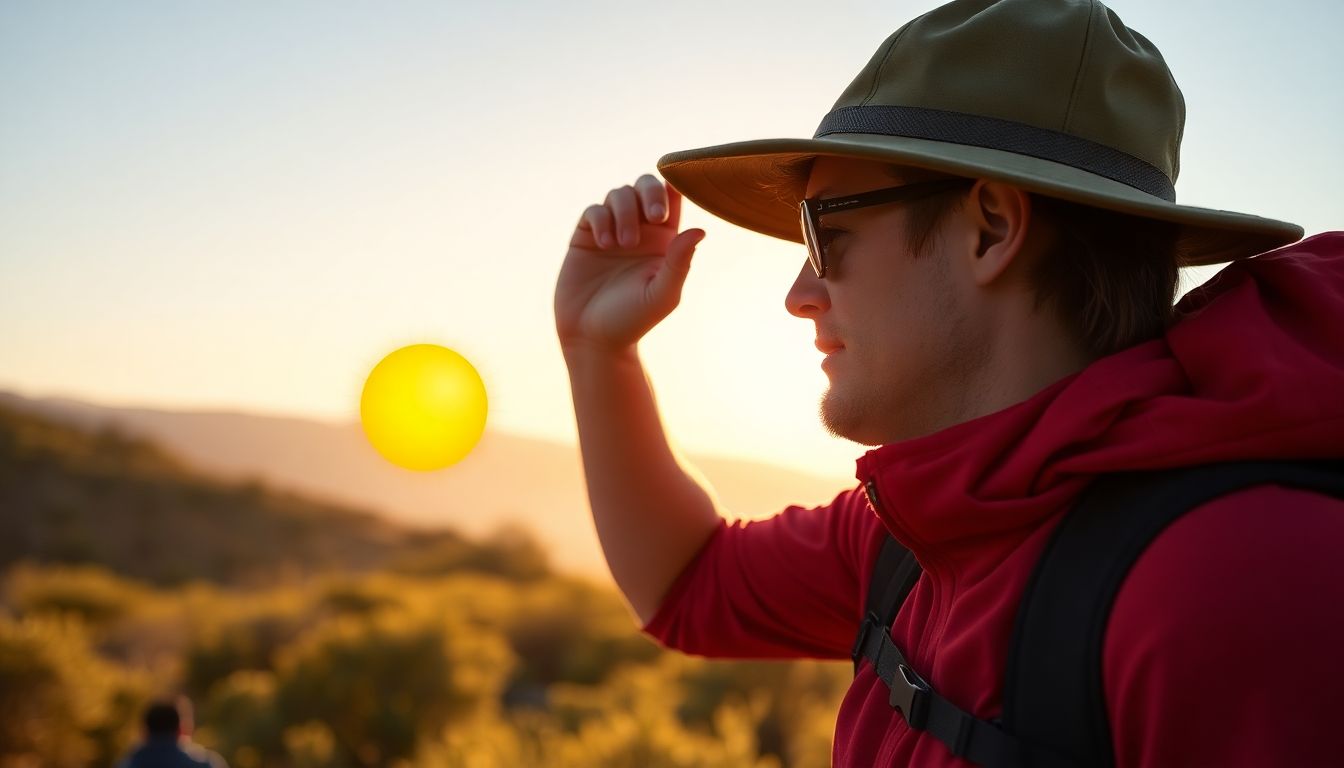
The Sun’s Path: Navigating by Daylight
Navigating by daylight, a skill as old as humanity itself, relies on understanding the sun’s path across the sky. The sun, our celestial compass, moves in a predictable arc from east to south to west, with its position varying based on our latitude and the time of day. Let’s explore how to use this information to determine direction throughout the day.
The sun rises in the east and sets in the west, a fact that forms the foundation of solar navigation. However, the sun’s path and its highest point, known as the zenith, are influenced by our latitude. At the equator, the sun reaches its zenith directly overhead, casting no shadow. As we move towards the poles, the sun’s zenith shifts, appearing higher in the sky at lower latitudes and lower at higher latitudes.
To navigate using the sun’s position, consider the following steps:
-
Morning (Sunrise to Midday):
- In the morning, the sun is in the eastern sky. It rises in the exact east at the equator, but at higher latitudes, it rises slightly north of east. As the day progresses, the sun moves towards the south, reaching its zenith at midday. The sun’s shadow will point towards the north in the Northern Hemisphere and south in the Southern Hemisphere.
Midday:
- At midday, the sun is at its highest point, directly overhead at the equator, or close to it at higher latitudes. This is the only time when the sun’s position doesn’t indicate direction, but it’s a great time to take a break from navigating!
Afternoon to Sunset:
After midday, the sun begins its descent in the western sky. It sets in the exact west at the equator, but at higher latitudes, it sets slightly north of west. The sun’s shadow will point towards the south in the Northern Hemisphere and north in the Southern Hemisphere.
Remember, the sun’s position relative to the horizon also changes with the time of day. In the early morning and late afternoon, the sun is low in the sky, making it appear larger and casting long shadows. At midday, the sun is high, casting short shadows. Understanding these changes can help you estimate the time of day as well.
In conclusion, the sun’s path is a reliable tool for navigation, but it’s important to understand the impact of latitude and time of day on its position. With practice, you’ll find that the sun’s journey across the sky can guide you as effectively as any compass.

The Night Sky: Navigating by Starlight
The night sky, a vast canvas of twinkling stars, has guided explorers, sailors, and travelers for centuries. Navigating by starlight is an art that relies on understanding the patterns and movements of celestial bodies. Here’s a simple guide to help you determine your direction at night using the stars.
The first step is to familiarize yourself with the constellations. These are groups of stars that form recognizable patterns, like Ursa Major (the Great Bear) and Orion. While constellations can help you identify your location in the sky, they aren’t the best for determining direction. For that, we turn to specific stars and asterisms (recognizable star patterns).
In the Northern Hemisphere, the North Star, or Polaris, is your best friend. It’s located within the constellation Ursa Minor and is the closest star to the North Pole. To find it, look for the ‘Big Dipper’ (Ursa Major) and follow the line between the two stars at the outer edge of the dipper’s bowl. Extend this line about five times its length, and you’ll find Polaris. Since Polaris is almost directly above the North Pole, it’s a reliable indicator of north.
In the Southern Hemisphere, the Southern Cross, or Crux, is the key to navigation. This constellation is made up of four bright stars that form a cross. To find south, locate the two brightest stars in the cross, which are Alpha and Beta Centauri. Draw a line between them and extend it about four times its length. The point where this line intersects the horizon is south.
Another useful technique is to use the horizon to determine your direction. Stars rise in the east and set in the west. So, if you see a star rising, it’s in the east. If it’s setting, it’s in the west. Stars that are high in the sky at midnight are roughly overhead, indicating the zenith.
Remember, navigation by starlight requires patience and practice. It’s not always accurate, especially in urban areas with light pollution. But with time and experience, you’ll find that the night sky can be a reliable and awe-inspiring guide.
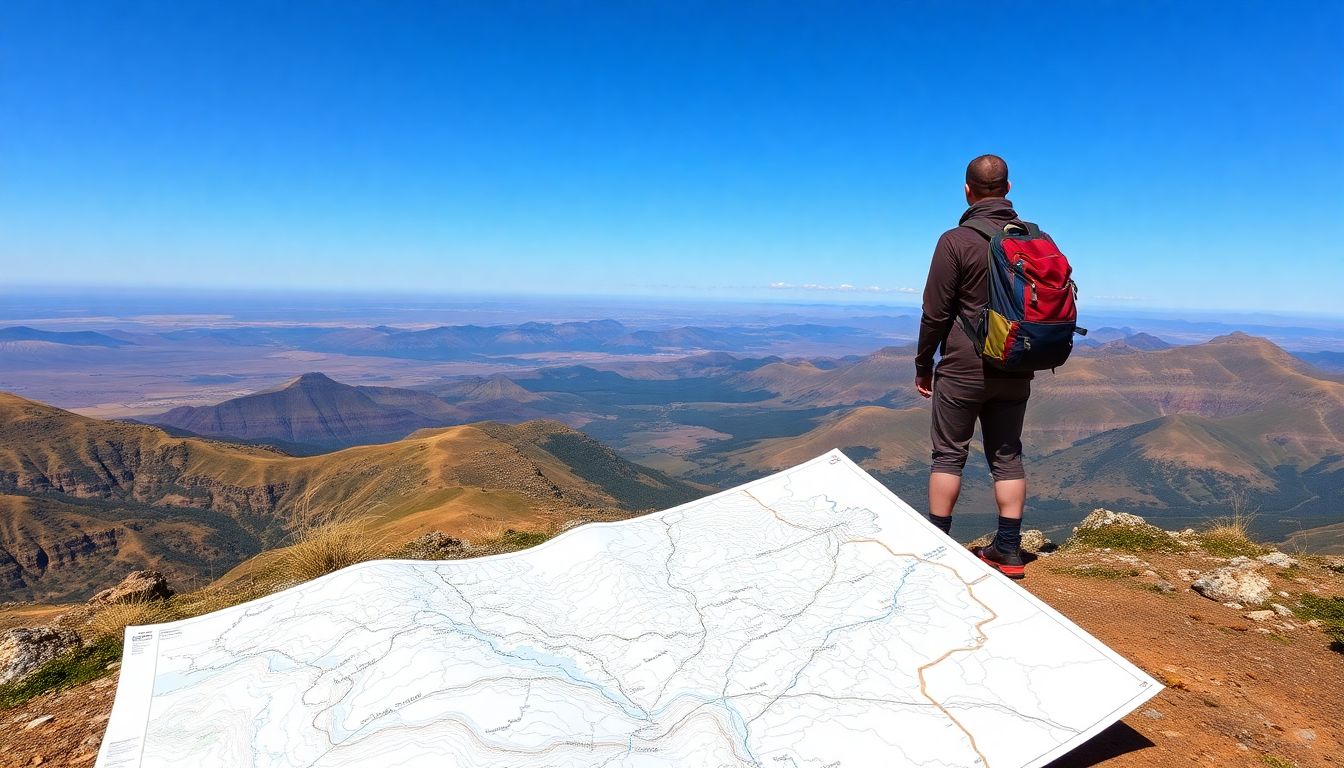
Terrain Features: Reading the Land
Embarking on a journey through the great outdoors, one’s ability to read the land can significantly enhance navigation and safety. The landscape, with its rivers, hills, and valleys, offers a wealth of information that can guide us, much like an ancient map etched into the earth itself.
Rivers, for instance, are like the veins of the land, flowing relentlessly towards lower ground. They often lead to settlements, water sources, or points of interest. By observing the direction of the river’s flow, one can infer the lay of the land ahead. Hills and mountains, on the other hand, can serve as natural landmarks, their peaks often visible from great distances. They can also indicate the presence of higher ground, which may offer panoramic views or a vantage point for spotting distant features.
Valleys, the lowlands between hills or mountains, can provide shelter from harsh weather conditions and offer a more gentle gradient for travel. However, they can also be prone to flooding or have limited visibility, so they should be navigated with caution.
To further enhance our understanding of the terrain, we turn to the humble contour line, a map’s secret weapon for visualizing the land. Contour lines connect points of equal elevation, allowing us to see the shape of the land in a way that’s impossible to discern from a flat map alone. Here’s how to use them:
- Observe the spacing between contour lines. Close lines indicate steep slopes, while widely spaced lines indicate gentle gradients.
- Look for changes in contour line direction. A change from north-south to east-west, for example, can indicate a ridge or a valley.
- Identify high and low points. The highest point on a map is the index contour, often marked with a ‘+’ symbol, while the lowest point is the depression contour, marked with a ‘U’.
By combining our understanding of natural features with the information provided by contour lines, we can navigate with confidence, turning the vast, complex landscape into a readable, navigable journey.
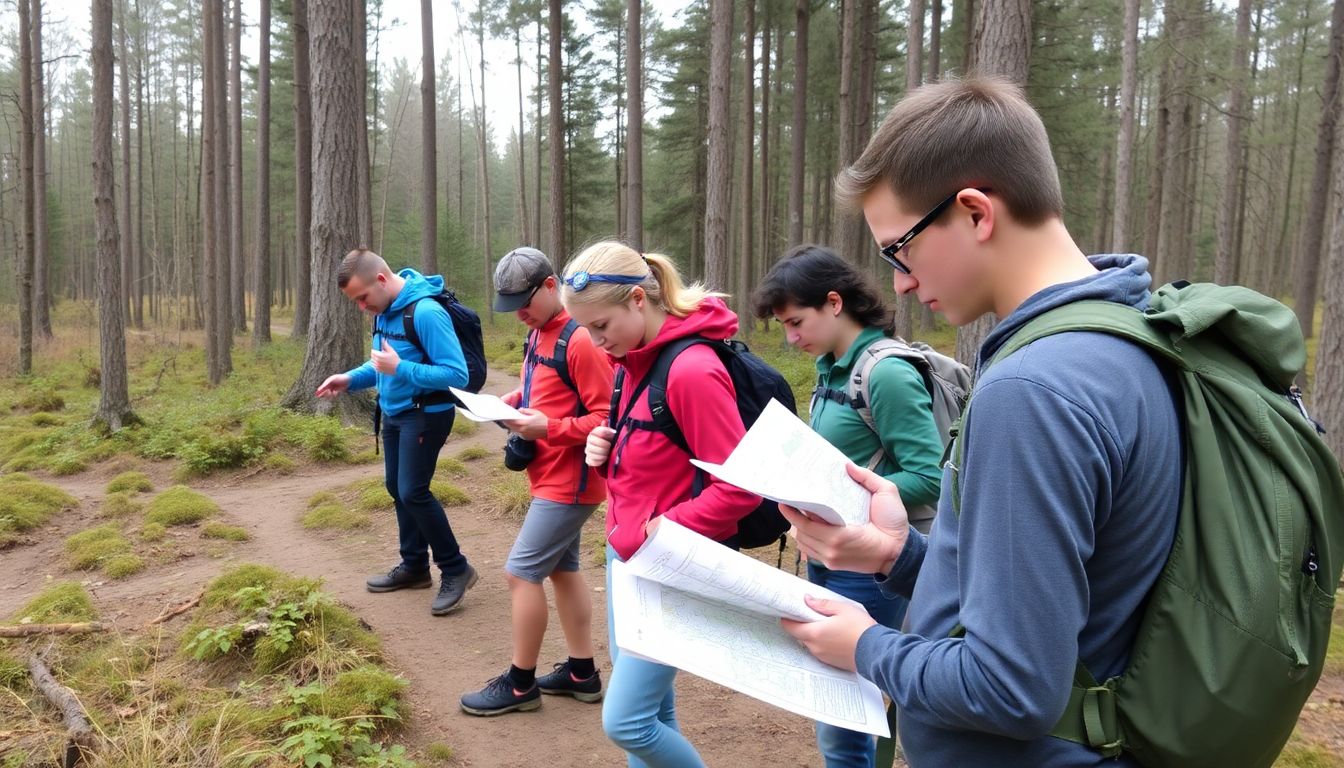
Practice Makes Perfect: Refining Your Skills
Embarking on the journey to mastering any skill, be it navigation or otherwise, is akin to setting sail on an uncharted sea. The compass that guides us through this voyage is none other than regular practice. Consistency is the key that unlocks the door to proficiency, and this holds particularly true for honing your orienteering skills.
Imagine, if you will, a skilled navigator, deftly traversing a dense forest, their eyes scanning the horizon, their mind’s eye mapping out the terrain. This isn’t an innate ability, but a skill cultivated through countless hours of practice. Regular practice allows us to internalize the art of navigation, transforming it from a conscious effort into an intuitive response.
Setting up practice courses and challenges is a fantastic way to refine your skills. It’s like having a personal trainer for your navigation muscles. Here are a few tips to help you create effective practice sessions:
- Vary Your Terrain: Just as a runner wouldn’t stick to a flat track every day, you shouldn’t limit your practice to open fields. Incorporate different terrains
- forests, hills, urban areas
- to challenge yourself and build versatility.
- Set Clear Goals: Before you start, have a clear idea of what you want to achieve. This could be improving your pacing, refining your map reading, or mastering a specific technique. Having a goal gives your practice direction and purpose.
- Use Controlled Environments: Start with simple courses in familiar areas. This allows you to focus on learning and improving without the added stress of being lost or disoriented.
- Introduce Challenges: Once you’re comfortable, introduce elements of difficulty. This could be limited visibility, complex routes, or time pressure. Remember, the goal is to push your boundaries, not to overwhelm yourself.
Practice isn’t just about doing something over and over again. It’s about doing it with purpose, with intention, and with a willingness to learn and improve. So, grab your compass, step out into the world, and let the journey of refining your navigation skills begin. After all, as the old adage goes, ‘Practice makes perfect.’

Emergency Navigation: When All Else Fails
When faced with an emergency situation where your usual navigation tools have failed or are unavailable, it’s crucial to remain calm and resourceful. This is where improvised navigation techniques can be a lifesaver. Remember, the key is to use your surroundings and available resources wisely.
First, take a deep breath and assess your situation. Look around for any landmarks, natural or man-made, that could help you determine your location. Hills, rivers, unique rock formations, or even distinctive buildings can provide valuable clues. If you’re in a wooded area, look for moss on trees, as it tends to grow on the north side in the Northern Hemisphere and the south side in the Southern Hemisphere.
Next, consider the time of day. The position of the sun can help you determine direction. In the Northern Hemisphere, the sun rises in the east and sets in the west. In the Southern Hemisphere, it’s the opposite. Around midday, the sun is roughly overhead, while at night, the North Star (Polaris) can guide you in the Northern Hemisphere. In the Southern Hemisphere, look for the Southern Cross constellation.
Improvised tools can also aid in navigation. A simple compass can be made using a needle from a compass watch or a magnet, a leaf, and a bowl of water. The needle will align itself with the Earth’s magnetic field, pointing north. If you’re near a body of water, the current can also provide clues about direction.
Lastly, always have a backup plan. If you’re lost, stay where you are and make noise to attract attention. Use any available materials to create a signal, like a fire or a makeshift mirror using a piece of glass or a shiny object. Staying calm and using your resources wisely can greatly increase your chances of being found.
In conclusion, while improvised navigation may not be as precise as using a GPS device, it’s a valuable skill that can mean the difference between life and death in an emergency situation. So, the next time you’re out in the wilderness, take a moment to appreciate the natural compasses and maps that surround you.
FAQ
What are the fundamental skills required for wilderness navigation without GPS?
How do I choose the right map for my wilderness adventure?
What are the basic parts of a compass and how do they work together?
How can I use a map and compass to determine my current location?
- Hold your compass flat and level, with the direction-of-travel arrow pointing in the direction you’re facing.
- Rotate the map until the features you see around you match the features on the map in the same direction.
- Find the same features on the map that you see around you, such as hills, valleys, or streams. Where these features intersect on the map is your current location.
What is the best way to plot a course on a map?
- Identify your starting point and your destination on the map.
- Choose a route that avoids hazards and stays within your capabilities. Consider using handrails, such as rivers or ridges, to help guide you.
- Mark your route using a pencil or highlighter, ensuring you include any waypoints or landmarks along the way.
- Measure the distance and direction of your route using a ruler and the degree markings on your compass.
How can I use a compass to follow a course?
- Hold your compass flat and level, with the direction-of-travel arrow pointing in the direction you want to go.
- Turn the map so that the top of the map aligns with the orienting lines on the compass, and the features on the map match the features around you.
- Walk in the direction the direction-of-travel arrow is pointing, keeping the compass level and steady.
- Periodically check your progress by taking a sighting on a distant landmark or using a handrail, and adjust your direction as needed.
What are some natural navigation techniques I can use to maintain my direction?
- Using the sun: In the Northern Hemisphere, the sun rises in the east and sets in the west. In the Southern Hemisphere, it’s the opposite. Midday, the sun is roughly in the south.
- Observing the stars: At night, the North Star (Polaris) can help you determine north. In the Northern Hemisphere, it’s located near the end of the Little Dipper’s handle. In the Southern Hemisphere, the Southern Cross can help you find south.
- Using land features: Hills, valleys, rivers, and other land features can provide clues to your direction. For example, water usually flows downhill, and rivers often flow towards lower elevations.
How can I practice orienteering to improve my navigation skills?
What are some common mistakes to avoid when navigating without GPS?
- Relying too heavily on landmarks: While landmarks can be helpful, they can also change or be misleading. Always use a map and compass to confirm your location and direction.
- Not checking your progress regularly: It’s essential to regularly check your progress to ensure you’re still on course. This can help you catch any errors in your navigation early and correct them.
- Not accounting for magnetic declination: Magnetic north is not the same as true north. You must account for magnetic declination, which is the angle between true north and magnetic north, to ensure your compass is pointing you in the right direction.


