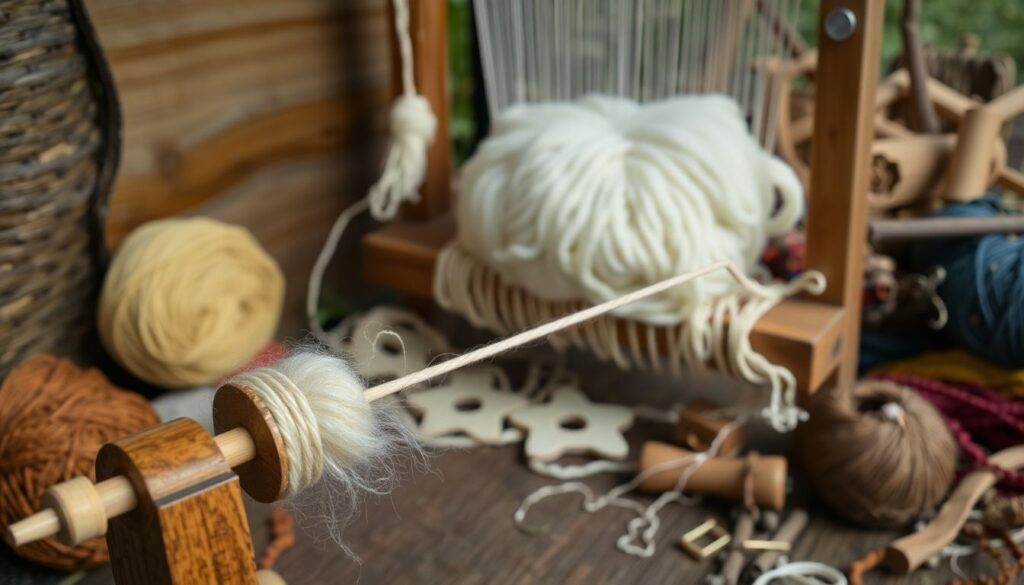
Have you ever wondered how our ancestors clothed themselves before the advent of modern textile mills? Or perhaps you’ve found yourself captivated by the intricate patterns and textures of traditional handwoven fabrics, wondering how they were created? The art of spinning and weaving, once a fundamental skill for human survival, is now often overlooked in our fast-paced, mass-produced world. But what if we told you that you can rekindle this ancient craft, transforming raw fibers into functional, beautiful fabric using nothing but your hands, a drop spindle, and a primitive loom?
In this comprehensive guide, we delve into the fascinating world of survival spinning and weaving, exploring the timeless techniques that have clothed civilizations for millennia. We promise to demystify the process, breaking it down into manageable steps that will have you spinning and weaving like a pro in no time. By the end of this article, you’ll not only have gained a new, empowering skill but also a deeper appreciation for the artistry and ingenuity of our ancestors.
But first, let’s address the elephant in the room: isn’t spinning and weaving a time-consuming, labor-intensive process? Indeed, it can be. But so is growing and cooking your own food, and yet many of us choose to do so for the satisfaction, self-sufficiency, and connection to our past that it provides. Moreover, spinning and weaving are not just about creating fabric; they are about preserving a heritage, fostering mindfulness, and cultivating a sense of accomplishment.
According to the Textile Museum in Washington D.C., it takes approximately 2,000 hours of spinning to create enough yarn to weave a single bedsheet. That’s a staggering figure, but remember, our ancestors didn’t have Netflix or smartphones to distract them. They spun and wove out of necessity, turning what we might consider a chore into a communal activity, a social event, a way of life.
So, are you ready to join this ancient tradition? To feel the rhythm of the drop spindle in your hands, to watch as raw fibers transform into usable yarn, to create something tangible, functional, and beautiful with your own two hands? Then read on, dear reader, for we are about to embark on a journey that will change the way you look at fabric forever.
Mastering the Art of Textile Creation with Drop Spindles and Primitive Looms
Embark on a journey back in time to the dawn of civilization, where the art of textile creation was born from the humble drop spindle and primitive looms. These simple yet ingenious tools, crafted from materials as diverse as wood, bone, and even stone, have been the cornerstone of human culture and survival for millennia. The drop spindle, a mere stick with a whorl, is a testament to human ingenuity, transforming fibers into usable thread with a simple flick of the wrist. It’s a dance of sorts, a rhythmic motion that’s as soothing as it is productive. Meanwhile, the primitive loom, often made from branches and strings, weaves these threads into intricate patterns, creating cloth that’s not just functional, but also a canvas for storytelling and artistic expression. Mastering these ancient techniques isn’t just about creating fabric; it’s about connecting with our past, understanding our present, and appreciating the beauty of simplicity. So, let’s roll up our sleeves, spin some yarn, and weave a tale of our own, one thread at a time.
Understanding the Basics of Spinning
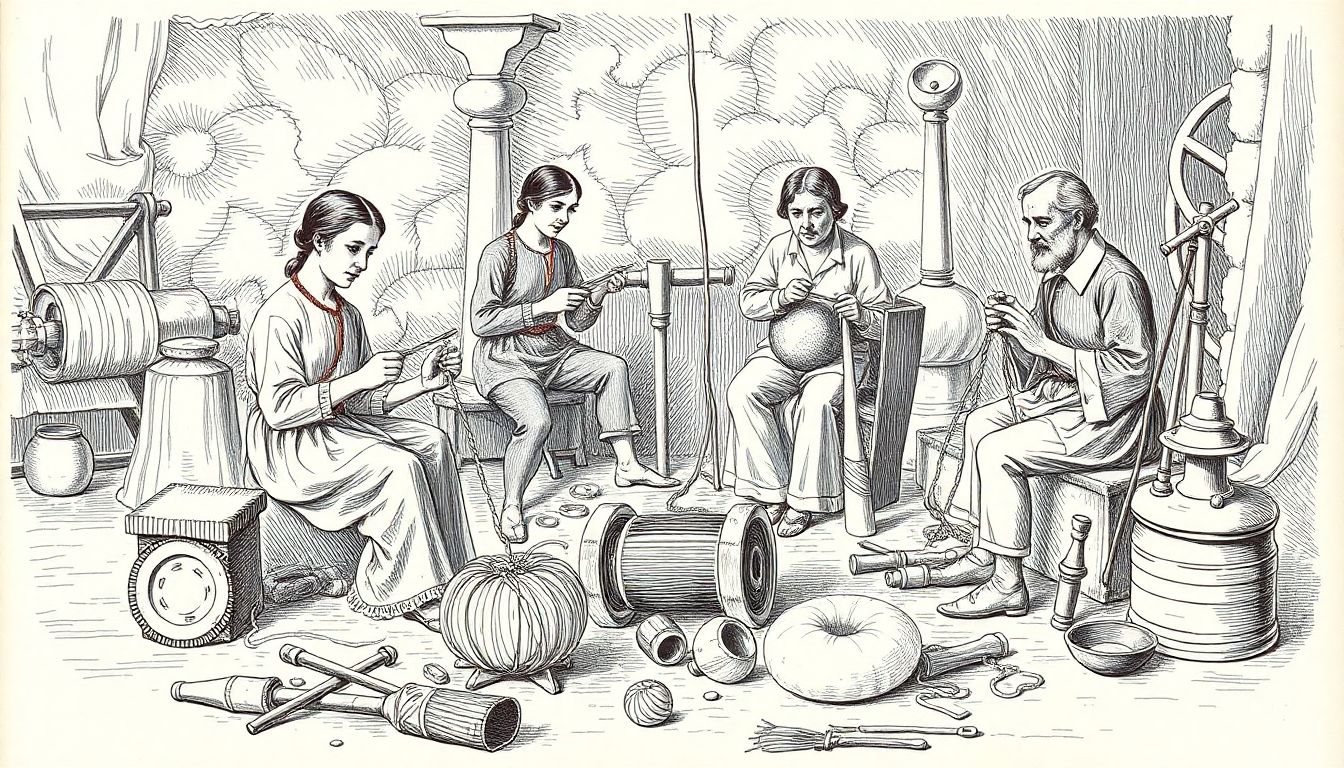
Spinning, an ancient craft that predates written history, is the process of twisting fibers into thread or yarn. It’s a fundamental skill that has enabled humans to create fabric for clothing, shelter, and other essential items since time immemorial. The history of spinning is intertwined with the development of civilizations, with evidence of spinning dating back to the Neolithic period. Spinning was once a crucial skill for survival and self-sufficiency, as it allowed communities to produce their own textiles from locally sourced materials.
The art of spinning involves several key steps. First, fibers are prepared by cleaning and carding, which aligns the fibers and removes any impurities. Next, the fibers are spun into a continuous thread using a drop spindle or spinning wheel. The spinner controls the twist and tension to create a consistent yarn. Finally, the spun yarn is wound onto a bobbin or skein for storage.
Spinning is often confused with weaving, but they are distinct processes in fabric creation. While spinning is the act of creating thread or yarn from fibers, weaving is the process of interlacing two sets of threads or yarns at right angles to create a fabric. Both skills are crucial for creating a wide variety of fabrics, from lightweight linens to heavy woolen blankets. Spinning allows for the creation of unique, handmade yarns with specific textures and colors, while weaving transforms these yarns into functional, durable fabrics.
In today’s world, where most textiles are mass-produced, the art of spinning may seem less vital. However, it remains an important skill for self-sufficiency, sustainability, and creativity. Spinning allows individuals to work with natural fibers, reduce waste, and create unique, handmade items. Moreover, the process of spinning is deeply meditative and therapeutic, offering a sense of connection to our ancestors and the natural world. Whether you’re a seasoned spinner or a curious beginner, exploring the basics of spinning is a journey into the rich tapestry of human history and creativity.
Choosing and Preparing Fibers
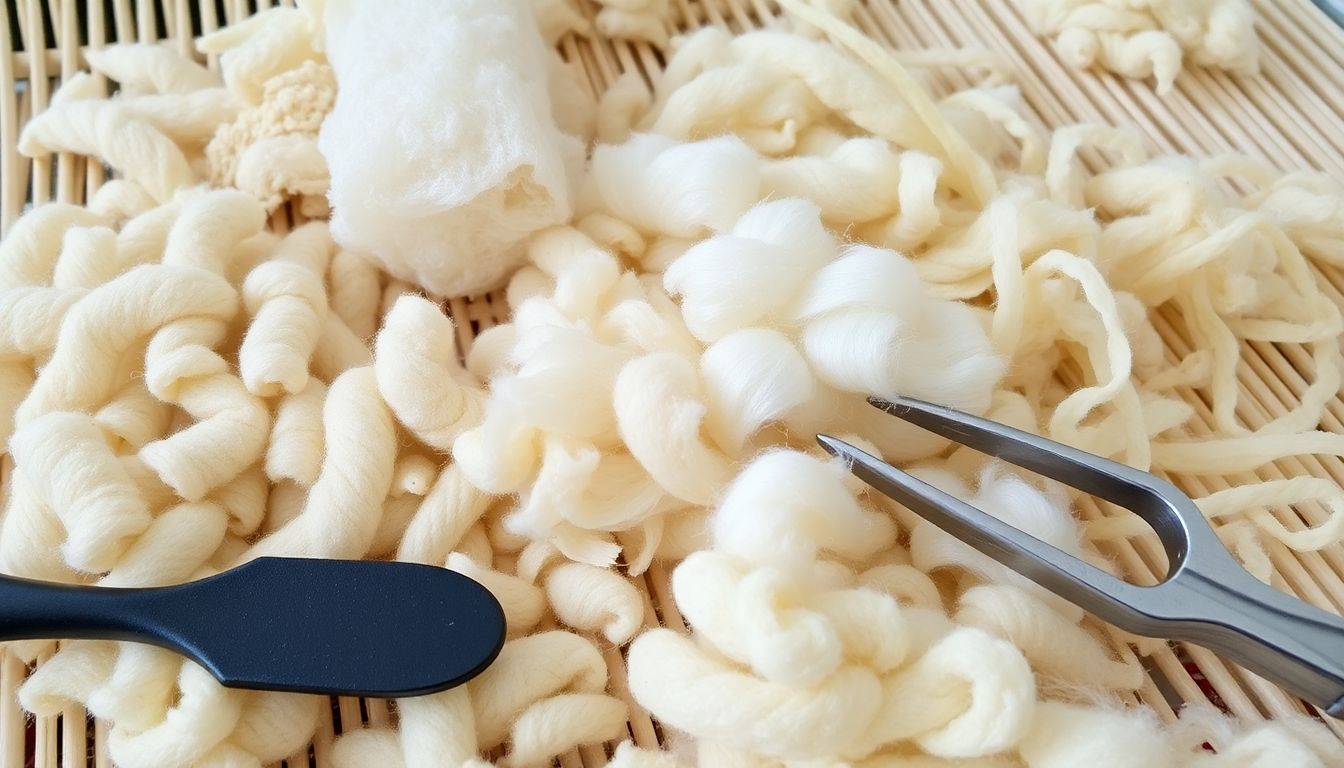
Choosing and preparing fibers for spinning is an exciting journey that begins with selecting the right type of fiber. There are several types of fibers suitable for spinning, each with its unique characteristics. Wool, for instance, is soft, elastic, and has excellent insulating properties. It’s sourced from sheep, with Merino wool being particularly popular among spinners due to its fineness and softness. Alpaca fiber is another favorite, known for its luxurious feel, lack of lanolin, and resistance to pilling. It’s sourced from alpacas, which are native to South America. Silk, obtained from the cocoons of silkworms, is smooth, strong, and has a beautiful sheen. It’s often blended with other fibers to add strength and luster to yarn. Lastly, plant fibers like cotton and flax are also popular. Cotton is soft, breathable, and great for warm-weather clothing, while flax, or linen, is strong, cool, and perfect for summer garments.
The process of preparing fibers for spinning involves several steps. The first is cleaning, which removes dirt, debris, and vegetable matter. This can be done by hand, using a flick carder or a drum carder, or by machine, using a wool washer or a picker. The key is to be gentle to avoid damaging the fibers.
Next comes carding, which aligns the fibers parallel to each other. This is typically done using a hand carder or a drum carder. The process involves passing the fibers through the carder multiple times, turning the locks of wool into a flat batt. Tips for effective carding include using a sharp, clean carder, and working in a well-lit area to spot and remove any remaining vegetable matter.
For long, smooth fibers like silk or some types of wool, combing is the preferred method. Combing straightens the fibers and removes short fibers and any remaining debris. This is typically done using a comb or a hackle. The process involves gently pulling the fibers through the teeth of the comb, working from tip to root. Tips for effective combing include using a sharp, clean comb, and working in small batches to avoid tangling.
Once the fibers are clean, carded, and combed, they’re ready for spinning. The preparation process not only cleans the fibers but also aligns them, making them easier to spin and resulting in a more even, consistent yarn.
Introduction to the Drop Spindle
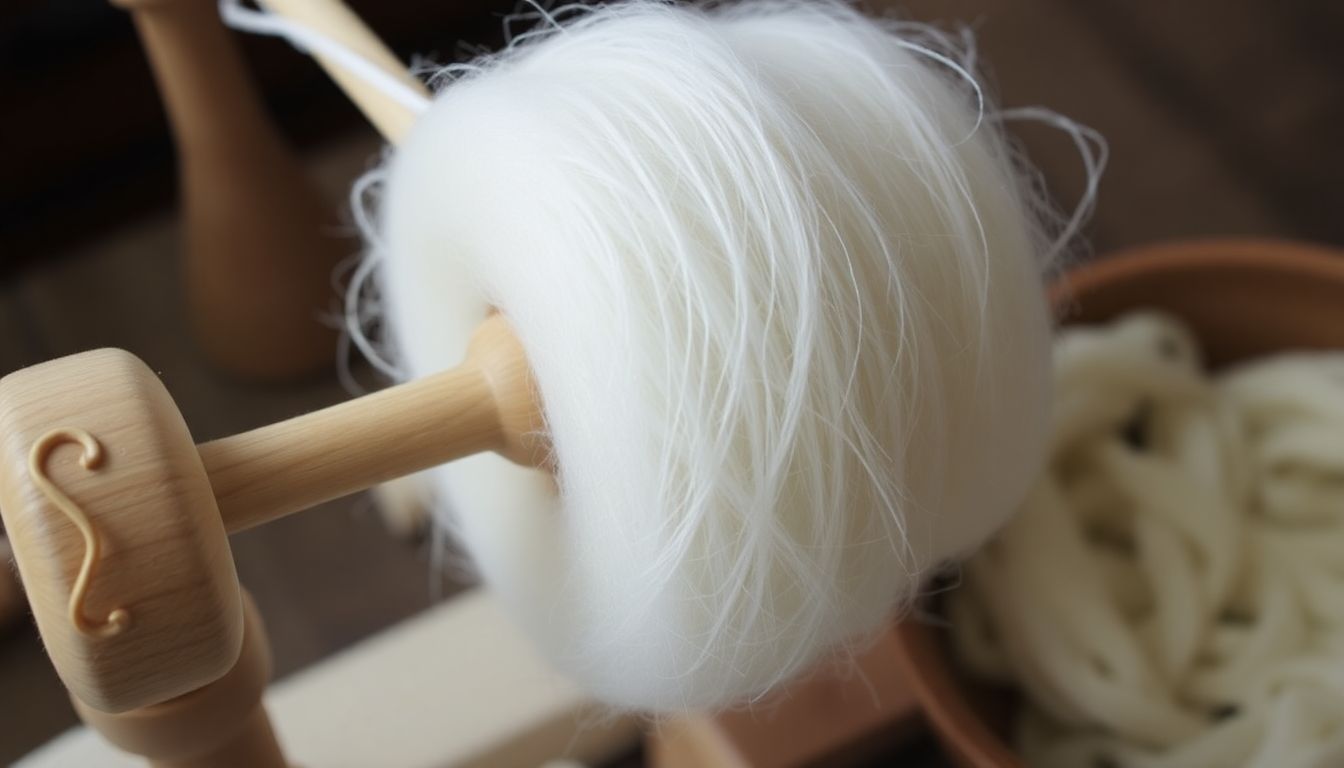
The drop spindle, a humble yet powerful tool, is a testament to human ingenuity and our enduring connection to the natural world. Its design is deceptively simple, consisting of three primary components: the whorl, the shaft, and the hook. The whorl, typically made of wood, stone, or even bone, is the bulbous base that provides the necessary weight and momentum for spinning. The shaft, usually a straight, slender piece of wood, connects the whorl to the hook, a small, curved piece of metal or wood that catches and twists the fiber. Together, these components form a tool that has been used for thousands of years to transform raw fiber into usable yarn.
The drop spindle works on the principle of twist. To spin, you first draft the fiber, pulling it apart and aligning it into a thin, even strand. You then wrap this strand around the shaft, creating a small amount of twist. As you continue to draft and wrap, the twist builds up, creating a continuous strand of yarn. The whorl’s weight helps to maintain this twist, allowing you to create a long, even thread.
The drop spindle’s advantages are numerous. It’s lightweight and portable, making it an ideal tool for travel or survival situations. It requires no electricity or complex machinery, relying instead on the power of your own hands and the natural properties of the fiber. It’s also incredibly versatile, capable of spinning a wide range of fibers from wool to silk to plant fibers like cotton or flax.
In a survival situation, the drop spindle can be a lifesaver. It allows you to create usable yarn from natural fibers, which can then be knitted or woven into clothing, blankets, or other essential items. It’s also a great way to pass the time, providing a sense of accomplishment and a connection to the past.
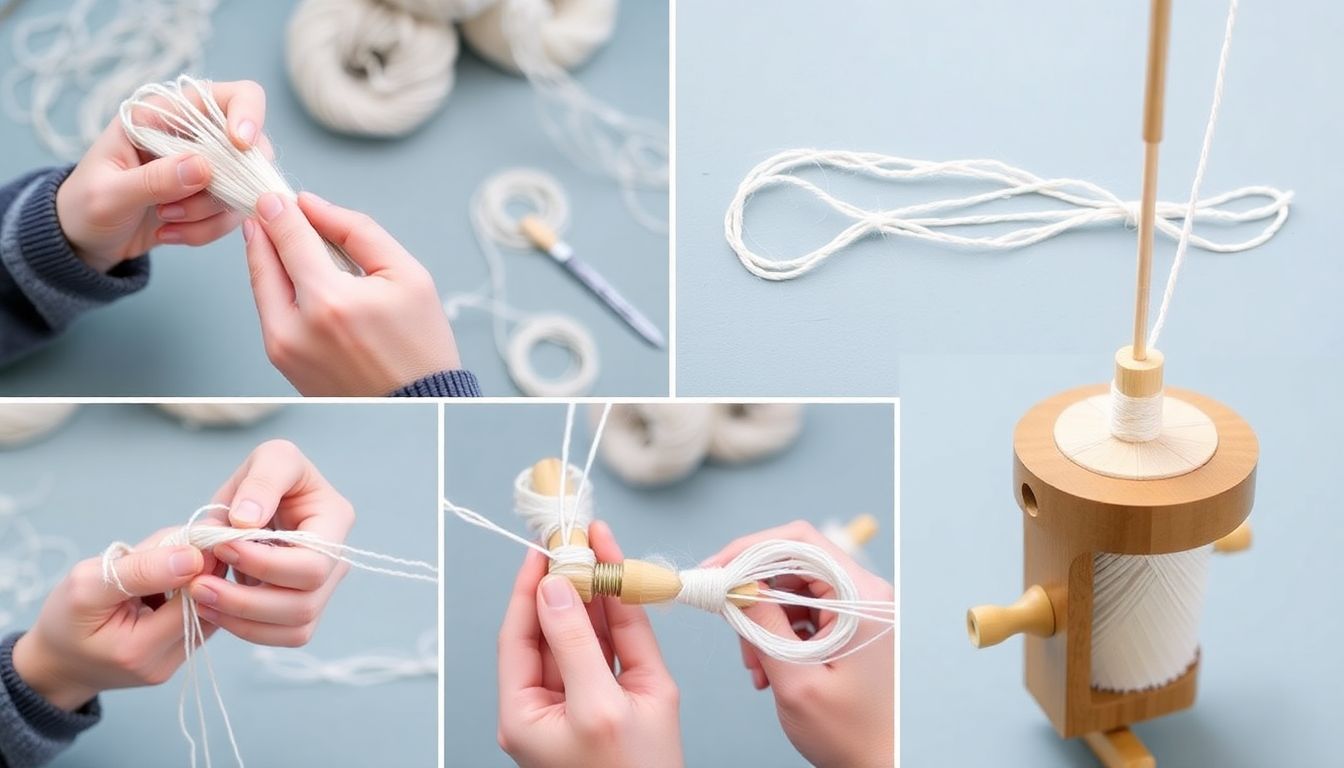
Using a drop spindle is a skill that takes practice, but it’s not difficult to learn. Here’s a step-by-step guide:
- Start with a small amount of fiber, drafting it into a thin, even strand.
- Wrap the strand around the shaft of the drop spindle, creating a small amount of twist.
- As you continue to draft and wrap, allow the whorl to spin, building up the twist in the fiber.
- When the spindle reaches the end of its spin, catch the yarn on the hook and allow the spindle to drop, twisting the yarn further.
- Repeat this process, drafting, wrapping, spinning, and catching, until you have a long strand of yarn.
Mastering the Art of Spinning with a Drop Spindle
Embarking on the journey of mastering the art of spinning with a drop spindle is like stepping into a world where you’re not just creating yarn, but weaving a tale with every twist and turn. The drop spindle, a humble tool consisting of a whorl, a hook, and a shaft, is your magic wand, ready to transform fibers into yarns that are as unique as the spinner’s touch. The process begins with drafting, the art of preparing the fiber for spinning. Hold your fiber in one hand, and with the other, gently pull and twist the fiber into a thin, even strand. This is where you decide the thickness of your yarn
- thinner drafts result in fine yarns, while thicker drafts create bulky ones. The key is to maintain consistency, much like a painter blending colors on their palette. Next, it’s time to twist. Hold the drop spindle in your dominant hand, with the whorl resting on your palm. Place your fiber onto the hook, and let the weight of the spindle do the work. As it spins, it twists the fiber into yarn, which you can control by how much you allow the spindle to drop. Faster drops create more twist, while slower ones result in a more relaxed yarn. Plying is the final step, where two or more singles are twisted together to create a balanced, strong yarn. This is where you can get creative, experimenting with different directions of twist and the number of plies to create various textures and structures. The beauty of drop spindle spinning lies in its versatility. With different drafting techniques, you can create a variety of yarns. The worsted method, where fibers are drafted parallel to their length, results in a smooth, even yarn. The woolen method, where fibers are drafted perpendicular to their length, creates a lofty, soft yarn. And then there are art yarns, where anything from beads to leaves can be incorporated into the spinning process, resulting in yarns that are as much art as they are fiber. So, grab your drop spindle, some fiber, and let your creativity guide you. With each spin, you’re not just making yarn, you’re telling a story, one twist at a time.
Primitive Loom Construction
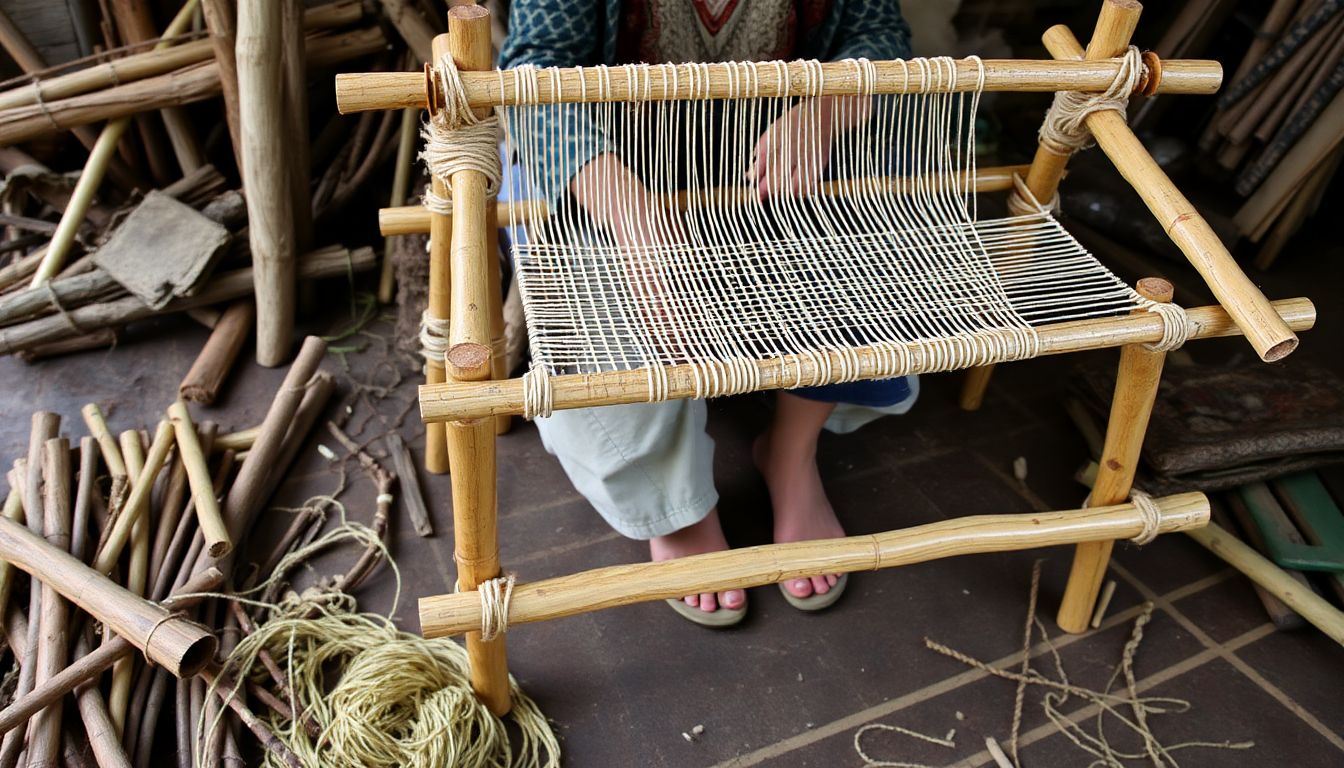
In the realm of textile crafting, the primitive loom stands as a testament to human ingenuity and adaptability. A primitive loom is a simple, often portable, and versatile device used for weaving, one of the oldest forms of textile production. It’s characterized by its minimalistic design, utilizing basic materials and requiring no complex tools or techniques. The advantages of a primitive loom are manifold. Firstly, it’s incredibly portable, allowing weavers to take their craft wherever they go. Secondly, it’s highly adaptable, capable of creating a wide variety of textures and patterns with just a few simple adjustments. Lastly, it’s a valuable tool for survival and self-sufficiency, enabling the creation of essential items like clothing, bedding, and even shelter materials from readily available natural fibers.
Now, let’s delve into the construction of a simple, portable primitive loom using readily available materials. You’ll need a sturdy stick for the base, two smaller sticks for the uprights, and some cordage made from plant fibers, sinew, or even paracord for the warp and weft. Here are the steps:
- Find a straight, sturdy stick about the length you want your loom to be. This will serve as the base.
- Insert the two smaller sticks into the base at either end, perpendicular to it. These will serve as the uprights. Ensure they’re secure and won’t wobble.
- Tie a loop of cordage around one upright, leaving enough slack for your warp threads. This will be your starting point.
- Thread your warp threads through the loop, one at a time, pulling them taut and tying them off to the other upright. The tension is crucial for a tight weave.
- Once your warp is set, you can start weaving. Take your weft thread and pass it over and under the warp threads, working your way across the loom.
- Use a stick or a shuttle to help guide the weft through the warp. This will make the process smoother and more efficient.
- When you reach the end, turn your work and repeat the process, alternating the over-under pattern to create a tight, even weave.
- Once you’ve reached the desired length, cut the weft and warp threads, and carefully remove your woven piece from the loom.
Weaving Fundamentals
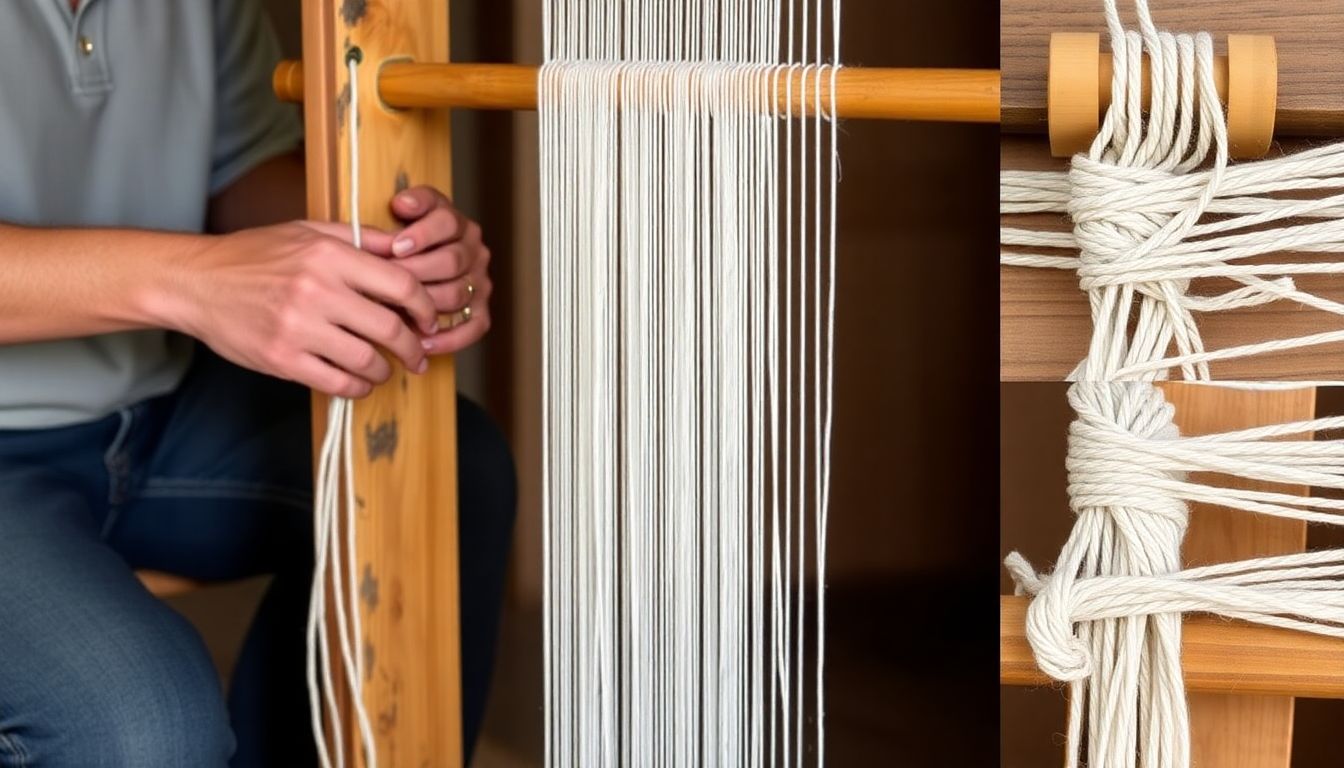
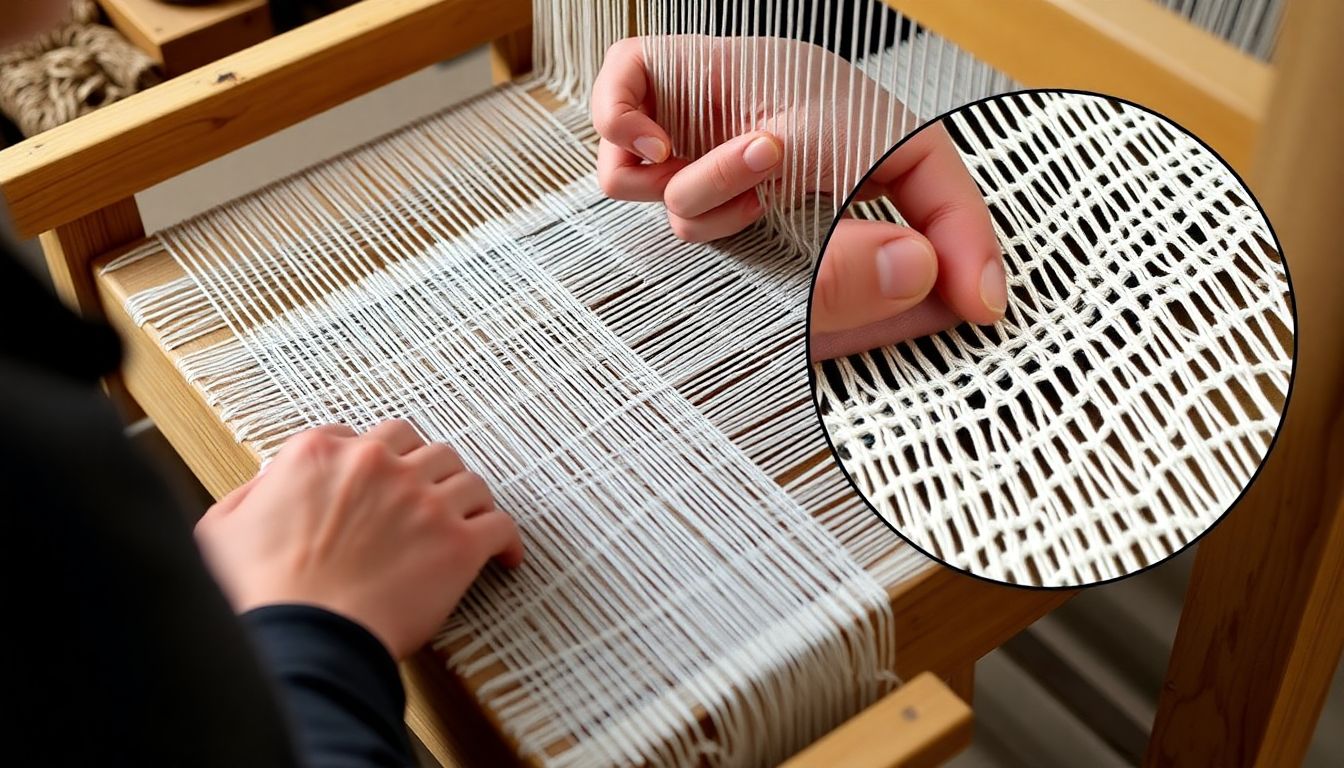
Weaving, an ancient textile art, is based on two fundamental elements: the warp and the weft. The warp, consisting of longitudinal threads held taut on a loom, forms the foundation of the fabric. The weft, woven perpendicularly through the warp, creates the width of the cloth. The sett, or the number of warp threads per inch, determines the fabric’s density and texture.
The process begins with preparing the loom. First, calculate the required warp length, adding extra yarn for fringe or tassels. Then, wind the warp onto a warping board or a mill, ensuring the threads are evenly spaced and under the same tension. Once wound, transfer the warp onto the loom, securing it at both ends. Next, sley the reed, passing each warp thread through a dent, ensuring an even sett.
Now, let’s explore different weave structures:
- Plain weave, the simplest structure, involves passing the weft over and under each warp thread alternately.
- Twill, characterized by a diagonal pattern, is created by passing the weft over multiple warp threads before going under one.
- Basket weave, a variation of plain weave, involves groups of two or more warp threads, creating a distinctive basket-like texture.
Each weave structure offers unique visual and tactile qualities, allowing weavers to create a vast array of textiles.
Creating Your First Cloth on a Primitive Loom
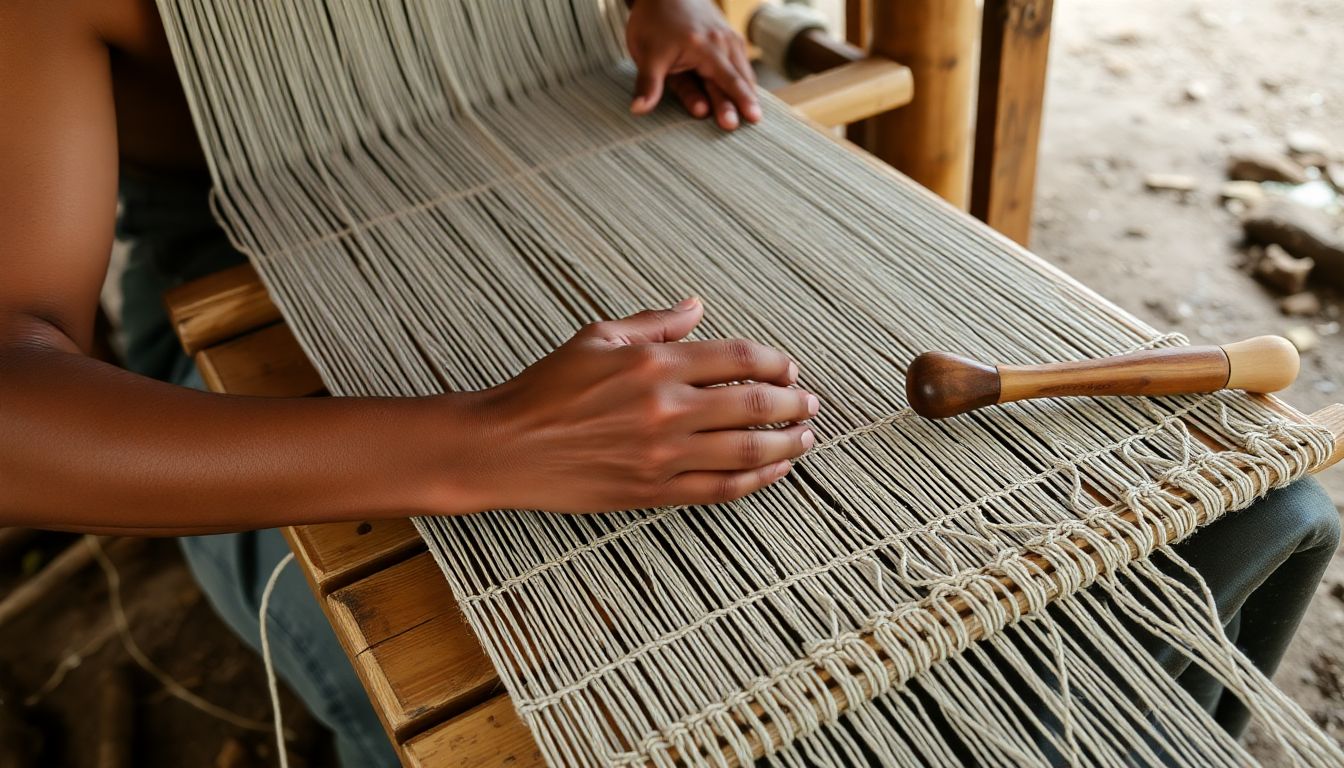
Embarking on your first cloth-making journey with a primitive loom is an exciting adventure that combines creativity, patience, and a touch of history. A primitive loom, often made from simple materials like branches, string, or even your kitchen chair, is a humble tool that empowers you to transform fibers into fabric, just as our ancestors have done for centuries.
Before you begin, gather your materials: a primitive loom, a warp (the lengthwise threads), a weft (the crosswise threads), and a shuttle to help pass the weft through the warp. The warp is the backbone of your cloth, so ensure it’s securely attached to the loom and tensioned evenly.
Now, let’s dress the loom. Start by creating a shed, an opening between the warp threads, by lifting every other thread with a heddle stick. This will be your pathway for the weft. Insert your shuttle and pass the weft through the shed, pulling it gently but firmly. This is the beginning of your cloth’s weave.
Next, beat the weft. Using a comb or a flat object, press the weft threads down firmly against the previous row. This step is crucial as it determines the density and texture of your fabric. Consistency is key here; try to beat each row with equal pressure.
Sampling and experimentation are your friends. Don’t hesitate to try different weave structures
- from simple tabby weave to more complex patterns like twill or herringbone. Each weave has its unique characteristics, so explore and discover what you like best. Similarly, experiment with different fibers. Wool, cotton, and linen all behave differently, so have fun discovering their unique qualities.
Once you’ve woven to the desired length, it’s time to finish your fabric. Carefully cut the warp threads at the bottom, leaving enough length to tie them together. Tie these threads securely, then remove your cloth from the loom. Finally, trim any loose ends and give your cloth a gentle wash to set the weave and soften the fibers.
Congratulations! You’ve just created your first piece of cloth on a primitive loom. Wear it with pride, knowing that you’ve not only made something beautiful but also connected with a timeless tradition.
Finishing and Using Your Handmade Fabric
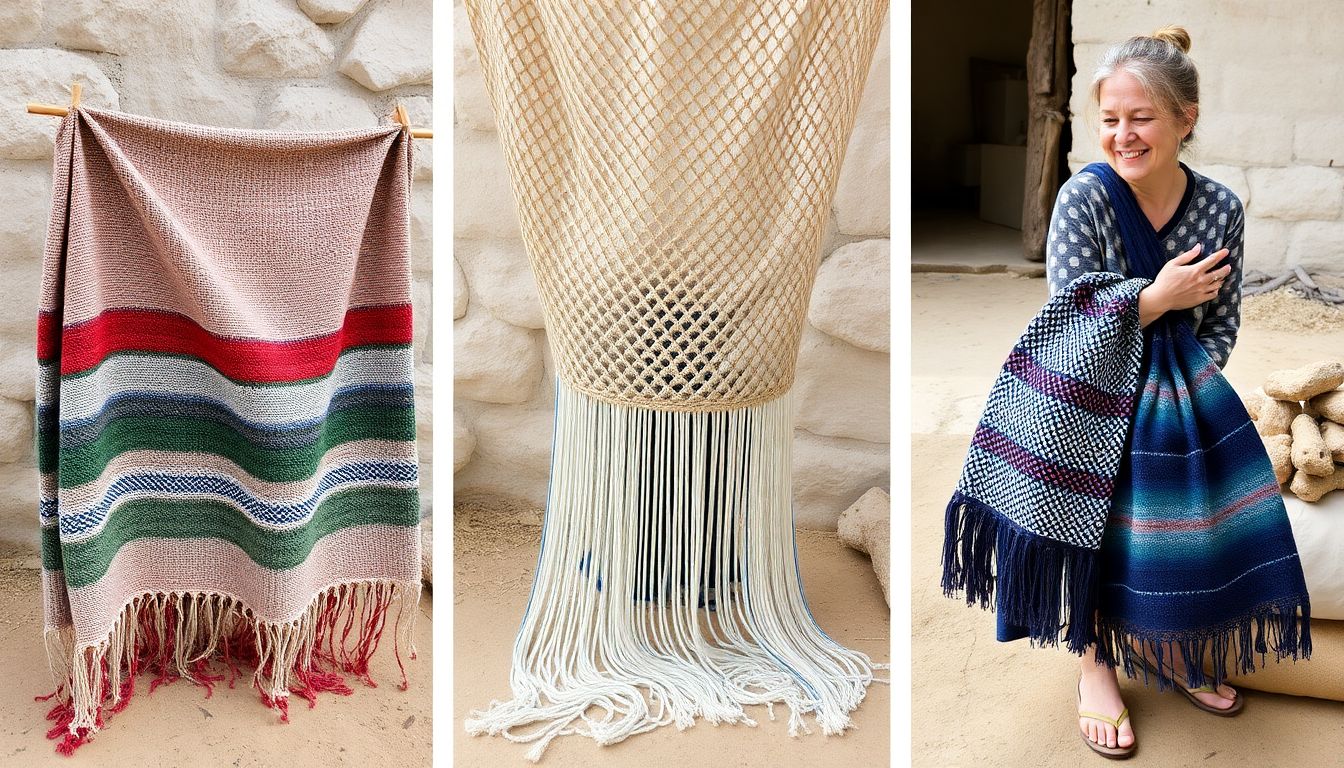
Finishing handwoven fabric is a crucial step that not only enhances its appearance but also ensures its longevity and comfort. The process begins with fulling, a technique that involves shrinking and felting the fabric to create a denser, more durable texture. This can be achieved by gently rubbing the fabric against itself in warm, soapy water, or by using a washing machine on a gentle cycle. After fulling, the fabric is thoroughly rinsed and dried flat to prevent it from stretching out of shape.
The next step is washing, which helps to remove any remaining dirt, oil, or residue from the weaving process. This can be done by hand or in a washing machine, using a mild detergent and warm water. It’s important to avoid using hot water or harsh detergents, as these can damage the fibers or cause the fabric to felt excessively.
Finally, pressing is essential to smooth out any wrinkles or creases, and to give the fabric a crisp, finished look. This can be done using an iron on a medium heat setting, or by placing the fabric under a heavy weight, such as a flat iron or a stack of books.
Once your handwoven fabric is finished, the possibilities for its use are endless. In a survival or self-sufficient lifestyle, every piece of fabric can serve a valuable purpose. Here are a few ideas:
- Clothing: Handwoven fabric can be used to make durable, long-lasting clothing, such as shirts, pants, and jackets. The natural fibers used in handweaving, such as wool and linen, are breathable and comfortable, making them ideal for both warm and cool weather.
- Bedding: Handwoven fabric can also be used to make bedding, such as blankets, quilts, and pillows. The dense, warm texture of fulling makes it perfect for keeping you cozy on cold nights.
- Containers: Handwoven fabric can be used to make a variety of containers, such as baskets, bags, and pouches. The flexible, durable nature of the fabric makes it ideal for holding and transporting goods.
With a little creativity and ingenuity, handwoven fabric can be transformed into a multitude of useful items, helping you to live a more self-sufficient, sustainable lifestyle.
Troubleshooting Common Spinning and Weaving Issues
Embarking on the rewarding journey of spinning and weaving often comes with its fair share of challenges, especially for beginners. Fear not, for these hurdles are not insurmountable, and with a little patience and the right guidance, you’ll be well on your way to creating beautiful, even yarn and intricate textiles. Let’s delve into some common issues you might encounter and explore solutions to help you overcome these obstacles.
One of the most frequent challenges beginners face is creating uneven yarn. This can be due to inconsistent drafting, where the fibers are not being pulled out at a steady rate. To remedy this, practice your drafting technique by setting a consistent rhythm and maintaining even tension. You can also try using a lazy kate or a nostepinne to help control the yarn as you spin.
Broken warp threads can be a weaver’s nightmare, but with a bit of preventative care and quick action, you can minimize their occurrence. First, ensure your warp is tensioned evenly and securely. Use a warping board or a direct warping method to create an even tension across all threads. During weaving, be gentle with your yarn and avoid pulling too tightly, as this can cause stress on the threads. If a break does occur, use a tapestry needle to weave in a new thread, matching the tension of the surrounding warp.
Difficult-to-use tools can make your spinning and weaving experience less enjoyable. If your spinning wheel or loom is giving you trouble, take the time to familiarize yourself with its mechanics. Consult the manufacturer’s instructions or seek guidance from experienced spinners and weavers. Regular maintenance, such as oiling moving parts and checking for wear, can also help keep your tools in tip-top shape.
In conclusion, troubleshooting common spinning and weaving issues is all about patience, practice, and preventative care. By addressing these challenges head-on and learning from each experience, you’ll not only improve your skills but also deepen your appreciation for these ancient crafts. So, keep spinning, keep weaving, and most importantly, keep learning!
Expanding Your Skills: Advanced Spinning and Weaving Techniques
Expanding Your Skills: Advanced Spinning and Weaving Techniques
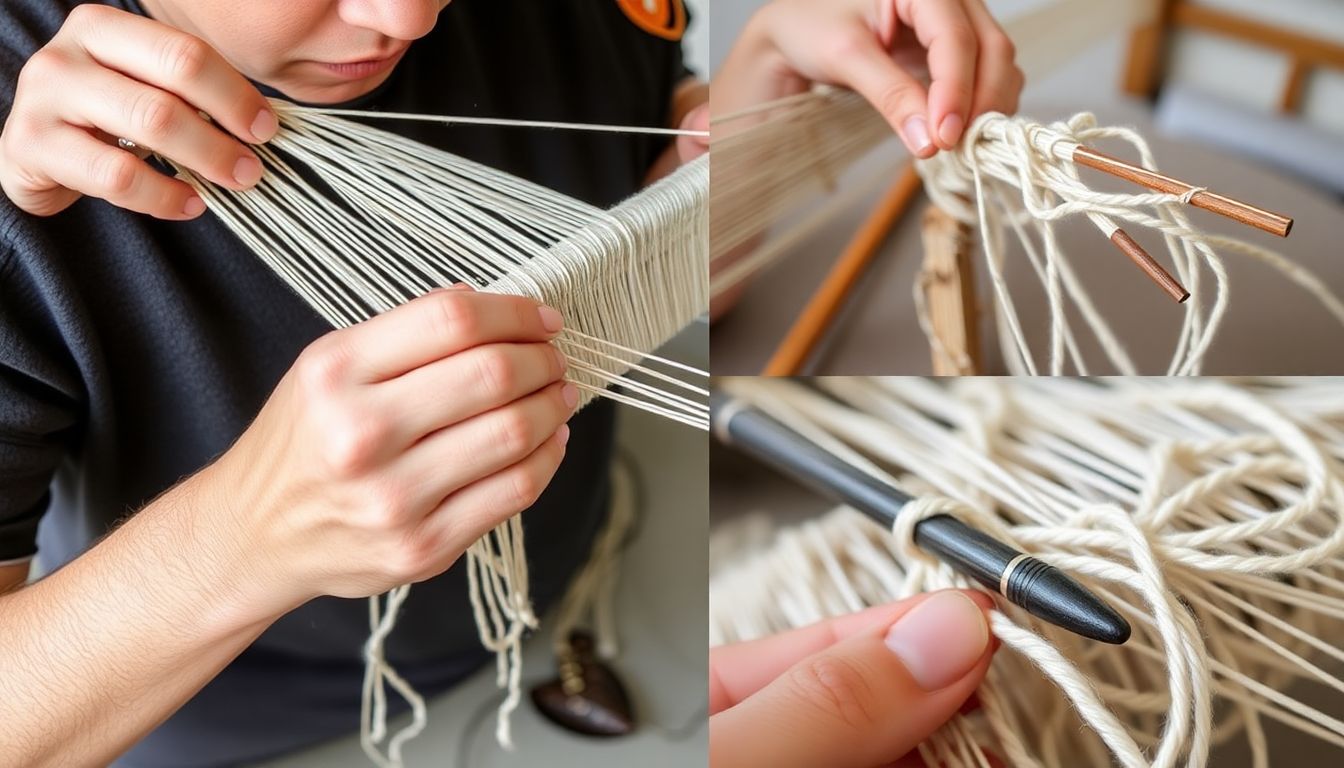
Embarking on the journey of advanced spinning and weaving techniques opens up a world of creativity and versatility. One such technique is Navajo plying, a method that allows you to create intricate, textured yarns without the need for a spinning wheel. This technique involves drafting and twisting the fibers simultaneously, creating a unique, self-striping effect that can be used to create stunning, one-of-a-kind textiles. To master Navajo plying, start by practicing with a simple two-ply yarn, then gradually increase the complexity by adding more plies or incorporating different fibers.
Another advanced technique is double weaving, a method that allows you to create intricate patterns and designs on both the front and back of your fabric. This technique involves creating two layers of fabric that are interlocked together, creating a beautiful, reversible textile. To begin, start with a simple twill or basketweave pattern, then gradually move on to more complex designs as your skills improve.
Creating patterns is another exciting aspect of advanced spinning and weaving. Whether you’re using a rigid heddle loom, a floor loom, or even a simple frame, the possibilities for creating unique, patterned textiles are endless. Experiment with different weave structures, such as soumak, leno, or summer and winter, to create intricate, eye-catching designs.
In a survival or self-sufficient community, these advanced spinning and weaving techniques can be invaluable. Not only do they allow you to create durable, long-lasting textiles, but they also provide an opportunity to barter or generate income. Handmade textiles, especially those created using advanced techniques, are highly valued and can be traded for other necessities, such as food, tools, or medical supplies. Additionally, you can use your skills to create custom orders for fellow community members, providing them with unique, high-quality items that they may not be able to produce themselves.
So, whether you’re looking to expand your creative horizons or contribute to a self-sufficient community, advanced spinning and weaving techniques offer a wealth of opportunities. So why not give it a try? Who knows, you might just discover a new passion or a valuable skill that could change your life.


