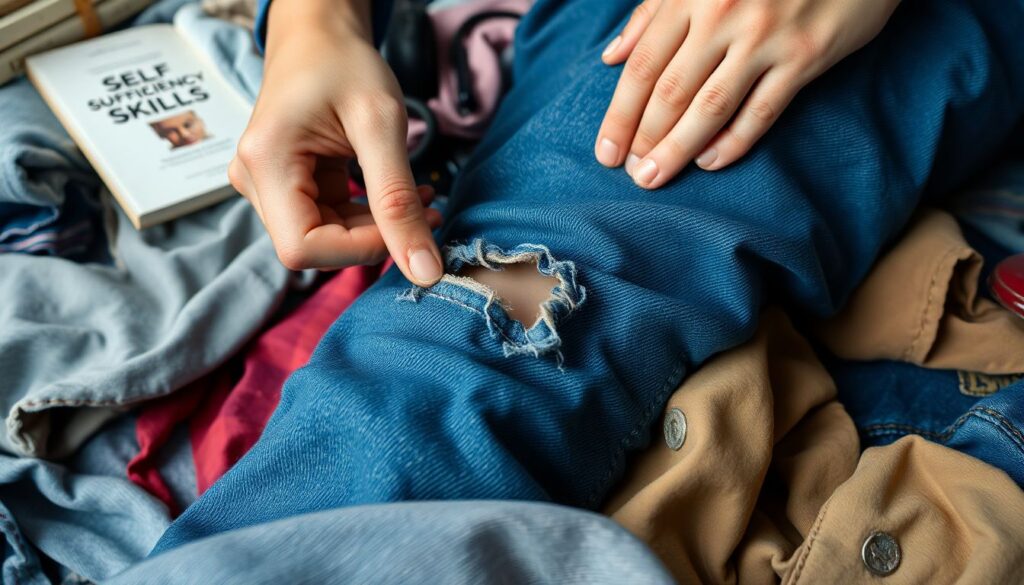
Have you ever found yourself in a situation where a favorite shirt or a pair of jeans was beyond repair, and you had to shell out money for a new one? Or perhaps you’ve wondered how to make your clothes last longer, or even how to create your own gear from scratch? Welcome to the world of survival sewing, a skill set that combines the art of sewing with the practicality of self-reliance and self-sufficiency. In this comprehensive guide, we’re going to delve into the essential skills and projects that will not only help you save money but also empower you to be more self-sufficient in your daily life.
Let’s start with a sobering fact: the average American throws away approximately 70 pounds of clothing and other textiles per year. This contributes to a significant environmental problem, with landfills overflowing with textile waste. But what if there was a way to reduce this waste, to make your clothes last longer, and even create new items from old ones? That’s where survival sewing comes in.
You might be thinking, ‘I’m not a seamstress, I can’t do that.’ But here’s the thing: you don’t need to be an expert to reap the benefits of survival sewing. This isn’t about creating high-fashion garments; it’s about understanding the basics of how clothes are put together, and how to repair, alter, and even create simple items using those basics. It’s about self-sufficiency, sustainability, and saving money.
So, what can you expect to gain from this article? By the end of it, you’ll have a solid understanding of the essential skills needed for survival sewing, from threading a needle to understanding different stitches and fabrics. You’ll also learn how to perform basic repairs, alter clothes to fit better, and even create simple projects like tote bags, pillowcases, and even a basic pair of shorts. We’ll also explore how to care for your clothes to make them last longer, and how to upcycle old items into something new.
But this isn’t just about saving money or being more sustainable. It’s about empowerment. It’s about knowing that you have the skills to fix something when it breaks, to create something new when you need it, and to be more self-reliant in your daily life. So, are you ready to roll up your sleeves, grab a needle and thread, and dive into the world of survival sewing? Let’s get started!
Revive, Repair, and Reuse: Your Guide to DIY Self-Sufficiency
In the heart of our fast-paced, consumer-driven world, there’s a growing movement that whispers softly yet powerfully: ‘Revive, Repair, Reuse.’ This isn’t just a catchy phrase; it’s a lifestyle that’s gaining traction, one stitch, one screw, one paintbrush stroke at a time. Imagine a world where your old furniture doesn’t end up in a landfill, but instead, gets a new lease on life with a fresh coat of paint and some creative upholstery. Picture a garden where plants are propagated from cuttings, not bought in pots. Envision a wardrobe where clothes are mended, not discarded when they show signs of wear. This is the world of DIY self-sufficiency, and it’s not just about saving money or being eco-friendly (though those are fantastic bonuses). It’s about the joy of creation, the pride of accomplishment, and the satisfaction of knowing you’ve given something new life. It’s about looking at a broken item and seeing not waste, but potential. It’s about learning new skills, pushing your boundaries, and becoming more self-reliant. So, let’s roll up our sleeves, grab our tools, and dive into this guide. Together, we’ll revive the old, repair the broken, and reuse the discarded. Because in this world of ‘Revive, Repair, Reuse,’ there’s no such thing as trash, only treasure waiting to be discovered.
The Art of Thread and Needle
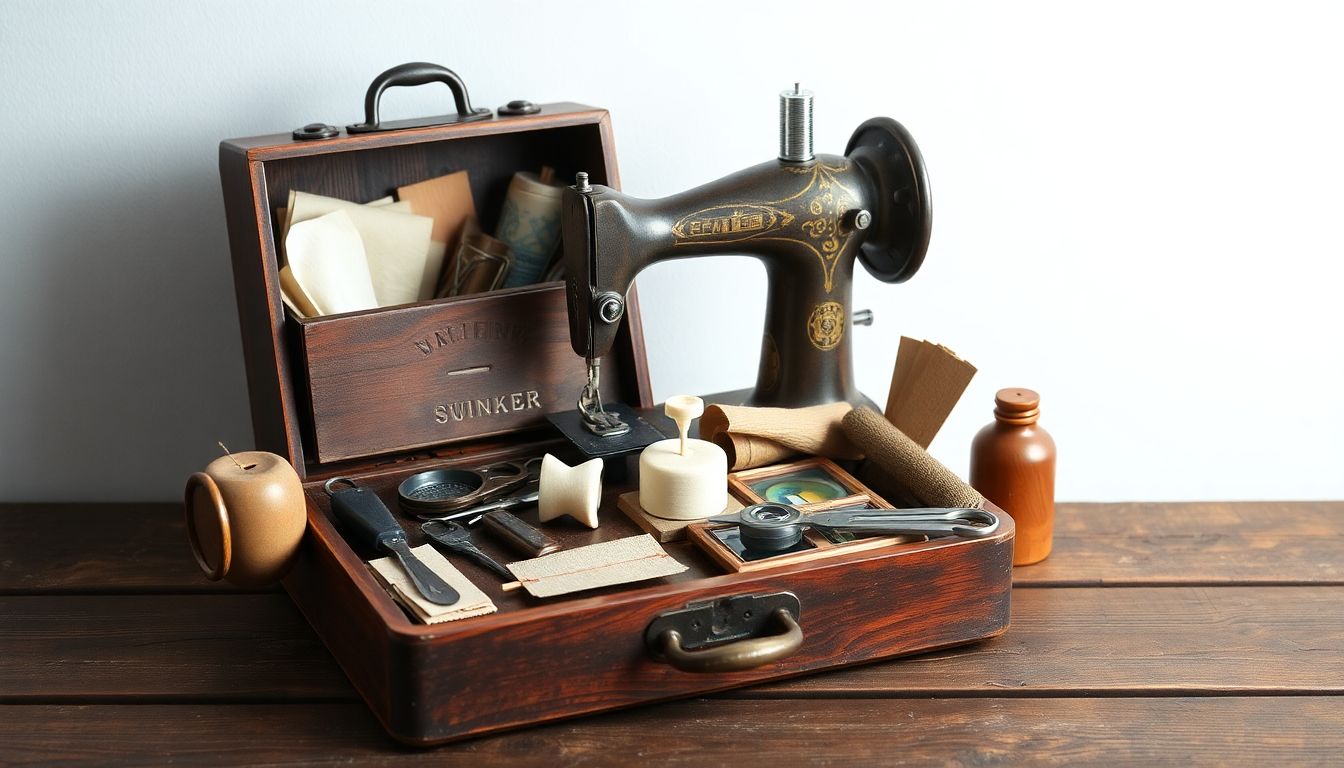
The art of thread and needle, often overlooked in our modern, convenience-driven world, holds a rich history and profound importance that transcends mere aesthetics. Sewing, at its core, is a skill that has been integral to human survival and self-sufficiency since time immemorial. It was our ancestors’ ability to sew that allowed them to create clothing from animal hides, to repair damaged tools and shelters, and to preserve food in animal intestines, a practice still used today in some cultures. In survival contexts, sewing is not just a useful skill, but a necessity. It is the difference between a warm, waterproof garment and one that leaves you vulnerable to the elements. It is the ability to mend a torn tent or repair a fishing net, ensuring your shelter and sustenance are secure. It is the capacity to create containers for carrying water or storing food, making the most of scarce resources. To embark on this journey of survival sewing, one need not invest in an array of complex tools or materials. Simplicity and versatility are key here. The basic tools required are few and familiar: a needle, thread, and a pair of scissors. The needle, a simple implement with a long history, can be fashioned from bone, metal, or even a sharpened stick in a pinch. The thread can be made from plant fibers, animal sinew, or even the guts of an animal, while scissors can be as simple as a sharp rock or as complex as a modern pair of shears. The materials for sewing are equally versatile. Clothing can be made from animal hides, plant fibers, or even recycled materials. Containers can be fashioned from animal intestines, bark, or cloth. The key is to understand the properties of the materials at hand and to use them creatively and efficiently. In essence, the art of thread and needle is not just about sewing, but about understanding and utilizing the resources around us. It is about adaptability, creativity, and self-sufficiency. It is a skill that has kept our ancestors alive and well, and one that continues to hold immense value in our world today.
Mastering Basic Stitches
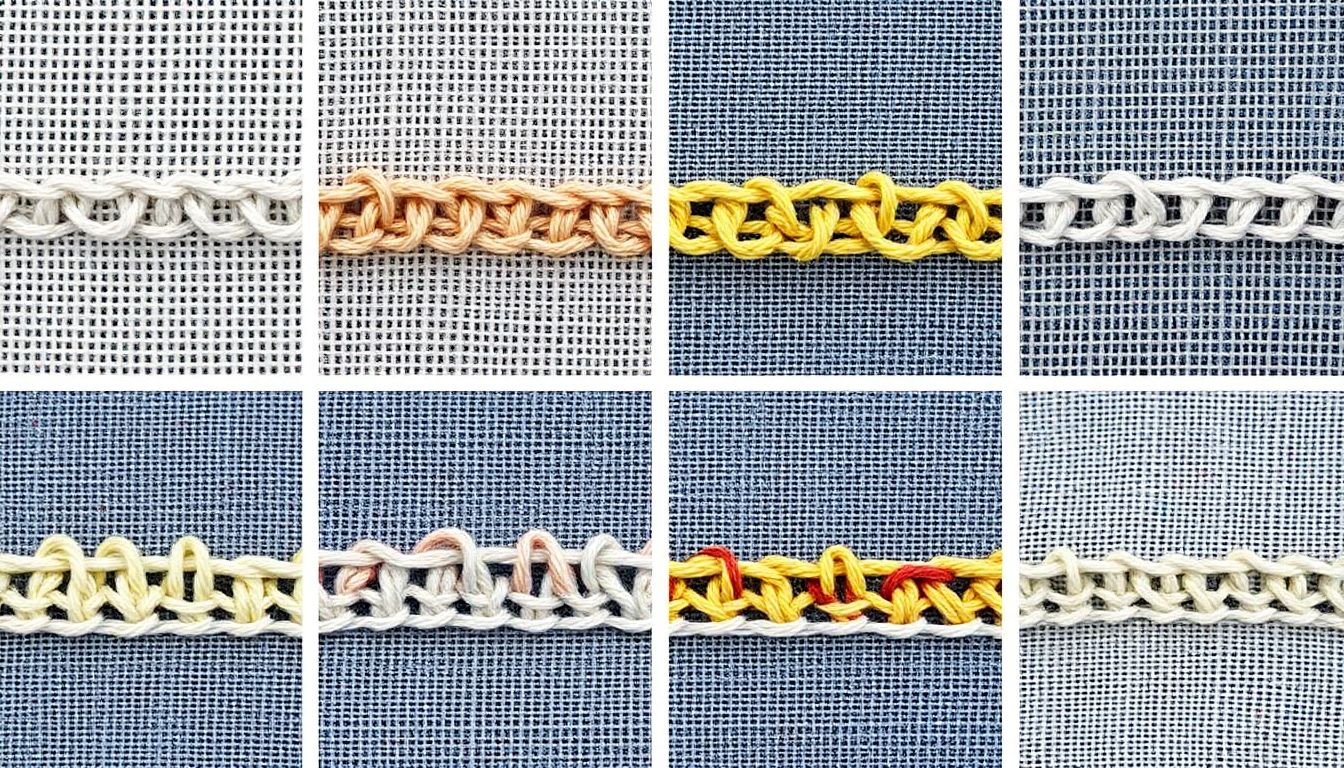
Embarking on a sewing journey, especially for survival purposes, begins with mastering the fundamental stitches. These aren’t just techniques; they’re your sewing toolbox’s essential tools. Let’s dive into four crucial stitches every survival sewer should know.
Running Stitch is as basic as it gets, yet incredibly versatile. It’s your go-to for gathering fabric, hemming, and sewing straight lines. To create one, simply insert your needle in and out of the fabric, forming a straight line of stitches. The distance between each stitch is your stitch length, which you can adjust based on your fabric and project.
Next up, Backstitch provides a solid, almost invisible seam. It’s perfect for most seams, repairs, and even embroidery. To create a backstitch, insert your needle one stitch length forward, then bring it back through the fabric one stitch length behind the initial entry point. Continue this pattern, always moving forward one stitch length at a time.
Whipstitch is your friend when it comes to joining two edges together. It’s often used in appliqué, binding, and even in making dolls or soft toys. To whipstitch, insert your needle through both edges of the fabric, then bring it back through the first fabric only, creating a small loop. Pull the thread through, and you’ve created your first stitch. Continue this pattern, always keeping the second fabric edge on top.
Lastly, Overcast Stitch is a simple way to finish raw edges and prevent fraying. It’s especially useful in survival situations where you might not have access to sergers or other fancy equipment. To overcast, insert your needle through the edge of the fabric, then bring it back through a short distance away, creating a small ‘v’ shape. Continue this pattern, always moving away from the edge.
Each of these stitches has its place in your sewing repertoire. Practice them, get to know their feels, and soon you’ll be sewing like a pro, ready for any survival situation that comes your way.
Patching and Reinforcing
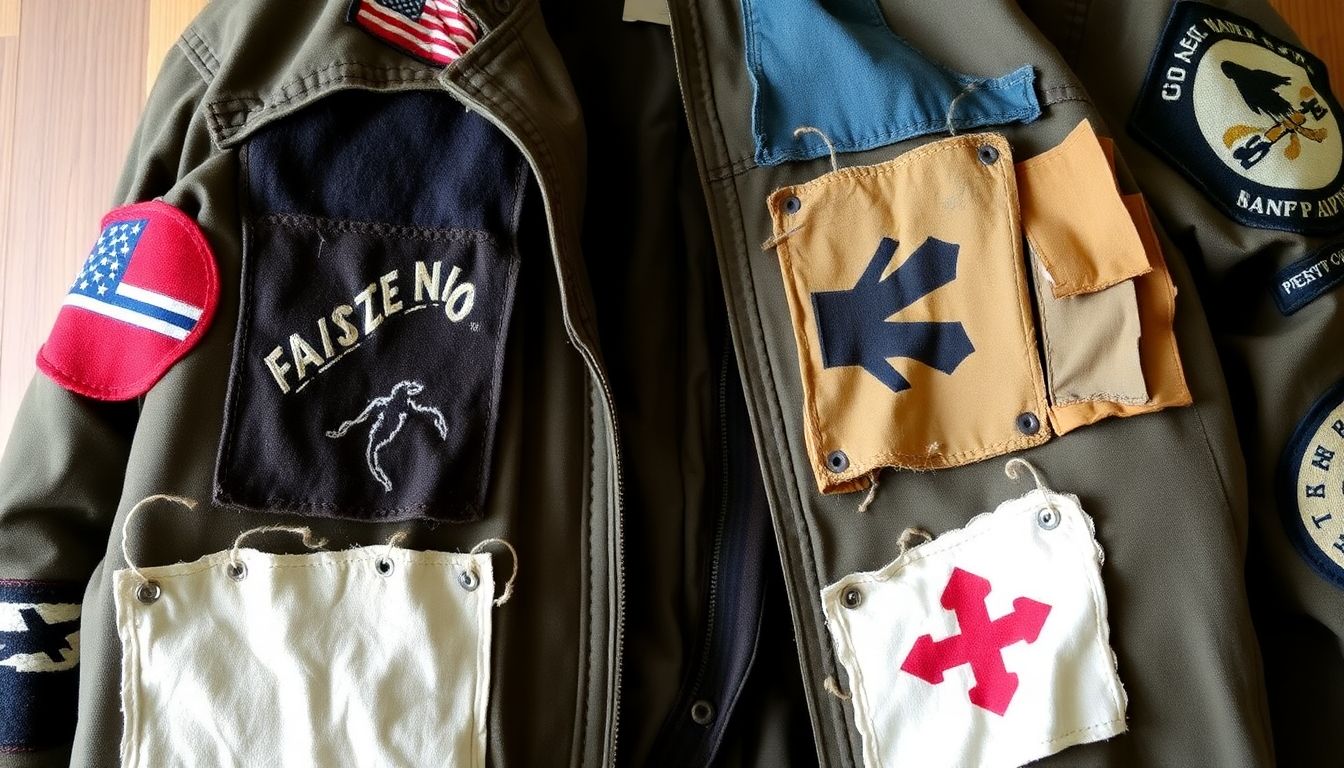
In the realm of sustainable fashion, the art of patching and reinforcing worn-out clothing and gear is a skill that combines practicality with a touch of creativity. This technique, often seen in vintage and workwear styles, is not just about fixing holes, but also about extending the life of our beloved garments and adding a unique, personalized touch.
The first step in this process is to identify the areas that need reinforcement. These are typically high-wear spots like elbows, knees, or the base of collars. Once you’ve identified these areas, it’s time to choose your patch material. The best fabrics for patches are those that are sturdy, durable, and complement the original fabric. Denim, canvas, and leather are popular choices, but you can also use contrasting or complementary fabrics for a more artistic effect.
Now, let’s discuss some patching techniques. The most common is the simple patch, where a piece of fabric is sewn directly onto the worn area. This is quick and easy, but it can also add bulk to the garment. A more discreet method is the Hong Kong finish, where the raw edges of the patch are folded over and stitched down, creating a neat, almost invisible seam.
For areas that need extra reinforcement, consider creating a reinforced patch. This involves layering multiple pieces of fabric, often with a layer of interfacing or canvas in between for added strength. The layers are then stitched together, creating a durable, long-lasting patch. Another technique is the welting method, where a strip of fabric is sewn around the edge of the worn area, creating a reinforced border.
Remember, the key to successful patching and reinforcing is to use strong, durable thread and to take your time. Don’t be afraid to experiment with different techniques and fabrics. After all, the beauty of this art form lies in its imperfections and the story each patch tells. So, grab your needle and thread, and let’s start mending!
Repairing Tears and Holes
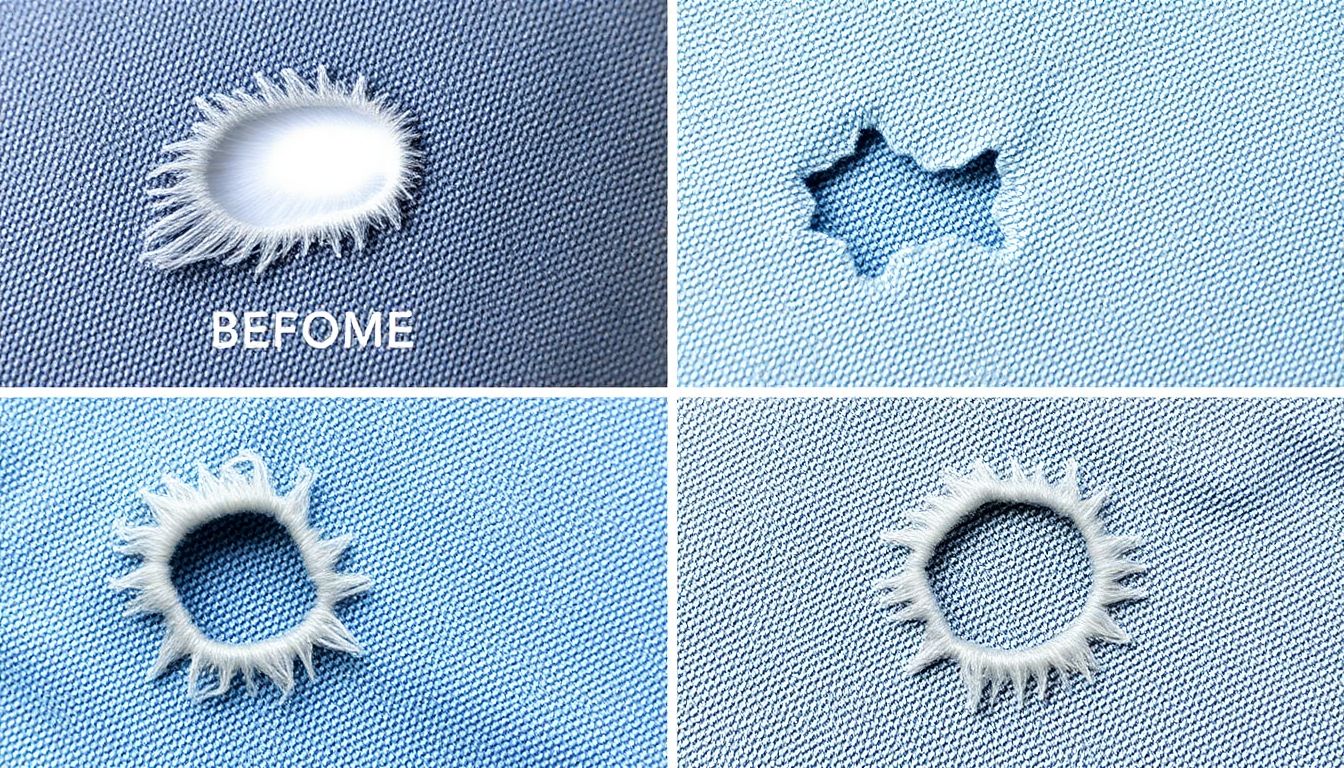
Ah, the trials and tribulations of our beloved garments and gear! Tears and holes, those uninvited guests, can turn a favorite piece into a mere shadow of its former self. But fear not, dear menders! For we are about to embark on a journey of repair, armed with nothing but a needle, thread, and a bit of ingenuity. Let us dive into the world of darning, invisible mending, and the occasional helping hand from fabric glue.
Darning, our trusty old friend, is the first port of call. This technique involves weaving new threads into the existing fabric to create a new, sturdy surface. It’s perfect for holes in sweaters, socks, and other knitted items. To begin, you’ll need to find a darning needle, which is larger and has a blunt tip to prevent further damage. Choose a thread that matches your fabric, and start by creating a border of stitches around the hole. Then, weave in and out of the existing fabric, creating a new, dense surface. Remember, darning is like a dance, a rhythm of in and out, over and under.
Now, let’s talk invisible mending. This is the art of making repairs blend seamlessly into the fabric, leaving no trace of the original tear. It’s a bit more complex than darning, but the results are truly magical. You’ll need a sharp needle, a thread that matches your fabric, and a bit of patience. Start by creating a ‘lattice’ of stitches over the hole, then weave new threads through this lattice to create a new surface. It’s like weaving a tiny, intricate tapestry.
Lastly, we have fabric glue, the quick fix for those times when you need a repair, fast. It’s perfect for tears in bags, tents, or other items where a quick, strong bond is needed. But remember, fabric glue is a temporary solution. It won’t last as long as a proper stitch, so use it wisely.
And there you have it, dear menders! A comprehensive guide to repairing tears and holes. So, grab your needle and thread, and let’s turn those ragged edges into proud mends. After all, a repaired garment is a testament to its history, a story of love and care. Happy mending!
Altering and Modifying Clothing
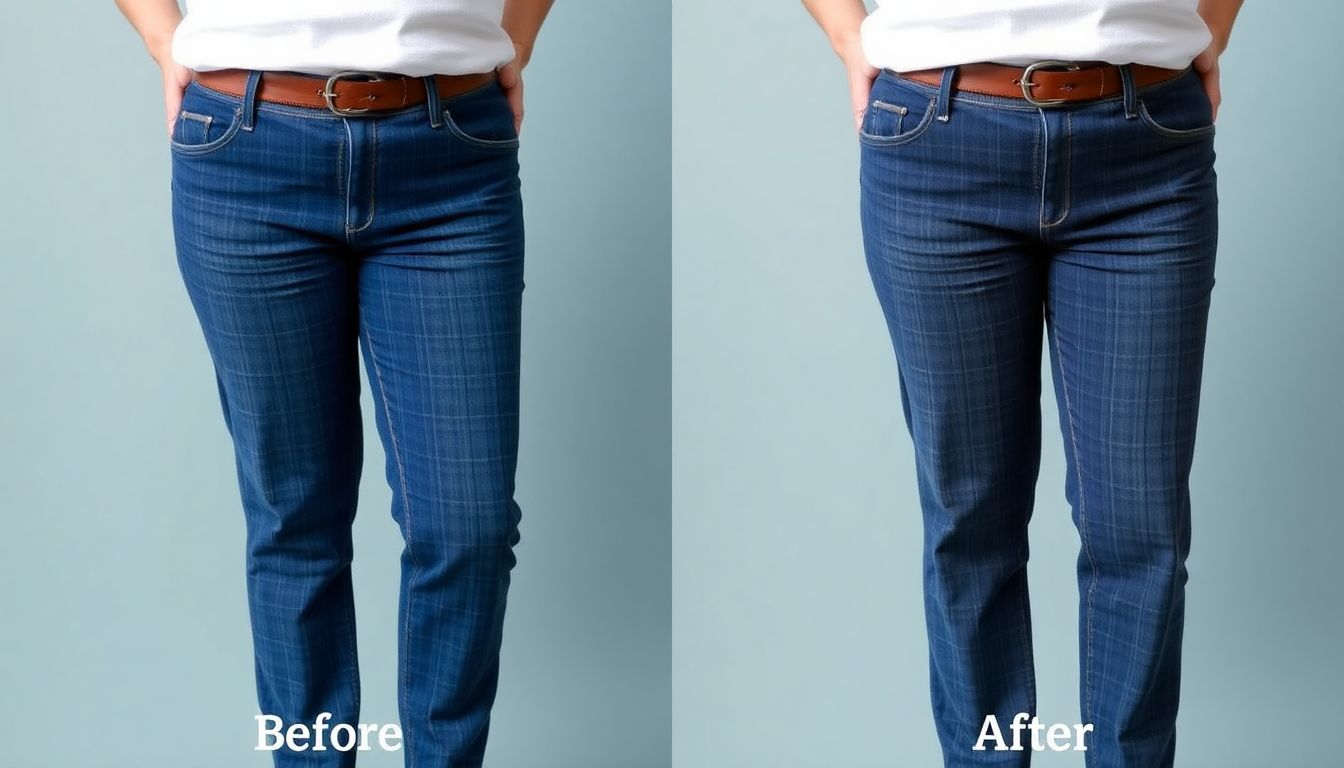
Transforming your wardrobe to better fit your style and body is a rewarding task that doesn’t require a degree in fashion design. With a few simple techniques, you can alter and modify clothing to create pieces that are uniquely yours. Let’s dive into some basic methods to help you get started.
First, let’s tackle the art of taking in seams. This technique is perfect for garments that are too wide or loose. You’ll need a seam ripper, pins, and a sewing machine for this task. Begin by trying on the garment and marking where you’d like the seam to be. Remove the existing seam using your seam ripper, then overlap the fabric by the desired amount. Pin the new seam in place, ensuring it’s even and smooth. Sew along the new seam line, pressing the seam open with an iron once you’re done. This simple adjustment can make a world of difference in how your clothing fits.
Next, let’s discuss letting out hems. This is an excellent way to lengthen skirts, pants, or dresses that are a bit too short. Start by trying on the garment and marking where you’d like the new hem to be. Cut the fabric along the new hem line, then press the raw edge under, creating a new hem. Sew the new hem in place, making sure to try on the garment again to ensure it’s the perfect length.
Now, let’s talk about creating entirely new pieces from old clothes. This is where you can let your creativity run wild! One easy way to do this is by turning an old t-shirt into a racerback tank. Cut off the sleeves and the back of the shirt, then sew the raw edges. For a more dramatic transformation, you could cut an old dress into a top and a skirt, or even combine multiple garments to create a completely new outfit.
Remember, the key to successful clothing alteration is patience and practice. Don’t be afraid to make mistakes – they’re a natural part of the learning process. With each project, you’ll gain confidence and skill, allowing you to create clothing that you truly love to wear.
So, grab your scissors, thread your needle, and let’s get started! Your dream wardrobe is just a seam away.
Sewing for Camping and Outdoors
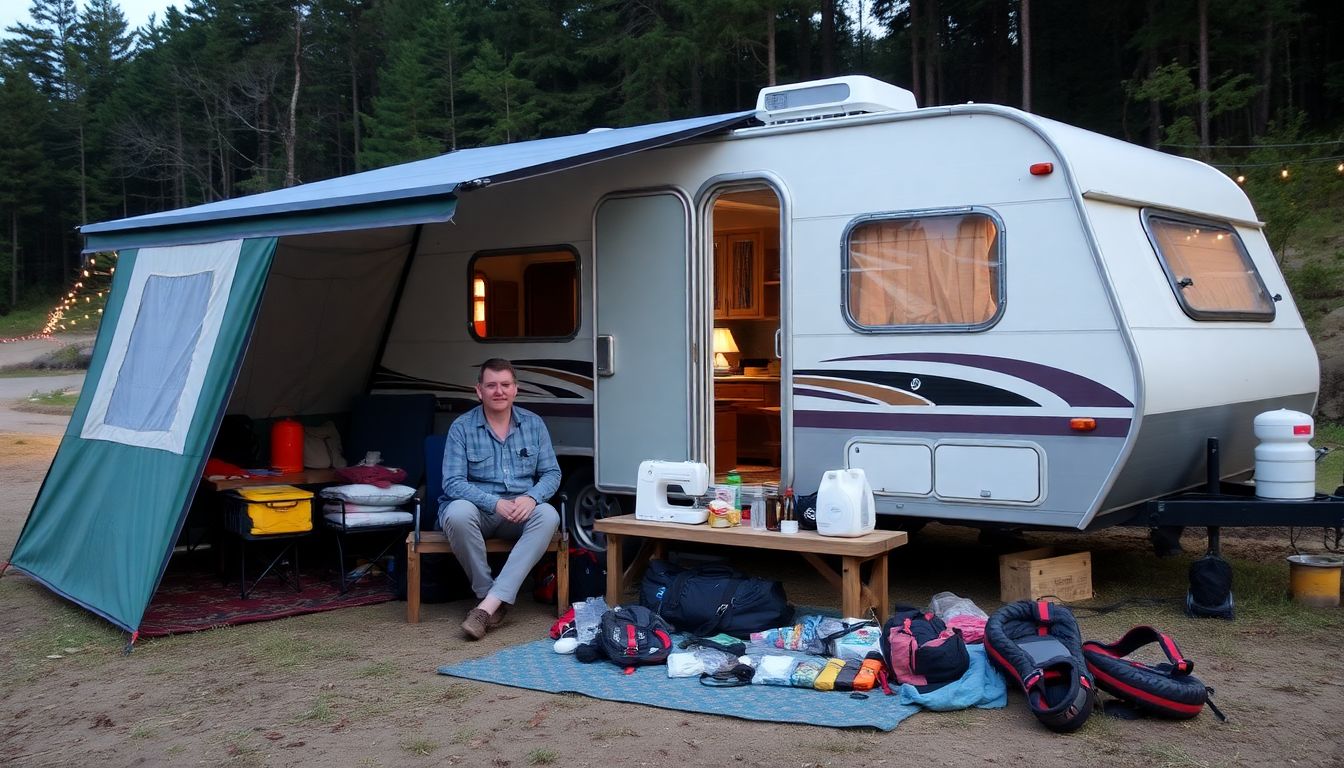
Embarking on a camping or outdoor adventure often means embracing the great outdoors with minimal gear. However, that doesn’t mean you can’t enhance your experience with some well-crafted, handmade items that are both functional and durable. Sewing for camping and outdoors is a rewarding hobby that can transform your trips into comfortable, well-equipped experiences.
One of the first sewing projects you might consider is creating a pack cover. This essential piece of gear protects your backpack from rain, snow, and dirt, ensuring your belongings stay dry and clean. To make one, you’ll need a waterproof fabric like ripstop nylon, some webbing for straps, and a few buckles. Start by measuring your backpack, then cut the fabric to size, leaving extra for seams and straps. Sew the sides and bottom, leaving the top open for your backpack to slide in. Attach the webbing and buckles to secure the pack cover in place.
Another useful sewing project for campers is repairing or modifying your tent. Over time, tents can sustain wear and tear, leading to tears, broken zippers, or worn-out seams. With a needle, thread, and some tent repair tape, you can extend the life of your tent. For tears, use a reinforcing patch on the inside and outside, then sew around the edges. For broken zippers, replace them with a new one, ensuring it’s the correct size and type.
For those looking to create their own gear, consider sewing a backpack or a sleeping bag cover. A backpack can be made from durable fabrics like canvas or Cordura, with compartments for all your essentials. Start by drafting a pattern, then cut and sew the pieces together. Add webbing for straps, and don’t forget a hip belt for better weight distribution.
A sleeping bag cover, on the other hand, provides an extra layer of protection against the elements. It can be made from a lightweight, waterproof fabric and should be large enough to fit your sleeping bag with room to move. Sew it together, leaving an opening at the bottom for your feet, and add a drawstring or elastic cord at the top to cinch it closed.
Sewing for camping and outdoors is not only practical but also a fun way to personalize your gear. With a little creativity and some basic sewing skills, you can create items that will make your outdoor experiences more enjoyable and comfortable.
DIY First Aid Kits and Organizers
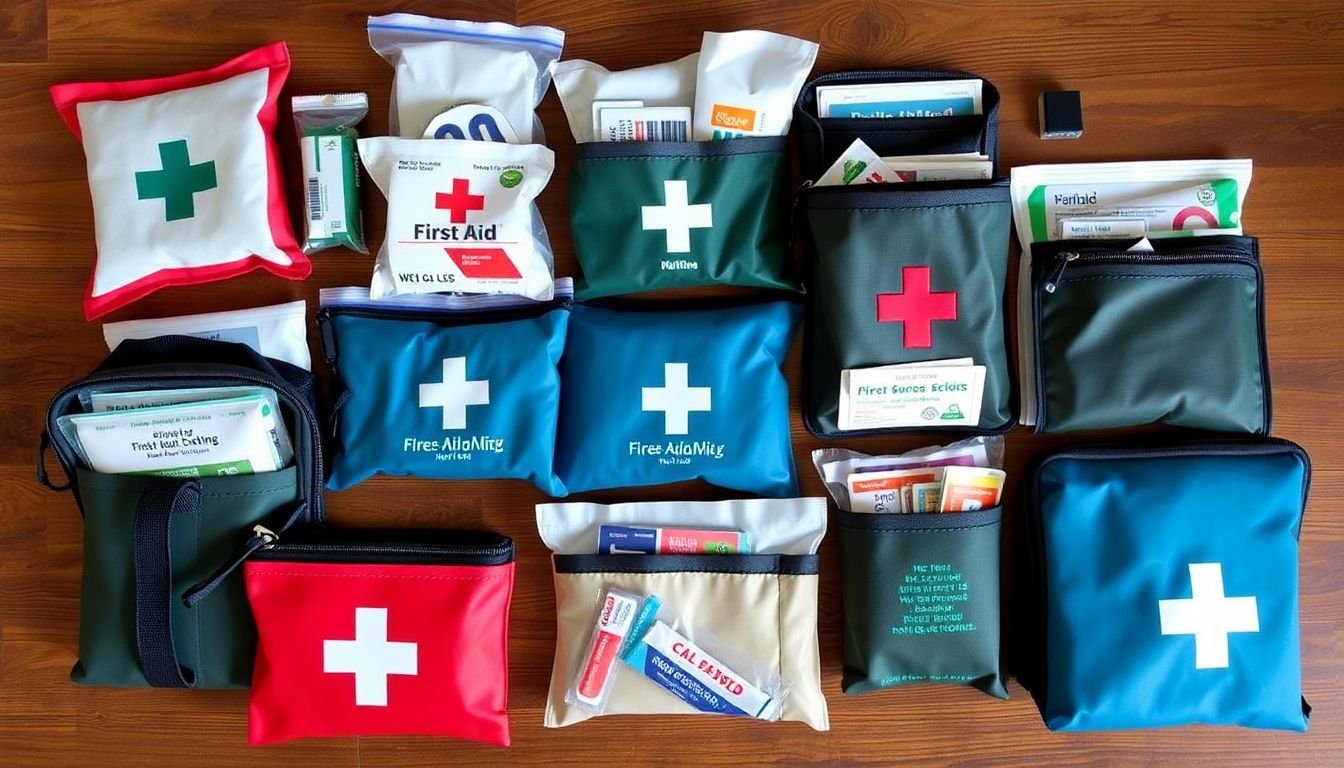
Creating your own DIY first aid kit and organizer is not only a rewarding task but also a crucial one. A well-stocked and organized first aid kit can make a significant difference in emergency situations. Let’s embark on this sewing adventure to craft a personalized first aid kit that’s both functional and stylish.
First, let’s discuss the importance of organization and customization. A well-organized first aid kit ensures that you can find what you need quickly and efficiently in an emergency. Customization allows you to tailor your kit to your specific needs, whether that’s including medication for a specific condition or adding supplies for a particular hobby or activity.
Now, let’s dive into the sewing aspect. You’ll need some basic sewing supplies like fabric, scissors, thread, and a sewing machine. For the exterior, consider using a durable, easy-to-clean fabric like canvas or denim. For the interior, you might want to use a lighter, breathable fabric like cotton or linen.
Here’s a simple step-by-step guide to create your DIY first aid kit:
- Measure and cut your fabric according to the desired size of your kit. Remember to add extra fabric for the seam allowance.
- Sew the sides and bottom of the kit together, leaving the top open.
- Create pockets or compartments inside the kit for organizing your supplies. You can use different fabrics or colors for each compartment to make it easier to find what you need.
- Add a zipper or velcro closure to the top of the kit to keep your supplies secure.
- Decorate your kit with embroidery, appliqué, or other embellishments to make it uniquely yours.
Once you’ve sewn your kit, it’s time to fill it with supplies. Start with the basics like bandages, gauze, tape, and antiseptic wipes. Then, add any medication you might need, such as pain relievers, allergy medication, or prescription drugs. Don’t forget to include a first aid guide and any other supplies that might be relevant to your specific needs.
Finally, consider creating a smaller, portable first aid kit that you can take with you on the go. This could be a great project for using up leftover fabric and creating a unique, personalized accessory.
Happy sewing, and remember, a well-prepared person is a confident person!
Upcycling and Repurposing Fabrics
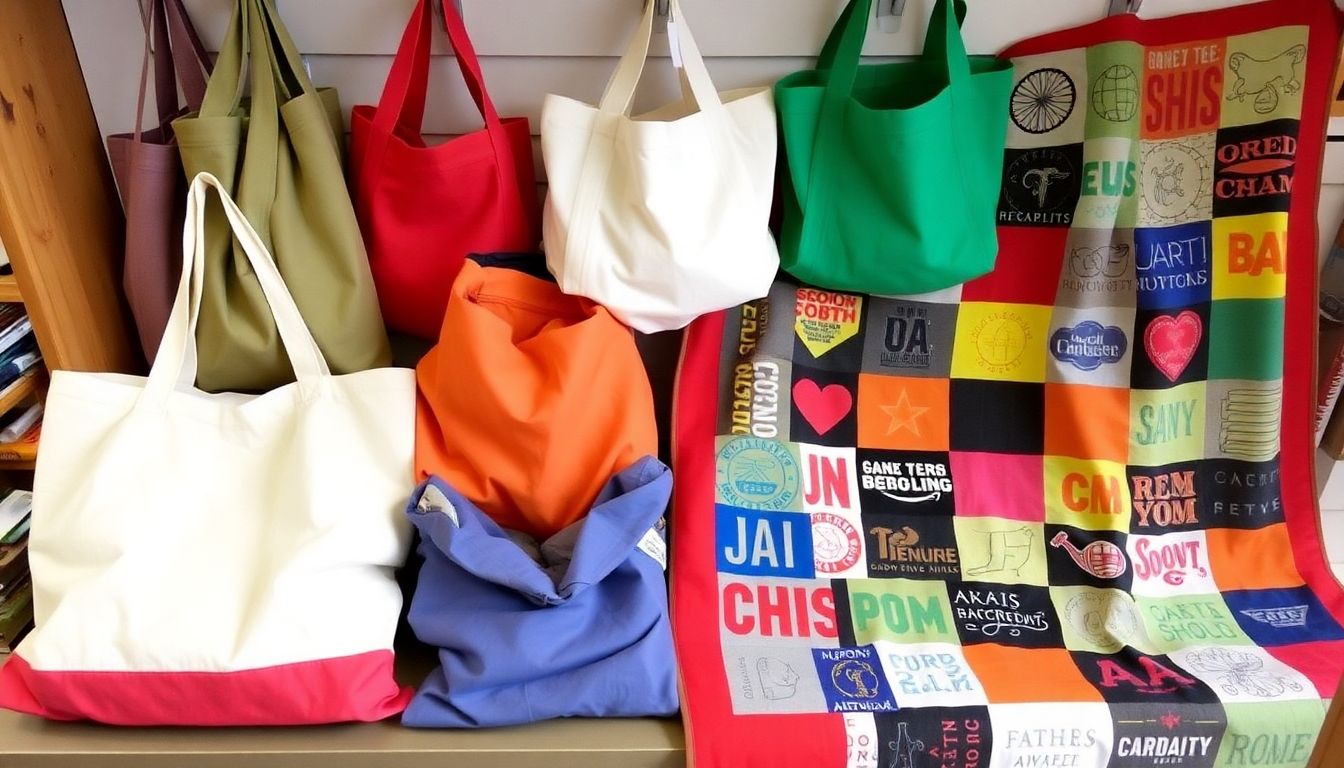
In the pursuit of sustainability and creativity, upcycling and repurposing old fabrics have emerged as popular and rewarding hobbies. By transforming worn-out clothes and fabric scraps into new, useful items, we not only reduce textile waste but also infuse our homes and lives with unique, personalized touches. Let’s explore how to create practical and stylish products from old fabrics, focusing on three versatile projects: tote bags, produce bags, and home decor.
The journey begins with gathering your materials. Rummage through your closet for old clothes, sheets, or towels that are beyond repair. Don’t forget to check your sewing kit for threads, scissors, and any additional embellishments you might want to incorporate.
Tote Bags:
-
Tote bags are an excellent starting point for fabric upcycling. They’re functional, eco-friendly, and perfect for carrying groceries, books, or beach essentials. To create your own, follow these steps:
- Cut two rectangles from your chosen fabric, ensuring they’re large enough for your desired bag size.
- Place the rectangles right sides together and sew along the bottom and side edges, leaving the top open.
- Create handles by cutting two long strips of fabric, folding them in half lengthwise, and sewing along the open edges. Turn them right side out and attach them to the inside of your bag.
- For added strength, reinforce the bottom seams by topstitching or adding a piece of interfacing.
Produce Bags:
-
Say goodbye to plastic produce bags with these reusable, breathable alternatives. They’re simple to make and help reduce plastic waste in your kitchen.
- Cut a rectangle from your fabric, ensuring it’s large enough to hold your fruits and vegetables.
- Fold the top edge down by about an inch and press.
- Sew along the bottom and side edges, then topstitch the folded edge to create a casing for a drawstring.
- Cut a long piece of fabric or cord for the drawstring, insert it through the casing, and gather your bag closed.
Home Decor:
-
The possibilities for upcycled fabric home decor are endless. Create patchwork pillows, quilted wall hangings, or even a fabric wreath to welcome guests. To make a simple fabric wreath:
- Cut fabric strips into long, thin strips.
- Tie each strip around a wire wreath form, pulling it taut and knotting it in place.
- Continue tying strips around the wreath, overlapping them to create a full, lush look.
- Add any embellishments, such as flowers, buttons, or ribbons, to finish your wreath.
Embrace the beauty of imperfection and enjoy the process of transforming old fabrics into new treasures. Your upcycled creations not only serve a purpose but also tell a story of sustainability and creativity.
The Future of Your Clothes: Planning for Longevity
In the ever-evolving landscape of fashion, the future of our closets is not just about what’s next, but also about what lasts. Welcome to the era of conscious clothing, where the mantra is ‘buy less, choose well, make it last.’
To plan for longevity in our wardrobes, let’s delve into three strategic approaches: choosing durable fabrics, designing for ease of repair, and embracing a ‘mend-first’ mentality.
Firstly, selecting durable fabrics is akin to laying a solid foundation. Natural fibers like cotton, linen, and wool, along with synthetic counterparts such as polyester and nylon, can withstand the test of time when of high quality. Look for fabrics with a tight weave or knit, as they are less likely to pill, fray, or wear thin. Additionally, opt for fabrics with a high thread count, as they are denser and more durable.
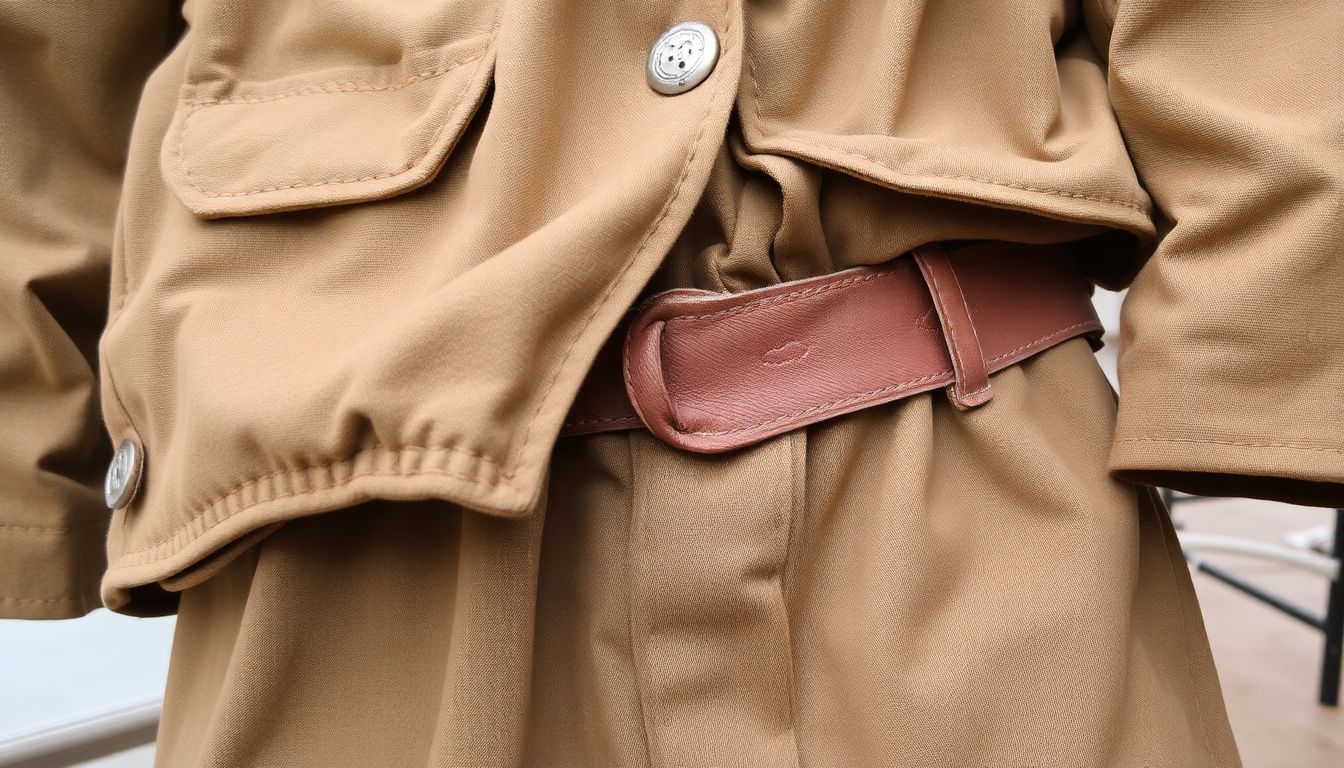
Secondly, designing for ease of repair is a forward-thinking approach that extends the life of our garments. This includes using simple, classic designs that won’t go out of style, and avoiding embellishments that may wear out or become dated. It also means choosing garments with accessible seams, so they can be easily taken apart and put back together again. Buttons, zippers, and other closures should be sturdy and replaceable.
Lastly, embracing a ‘mend-first’ mentality is key to a sustainable wardrobe. This means viewing clothing repairs not as a chore, but as an opportunity to extend the life of our garments. It could be as simple as sewing on a loose button, or as involved as re-hemming a pair of pants. With a little care and creativity, we can keep our clothes looking and feeling like new, long after we’ve brought them home.
In conclusion, planning for the longevity of our clothes is not just about investing in high-quality pieces, but also about investing in their future. By choosing durable fabrics, designing for ease of repair, and embracing a ‘mend-first’ mentality, we can create a wardrobe that stands the test of time, both in style and in substance.
FAQ
What is survival sewing and why is it an essential self-sufficiency skill?
What are some basic sewing tools and materials I should have for survival sewing?
How can I mend holes and tears in my clothing using survival sewing techniques?
What are some DIY repair projects I can tackle with survival sewing?
How can I adapt my clothing for different environments or activities with survival sewing?
What are some essential sewing stitches every survival sewer should know?
How can I create new items from scratch using survival sewing techniques?
What are some tips for sewing with limited resources or in challenging environments?
- Use found or repurposed materials whenever possible, like old clothes, tents, or tarps.
- Learn to sew by hand if you don’t have access to a sewing machine. Practice different stitches and techniques to build your skills.
- Keep your sewing kit simple and portable, so you can take it with you wherever you go.
- Be resourceful with your tools. For example, you can use a sharp rock or a piece of metal to cut fabric if you don’t have scissors.
- Take care of your tools and materials. Keep them clean, dry, and organized to extend their lifespan.


