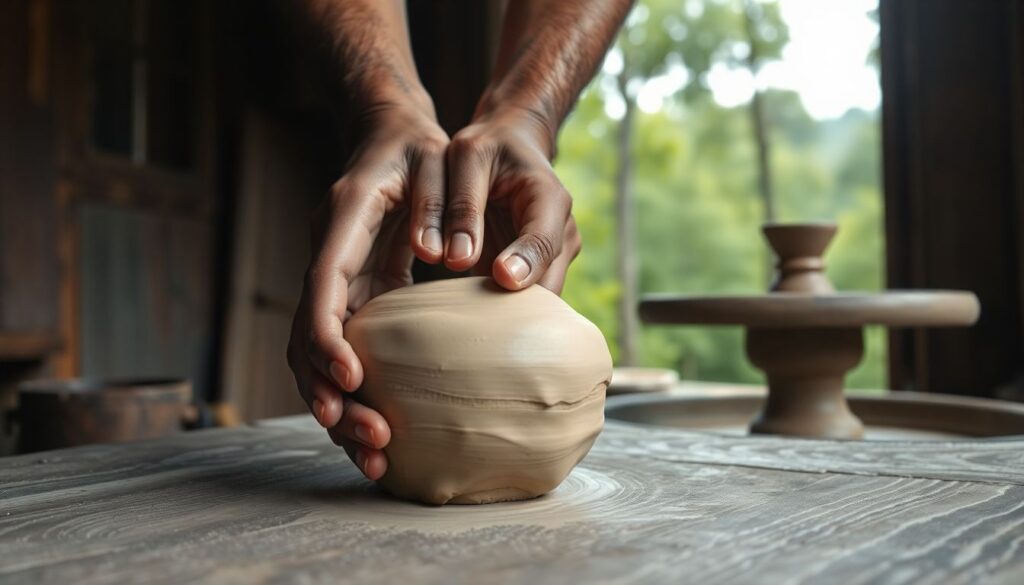
Have you ever wondered how our ancient ancestors managed to create functional containers without access to modern pottery wheels or kilns? The answer lies in the timeless art of primitive ceramics, specifically, survival pottery
- the practice of creating off-grid containers from natural clay. But why should we, in the 21st century, be interested in this age-old craft? The answer is simple: it’s not just about nostalgia or historical curiosity; it’s about self-sufficiency, sustainability, and the joy of creating something practical with our own hands.
Let’s agree that in today’s fast-paced world, it’s easy to overlook the simple pleasures and practical benefits of making our own tools and containers. But what if I promise you that by the end of this article, you’ll have the knowledge and confidence to harvest clay from your own backyard, prepare it, and transform it into functional containers that could last a lifetime? Intrigued? Let me give you a sneak peek into what awaits you.
According to the U.S. Geological Survey, there are more than 700 types of clay found worldwide, each with its unique properties. Imagine harvesting this versatile material from your own property, under the open sky, and feeling the pulse of the earth beneath your fingers. Now, picture yourself transforming this raw clay into a beautiful, functional pot that you’ve made with your own hands. Sounds like a rewarding challenge, doesn’t it?
But wait, there’s more. Did you know that the process of making pottery can be therapeutic, a form of meditation that connects you with the earth and its elements? It’s a process that has been practiced by humans for thousands of years, dating back to around 25,000 BCE, according to archaeological findings. So, not only are you learning a practical skill, but you’re also tapping into a rich cultural heritage.
In this article, we’ll delve into the fascinating world of survival pottery. We’ll start by exploring the art of clay harvesting, guiding you through the process of identifying, collecting, and preparing clay from your surroundings. Then, we’ll move on to the fun part
- container making. We’ll discuss various off-grid techniques, from coil building to pinch pots, and provide step-by-step instructions for creating your own unique pieces. We’ll also touch upon the natural firing process, using methods that our ancestors have used for centuries.
So, are you ready to roll up your sleeves, get your hands dirty, and learn the art of survival pottery? Let’s embark on this exciting journey together. Who knows, you might just discover a new passion and a newfound appreciation for the simple, earthy pleasures in life.
Unveiling the Art of Primitive Ceramics and Clay Harvesting
In the heart of ancient civilizations, long before the advent of pottery wheels and kilns, lay the humble beginnings of ceramic art: primitive ceramics. This art form, born from the earth itself, is a testament to humanity’s earliest creative impulses. The process begins with the humble clay harvest, a ritual as old as time. Tribal members, often women, would venture into the wild, seeking out the richest deposits of this malleable soil, their hands and eyes attuned to the subtle nuances that make one patch superior to another. They would dig deep, their tools simple yet effective, their connection to the land profound. The harvested clay, a mixture of minerals, water, and organic matter, was then cleansed of impurities, a process that could take days, under the watchful eye of the village elder. This was not just a task, but a rite of passage, a connection to the ancestors who had walked this path before. Once purified, the clay was ready for the next stage: shaping. Without the luxury of wheels, early potters would use their hands, their hearts, their very spirits to mold the clay into vessels of function and form. Each piece, unique, a reflection of the maker’s soul. Firing was a communal affair, a celebration of the harvest, a dance with the elements. The clay, now transformed into ceramic, emerged from the flames, stronger, more resilient, a symbol of the tribe’s enduring spirit. Primitive ceramics, then, are not just artifacts of a bygone era, but a living testament to our shared human history, a story of creativity, community, and connection to the earth.
Understanding Natural Clay
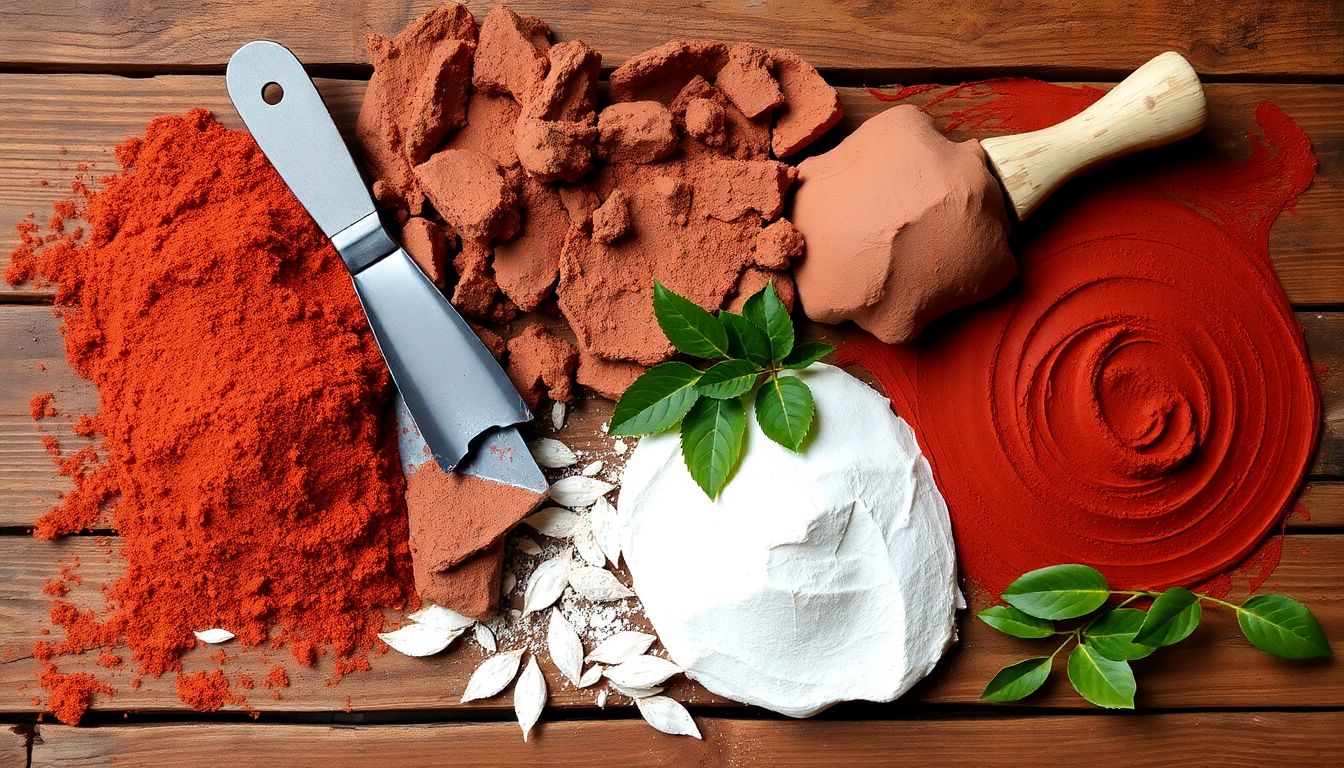
Embarking on a journey to understand natural clay is like unearthing a treasure trove of Earth’s history and potential. Clay, a humble yet powerful material, is a fine-grained natural rock or soil body that consists of a variety of minerals, primarily composed of fine-grained minerals like kaolinite, illite, and montmorillonite. These minerals, when mixed with water, form a plastic paste that can be shaped and hardened upon drying or firing.
Nature’s palette offers us a myriad of clay types, each with its unique properties and uses. There’s kaolin, a white, plastic clay used in ceramics and paper production; ball clay, a highly plastic, fine-grained clay rich in kaolinite; and bentonite, a highly absorbent, swelling clay often used in cosmetics and as a binding agent. Identifying these clays in the wild requires a keen eye and some basic knowledge. Observe the color, texture, and plasticity of the clay. Wet it to check its stickiness and dry it to see if it cracks. A simple test using a magnet can help identify magnetic clays like magnetite.
Before you dive into your next pottery project or DIY clay mask, it’s crucial to test your clay for suitability. This is where the fun of scientific exploration meets the practicality of art and craft. Here are some simple steps:
- Check the plasticity by rolling a small piece of clay into a thin sheet. If it doesn’t crack or crumble, it’s plastic enough.
- Test the firing shrinkage by making a small coil, letting it dry, and firing it. Measure the shrinkage to ensure it’s within acceptable limits.
- Perform a firing test to check for any unwanted effects like excessive shrinkage, warping, or discoloration.
After all, the best clay is the one that behaves predictably and enhances your creative journey.
Harvesting Clay: A Step-by-Step Guide
Harvesting clay from the earth is a rewarding process that connects us with our ancient ancestors who used this versatile material to create pottery, sculptures, and even buildings. Before you embark on this journey, ensure you have the necessary tools and knowledge to do so safely and effectively.
The first step in harvesting clay is to find a suitable source. Look for areas where the soil is wet or has a high clay content, often near riverbanks or in low-lying areas. Once you’ve found a promising spot, dig a small hole to check the clay’s quality. Good clay should be smooth, plastic, and free of large stones or organic matter.
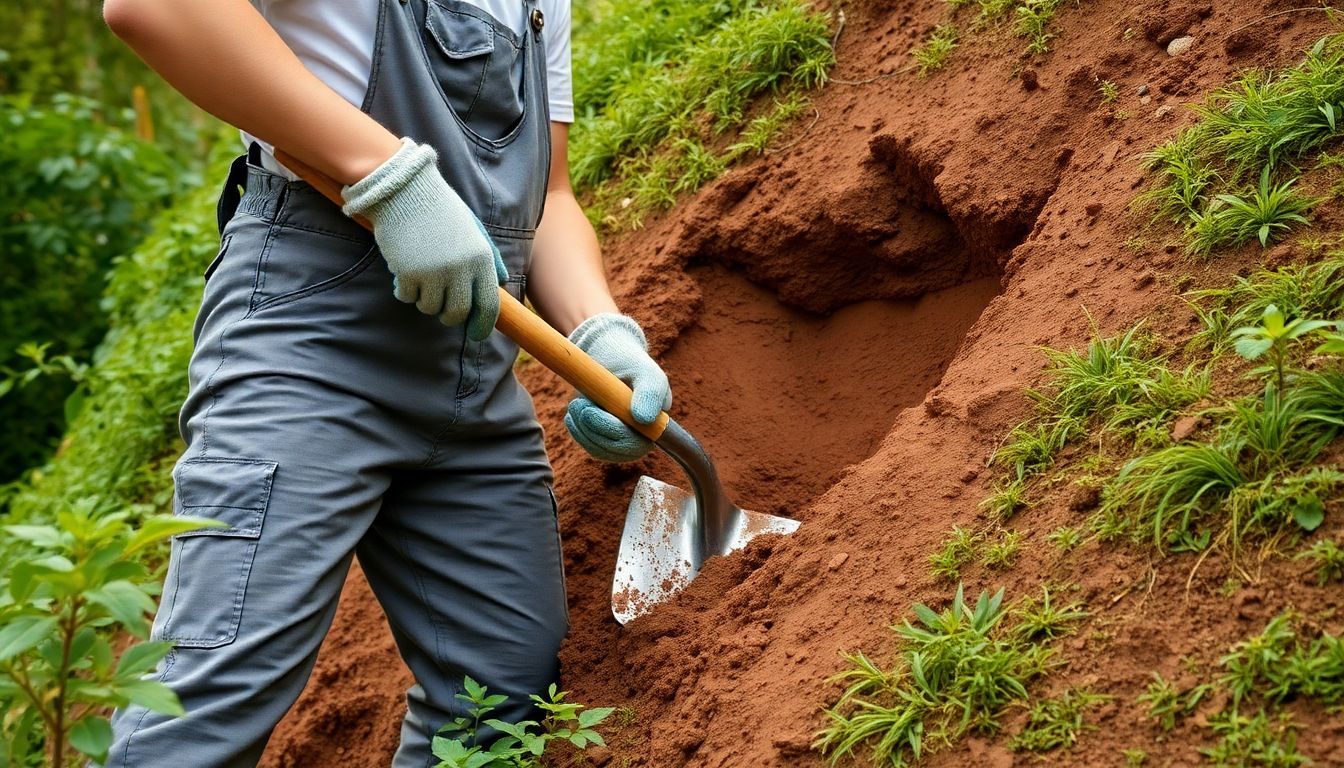
Now, let’s gather our tools. You’ll need a sturdy shovel, a wheelbarrow or bucket for transporting the clay, a trowel for detailed work, and a sieve for removing impurities. Safety gear includes gloves to protect your hands, a hard hat for protection against falling debris, and sturdy boots to navigate uneven terrain.
With your tools and safety gear in place, it’s time to extract the clay. Using your shovel, dig a trench about a foot deep and wide, following the natural contours of the land. As you dig, place the clay in your wheelbarrow or bucket. Be mindful of the environment, taking only what you need and ensuring you leave the area as you found it.
Once you’ve collected your clay, it’s time to prepare it for use. Begin by removing any large stones or debris using your hands or a trowel. Then, place the clay in a sieve and rinse it with water to remove any remaining impurities. This process, known as sieving, helps to create a smooth, workable clay.
After sieving, the clay may still contain some moisture. To remove excess water, place the clay on a flat surface and knead it like dough. This process, called wedging, helps to distribute the moisture evenly and creates a smooth, plastic clay ready for use. Remember, clay is a living material that responds to your touch, so take your time and enjoy the process.
And there you have it
- a step-by-step guide to harvesting and preparing clay from the earth. Whether you’re a seasoned potter or a curious beginner, there’s something deeply satisfying about working with clay that you’ve harvested yourself. So, grab your tools, follow these steps, and happy clay harvesting!
Preparing Clay for Pottery
Preparing clay for pottery is a crucial step that ensures your final pieces are strong, durable, and free from imperfections. The process involves three key stages: cleaning, wedging, and aging. Let’s dive into each of these, step by step.
Cleaning: The first step is to clean your clay to remove any impurities or contaminants that could weaken your pottery or cause it to crack during firing. Start by breaking up the clay into smaller pieces. Then, submerge these pieces in a bucket of water and knead them thoroughly. This helps to break down any large particles and makes it easier to remove air bubbles in the next step.
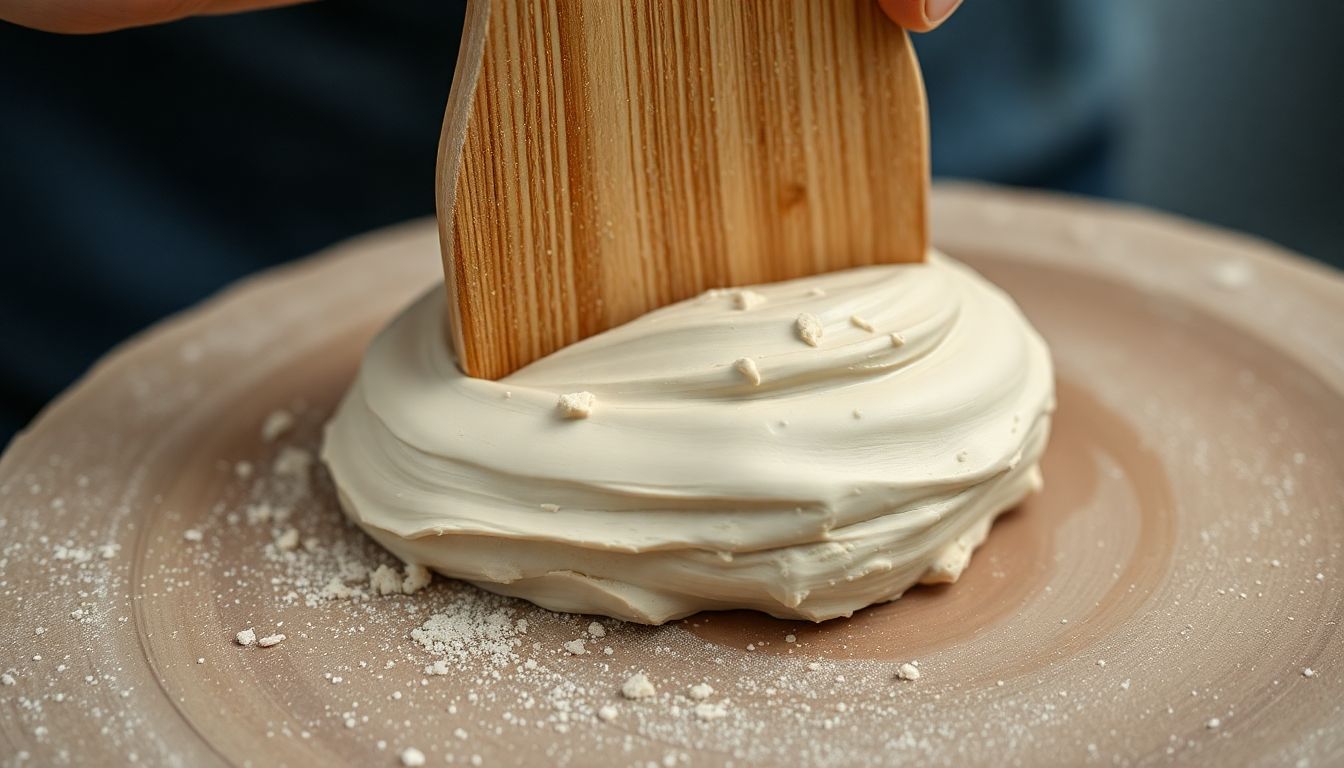
Wedging: Wedging is the process of kneading and pounding the clay to remove air bubbles and ensure a uniform consistency. It’s like giving your clay a workout to make it strong and ready for use. Here’s how to do it:
- Place the clay on a clean, flat surface. If you’re using an electric clay mixer, follow the manufacturer’s instructions.
- Knead the clay with your hands, working from the center outwards. This helps to distribute the air bubbles evenly.
- Once the clay is pliable, fold it in half and pound it with your fist or a wooden tool. This helps to break up any remaining air bubbles.
- Repeat this process until the clay is smooth and free from air bubbles. You should see no signs of air when you cut through the clay.
Aging: Aging clay allows it to dry out slightly, making it easier to work with and reducing the risk of cracking during firing. You can age your clay by leaving it uncovered in a cool, dry place for a few days. Be careful not to let it dry out too much, as this can make it difficult to work with.
By following these steps, you’ll ensure that your clay is in the best possible condition for pottery making. A smooth, air-bubble-free clay will give you a smoother working experience and help you create beautiful, durable pottery.
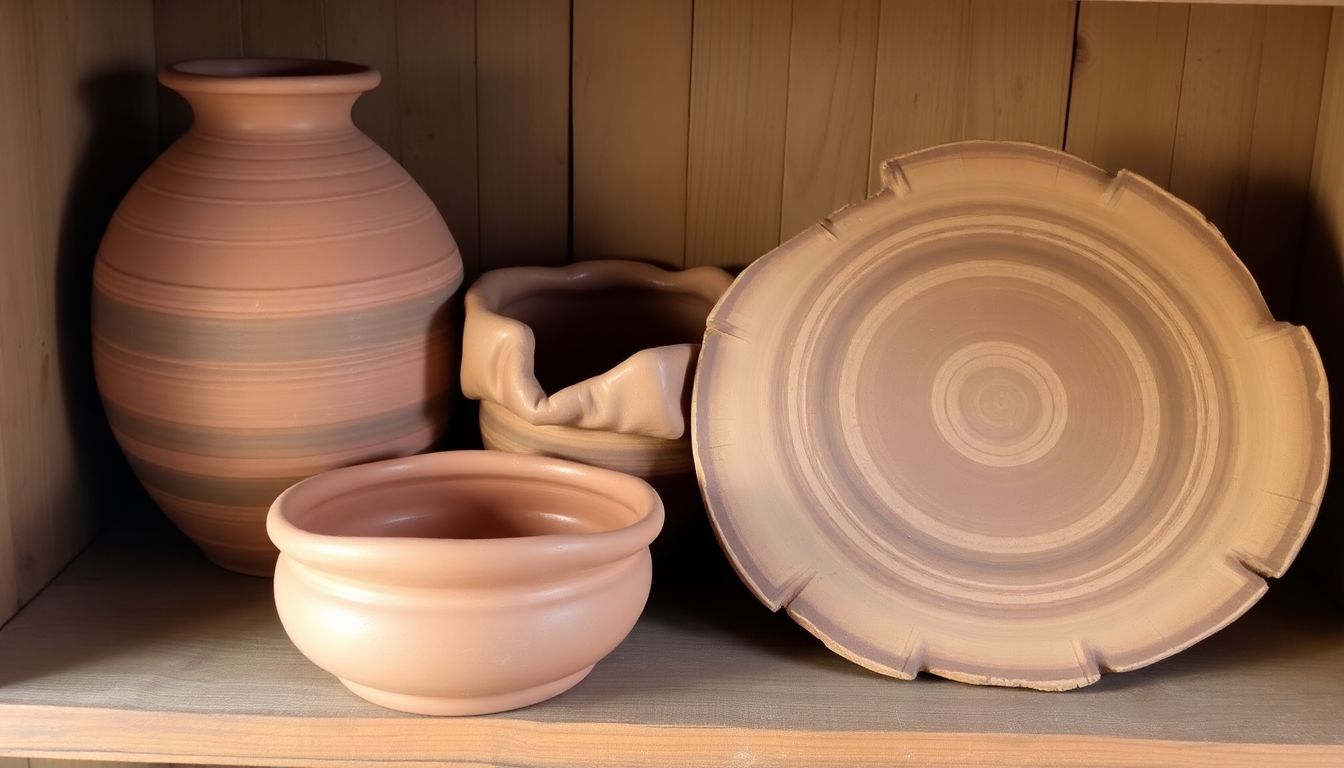
Introduction to Primitive Pottery Techniques
Welcome to the fascinating world of primitive pottery techniques! These ancient methods, passed down through generations, allow us to create functional and decorative pieces using just our hands, earth, and fire. Let’s explore three fundamental techniques: coil building, pinching, and slab construction.
Coil Building is one of the oldest and most versatile methods. It involves rolling out long, thin ‘coils’ of clay, which are then stacked and joined together to form the desired shape. This technique allows for great flexibility in creating both simple and complex forms. The advantages include the ability to build large vessels, create intricate patterns by varying coil thickness, and the ease of adding handles or other decorative elements. However, it can be time-consuming, as each coil must be carefully placed and smoothed to avoid cracking or warping during firing.
Pinching is a simple and direct method that involves pinching and turning a ball of clay to create a vessel. This technique is perfect for creating small, symmetrical pieces like bowls or cups. The advantages are its simplicity, speed, and the unique, organic shapes that can be achieved. However, it’s less suitable for larger pieces and doesn’t allow for as much control over the final form.
Slab Construction involves rolling out flat sheets of clay, which are then cut and joined to form three-dimensional shapes. This method is ideal for creating geometric or angular pieces, and it’s also great for making platters, tiles, or sculptural work. The advantages include the ability to create large, flat surfaces for painting or decoration, and the ease of making consistent, uniform pieces. However, it can be less suitable for creating round or organic shapes, and the joins between slabs can be prone to cracking if not handled carefully.
Each of these techniques has its own unique charm and challenges, and many potters combine them to create their own signature style. Whether you’re a seasoned artist or a curious beginner, exploring these primitive pottery techniques is a rewarding journey into the rich history and tactile joy of working with clay.
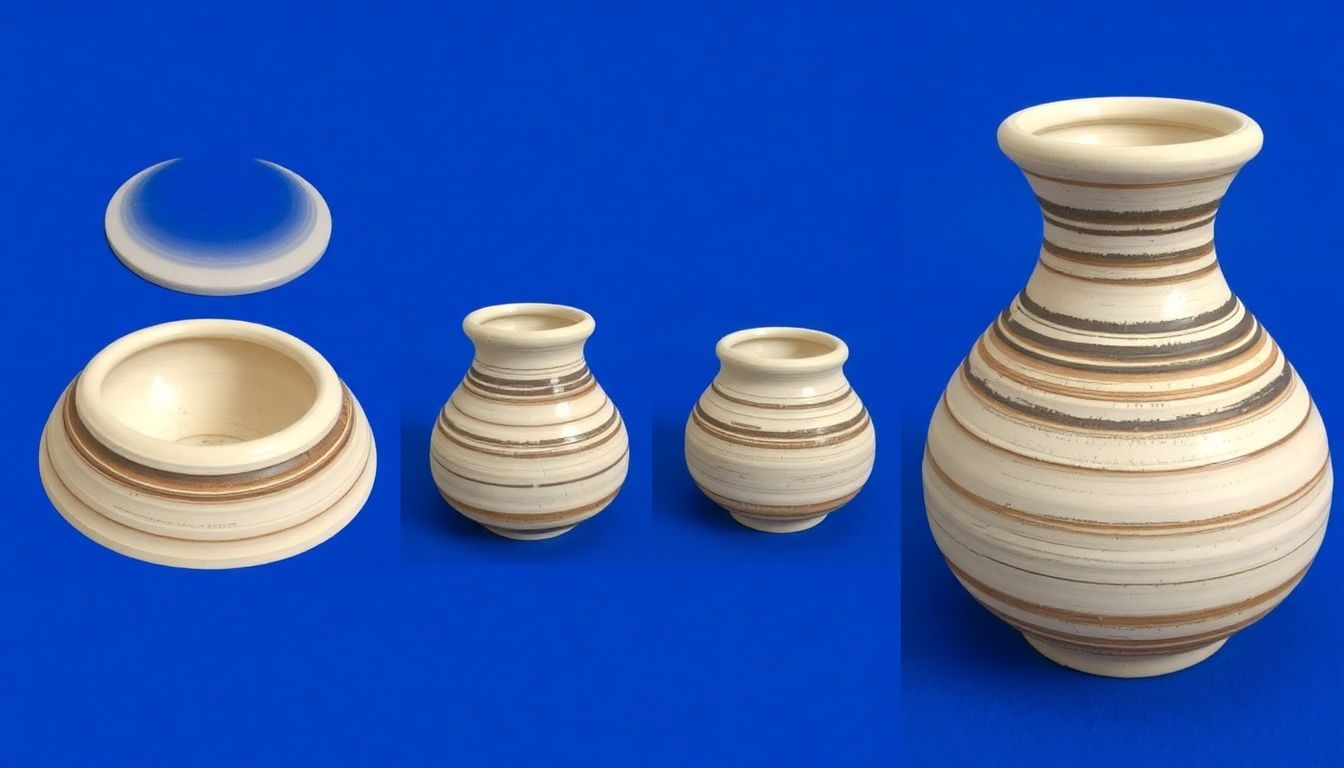
Crafting Containers: Coil Building Method
Embarking on a journey in pottery, let’s explore the delightful process of coil building, a method as old as the hills, yet as captivating as ever. The adventure begins with the humble base. Grab your favorite clay, roll it into a log, and cut it into a circular disc for the base. Center it on your work surface, and gently pat it down, ensuring it’s even and sturdy. This is your canvas, the foundation of your masterpiece.
Now, let’s build upwards! Roll out more clay logs, about the thickness of your thumb, and cut them into lengths that suit your vision. Start at the base’s outer edge, and begin coiling, pressing each new coil firmly against the previous one to create a solid wall. Work your way up, adding coils one by one, until you’ve reached your desired height. Remember, patience is key here; there’s no rush, just steady progress.
As you build, you might notice some less-than-perfect joins. Fear not! This is where the magic of smoothing begins. Using a rib or a sponge, gently rub the joins, blending the coils together until they’re seamless. It’s like giving your pot a little clay massage, helping it relax and become one.
With the basic form in place, it’s time to let your creativity run wild. Add decorative elements, carve patterns, or even attach other pieces of clay to create unique textures and designs. The world is your oyster, and your pot is the pearl. Once you’re satisfied with your creation, let it dry slowly and evenly, and then it’s off to the kiln for the final transformation.
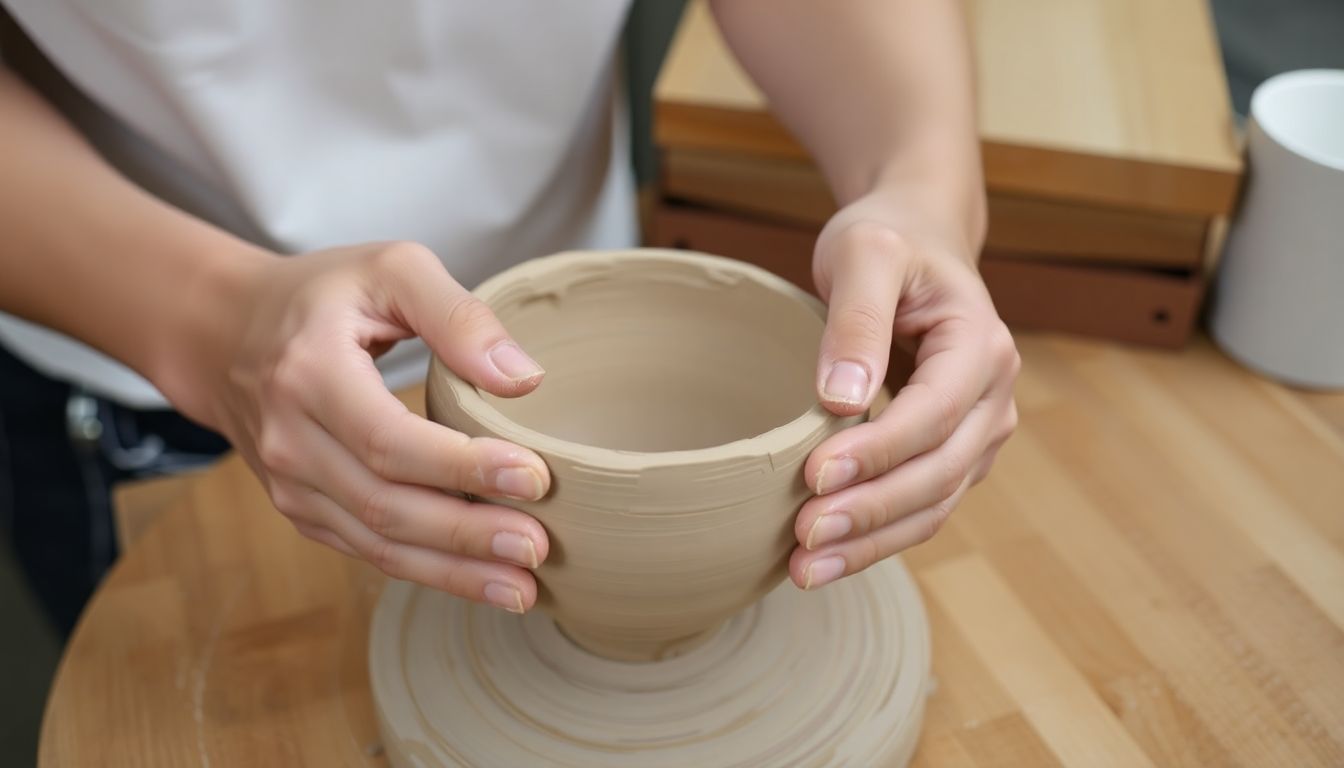
Pinching and Slab Construction Techniques
Embarking on a journey into the world of pottery, we find ourselves at the crossroads of two timeless techniques: pinching and slab construction. Both methods, as old as the craft itself, offer unique approaches to shaping clay into functional and artistic pieces. Let’s delve into the details of these techniques, exploring how to create even walls, attach slabs, and incorporate functional elements like handles.
The pinching technique, as its name suggests, involves pinching and turning the clay to create a form. To begin, center a ball of clay on the wheel, then press your thumb into the center to create a hole. With your other hand, gently pinch the clay wall, turning the wheel as you go. To create even walls, maintain consistent pressure and speed, allowing the clay to build evenly. Once you’ve reached your desired height, smooth the walls with a rib or your fingers.
Slab construction, on the other hand, involves rolling out flat sheets of clay and assembling them like a puzzle. Start by wedging your clay to remove air bubbles, then roll it out to an even thickness using a rolling pin or slab roller. To create even walls, score and slip the edges of your slabs before attaching them. Press the slabs together, then smooth the seam with a rib or your fingers.
Attaching slabs to create a form can be achieved in several ways. You can create a coil, or ‘snake,’ of clay to attach slabs vertically, or use a combination of slabs and coils to build a form. Remember to score and slip the surfaces before attaching to ensure a strong bond.
Creating functional elements like handles adds both practicality and aesthetic appeal to your pieces. For pinched pieces, you can create a handle by pinching a coil of clay into the desired shape. For slab-built pieces, you can either attach a pre-made handle or create one by cutting and shaping a slab.
In both techniques, it’s essential to let your pieces dry slowly and evenly to prevent warping or cracking. Once dry, they can be fired, glazed, and enjoyed as functional pieces of art. So, whether you’re pinching or slab building, the world of pottery awaits, ready to be shaped by your hands.
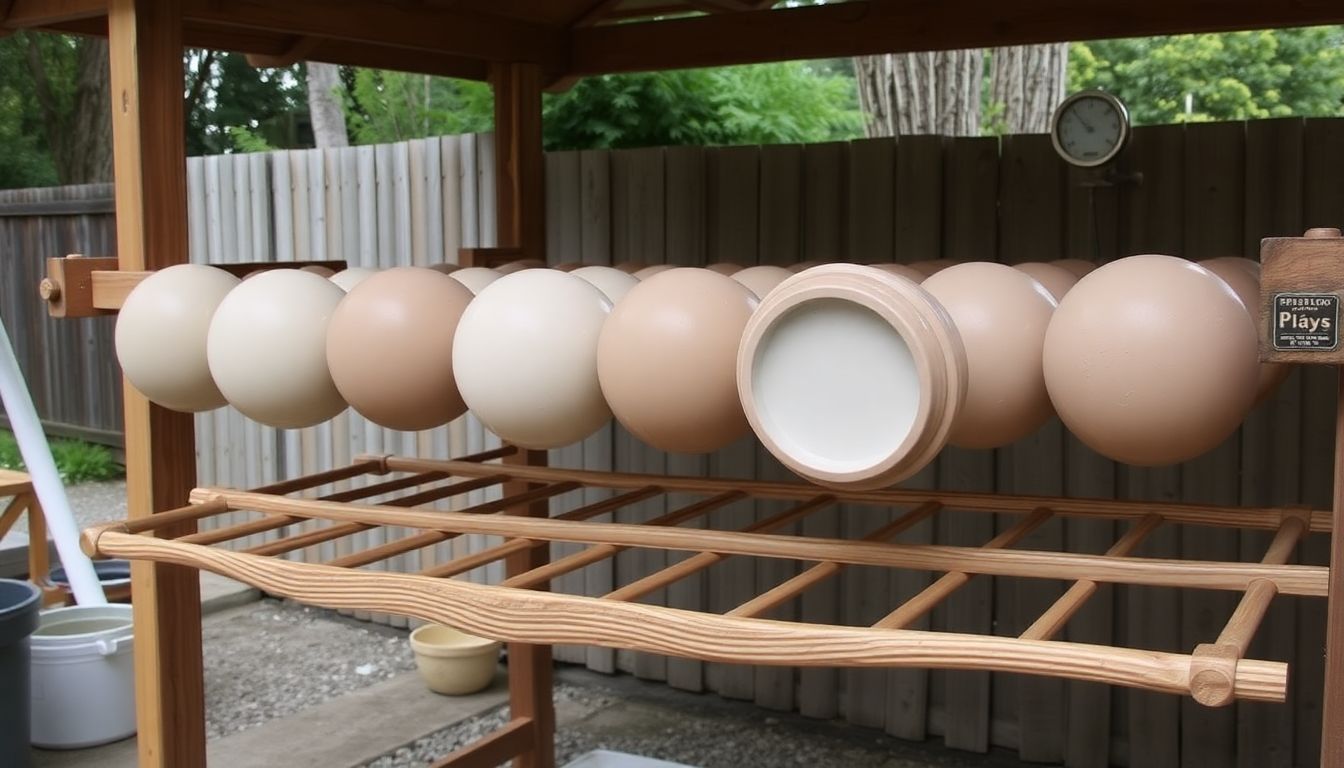
Drying and Curing Clay Containers
Drying and curing clay containers is a critical stage in pottery making, as it ensures the longevity and stability of the final product. The process involves slowly reducing the moisture content in the clay, allowing it to transition from a plastic state to a rigid, ceramic material. Rushing this process can lead to disastrous results, such as cracking and warping, which is why slow, controlled drying and curing are paramount.
The key to successful drying lies in maintaining a consistent humidity and temperature environment. Clay is a hygroscopic material, meaning it absorbs and releases moisture from the atmosphere. If the humidity fluctuates too rapidly, the clay can’t adjust evenly, leading to internal stresses that manifest as cracks or warps. Therefore, it’s crucial to keep the humidity at a steady level, ideally around 50-60% relative humidity.
Temperature also plays a significant role. Clay dries faster in warmer temperatures, but rapid drying can cause the outer layers to dry and shrink before the inner layers, leading to cracking. Conversely, extreme cold can slow down the drying process to a point where mold growth becomes a risk. The ideal temperature range for drying is between 60-80°F (15-27°C).
Here’s a simple, step-by-step guide to drying and curing clay containers:
-
Drying:
- Place your containers on a level surface, ensuring they’re not touching each other or any other objects to allow for even drying. Keep them in a room with consistent temperature and humidity. Allow them to dry slowly, which can take anywhere from a few days to a couple of weeks, depending on the thickness of the clay and the drying conditions.
Curing:
Once the containers are bone-dry (i.e., they no longer feel cool to the touch and there’s no sign of moisture), the curing process begins. This involves gradually heating the clay to drive off any remaining moisture and transform it into a ceramic material. This is typically done in a kiln, with the temperature slowly increasing to around 1800°F (980°C) and then held at that temperature for several hours.
Smoke Firing: A Primitive Glazing Technique
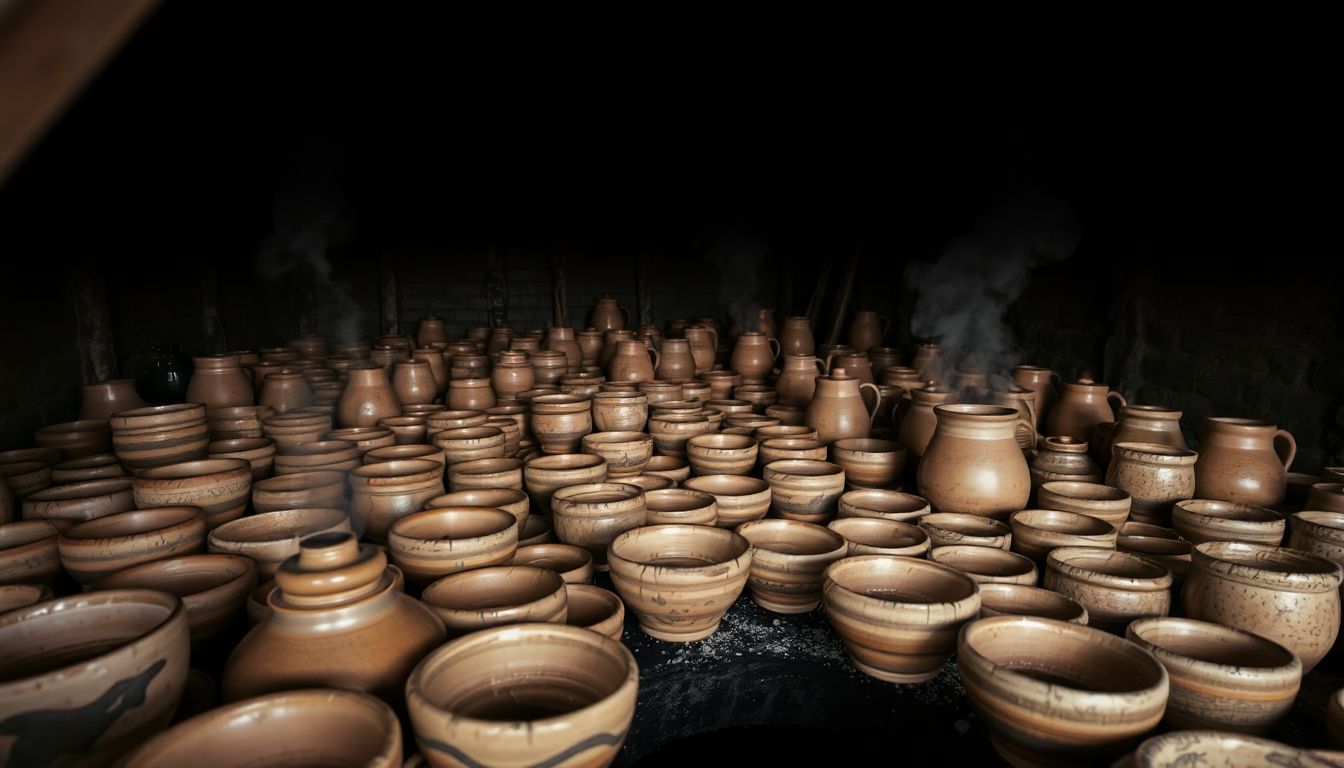
Smoke firing, an ancient glazing technique, is a captivating process that combines the elements of fire, smoke, and earth to create unique, organic patterns and colors on pottery. This technique, dating back to prehistoric times, is a testament to the ingenuity and creativity of our ancestors. It’s a journey into the primitive, where the unpredictable dance of smoke and flame dictates the final outcome.
The adventure begins with preparing the kiln, the heart of this process. You’ll need a simple, updraft kiln, often referred to as a pit kiln or groundhog kiln. First, ensure your kiln is clean and free of any previous residues. Next, line the kiln with a layer of sawdust, about an inch thick. This will serve as the fuel for the smoke firing process.
Now, it’s time to load your pieces. Arrange them carefully on top of the sawdust, ensuring they’re not touching each other or the kiln walls. This allows the smoke to circulate freely, creating those beautiful, intricate patterns. Remember, the placement of your pieces can greatly influence the final result.
Once your pieces are loaded, it’s time to create the smoke. Light the sawdust, allowing it to burn steadily. As the fire dies down, the sawdust will begin to smolder, producing the smoke that will interact with your pieces. The key to creating the desired patterns and colors lies in controlling the amount of oxygen reaching the smoldering sawdust. You can do this by partially covering the kiln with a thick layer of wet sawdust or a combination of sawdust and salt.
As the smoke interacts with the hot clay, it creates a range of colors and patterns. The type of wood used for the sawdust can also influence the final result. Hardwoods, for instance, tend to produce cooler, more subtle colors, while softwoods can create warmer, more vibrant hues. The length of time the pieces are exposed to the smoke also plays a significant role. Longer exposure times can result in deeper, more intense colors.
Smoke firing is a dance with the elements, a testament to the beauty of imperfection. It’s a reminder that sometimes, the most extraordinary results come from letting go of control and embracing the unpredictable. So, why not give it a try? Who knows what beautiful, unique pieces you might create?
Maintaining and Caring for Primitive Pottery
Maintaining and caring for primitive pottery containers is a rewarding task that ensures these timeless pieces remain a part of your life for generations. Primitive pottery, often handmade and fired at low temperatures, requires a gentle touch and specific care to preserve its unique charm and functionality. Let’s delve into the art of caring for these treasures, season by season.
Seasonal Care:
Primitive pottery is sensitive to extreme temperature changes, making seasonal care crucial. During the winter months, keep your pottery indoors, away from drafty areas and heating vents. The sudden change from cold to hot can cause stress and cracking. In the summer, avoid exposing your pottery to direct sunlight for extended periods, as the intense heat can also lead to damage. Instead, place your pottery in shaded areas or indoors.
Preventing Cracking:
To prevent cracking, maintain consistent moisture levels around your pottery. Water the soil in potted plants regularly, ensuring the pot doesn’t dry out completely. If your pottery is not in use, keep it wrapped in plastic or stored in a dry place to prevent excessive drying. Additionally, avoid sudden temperature changes by allowing your pottery to adjust gradually to new environments.
Repairing Damage:
Despite our best efforts, damage can occur. For small cracks or chips, you can perform a simple repair using a pottery repair kit. First, clean the damaged area thoroughly. Then, apply the repair material according to the kit’s instructions, smoothing it out with a damp sponge. Allow it to dry and cure as directed. For larger cracks or breaks, it’s best to consult a professional potter or a restoration specialist.
In conclusion, maintaining and caring for primitive pottery is a labor of love that ensures these historic pieces continue to tell their stories and enrich our lives. With a little patience and care, your primitive pottery can become cherished family heirlooms, passed down through generations.


