Have you ever found yourself in the great outdoors, miles away from civilization, with nothing but the clothes on your back and a burning desire to find your way home? Without the crutch of GPS or maps, the task of survival navigation might seem daunting, even impossible. But what if we told you that our ancestors, for centuries, navigated the wilds with nothing but the sun, the stars, and a keen understanding of the natural world? In this comprehensive guide, we delve into the ancient art of survival navigation, exploring the fascinating world of natural direction finding and wilderness orientation. So, grab your compass (yes, we’ll talk about those too!), and let’s embark on this adventure together.
First, let’s address the elephant in the room. In today’s tech-driven world, it’s easy to rely on our gadgets to get us from point A to point B. But what happens when the batteries die, or the signal is lost? According to a study by the U.S. Forest Service, more than 1,600 search and rescue missions are conducted each year due to lost hikers. This is where the art of survival navigation comes in. By understanding and harnessing the power of natural navigation, you’ll not only enhance your wilderness experience but also gain a crucial life skill that could one day save you from a sticky situation.
Now, you might be thinking, ‘That all sounds great, but I’m no Bear Grylls. How can I possibly learn to navigate the wilderness without modern tools?’ The good news is, you don’t need to be a survival expert to master the basics of natural navigation. In this article, we promise to demystify the art of finding your way in the wild, breaking down complex concepts into simple, easy-to-understand steps. From reading the sun’s path to using the stars as your personal GPS, we’ll explore a variety of techniques that have been used by explorers, indigenous cultures, and even animals for centuries. We’ll also discuss the importance of understanding your environment, using landmarks, and the humble compass as a backup tool.
By the end of this article, you’ll not only have a newfound appreciation for the natural world but also the confidence to navigate the wilderness with nothing but your wits and a keen eye. So, whether you’re a seasoned hiker looking to challenge yourself, or a curious beginner eager to learn a new skill, join us as we journey back in time to explore the fascinating world of survival navigation.
Harness the Power of Nature: Natural Direction Finding and Wilderness Orientation Techniques
In the heart of the wilderness, where technology’s reach is limited, nature becomes our most reliable compass. Harnessing the power of nature for direction finding and wilderness orientation is an art that has sustained generations of explorers, adventurers, and indigenous communities. Imagine yourself standing in a dense forest, surrounded by towering trees and a myriad of paths. The sun, a humble yet powerful tool, can guide you through the day. As it rises in the east and sets in the west, it paints a clear arc across the sky, marking the cardinal directions. The humble moss growing on the north side of trees, seeking the least light, can be your silent guide. Stars, in their celestial dance, also share their secrets. Polaris, the North Star, stands still while its companions twirl around it, pointing steadfastly towards the north. The wind whispers tales of the land, its direction often indicating the lay of the terrain. And let’s not forget the humble stick, a simple tool that, when used correctly, can tell you the time and help you find your way. These techniques, rooted in the natural world, are not just about survival; they are about understanding and respecting the language of the wild. They remind us that we are part of a vast, interconnected web of life, where every element has a story to tell, if only we know how to listen.
Understanding the Basics of Navigation
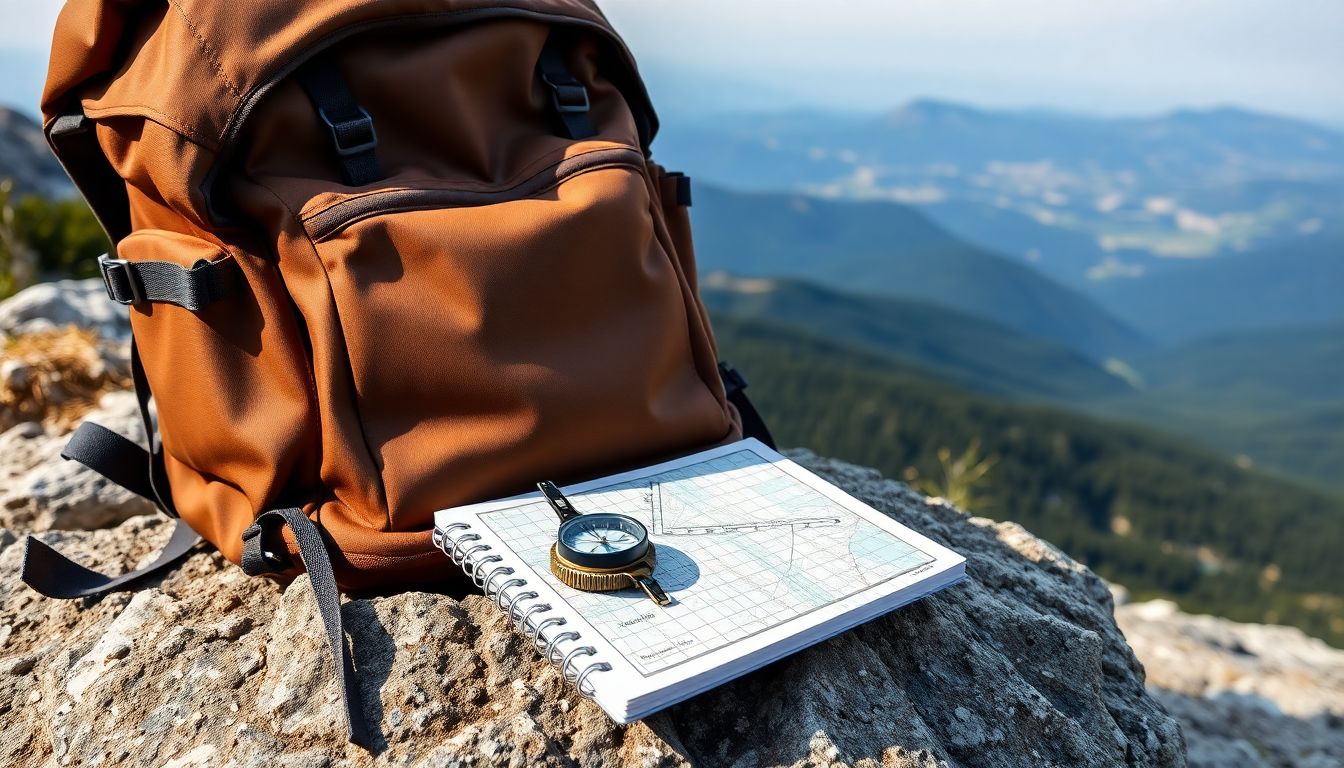
Navigation, the art of determining one’s course and finding one’s way, is a fundamental skill that has evolved with humanity since time immemorial. At its core, navigation relies on three fundamental principles: direction, distance, and time. Direction is the path one takes, distance is how far one travels, and time is how long it takes to cover that distance. In the context of wilderness navigation, these principles are not just useful, but essential for survival.
Direction is the first and arguably the most important principle. It’s about knowing where you are, where you’re going, and how to get there. This is where a compass comes in handy. It helps you determine your starting point, your destination, and the course you need to take to get there. However, a compass alone is not enough. You need to understand how to use it in conjunction with a map to plot your route.
Distance is the second principle. It’s about knowing how far you need to travel to reach your destination. This is where pacing comes in. Pacing is the art of estimating distance by counting your steps. It’s a skill that requires practice, but it’s invaluable in the wilderness where there are no mile markers. You also need to consider the terrain. A mile through dense forest will take longer to traverse than a mile on flat, open ground.
Time is the third principle. It’s about knowing how long it will take you to cover a certain distance. This is where planning comes in. You need to consider not just the distance, but also the terrain, the weather, and your own physical capabilities. It’s also important to allow for contingencies. Things don’t always go as planned in the wilderness.
Now, let’s talk about dead reckoning and piloting. Dead reckoning is a method of navigation that uses the last known position, the direction of travel, and the speed of travel to calculate a new position. It’s a simple method, but it’s also prone to error. This is where piloting comes in. Piloting is a method of navigation that uses landmarks and other visual cues to determine one’s position. It’s more accurate than dead reckoning, but it requires clear visibility and a good understanding of the terrain.
In wilderness navigation, both dead reckoning and piloting are essential. Dead reckoning is useful for covering long distances where there are no landmarks. Piloting is useful for navigating through complex terrain where landmarks are abundant. The key is to use both methods in conjunction with each other. This is known as ‘all-round navigation’ and it’s the best way to ensure that you always know where you are and how to get where you’re going.
The Art of Map Reading
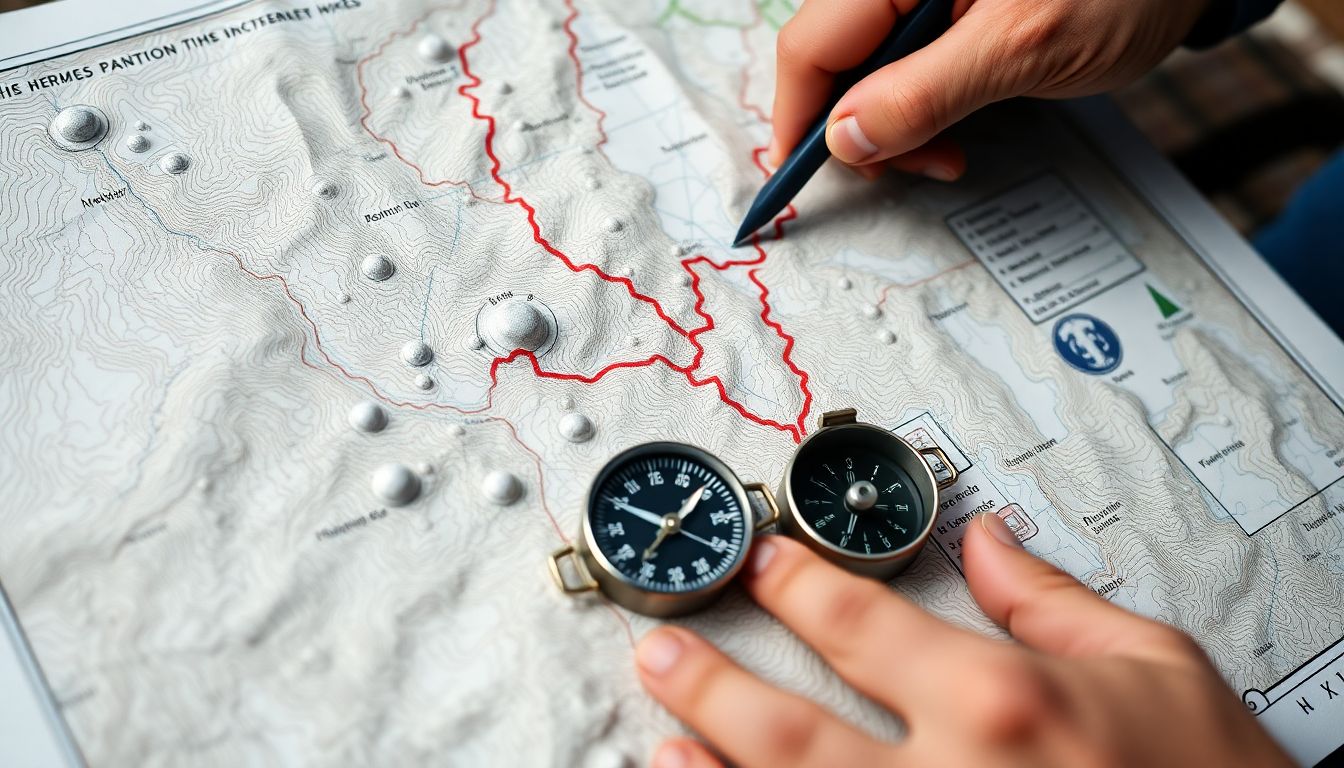
The art of map reading is a skill that transcends mere navigation; it’s a journey into the heart of cartography, a dance with symbols, and a conversation with the landscape. Let’s embark on this adventure together. First, let’s understand the language of maps. Maps are not mere images, but intricate puzzles filled with symbols that tell a story. These symbols, like the universal icon of a house representing a settlement, or a blue squiggle signifying a river, are the alphabet of cartography. Understanding these symbols is the first step in deciphering the map’s message. Contour lines, those wavy, undulating lines you see on maps, are like the map’s topography in miniature. They represent changes in elevation, with each line typically indicating a certain rise or fall, such as 10 or 20 feet. By studying these lines, you can visualize the lay of the land, spot hills, valleys, and even predict where water might flow. Now, let’s talk about planning a route. This is where the fun begins. You’ve got your map, you’ve got your destination, but where do you start? Knowing your starting point is crucial. It’s like having a home base in a game of hide and seek. You need to mark it on your map, perhaps with a big, bold ‘X’. This is your reference point, your constant. To mark your starting point, look for distinctive features around you. Is there a tall building, a unique tree, a bridge? These can all be used to pinpoint your location on the map. Once you’ve found your ‘X’, you’re ready to plot your course. Here’s a simple way to plan your route using a map:
- Identify your destination and mark it on the map.
- Look for the most direct route between your starting point and destination. This might not always be the shortest distance, but it’s a good starting point.
- Study the terrain along your route. Are there any obstacles, like rivers or steep slopes? If so, you might need to adjust your route.
- Break your journey into smaller segments. This makes it easier to navigate and helps you stay on track.
- Finally, use a pencil to trace your route on the map. This will serve as your guide.
Remember, the art of map reading is not about perfection, but about understanding and adaptability. Maps are tools to help us explore, not barriers to keep us from getting lost. So, go ahead, unfold that map, let the symbols tell their story, and set off on your adventure.
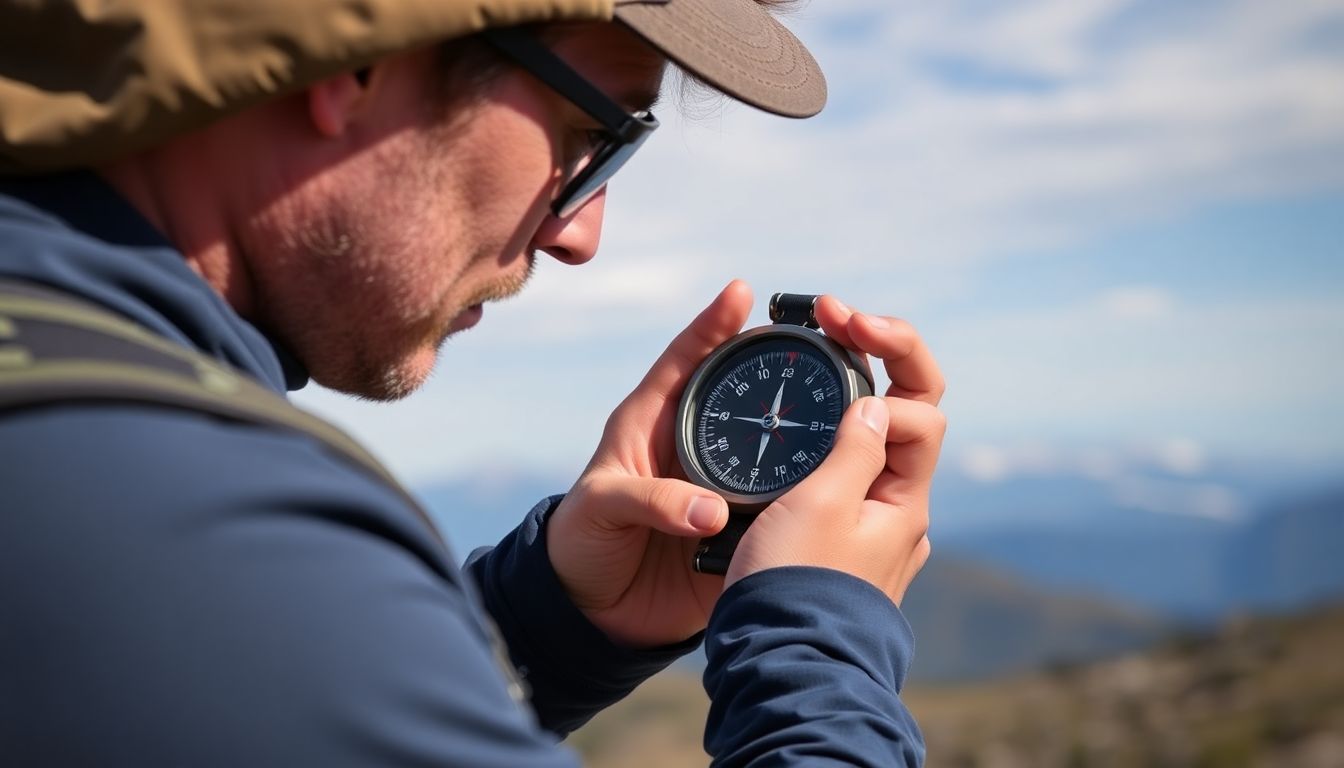
Compass Navigation: The Magnetic North
A compass, an age-old navigational tool, is a marvel of magnetic ingenuity. It works on the principle of a magnetized needle that aligns itself with the Earth’s magnetic field, pointing towards the planet’s magnetic north. However, this isn’t the same as true north, the direction towards the geographic North Pole. The difference between the two is known as magnetic declination, which varies depending on your location and can range from 0 to over 20 degrees.
To navigate using a compass, you’ll first need to account for magnetic declination. This is done by adjusting your bearing. If magnetic north is east of true north, you’ll need to subtract the declination from your bearing. If it’s west, you’ll add it.
Now, let’s dive into the steps of taking a bearing and following a course using a compass:
- First, ensure your compass is level and the needle is free to move.
- Hold the compass flat in your hand, with the direction of travel arrow pointing away from you.
- Rotate the bezel (the outer ring with degree markings) until the red magnetic north needle points to the ‘N’ on the bezel.
- Now, look at the map and identify your current location and your destination. Draw a straight line between the two to determine your desired course.
- Find the corresponding bearing on the map’s grid lines or use a protractor to measure it. This is your true bearing.
- Adjust this true bearing for magnetic declination to get your magnetic bearing. Remember, subtract for east and add for west.
- Hold the compass level and turn your body until the compass needle points to the magnetic north on the bezel, and the direction of travel arrow points to your destination.
- Now, start walking. Keep the compass level and the direction of travel arrow pointing to your destination. Periodically check your compass to ensure you’re staying on course.
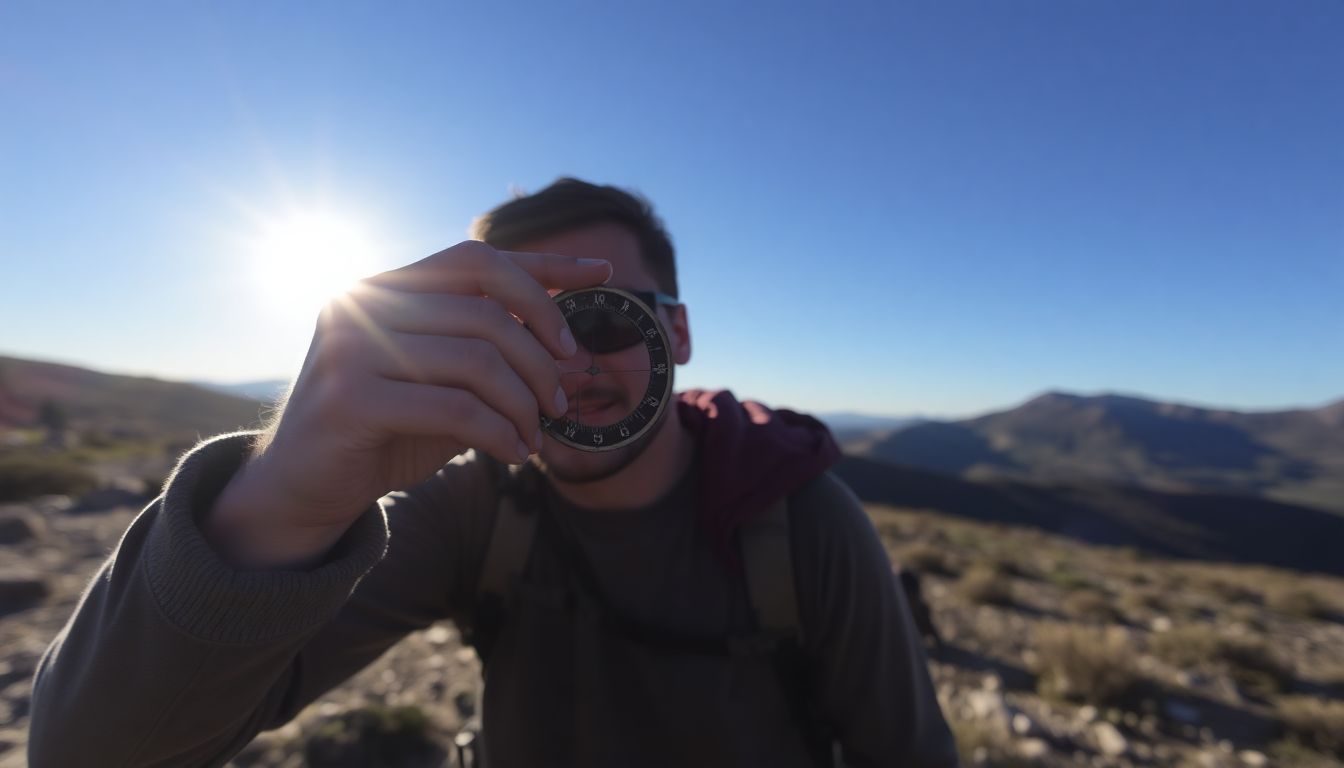
Natural Direction Finding: The Sun as a Compass
In the vast, uncharted wilderness, one of the most reliable and ancient navigational tools at our disposal is the sun itself. This radiant celestial body, our very source of life, can serve as a natural compass, guiding us through the most challenging terrains. The sun’s position in the sky varies throughout the day, and understanding this movement is key to determining direction. Let’s delve into the art of natural direction finding using the sun as our compass.
The sun rises in the east and sets in the west, a daily dance that has been constant since time immemorial. This is our primary clue in determining direction. In the Northern Hemisphere, the sun is at its highest point, or zenith, due south at around midday. Conversely, in the Southern Hemisphere, it’s due north. However, the sun’s path varies slightly depending on the time of year, a phenomenon known as the analemma. This is due to the Earth’s elliptical orbit around the sun and its axial tilt.
To determine direction using the sun’s position, follow these steps:
- First, find the sun’s current position in the sky.
- In the Northern Hemisphere, the sun is in the south at its highest point. In the Southern Hemisphere, it’s in the north.
- If it’s not midday, you’ll need to account for the sun’s movement. The sun moves about 15 degrees every hour, so you can estimate its direction by calculating its position relative to midday.
- For example, if it’s 9 AM, the sun will be in the southeast, about 45 degrees east of south. If it’s 3 PM, it will be in the southwest, about 45 degrees west of south.
Remember, these are rough estimates. The sun’s movement can be affected by factors like cloud cover and your exact location on Earth. But with practice, you’ll find that the sun’s predictable path makes it an invaluable tool for natural direction finding.
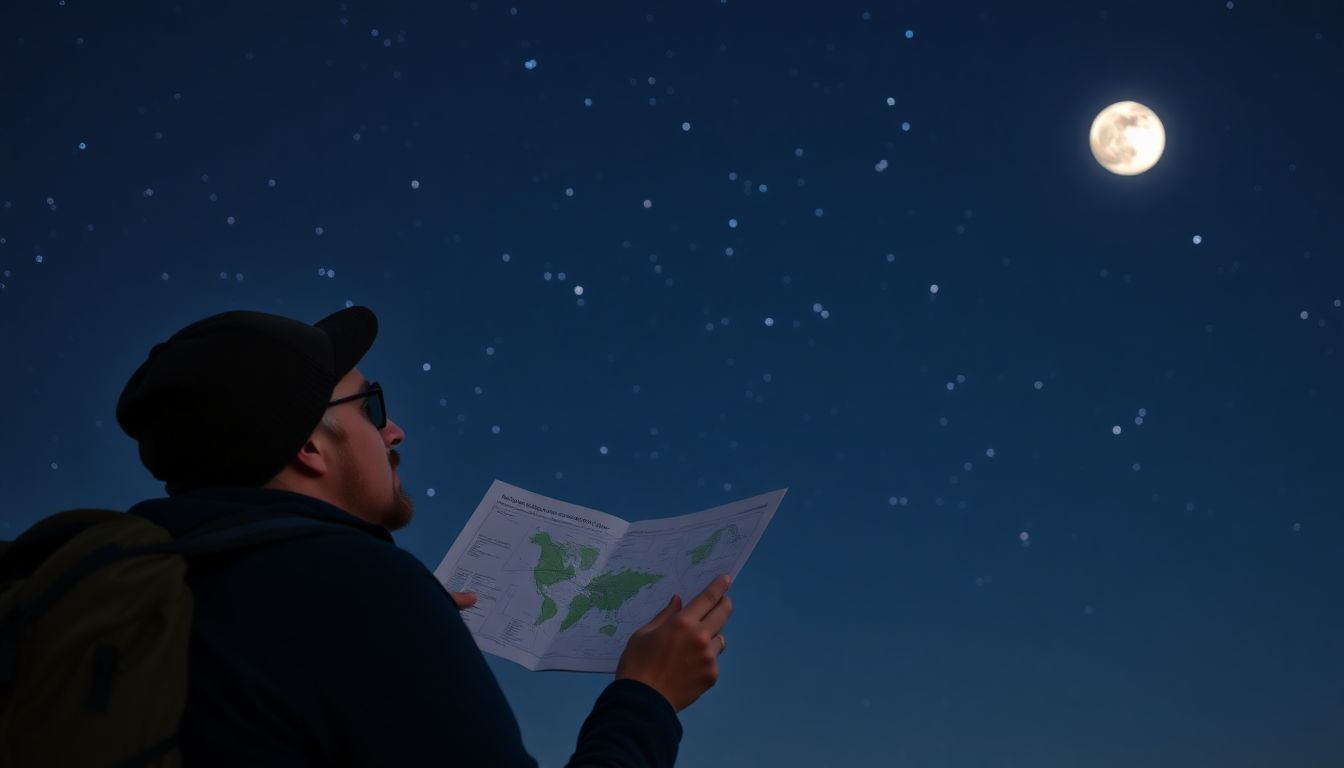
The Stars: Navigating by Night
Embarking on a nocturnal journey, the vast canvas of the night sky becomes your map, guided by the timeless dance of the stars. The art of celestial navigation, practiced since ancient times, is a fascinating and rewarding skill to master. Let’s explore how to use the stars and the moon to find your direction under the cover of darkness.
The first step in navigating by the stars is to familiarize yourself with the constellations, those intricate patterns formed by connected stars. Each constellation tells a story, from Orion the Hunter to Ursa Major, the Great Bear. To begin, locate the Big Dipper, a prominent constellation in the Northern Hemisphere. It’s part of Ursa Major and is easily recognizable by its ladle-like shape. Now, trace a line from the two stars at the outer edge of the ladle, through the handle, and extend it about five times the distance of the handle. This line points towards Polaris, the North Star.
Polaris is the brightest star in the constellation Little Dipper, or Ursa Minor. It’s located almost exactly above the North Pole, making it a reliable compass in the Northern Hemisphere. In the Southern Hemisphere, the situation is a bit more complex due to the lack of a single dominant star. However, the Southern Cross, a constellation consisting of four stars, can help you find south. Draw a line through the two stars at the bottom of the cross and extend it about four times the length of the cross. This line points towards the Southern Pole.
Now, let’s talk about the moon, that luminous orb that bathes the night in its silvery glow. The moon’s phases and position can also aid in navigation. When the moon is in its first quarter phase, it rises around noon and sets around midnight, providing light throughout the night. In its last quarter phase, it rises around midnight and sets around noon, lighting up the early morning hours. When the moon is full, it rises around sunset and sets around sunrise, offering light during the late evening and early morning. A waning crescent moon, on the other hand, provides little light, making it challenging to navigate at night.
To navigate using the moon’s position, observe its movement across the sky. If you’re in the Northern Hemisphere, the moon moves from east to west, rising in the east and setting in the west. In the Southern Hemisphere, the moon’s path is reversed, rising in the west and setting in the east. By observing the moon’s position and phase, you can gain valuable insights into the time of day and night, helping you to navigate more effectively.
In conclusion, navigating by the stars and the moon is a captivating skill that connects us with our ancestors and the cosmos. Whether you’re a seasoned explorer or a curious beginner, the night sky offers a wealth of knowledge waiting to be discovered. So, grab a star chart, step outside, and let the dance of the stars guide your way.
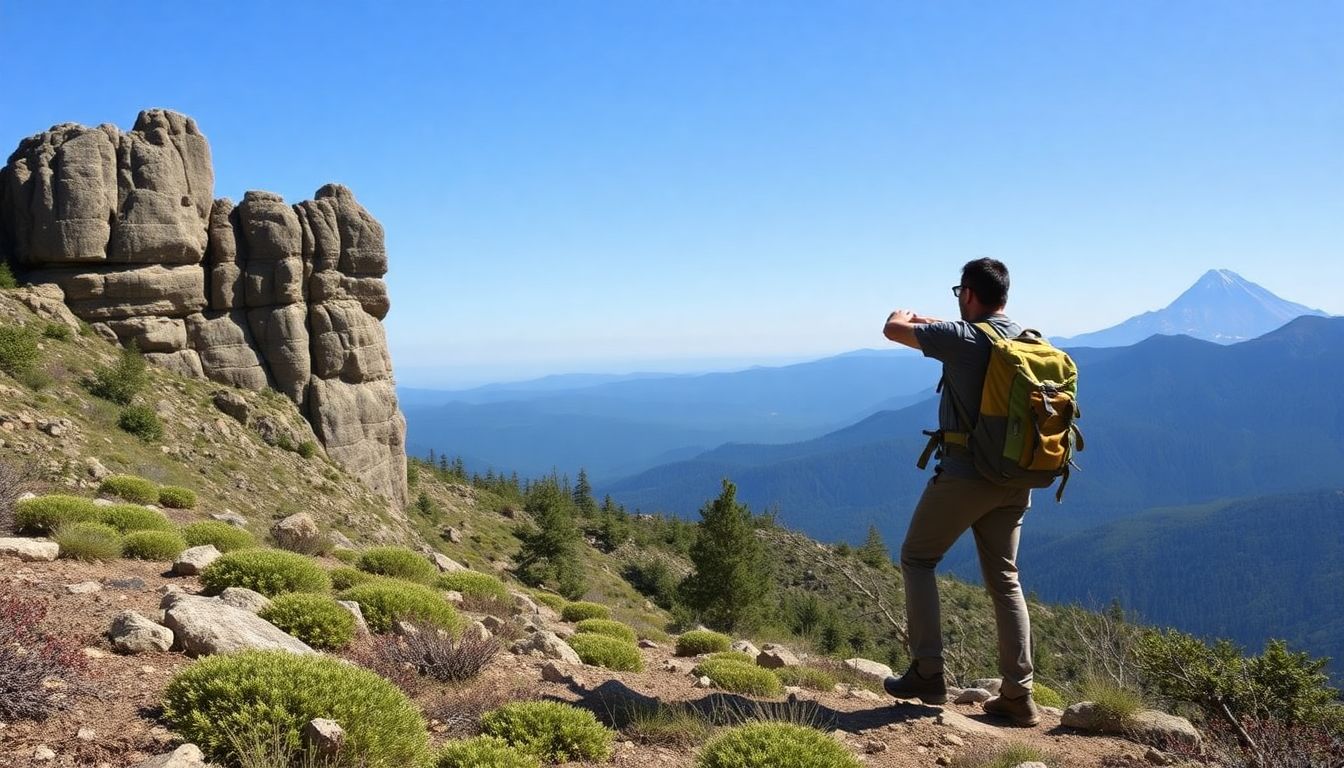
Landmarks and Terrain Features
Navigating through the great outdoors can be a thrilling adventure, but it’s crucial to stay on course and know your location. This is where landmarks and terrain features become your trusty companions, guiding you like a friendly local would. These natural signposts are not just interesting sights, but essential tools for orienteering. Let’s delve into the importance of these features and learn how to make the most of them.
Firstly, understanding what constitutes a landmark or terrain feature is key. Landmarks are prominent, easily recognizable objects like trees, boulders, or even man-made structures. Terrain features, on the other hand, are the natural shapes and forms of the land itself, such as hills, valleys, or rivers. Both can provide valuable clues about your location.
Identifying and remembering these features is like playing a game of ‘I Spy’. Look for anything unusual, unique, or out of place. A crooked tree, a peculiar rock formation, or a distinctive bend in a river can all serve as excellent landmarks. For terrain features, pay attention to the lay of the land. A hill that looks like a giant’s thumb, a valley that seems to hug a particular direction, or a river that meanders like a snake can all be memorable waypoints.
Once you’ve spotted these features, it’s time to commit them to memory. The method of association can be helpful here. For instance, if you see a tree with a face-like knot, you might remember it as ‘the tree with the grumpy face’. The more vivid and unusual your mental image, the easier it will be to recall.
Now, let’s talk about using these features to confirm your position and stay on course. The key here is to use a combination of landmarks and terrain features to create a mental map. Here’s a simple way to do this:
- Start by identifying a prominent landmark or terrain feature ahead of you. This will be your next waypoint.
- As you approach this waypoint, look for another feature further ahead. This will be your next destination after the first waypoint.
- Continue this process, always having at least two waypoints in mind
- the one you’re heading towards and the one after that.
This way, you’re constantly confirming your position and making adjustments as needed. It’s like following a trail of breadcrumbs, but instead of Hansel and Gretel, it’s you and your trusty navigational skills! So, the next time you’re out exploring, remember to keep an eye out for those helpful landmarks and terrain features. They might just be the key to your safe and enjoyable journey.
Pacing and Timing: Estimating Distance
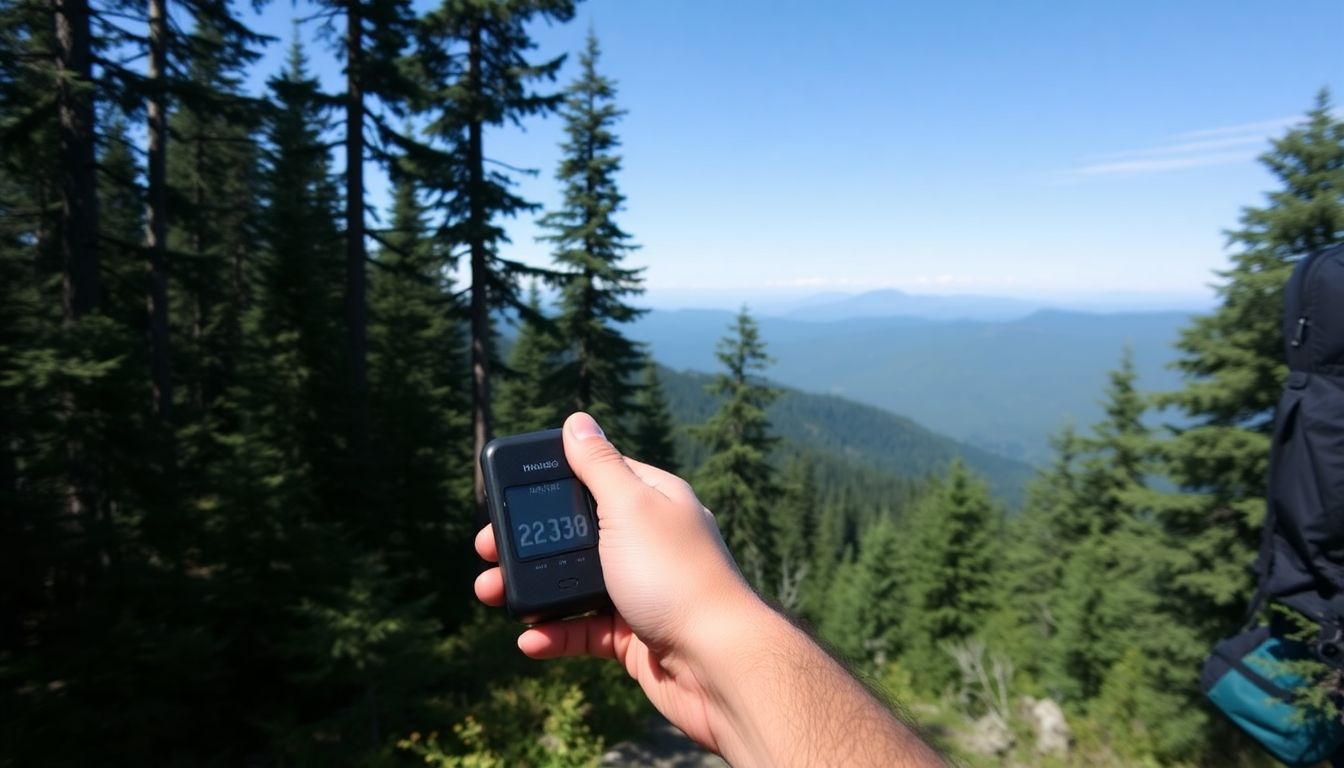
Estimating distance while on the move is a crucial skill, especially when navigating without GPS or maps. It’s all about understanding your pace and timing. Your pace is the speed at which you cover a certain distance, typically measured in steps per minute. Knowing your pace is like having a secret superpower; it allows you to estimate how far you’ve traveled and how much further you have to go. To calculate your pace, you’ll need to know two things: how many steps you take in a minute and how far each of your steps is. The latter can vary depending on your height, stride length, and walking style. On average, a step is about 2.5 feet long, but it’s best to measure your own step length for accuracy. Once you have these two numbers, you can calculate your pace using the formula: Pace = (Step Length in feet) / (Steps per minute). For example, if you take 100 steps in a minute and each step is 2.5 feet long, your pace would be 2.5 feet per step / 100 steps per minute = 0.025 feet per minute. To convert this into miles per hour (mph), you’ll need to multiply by 5,280 feet in a mile and divide by 60 minutes in an hour: 0.025 * 5,280 / 60 = 2.112 mph. Now that you know your pace, you can use it to estimate the distance you’ve traveled and the distance remaining to your destination. Here’s how:
- To estimate the distance traveled, multiply your pace in mph by the time you’ve been walking in hours. For instance, if you’ve been walking for 30 minutes (0.5 hours) at a pace of 2.112 mph, you would have traveled 2.112 * 0.5 = 1.056 miles.
- To estimate the distance remaining, divide the total distance to your destination by your pace in mph. If your destination is 5 miles away and your pace is 2.112 mph, you would need 5 / 2.112 = 2.366 hours to reach it. Remember, these are estimates. Terrain, weather, and other factors can affect your pace. It’s always a good idea to have a backup plan or a map just in case. But with a little practice, you’ll be amazed at how accurately you can estimate distance using just your pace and timing.
Improvised Navigation Tools
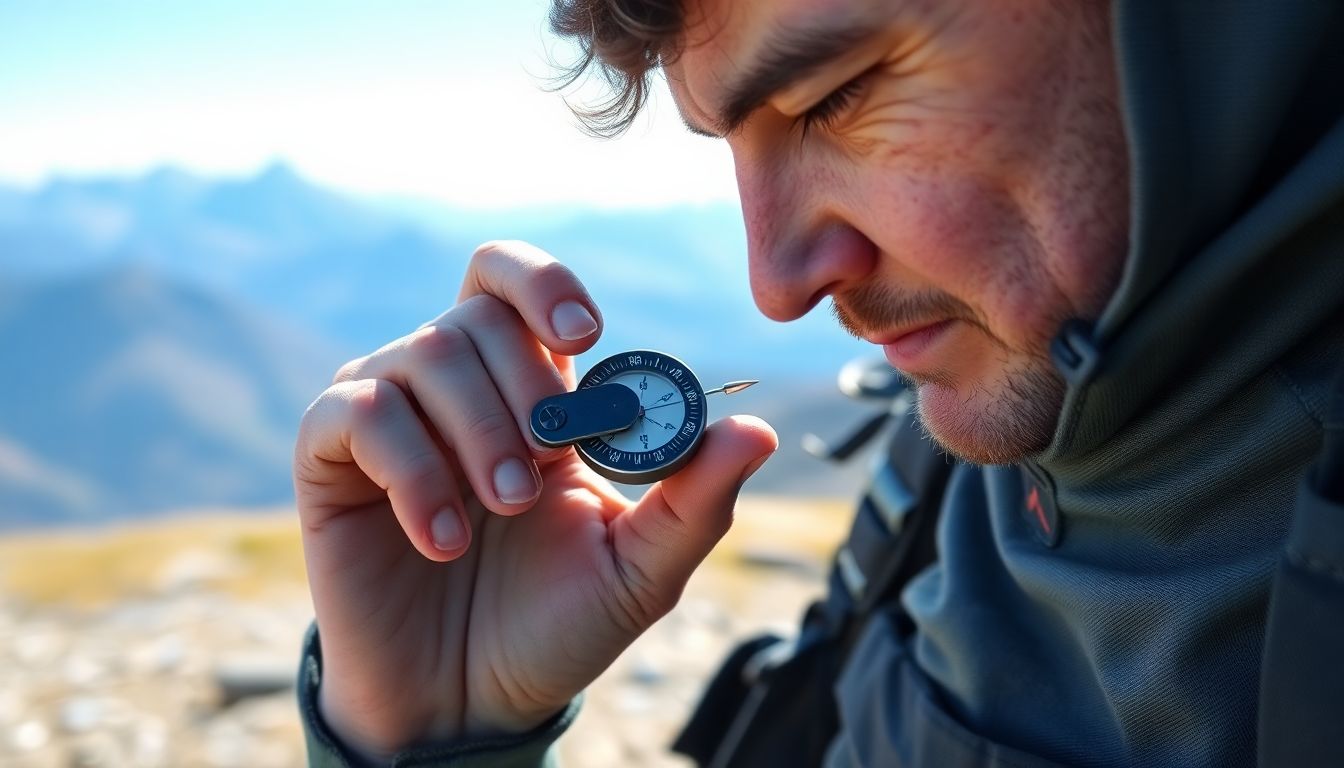
In the great outdoors, sometimes our trusty GPS devices or maps can fail us, leaving us to rely on our wits and the environment for navigation. Improvised navigation tools can be a lifesaver in such situations, and they’re surprisingly easy to create with a bit of ingenuity and some everyday materials. Let’s explore two such tools: the homemade compass and the makeshift sun compass.
The homemade compass is a classic example of improvisation. All you need is a magnet and a needle. Here’s how to create one:
- Stroke the needle with the magnet several times to magnetize it.
- Float the needle on a piece of cork or a leaf in a calm, shallow body of water, or balance it on a needlepoint.
- The magnetized needle will align itself with the Earth’s magnetic field, with one end pointing north.
However, this tool has its limitations. It doesn’t show you the exact direction, just north, and it’s not very accurate. It’s best used as a general guide when all other navigation tools have failed.
Another simple tool is the makeshift sun compass. This one requires a stick and a shadow.
- Stick the stick vertically into the ground.
- Mark the tip of the shadow it casts.
- Wait for about 15 minutes, then mark the new tip of the shadow.
- The line connecting the two marks points east-west, with the first mark being west and the second being east.
This tool is more accurate than the homemade compass, but it’s also more time-consuming and only works during daylight hours. It’s ideal for when you need a more precise direction but don’t have access to other tools.
In conclusion, improvised navigation tools can be incredibly useful in a pinch, but they’re no replacement for proper navigation equipment. They’re best used when you’re lost and need a general direction, or when you’re waiting for other tools to charge or be repaired. Always remember, the best tool is the one you have with you, and sometimes, that tool can be as simple as a magnet and a needle.
Putting It All Together: Planning a Route
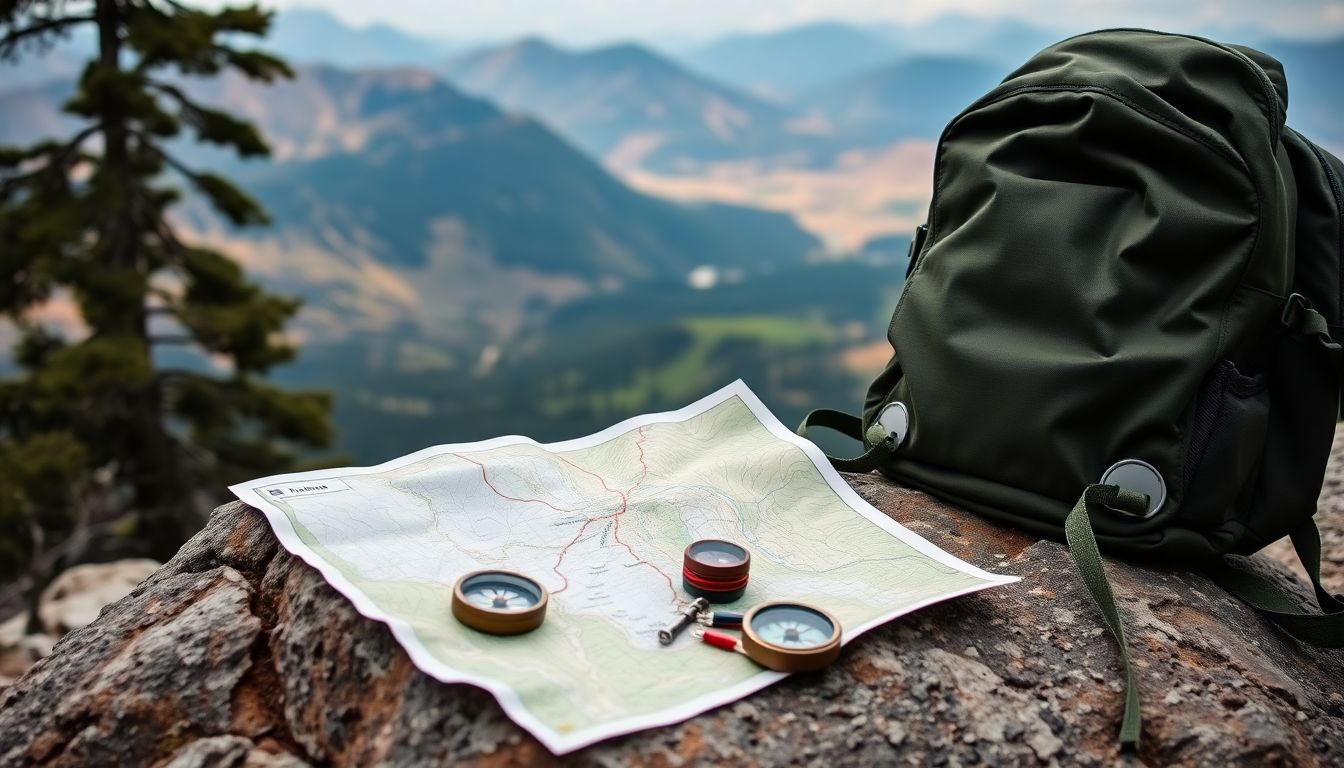
Planning a route is an art that combines various navigation techniques, ensuring a safe, efficient, and enjoyable journey. Let’s put it all together, step by step, with a backup plan and an understanding of your limits.
First, define your destination and research the area. Understand the terrain, weather, and any potential hazards. This initial step sets the stage for your entire journey.
Next, choose your navigation tools. These could be maps, compasses, GPS devices, or even apps on your smartphone. Each has its pros and cons, so use them in combination for redundancy.
Now, plot your route on a map. Start with major roads or trails, then add in smaller paths or cross-country sections. Consider the distance, elevation gain, and any time constraints.
Once your route is plotted, break it down into manageable sections. This will help you pace yourself and plan rest stops. It’s also a good time to identify potential hazards and plan how to navigate around or through them.
Now, let’s talk about waypoints. These are specific locations along your route that you can use to check your progress. They could be intersections, landmarks, or even GPS coordinates. Mark them clearly on your map and in your navigation device.
Before you set off, check your gear to ensure you have everything you need. This includes emergency supplies, a first aid kit, and a way to communicate if something goes wrong.
Finally, have a backup plan. This could be an alternative route if conditions change, or a plan for what to do if you get lost. It’s also crucial to know your limits. Don’t overestimate your abilities or the time you have. Always leave room for error.
In essence, planning a route is like writing a story. You start with a destination, plot the journey, and prepare for the unexpected. With each step, you’re not just planning a route, you’re planning an adventure.


