Have you ever found yourself in a situation where a well-tied knot could have made all the difference? Perhaps you were trying to secure a tarp for shelter, rig a pulley system to retrieve heavy objects, or even fashion a makeshift tourniquet in an emergency. The ability to tie essential survival knots is not just a useful skill to have; it’s a potentially life-saving one. In fact, according to a study by the Boy Scouts of America, knot-tying is one of the top 10 survival skills every person should know. But with so many different knots out there, which ones are truly essential for survival situations? Today, we’re going to demystify this crucial skill and explore the 10 essential survival knots every prepper must master.
First, let’s address the elephant in the room: why are knots so important in survival situations? The answer lies in their versatility. Knots can be used to secure, lift, bind, and even create simple machines that amplify our strength and efficiency. They can help you build shelter, start a fire, purify water, and even create makeshift tools. In essence, knowing how to tie knots is like having a Swiss Army knife in your pocket
- it opens up a world of possibilities.
Now, you might be thinking, ‘That’s all well and good, but I don’t want to spend hours learning a hundred different knots.’ Fear not, dear reader, for we are not here to overwhelm you with an exhaustive list of every knot under the sun. Instead, we’ve curated a list of 10 essential survival knots that every prepper should know. These knots are not only practical but also easy to learn and remember. By the end of this article, you’ll be well on your way to becoming a rope whisperer, ready to tackle any challenge that comes your way.
So, are you ready to unlock the secrets of these essential survival knots? Let’s dive in and explore the world of rope skills, one knot at a time. Remember, the more you practice, the more intuitive these knots will become. Soon, you’ll be tying them with the same ease and confidence as a seasoned sailor or a seasoned prepper. So, grab your rope, and let’s get started!
Unravel the Power of Rope Skills: A Comprehensive Guide to Essential Knot Tying
In the vast tapestry of human ingenuity, few tools have proven as versatile and indispensable as the humble rope. This unassuming yet powerful implement, when harnessed with the right skills, can transform into a lifeline, a bridge, a shelter, or a means to secure and lift heavy objects. The art of knot tying, an essential aspect of rope work, is a skillset that has evolved over centuries, passed down through generations, and continues to be a vital tool in various fields today. From sailors navigating treacherous seas to climbers scaling towering peaks, from rescue teams saving lives to campers setting up their tents, the ability to tie a reliable knot is not just useful, but often, a matter of life and death. This comprehensive guide aims to unravel the power of rope skills, delving into the world of essential knot tying. We will explore the science behind knots, their various applications, and most importantly, provide step-by-step instructions to help you master these crucial skills. So, whether you’re a seasoned outdoors enthusiast or a curious beginner, join us on this journey as we untangle the mysteries of the knot, one loop at a time.
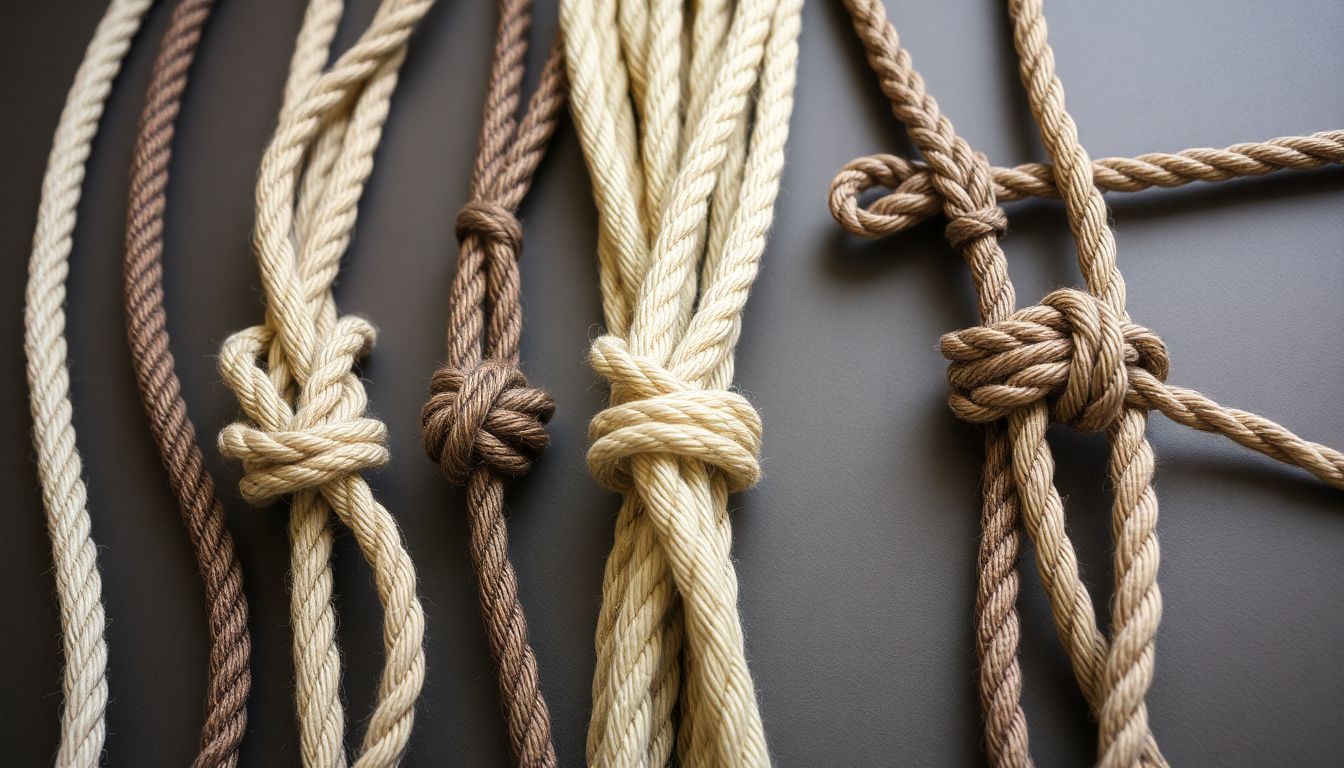
Understanding Rope and Knot Basics
Embarking on the journey of understanding rope and knots is like stepping into a world of practical magic, where simple loops and twists can secure, lift, or even save lives. Let’s begin at the very foundation, with the basics of rope types, knots, and their applications, especially in survival scenarios.
The world of ropes is as varied as the tasks they undertake. Ropes can be classified into three primary types based on their material: synthetic, natural, and steel. Synthetic ropes, like nylon and polyester, are lightweight, strong, and resistant to rot and mildew, making them ideal for climbing, camping, and rescue operations. Natural ropes, such as manila and sisal, are eco-friendly but less durable and prone to rot. Steel cables, on the other hand, offer unparalleled strength but are heavy and rigid, best suited for heavy-duty lifting and towing.
Now, let’s delve into the fascinating world of knots. The overhand knot is the building block of many other knots. It’s simple, yet powerful, and can be used to tie a rope to an object or create a loop. To tie an overhand knot, follow these steps:
- Make a loop in the rope.
- Pass the working end through the loop.
- Pull both ends to tighten.
The underhand knot, also known as the figure eight, is a bit more complex but offers better security. It’s often used in climbing and rescue situations. To tie an underhand knot:
- Make a loop in the rope.
- Cross the working end over the standing end.
- Pass the working end through the loop.
- Wrap the working end around the standing end.
- Pass the working end through the loop again.
- Tighten by pulling both ends.
In survival scenarios, these knots can be lifesavers. The overhand knot can be used to create a simple pulley system to lift heavy objects, while the underhand knot can secure a shelter or create a harness for carrying items. Understanding the right rope and knot for the job is not just about efficiency, but also about safety and survival.

The Timeless Bowline: The Knot That Binds
The bowline knot, a timeless mariners’ secret, has been binding ropes to posts, securing boats to docks, and even saving lives for centuries. Its history is as rich as the sea itself, with roots tracing back to ancient mariners who relied on its strength and versatility to navigate treacherous waters. Today, it remains one of the most important knots to know, beloved by sailors, climbers, and outdoors enthusiasts alike.
The bowline’s appeal lies in its unique combination of strength and ease of tying. It’s a ‘bend’ knot, meaning it joins two ropes together, and it’s renowned for its ability to maintain its strength even under heavy loads. This is due to its distinctive ‘overhand’ and ‘underhand’ loops that create a secure, non-slip connection.
But the bowline’s true genius lies in its versatility. It can be tied with one hand, making it a lifesaver in emergency situations. It can also be tied around an object, making it an excellent choice for securing a rope to a post or a boat to a dock. Its variations, such as the ‘Taut-Line Hitch’ and the ‘Bowline on a Bight’, further expand its usefulness.
Tying a bowline is a simple process, once you get the hang of it. Here’s a step-by-step guide:
- Make a small loop in the standing end of the rope (the end that’s not attached to anything).
- Pass the working end (the loose end) through the loop from the bottom.
- Wrap the working end around the standing end, passing it back through the loop from the top.
- Tighten the knot by pulling on both ends.
To untie, simply pull on the working end while holding the standing end. The bowline will slip apart easily.
The bowline’s variations offer even more functionality. The ‘Taut-Line Hitch’, for example, allows you to adjust the tension on a line, making it perfect for guy lines on tents or tarps. The ‘Bowline on a Bight’ is a quick and easy way to tie a loop in the middle of a rope.
In conclusion, the bowline knot is a true testament to human ingenuity. Its strength, versatility, and ease of use have made it an indispensable tool for generations of mariners, climbers, and outdoors enthusiasts. Whether you’re securing a boat to a dock or setting up a tent in the wilderness, the bowline is a knot that binds us all.
Securing Loads with the Taut-Line Hitch
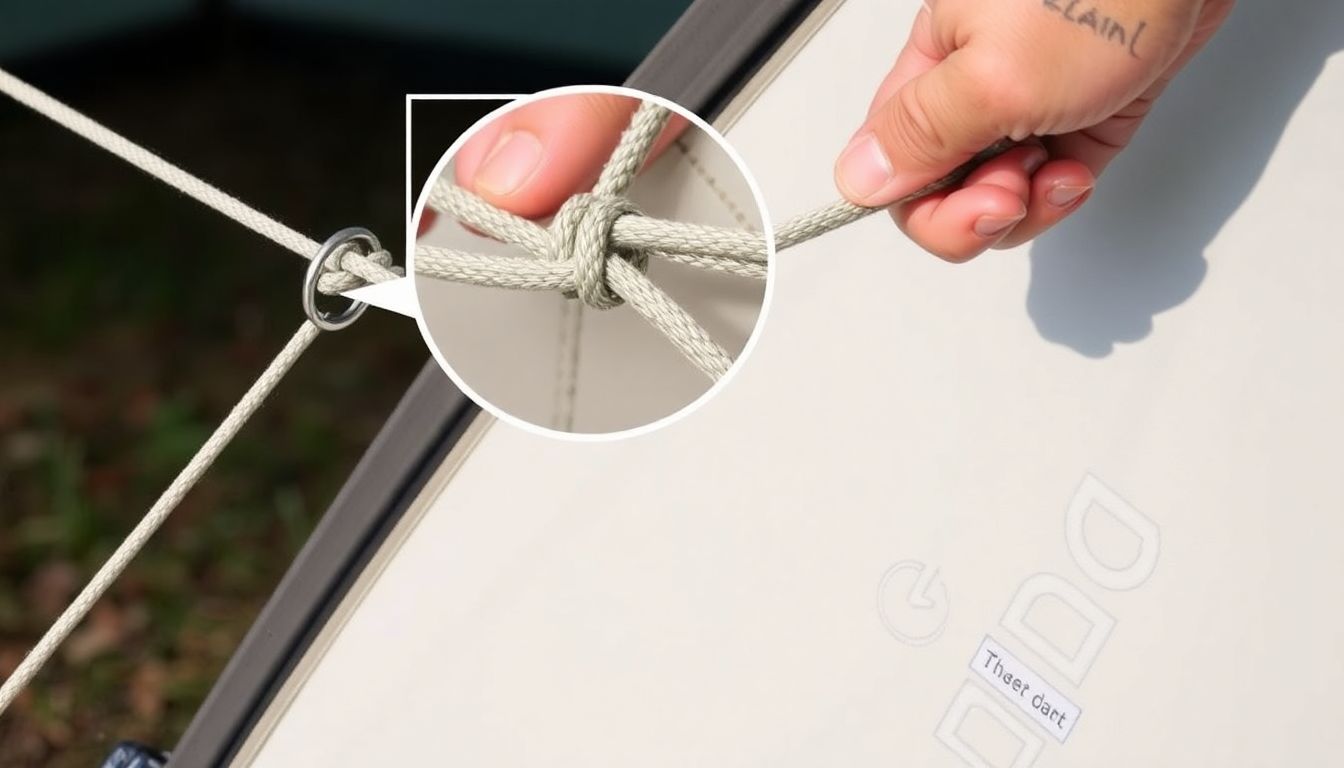
The taut-line hitch, a versatile and essential knot in the realm of rope work, serves a singular yet crucial purpose: to secure loads to ropes while allowing for easy adjustment. This knot is particularly useful in situations where tension on the rope needs to be maintained or adjusted, such as securing tarps, guy-lines, or raising and lowering loads. Its role is not merely to tie, but to tie with the flexibility to tighten or loosen as needed. Tying a taut-line hitch involves a few simple steps. First, create a loop in the rope, then pass the working end around the object you’re securing, and finally, tie a half hitch around the standing part of the rope. The trick lies in the final step: instead of tying the half hitch directly, you first pass the working end through the loop, creating a small loop on the working end. This small loop is what allows for the adjustment. To tighten, simply pull on the small loop; to loosen, ease the tension on the small loop. The taut-line hitch offers several advantages. Its primary benefit is the ease with which it can be adjusted, making it ideal for situations where tension needs to be fine-tuned. It’s also quick to tie and untie, saving time and effort. Additionally, it’s a secure knot, providing a strong hold once tightened. However, like all knots, the taut-line hitch has its potential pitfalls. It can slip under heavy loads if not tied correctly, so it’s essential to ensure the half hitch is tied tightly around the standing part of the rope. Also, it’s not a knot to be used in situations where the load might be subjected to shock loading, as it can slip or even untie under such conditions. Lastly, it’s important to note that while the taut-line hitch is great for adjusting tension, it’s not the best choice for tying off a load where no adjustment is needed, as it can slip under constant tension. In conclusion, the taut-line hitch is a valuable tool in the rope user’s arsenal, offering the unique ability to secure loads while allowing for easy adjustment. Whether you’re securing a tarp on a windy day or raising a flag on a pole, the taut-line hitch can make the task simpler and more efficient. Just remember to use it wisely, understanding its strengths and limitations, and you’ll find it an indispensable addition to your rope-tying repertoire.
The Clove Hitch: A Versatile Knot for Multiple Applications
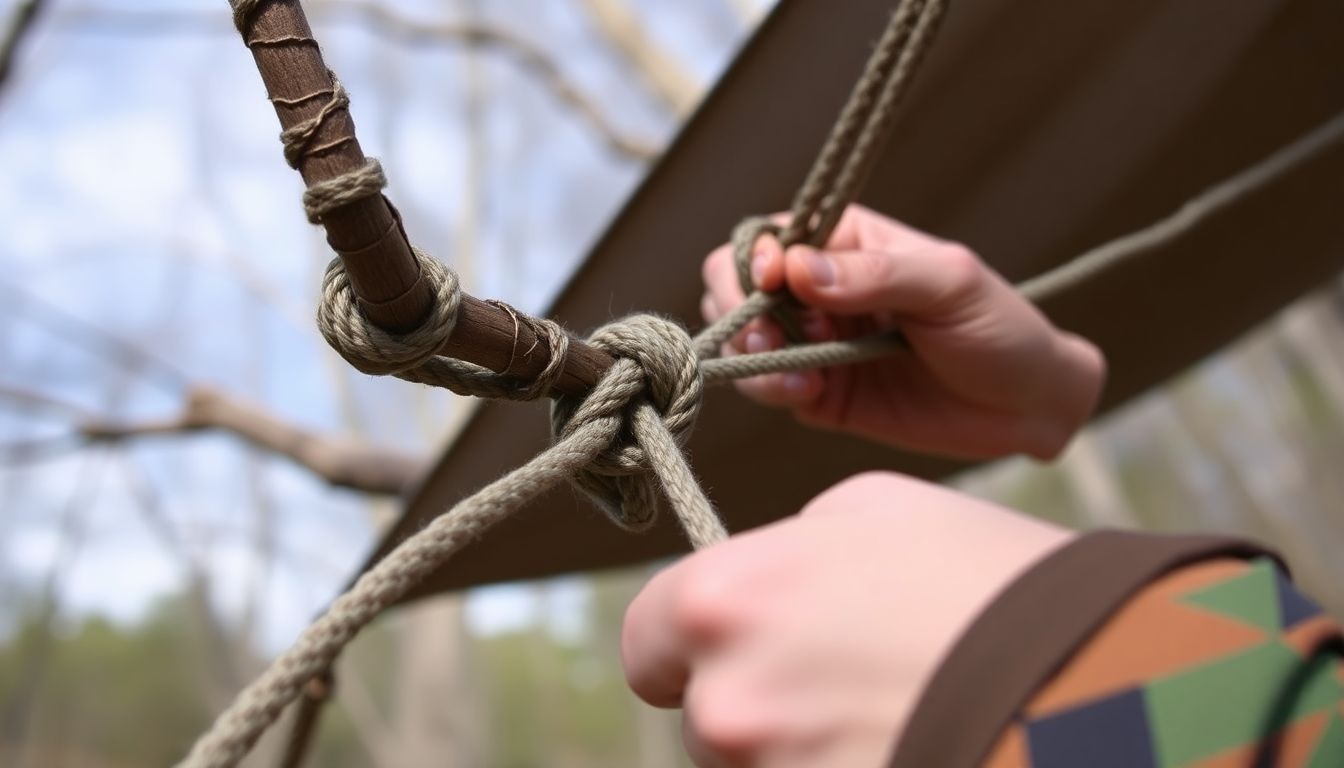
The clove hitch, a deceptively simple yet incredibly versatile knot, is a must-know for anyone who enjoys the outdoors or even just wants to be prepared for everyday situations. This knot is essentially a hitch, which means it’s used to secure a line to an object. But its applications are far-reaching, making it a staple in the repertoire of many a knot enthusiast.
The clove hitch is particularly useful for securing guy lines to tents, keeping your shelter taut and secure even in windy conditions. But its uses don’t stop there. It can also be employed to create a makeshift clothesline, allowing you to dry your clothes in the great outdoors. Or, in a pinch, it can be used to secure a load to a pole, acting as a temporary lashing knot.
Tying a clove hitch is a breeze. First, wrap the working end of your rope around the object you want to secure, going around it once. Then, take the working end and cross it over the standing part of the rope, creating an ‘X’. Next, wrap the working end around the object again, this time going under the standing part of the rope. Finally, pull both the working end and the standing part of the rope to tighten the knot.
There are also variations of the clove hitch that can be useful in different situations. The ‘clove hitch with a half hitch’ provides extra security, making it ideal for heavier loads. Meanwhile, the ‘clove hitch with a round turn’ can be used when you want to secure your rope to a rounded object.
When to use each variation depends on the situation. The standard clove hitch is great for most everyday uses, while the variations can be employed when you need a bit more security or are dealing with a unique situation. Regardless of which version you choose, the clove hitch is a knot that every rope enthusiast should have in their toolkit.
The Figure Eight Knot: A Secure Stopper Knot
In the world of rope handling, whether you’re a seasoned climber, a sailor, or a backyard adventurer, understanding and mastering stopper knots is not just a good idea, it’s a necessity. Stopper knots serve a crucial purpose: they prevent the end of a rope from unraveling, ensuring your rope remains in tip-top condition and, more importantly, keeps you safe. Among the myriad of knots out there, the Figure Eight Knot stands out as a reliable and secure stopper knot, making it a staple in many a rope enthusiast’s repertoire.
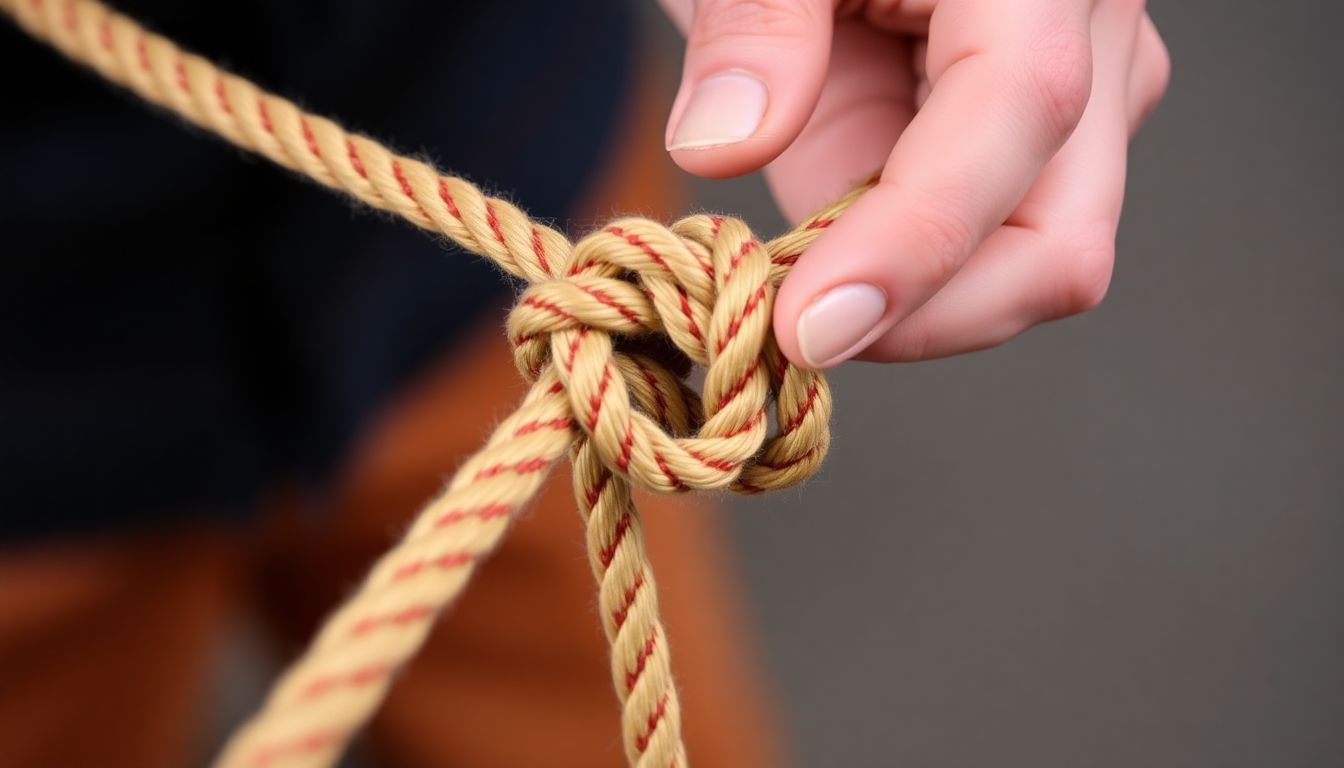
The Figure Eight Knot is a simple yet elegant knot, consisting of a series of overhand knots and underhand loops. It’s often used as a stopper knot at the end of a rope, preventing the rope from slipping through a carabiner or a ring. Its popularity lies in its ease of tying, its security, and its ability to be untied even after being heavily loaded.
To tie the Figure Eight Knot, follow these steps:
- First, create a loop in the rope.
- Then, take the working end of the rope and pass it under the standing part, creating an overhand knot.
- Next, pass the working end over the standing part again, creating another overhand knot, but this time, pass it through the first overhand knot.
- Finally, pull both the working end and the standing part to tighten the knot.
Remember, the key to a good Figure Eight Knot is to ensure that the working end is passed under the standing part twice, creating two overhand knots.
There are also variations of the Figure Eight Knot, such as the Figure Eight Follow-Through and the Figure Eight on a Bight. The Figure Eight Follow-Through is tied in the same way as the standard Figure Eight, but the working end is passed through the loop created by the first overhand knot, adding an extra layer of security. The Figure Eight on a Bight, on the other hand, is tied on a loop of rope rather than the end, making it useful in situations where you want to create a fixed loop in your rope.
In conclusion, the Figure Eight Knot, with its variations, is a versatile and secure stopper knot that every rope enthusiast should know. Whether you’re securing your tent guy lines, tying off your boat, or ensuring your climbing rope doesn’t slip, the Figure Eight Knot has you covered. So, go ahead, tie one on, and enjoy the peace of mind that comes with a securely tied rope.
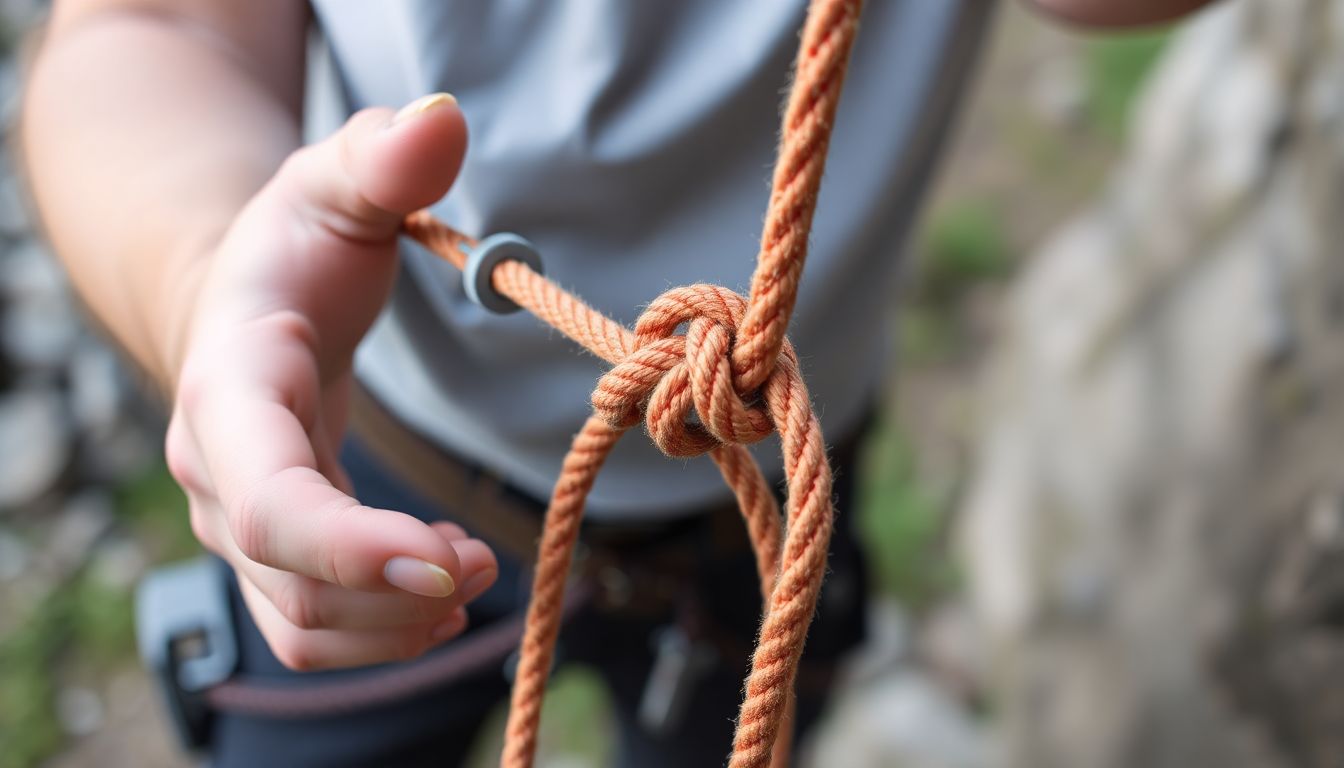
The Prusik Knot: Ascending and Descending Ropes with Ease
The Prusik knot, a versatile and essential tool in the world of climbing and rescue, serves a dual purpose: ascending and descending ropes with ease. Its name, derived from the Austrian mountaineer Karl Prusik, is a testament to its ingenuity and reliability. This friction hitch, when tied correctly, grips the rope tightly, allowing climbers and rescuers to move smoothly along the rope, much like a mechanical advantage system. It’s not just about getting up; it’s about getting down safely and efficiently.
The Prusik knot’s role in climbing is multifaceted. It’s used to create progress capture devices, enabling climbers to ascend fixed ropes with minimal effort. In rescue situations, it’s employed to create a belay system, allowing rescuers to safely lower or raise a victim. It’s also used in crevasse rescue, aiding in the extraction of a fallen climber.
Tying a Prusik knot is a skill every climber and rescuer should master. Here’s a step-by-step guide:
- First, tie a loop in the Prusik cord, ensuring it’s long enough to wrap around the rope and have some slack left over.
- Wrap the loop around the rope, leaving about a foot of slack.
- Take the loose end of the Prusik cord and pass it through the loop, creating a second loop.
- Wrap this second loop around the rope, ensuring it’s tight and snug.
- Take the loose end of the Prusik cord and pass it through the first loop, pulling it tight. This is the locking mechanism of the Prusik knot.
- To test the knot, try to slide it along the rope. If it’s tied correctly, it should grip the rope tightly and not slip.
Using a Prusik knot safely is crucial. Always ensure the knot is tied correctly and check it regularly. When ascending or descending, lean back slightly to take the weight off the knot, allowing it to slide smoothly. Never rely solely on a Prusik knot for your safety; always use it in conjunction with other safety measures. After all, safety is the cornerstone of any climbing or rescue operation.
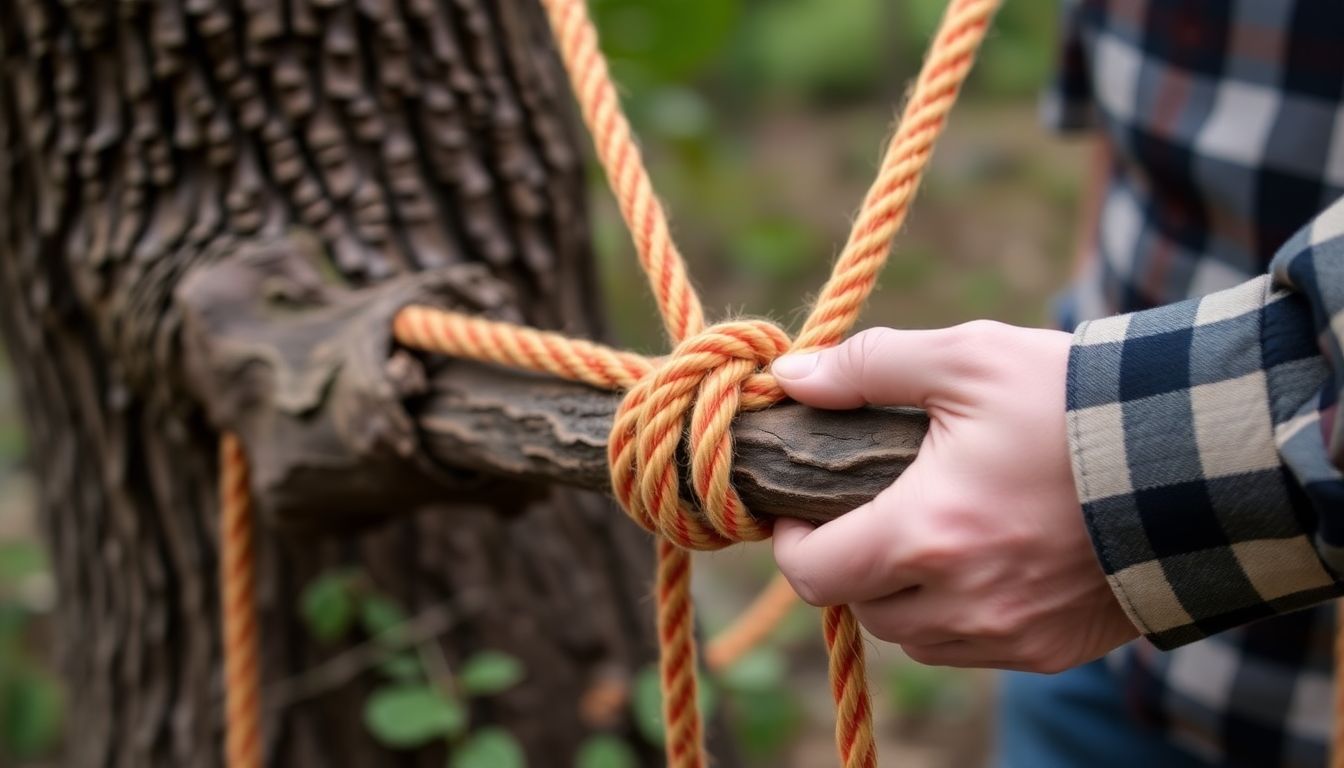
The Trucker’s Hitch: A Powerful Knot for Tensioning
The Trucker’s Hitch, a robust and versatile knot, is a game-changer when it comes to tensioning tasks. It’s a favorite among truckers, campers, and outdoors enthusiasts alike, and for good reason. This knot, when tied correctly, can secure a load with remarkable tension, making it ideal for situations where a firm, steady hold is crucial.
The Trucker’s Hitch is essentially a combination of a round turn and a half hitch, with a twist. Here’s how you can tie it:
- First, make a round turn around the object you’re securing, ensuring the working end is on top.
- Next, make a half hitch around the standing part, passing the working end under and then over.
- Now, here’s where it gets interesting. Instead of pulling the working end to tighten, you’ll make another half hitch, but this time, you’ll pass the working end under and then through the loop created by the first half hitch.
- Finally, pull the working end to tighten the knot. The tension created is impressive and can be adjusted as needed.
The Trucker’s Hitch has several advantages. It’s easy to tie and untie, even under load. It provides excellent tension, making it perfect for securing tarps, tying down loads, or tensioning guy lines on tarps or tents. It’s also less likely to slip than other knots, thanks to the unique way it grips.
So, when should you use the Trucker’s Hitch instead of other tensioning knots like the Taut-Line Hitch? The Taut-Line Hitch is indeed a fantastic knot, but it can slip under load, especially if the tension changes. The Trucker’s Hitch, on the other hand, holds its tension remarkably well, making it ideal for situations where slippage could be problematic. However, it’s important to note that the Trucker’s Hitch is not easily adjustable once tied, unlike the Taut-Line Hitch. Therefore, it’s best used when you’re sure you won’t need to adjust the tension once the knot is tied.
In conclusion, the Trucker’s Hitch is a powerful tool in the world of knots, offering unparalleled tension and grip. Whether you’re a trucker securing a load, a camper setting up a tarp, or an outdoors enthusiast tensioning a guy line, the Trucker’s Hitch is a knot you’ll want in your repertoire.
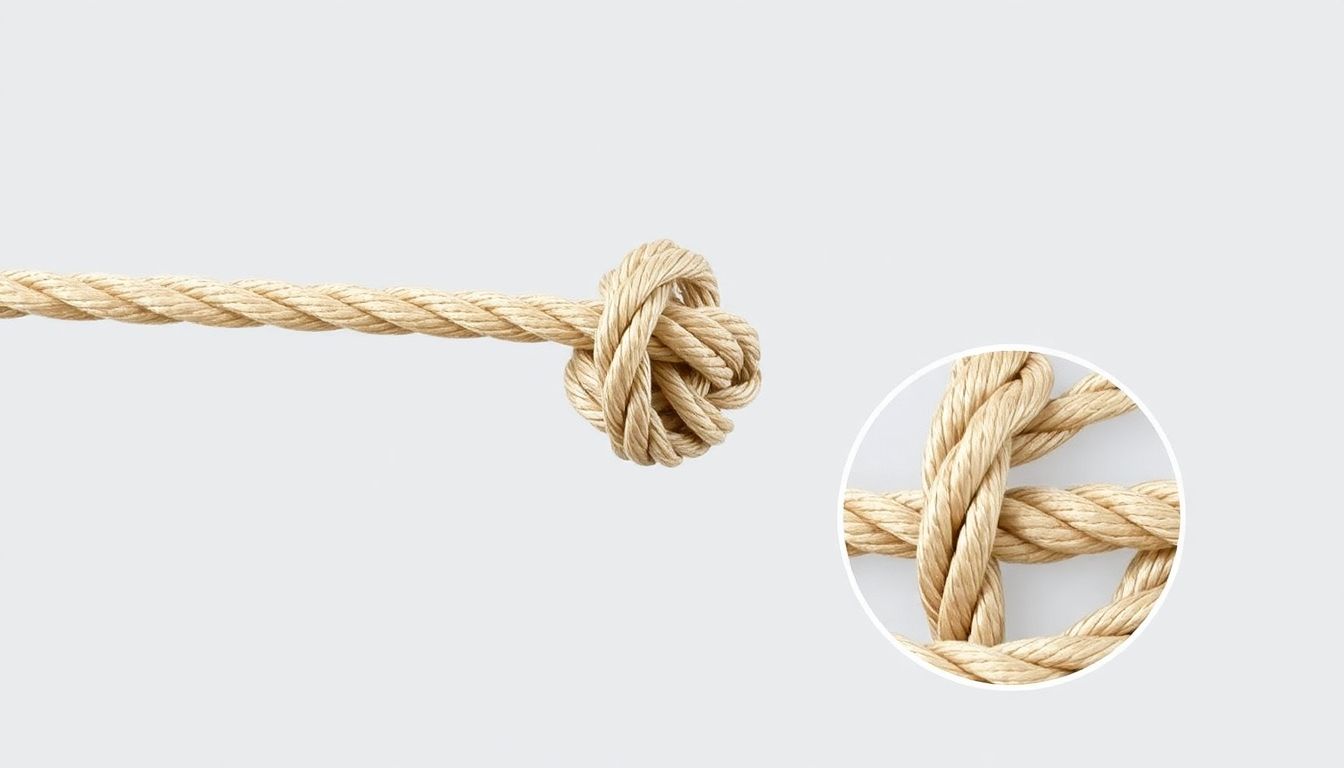
The Sheet Bend: Joining Ropes of Different Sizes
The sheet bend, a versatile and robust knot, is a lifesaver when it comes to joining ropes of different diameters. Its purpose is to connect two lines end-to-end, making it an essential knot in climbing, sailing, and rescue operations. Let’s delve into the world of this handy knot and learn how to tie it, along with its variations, advantages, and limitations.
The sheet bend is tied by passing the end of the smaller rope (or line) through a loop in the larger rope, then wrapping it around the standing part of the larger rope, and finally tucking it back into the loop. Here’s a step-by-step guide:
- Pass the end of the smaller rope through a loop in the larger rope.
- Wrap the end of the smaller rope around the standing part of the larger rope.
- Tuck the end of the smaller rope back into the loop, pulling both ropes tight.
Variations of the sheet bend include the double sheet bend, which involves tying two sheet bends back-to-back for added security, and the figure-eight bend, which is a more secure version of the sheet bend, often used in climbing.
The sheet bend has several advantages. It’s easy to tie, even with one hand, and it’s strong, maintaining a high percentage of the original rope’s strength. It’s also easy to untie, even after being loaded, which is crucial in many situations.
However, the sheet bend has its limitations. It’s not suitable for joining ropes of greatly different diameters, as the smaller rope may cut into the larger one under load. Also, it’s not recommended for tying a rope to a fixed object, as it can slip under load.
In conclusion, the sheet bend is a handy knot to know, especially when you need to join ropes of different sizes. With a bit of practice, you’ll be tying this knot like a pro, ready to face any rope-joinery challenge that comes your way.
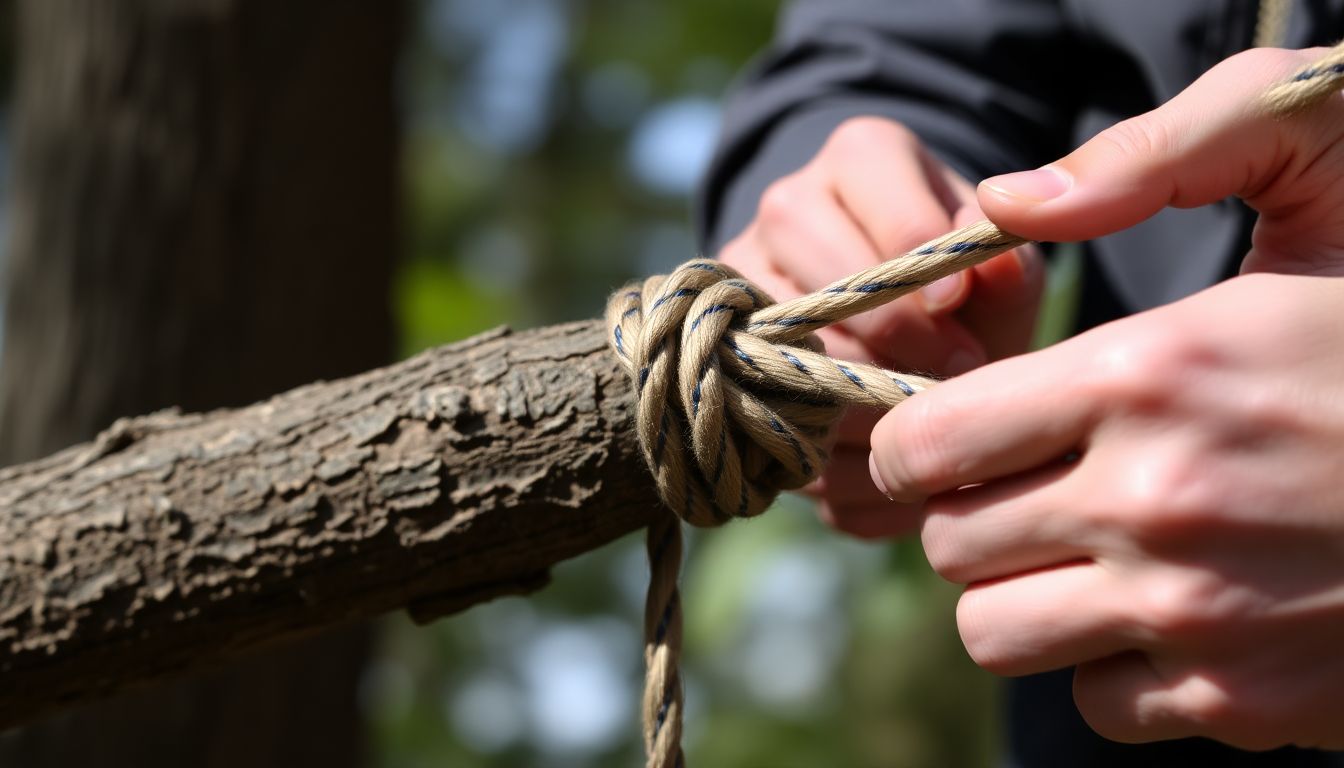
The Half Hitch: A Simple Knot with Multiple Uses
The half hitch, a deceptively simple knot, is a versatile addition to any outdoors enthusiast’s repertoire. It’s a fundamental knot that serves as a building block for more complex knots, making it an essential skill to master in survival situations. The half hitch is essentially a single turn around an object, followed by a half hitch around the standing part of the line. Let’s dive into the variations and applications of this humble knot.
The half hitch has several variations, each serving a unique purpose. The most common is the half hitch with a half hitch, which provides a basic level of security. For added strength, you can use the half hitch with a round turn, which involves wrapping the line around the object twice before taking the half hitch. Another variation is the half hitch with a cleat hitch, which is particularly useful when you need to secure a line to a fixed object.
In survival situations, the half hitch is invaluable. It can be used to secure a shelter by tying a tarp or poncho to trees or other structures. When combined with other knots, it can create a secure lashing for building a raft or a makeshift bridge. It’s also useful for creating a simple pulley system, allowing you to lift or move heavy objects.
To tie a half hitch correctly, follow these steps:
- Wrap the line around the object in the direction you want the knot to tighten.
- Take a half hitch around the standing part of the line, ensuring the working end crosses over the standing part.
- Tighten the knot by pulling on the working end and the standing part.
- To secure the knot, take a second half hitch in the same direction.
- Tighten the knot again, ensuring it’s secure but not overly tight, as this could damage the line.
Remember, the half hitch is most effective when used in combination with other knots. For instance, you might use a half hitch to secure a line to a tree, then use a trucker’s hitch to adjust the tension.
So, the next time you find yourself in a survival situation, or even just setting up a tent at a campsite, don’t underestimate the power of the half hitch. This simple knot, with its multiple variations and applications, can make your outdoor experience safer and more enjoyable.

Practice Makes Perfect: Refining Your Knot Tying Skills
Mastering the art of knot tying is a skill that’s not only practical but also incredibly satisfying. It’s a testament to the old adage, ‘Practice makes perfect.’ Regular practice is the key to refining your knot tying skills, allowing you to tie knots with precision, speed, and confidence. Think of it like learning to play a musical instrument
- the more you practice, the better you become.
To improve your knot tying skills, start by understanding the basics. Familiarize yourself with the fundamental knots like the Overhand Knot, Figure Eight Knot, and the Bowline. These are the building blocks upon which more complex knots are based. Once you’ve mastered these, move on to more advanced knots, but always remember to keep practicing the basics to maintain your proficiency.
Here are some tips and exercises to help you refine your techniques:
- Practice with Different Materials: Try tying knots with various materials like rope, cord, and even shoelaces. Each material has its unique properties, and practicing with different ones can help you adapt your techniques.
- Set a Timer: Challenge yourself by setting a timer and trying to tie a specific knot within that time frame. This can help improve your speed and efficiency.
- Learn from Others: Watch instructional videos or join knot tying clubs to learn from experienced practitioners. They can provide valuable insights and tips.
- Keep a Knot Journal: Document the knots you’ve learned, any challenges you faced, and how you overcame them. This can serve as a useful reference and a record of your progress.
Remember, the goal is not just to tie a knot, but to tie it well. With regular practice and a commitment to learning, you’ll soon find yourself tying knots with ease and precision. So, grab your rope and start practicing
- your hands (and your future adventures) will thank you!


