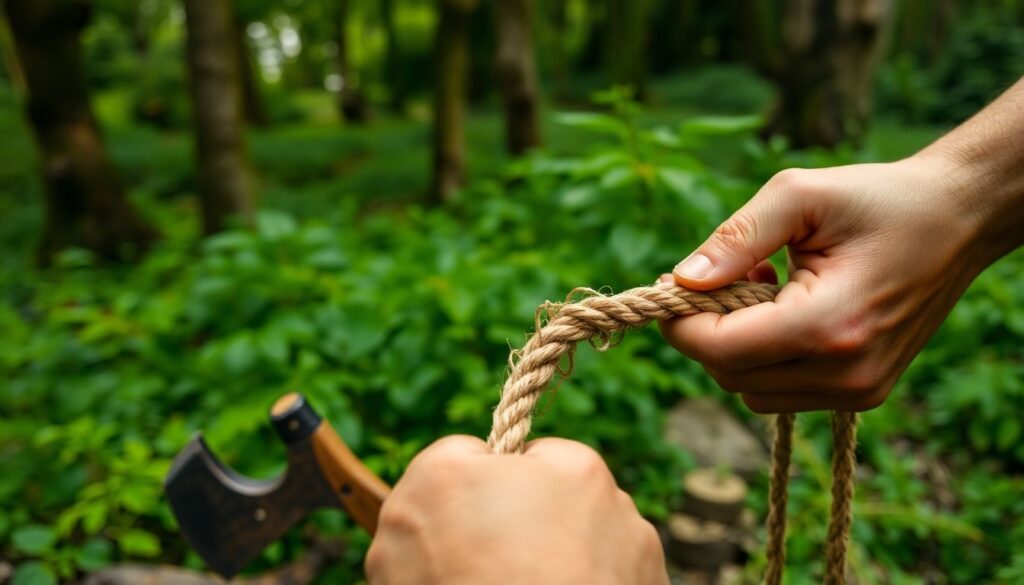
Have you ever wondered how our ancient ancestors managed to create essential tools and structures without the modern conveniences of hardware stores and craft shops? The answer lies in their ingenious use of natural resources, particularly plant fiber cordage, to create primitive rope making techniques that have stood the test of time. In this comprehensive guide, we delve into the fascinating world of natural twine, exploring the art of transforming plant fibers into robust, versatile cordage that can withstand the rigors of survival situations and everyday tasks alike.
Agreeably, the importance of cordage in our ancestors’ lives cannot be overstated. It was the backbone of their existence, enabling them to build shelters, create tools, and even secure their food sources. According to anthropological studies, the earliest evidence of rope-making dates back to around 28,000 years ago, with the discovery of a braided cord made from plant fibers in a cave in France. This demonstrates the integral role that plant fiber cordage has played in human history and its enduring relevance in our modern world.
Now, you might be thinking, ‘Why should I learn about primitive rope making when I can just buy a roll of nylon rope at the store?’ While it’s true that synthetic ropes are convenient and durable, they also come with a hefty environmental footprint and a limited lifespan. Moreover, in a survival situation, access to such resources might not be guaranteed. This is where the knowledge of plant fiber cordage comes in handy. It’s a skill that not only reduces our environmental impact but also ensures our self-sufficiency and preparedness in any given scenario.
In this article, we promise to equip you with a thorough understanding of the plant fiber cordage process. We’ll explore the various types of plants suitable for cordage, their preparation techniques, and the different methods of twisting, braiding, and coiling these fibers into functional ropes. We’ll also delve into the fascinating world of natural dyes, allowing you to add a touch of color to your handmade cordage. By the end of this guide, you’ll not only have a newfound appreciation for the ingenuity of our ancestors but also the practical skills to create your own plant fiber cordage, ready to tackle any task, from setting up a tent to securing a food source.
So, whether you’re a seasoned survivalist, an eco-conscious crafter, or simply someone curious about the art of primitive rope making, this article is for you. Let’s embark on this journey together, exploring the fascinating world of plant fiber cordage, and unlocking a skill that’s as old as humanity itself. Who knows, you might just find yourself reaching for your homemade rope instead of the nylon one the next time you need to secure something. So, let’s get started!
Unraveling Nature’s Threads: Crafting Plant Fiber Cordage for Primitive Rope Making
In the verdant tapestry of nature, plants weave an intricate web of possibilities, one of which is the art of crafting plant fiber cordage for primitive rope making. This ancient craft, passed down through generations, is a testament to humanity’s ingenuity and resourcefulness. It all begins with the careful selection of plant materials, each with its unique properties and strengths. From the sturdy fibers of the mulberry tree to the flexible strands of the dogbane plant, these green threads hold the potential to become robust ropes, capable of withstanding the test of time and weather. The process involves a delicate dance of hands and tools, as the fibers are skillfully stripped, twisted, and interlaced to form a cohesive whole. It’s a labor of patience and precision, a symphony of human ingenuity harmonizing with the rhythm of nature. The resulting cordage, a beautiful fusion of plant and human craftsmanship, serves as a reminder of our deep connection to the natural world and our ability to create from its abundance.
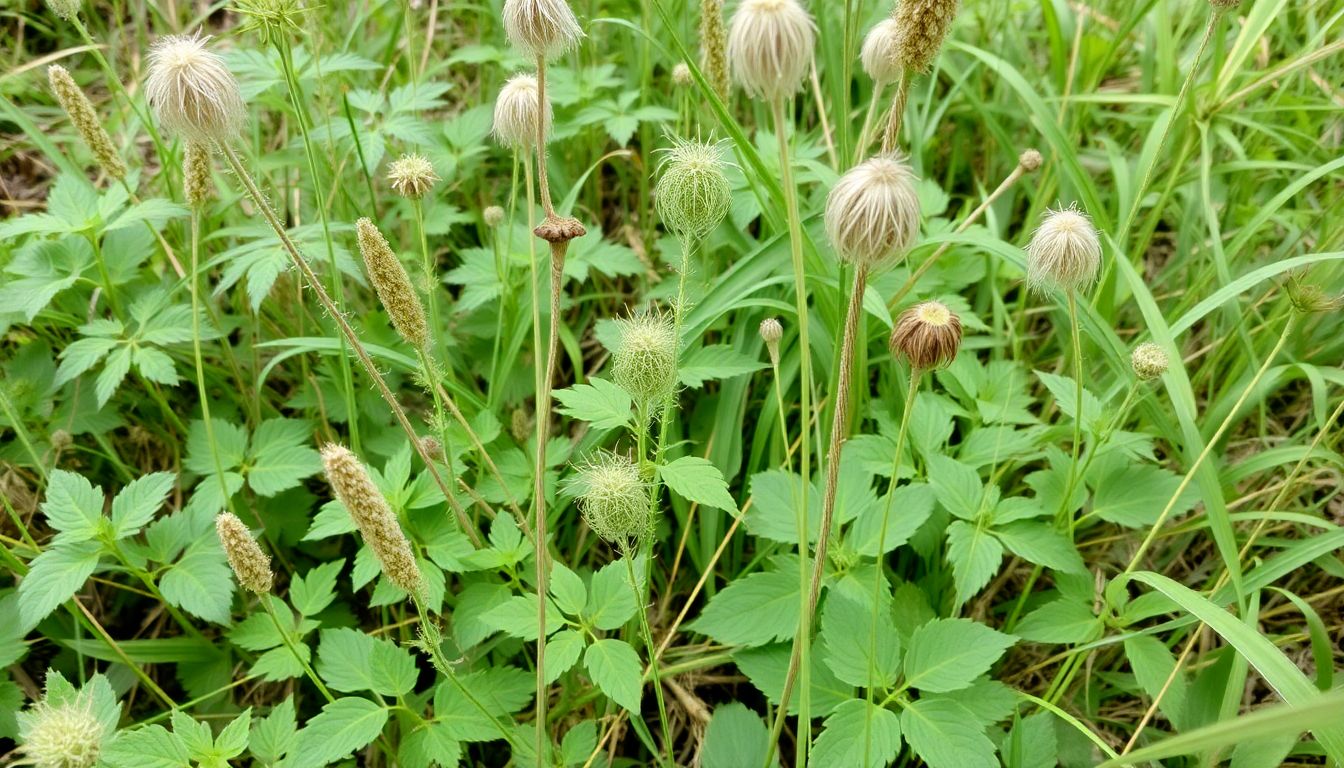
Understanding Plant Fiber Cordage
Plant fiber cordage, the art of transforming plant fibers into strong, flexible ropes and strings, has been a vital skill since time immemorial. In primitive societies, it was not just a craft but a necessity, enabling the creation of tools, shelters, and even clothing. The importance of plant fiber cordage lies in its accessibility, as it can be sourced from a wide variety of plants, and its durability, which can withstand the test of time and elements.
The relevance of plant fiber cordage today might not be as apparent as it was in ancient times, but it’s far from obsolete. It’s used in various industries, from gardening to fishing, and even in the production of certain textiles. Moreover, it’s an eco-friendly alternative to synthetic ropes and strings, aligning with modern sustainability goals.
Not all plants are created equal when it comes to cordage. Some yield fibers that are stronger, more flexible, or easier to work with than others. Here are a few plants renowned for their cordage potential:
- Nettle (Urtica dioica): Known for its long, strong fibers, nettle is one of the most popular plants for cordage. Its fibers are also quite flexible, making them ideal for various applications.
- Hemp (Cannabis sativa): Hemp fibers are incredibly strong and durable, making them excellent for creating ropes and strings that can withstand heavy loads. They’re also quite resistant to rot and decay.
- Milkweed (Asclepias spp.): Milkweed fibers are soft and flexible, making them perfect for lighter-duty cordage. They’re also quite buoyant, making them useful for flotation devices.
Each of these plants has its unique characteristics, and the choice between them often depends on the intended use and the resources available.
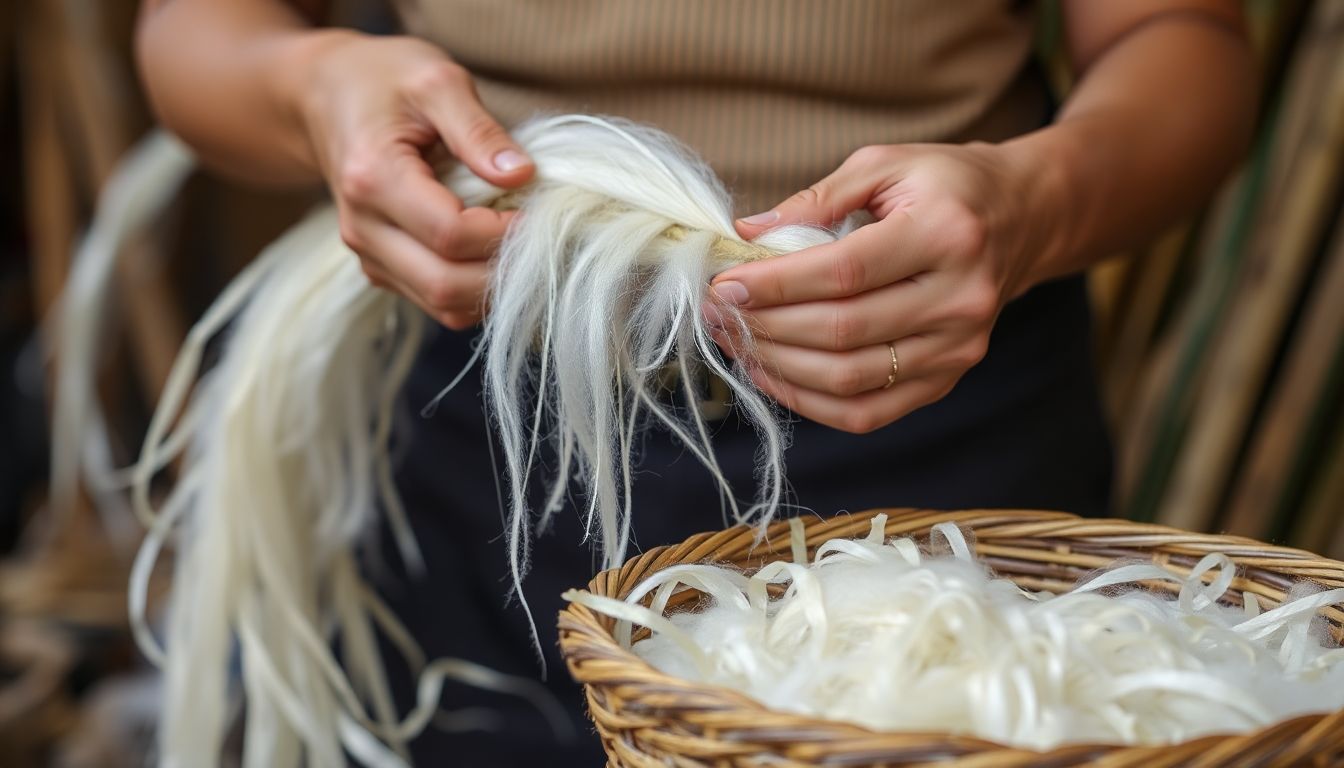
Gathering and Preparing Fibers
Gathering and preparing plant fibers is an ancient craft that connects us to the natural world. The first step is to identify the right plants and the optimal time to harvest them. Many fibers are best collected in late spring or early summer, when the plants are mature but before they begin to flower. For example, stinging nettle (Urtica dioica) is ideal to harvest in early June, while flax (Linum usitatissimum) is typically cut in late May or early June. Always ensure you have permission to gather from the land and never take more than you need.
The process begins with identifying the right parts of the plant. For most fibers, it’s the stem or the bast, the inner bark that surrounds the woody core. To identify the bast, look for the point where the stem meets the leaf or the point where the leaf meets the stem. This is where the fiber begins. Some plants, like milkweed (Asclepias spp.), have fibers in their fluffy seed pods, while others, like cotton (Gossypium spp.), have fibers in their seeds.
Once you’ve identified the right part of the plant, it’s time to gather the fibers. For many plants, this involves stripping the leaves and other unwanted parts away from the stem. This can be done by hand, or with a tool like a knife or a fiber stripping blade. Be careful not to damage the fibers as you strip them away.
After gathering, the fibers need to be dried. This can be done by spreading them out on a screen or a flat surface and leaving them in a shady, well-ventilated area. It’s important not to dry them in direct sunlight, as this can damage the fibers. Once they’re dry, they can be stored for later use.
Before using the fibers, they need to be processed. This often involves a process called ‘retting’, where the fibers are soaked in water to break down the pectin that binds them together. This can be done by submerging the fibers in a bucket of water and leaving them for a few days, or by spreading them out on a screen and leaving them in a damp, shady place. After retting, the fibers are ready to be spun into thread or used in other fiber arts projects.
The Art of Twining
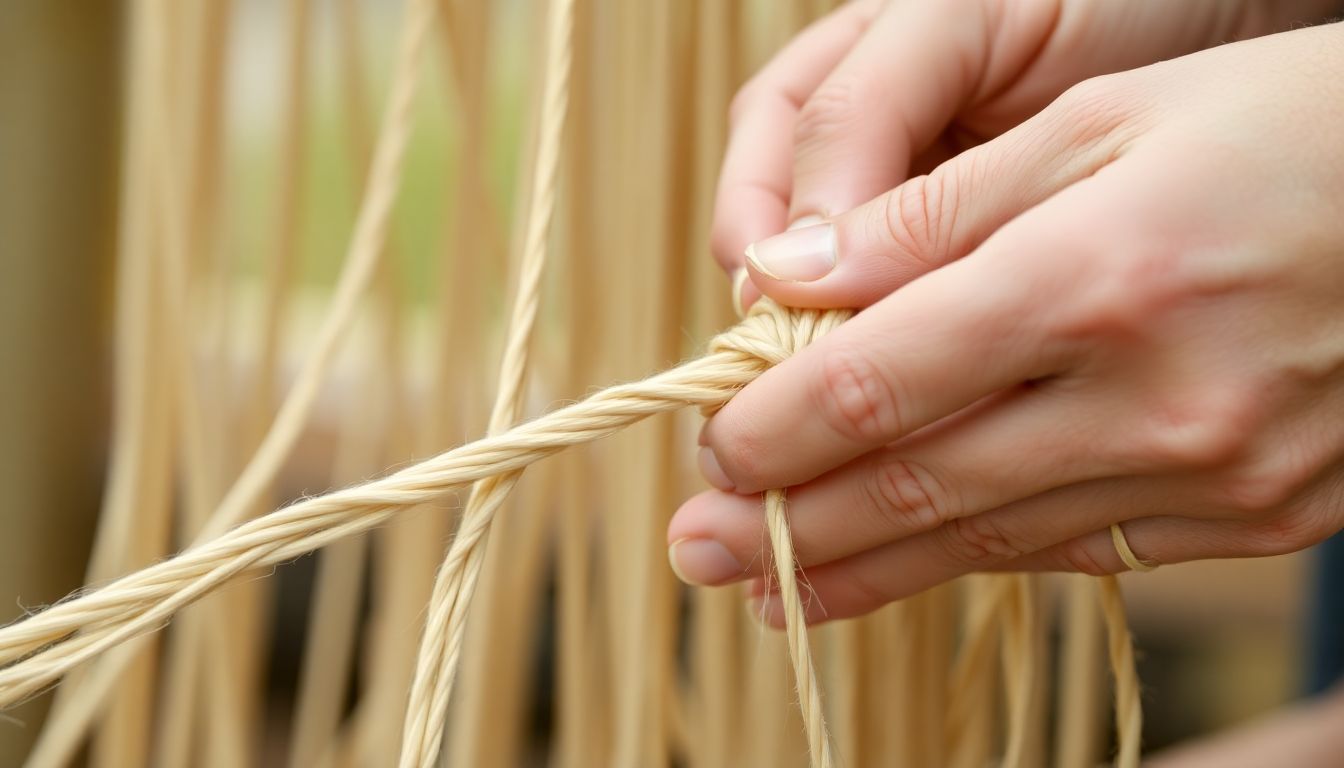
The art of twining, an ancient and practical craft, transforms flexible plant fibers into robust cordage. This technique, also known as ‘wrapping,’ involves winding one flexible rod or strip around another to create a strong, twisted rope. Let’s delve into the basic twining technique, step by step.
First, gather your materials: two types of flexible plant fibers or rods, one thicker and sturdier for the core (A), and another thinner and more pliable for the wrapper (B).
Begin by holding the core (A) in your dominant hand, with the wrapper (B) in your other hand, ready to twist.
Start by placing the wrapper (B) over the core (A) about an inch from the end, with the wrapper’s tip pointing away from you. This is your starting point.
Now, here’s where the magic begins. With gentle tension, begin to twist the wrapper (B) around the core (A) in a clockwise direction. The key is to maintain a consistent tension throughout the process. Too much tension can break the wrapper, while too little will result in a loose, weak cordage.
As you twist, ensure you’re moving in the correct direction. For right-handed individuals, this is typically clockwise. Left-handed individuals may find it more comfortable to twist counterclockwise.
Once you’ve twisted the wrapper around the core a few times, you’ll notice that the wrapper starts to wrap around itself, creating a spiral effect. This is the beginning of your cordage.
Continue this process, maintaining consistent tension and direction, until you’ve reached the desired length of your cordage. To finish, tuck the end of the wrapper under the last few twists to secure it.
Practice makes perfect in the art of twining. Start with thicker, more forgiving materials, and as your skill improves, challenge yourself with thinner, more delicate fibers. With time and patience, you’ll find that the art of twining is not only practical but also deeply satisfying.
Variations on a Theme: Other Cordage Techniques
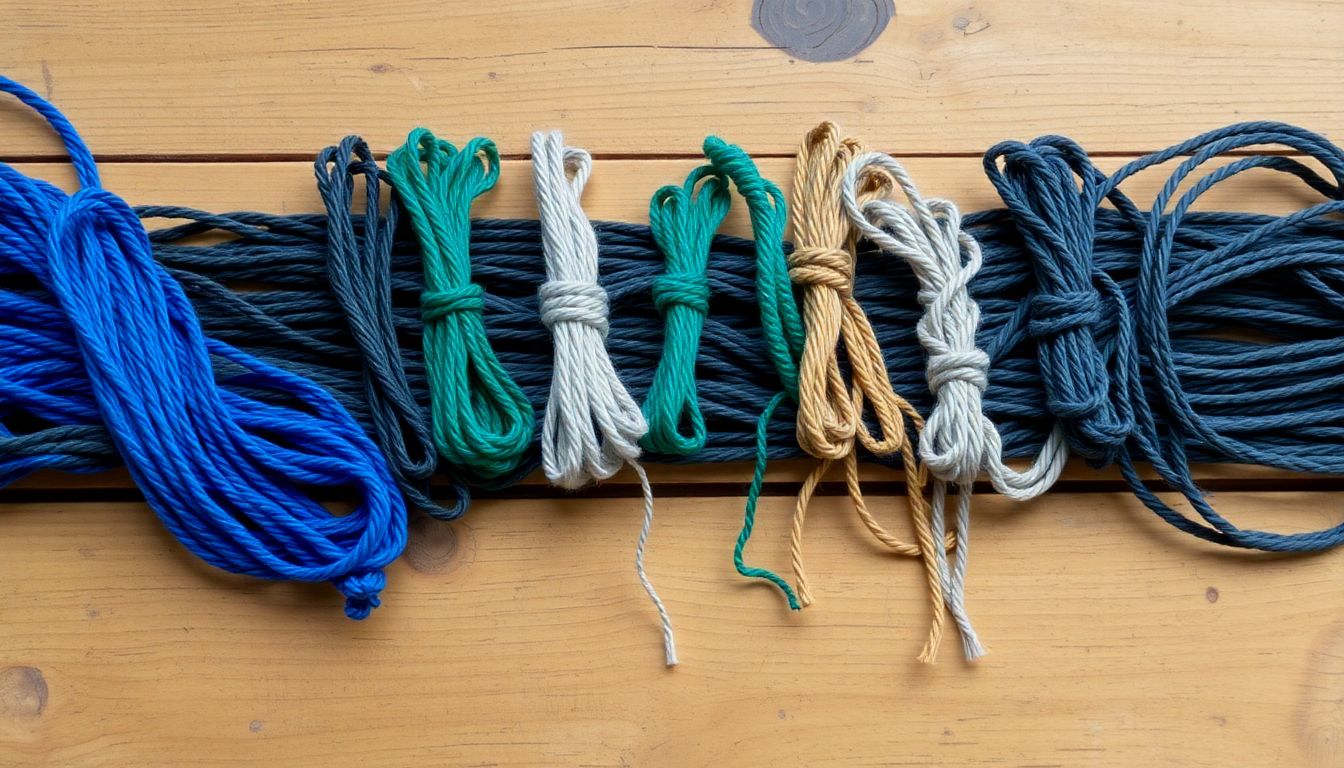
Beyond the ubiquitous twining technique, our ancestors have harnessed the versatility of plant fibers through a myriad of other cordage techniques, each with its unique charm and practicality. Let’s delve into three such techniques: braiding, plaiting, and coiling.
Braiding, a technique that involves intertwining three or more strands in a regular, repeating pattern, is a testament to human ingenuity. It’s robust, durable, and can be made waterproof by using plant resins or waxes. Braided cordage was often used for making ropes, nets, and even clothing. The three-strand braid, for instance, was a staple among Native American tribes, used for everything from snares to belts. The square braid, on the other hand, was favored by the Inuit for its ability to withstand extreme cold and saltwater.
Plaiting, similar to braiding, involves intertwining strands but with a simpler, more open pattern. It’s lighter, more flexible, and easier to work with than braiding. The flat plait, for example, was used by the Maori of New Zealand to make intricate patterns in their clothing and baskets. The round plait, meanwhile, was used by the Vikings to make ropes for their longships.
Coiling, the simplest of the techniques, involves wrapping a strand around a central core in a spiral pattern. It’s quick, easy, and can be made incredibly strong by using multiple strands. The Inuit used coiled cordage for their harpoon lines, while the Native Americans used it for their snares and traps. The difference between these techniques and twining lies in the direction and pattern of the strands. Twining involves wrapping strands around a core in a diagonal pattern, while these techniques involve wrapping in a spiral or interweaving in a regular pattern.

Strengthening Your Cordage
Strengthening your cordage is a crucial skill, especially for outdoor enthusiasts, survivalists, or anyone working with ropes and strings. The process involves three primary techniques: twisting, plying, and waxing. Let’s delve into each of these methods and understand their importance.
Twisting is the first step in creating cordage. When you twist fibers together, you’re creating friction between them, which helps lock them in place and increases the cord’s strength. To twist, start by laying out your fibers parallel to each other. Then, pick up one end and twist it clockwise or counterclockwise. As you twist, lay the fibers back down, keeping them parallel. Continue this process until you’ve twisted the entire length.
Plying is the next step and involves twisting multiple strands together. This creates a rope or cord that’s stronger than the individual strands. To ply, lay out your twisted strands parallel to each other. Then, pick up one end and twist it in the opposite direction of the individual strands. As you twist, lay the strands back down, keeping them parallel. This creates a balanced twist, making your cordage stronger and less likely to untwist.
Waxing is the final step in strengthening your cordage. Waxing provides a protective layer that helps prevent water absorption, which can weaken and rot your cordage. It also makes your cordage more flexible and easier to handle. To wax, melt some beeswax or other natural wax and dip your cordage into it. You can also rub the wax onto the cordage using your hands. Make sure to cover the entire length of your cordage.
After strengthening your cordage, it’s crucial to test it safely to ensure it can withstand the loads you’ll be using it for. Here’s a simple way to do this:
- Find a sturdy, immovable object, like a tree or a post.
- Tie your cordage securely to this object.
- Gradually apply tension to the other end of the cordage, using a scale or a known weight to measure the force.
- Keep increasing the tension until the cordage breaks or reaches the load you’ll be using it for.
- Record the breaking point or the load it can withstand.
Remember, safety is paramount when testing cordage. Always wear safety glasses and ensure the area around you is clear. Also, never test your cordage to its breaking point if it’s crucial for a specific task, as it may break unexpectedly.
By understanding and implementing these techniques, you can significantly strengthen your cordage, making it more reliable and durable for various applications.
Tools of the Trade: Primitive Cordage Tools
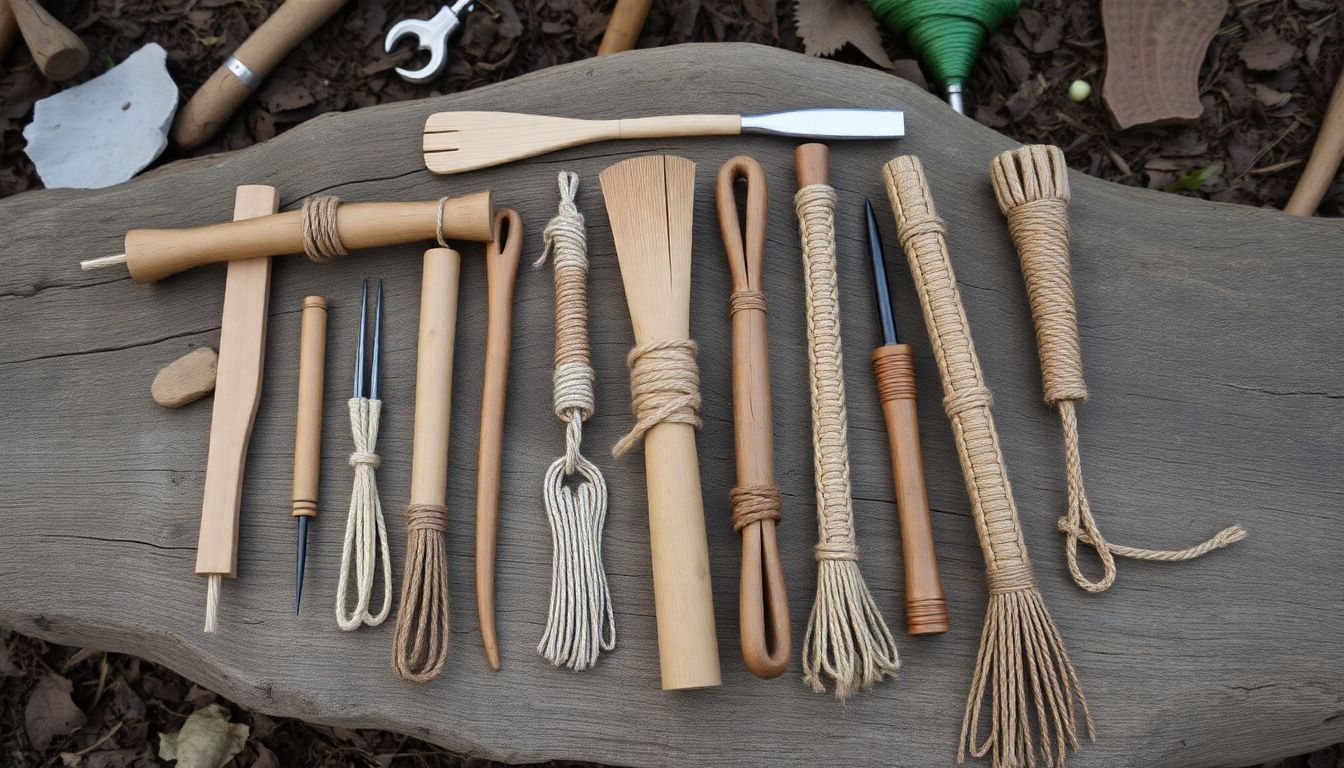
In the realm of primitive skills, cordage making is a fundamental art that has been practiced since time immemorial. The tools required for this craft are simple yet ingenious, allowing us to transform natural fibers into useful cordage. Let’s delve into the world of primitive cordage tools and explore how to make and use them.
The first tool in our repertoire is the humble spindle. A spindle is essentially a stick with a pointed end, used to twist fibers into cordage. To make a spindle, select a straight, sturdy stick about the length of your forearm. Sharpen one end to a point, and you’re ready to go. Using a spindle involves a technique called ‘spinning,’ where you hold the stick between your toes or under your arm, and twist the fibers around it using your hands. The resulting cordage is called ‘spun yarn.’
A variation of the spindle is the drop spindle. This tool consists of a spindle (the stick) and a whorl (a weight that fits onto the spindle to add momentum and control the twist). To make a drop spindle, you’ll need a straight stick, a weight (which can be a stone, a piece of wood, or even a metal washer), and a string or cord to connect them. The whorl should be attached to the top of the spindle, leaving enough length for the string to wrap around the spindle when in use. Using a drop spindle is similar to using a regular spindle, but the added weight makes it easier to maintain a consistent twist.
Another essential tool in cordage making is a wooden or stone knife. This tool is used to prepare fibers by stripping them from their stems or bark, and to cut the cordage to length. To make a wooden knife, select a piece of hardwood, and carve it into a blade shape. Stone knives can be made by chipping a stone into the desired shape. When using a knife to prepare fibers, hold the stem or bark firmly with one hand, and carefully scrape the fibers away from it with the blade. To cut cordage, simply hold it taut and slice through it with the blade.
These simple tools, when used with patience and practice, can produce strong, durable cordage from a variety of natural fibers. Whether you’re making cordage for practical purposes or simply to connect with our ancestors, these tools of the trade offer a rewarding and engaging way to learn a timeless skill.
Cordage in Everyday Life: Uses and Applications
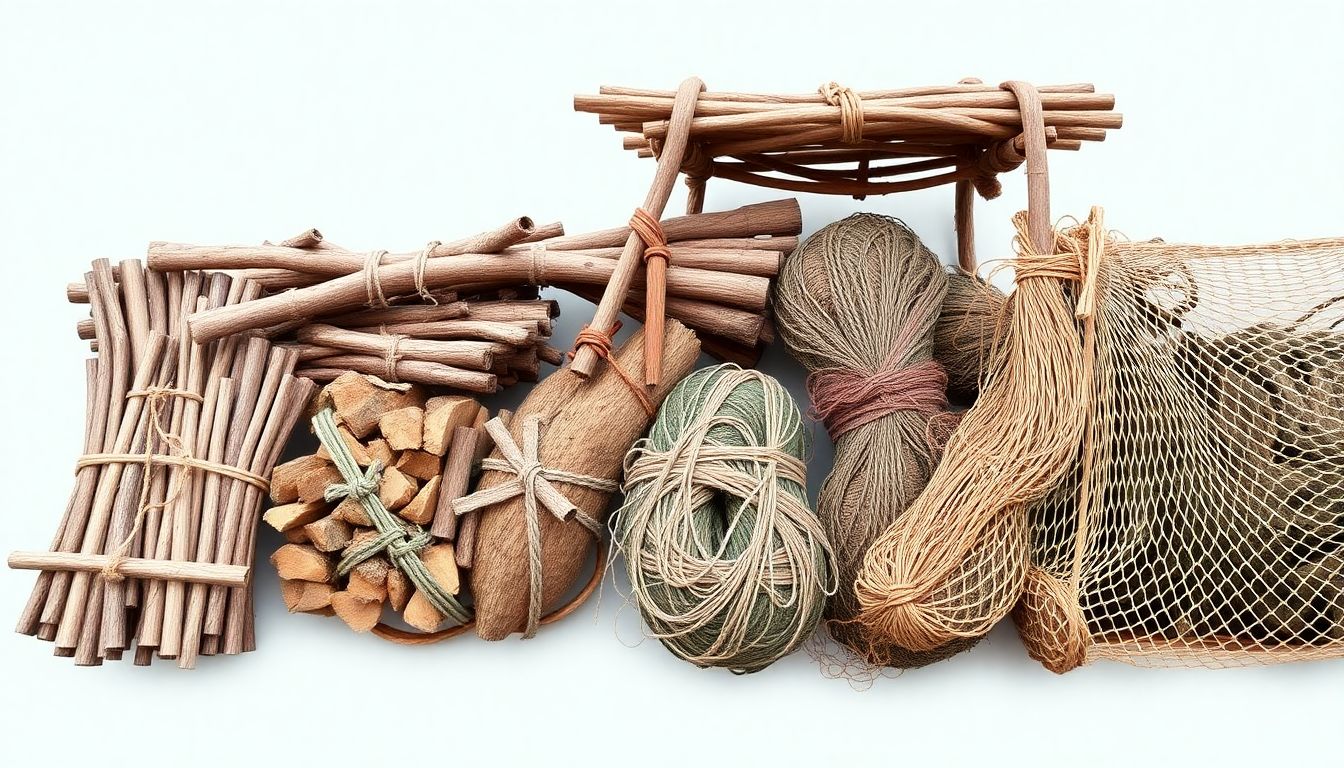
Cordage, the humble yet indispensable product of twisted fibers, has been an integral part of human life since time immemorial. Its uses are as varied as the materials from which it’s made, ranging from plants like bamboo and vines to animal products such as sinew and tendon, and even synthetic materials like nylon and polyester. In our everyday life, cordage serves a multitude of purposes, from the mundane to the extraordinary.
The most basic use of cordage is to tie things together. Whether it’s securing a package, hanging laundry, or tying a shoe, cordage is the unsung hero that keeps our world together. But its applications extend far beyond these simple tasks. In the realm of survival and homesteading, cordage takes on a new level of importance.
In a survival situation, cordage can be a lifesaver. It can be used to create snares for catching small game, a vital source of protein in a survival scenario. It can also be used to make a shelter, providing protection from the elements. A simple tarp or poncho can be turned into a makeshift tent with the help of some cordage. Moreover, cordage can be used to create a makeshift stretcher, aiding in the transportation of injured individuals.
In homesteading, cordage is equally indispensable. It’s used to create fences, keeping livestock in and predators out. It’s used to make nets for fishing, providing a sustainable source of food. It’s used to create trellises for plants, helping them grow upwards and saving space in the garden. It’s even used to make simple tools like a bow drill, aiding in tasks like fire-making and woodworking.
In essence, cordage is a testament to human ingenuity. It’s a simple tool that has evolved with us, adapting to our needs and serving us in countless ways. From the ancient world to the modern age, cordage has remained a constant, a symbol of our ability to create order from the chaos of the natural world.
Preserving and Storing Your Cordage
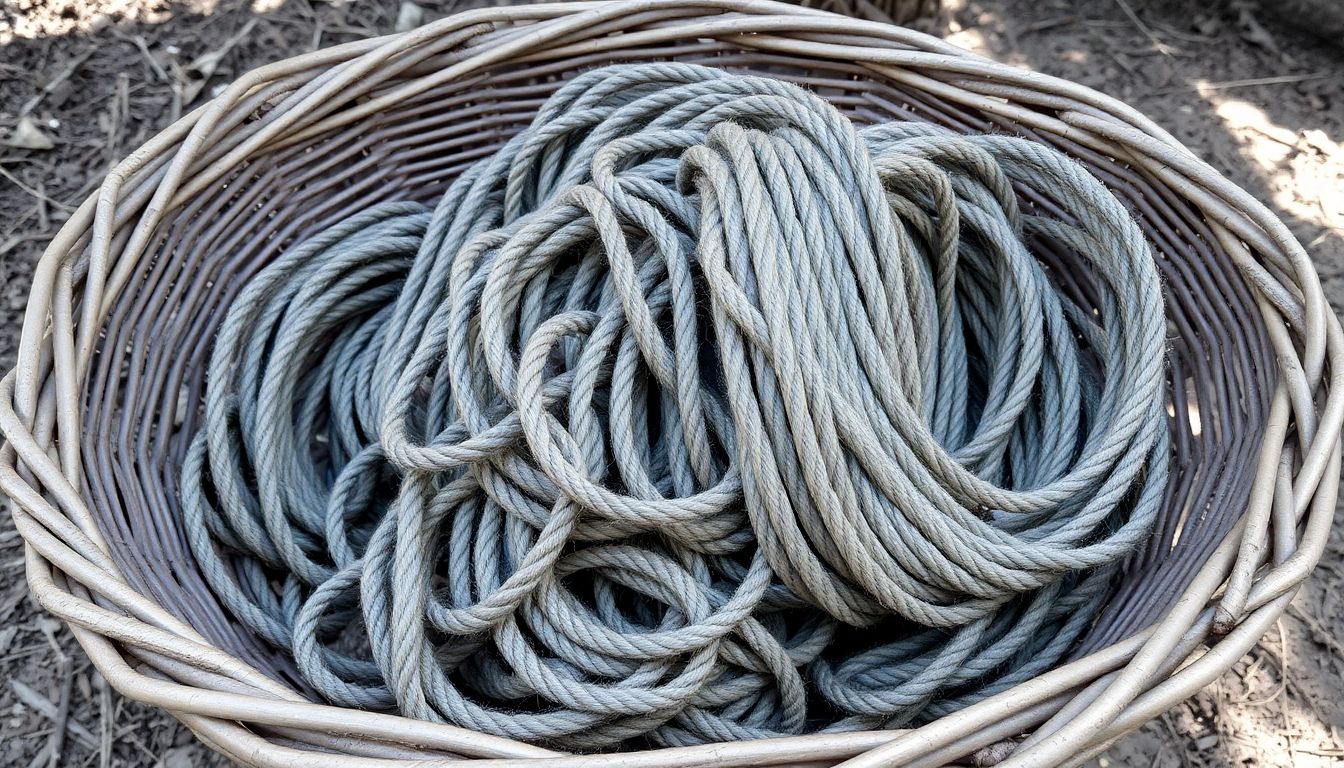
Preserving and storing your cordage is a crucial aspect of ensuring its longevity and functionality. Cordage, whether it’s made from natural fibers like hemp or sisal, or synthetic materials like nylon or polyester, is susceptible to damage and degradation if not cared for properly. The key to preserving your cordage lies in keeping it dry and out of direct sunlight.
Firstly, let’s discuss the importance of keeping your cordage dry. Moisture is the enemy of cordage. It can cause natural fibers to rot and synthetic materials to mildew, leading to weakened strands and ultimately, a broken cord. If your cordage gets wet, it’s essential to dry it thoroughly before storing. You can lay it out in a well-ventilated area, away from direct sunlight, and allow it to air dry completely.
Now, let’s talk about sunlight. Prolonged exposure to sunlight can cause UV damage to both natural and synthetic cordage. UV rays can break down the fibers, making them brittle and prone to breaking. Therefore, it’s crucial to store your cordage in a cool, dark place, away from windows and other sources of direct sunlight.
When it comes to storing your cordage, there are a few best practices to follow. Firstly, avoid tying your cordage into tight knots or coiling it too tightly. This can put unnecessary stress on the fibers and cause them to break over time. Instead, try to store your cordage in a loose coil or a figure-eight pattern.
Secondly, consider using a storage container to protect your cordage from dust and other contaminants. A plastic tote or a canvas bag can provide a barrier against dirt and moisture. Just ensure that the container is not airtight, as this can trap moisture and encourage mold growth.
Lastly, if you’re storing your cordage for an extended period, consider checking on it periodically. Even with the best storage practices, cordage can still degrade over time. Regular checks can help you catch any signs of damage early and prevent a complete loss of your cordage.
In conclusion, preserving and storing your cordage is not a complex task, but it does require some care and attention. By keeping your cordage dry, out of direct sunlight, and stored properly, you can extend its lifespan and ensure it’s ready for use when you need it.
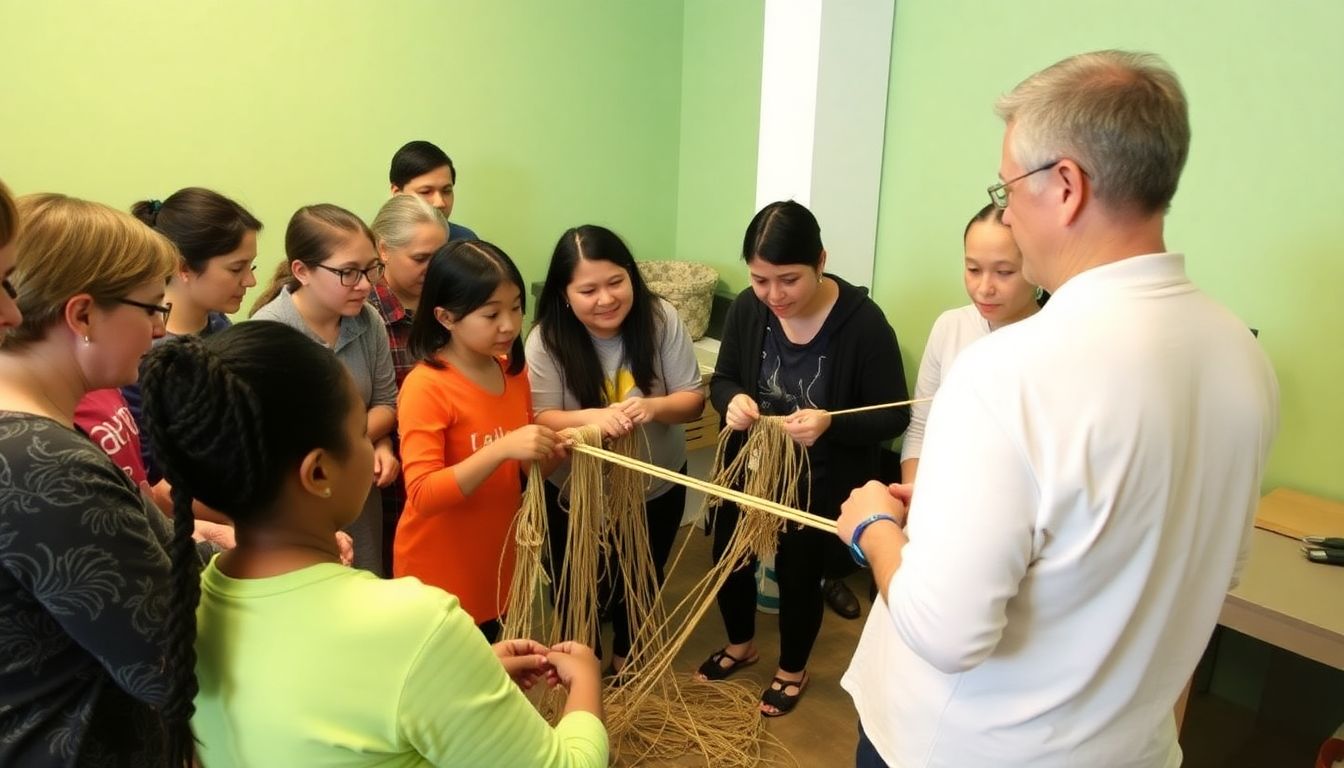
Teaching and Learning Cordage Making
In the grand tapestry of human knowledge, the art of cordage making, or rope craft, is a thread that has woven its way through generations. It’s not just about creating functional items; it’s about preserving a connection to our past, fostering creativity, and instilling a sense of self-sufficiency. Passing this skill to future generations is akin to planting a seed that will grow into a tree of resilience and resourcefulness.
Setting up a workshop or class for teaching cordage making is an exciting endeavor. First, ensure you have a safe, well-lit, and spacious area. Gather materials like various fibers (jute, sisal, hemp, etc.), tools (needles, awls, knives, and scissors), and samples of finished products for inspiration.
A beginner’s lesson should start with the basics. Introduce the different types of fibers and their properties. Then, guide them through the process of preparing the fibers, which includes cleaning, drying, and twisting. Here’s a simple breakdown:
- Start with a small bundle of fibers and demonstrate how to strip and clean them.
- Teach the basic twist, either S or Z, and how to maintain tension.
- Introduce the concept of ply, starting with a simple 3-ply cord.
- Guide them through the process of joining and finishing their cord.
Encourage experimentation and creativity. Let them explore different fibers, twists, and plies. Show them how to make simple items like bracelets, bookmarks, or keychains. The goal is not just to create functional items, but to spark a passion for learning and creating.
Remember, patience and encouragement are key. Cordage making is a skill that improves with practice. Celebrate every attempt, no matter how small, and watch as your students grow in skill and confidence. After all, you’re not just teaching a craft; you’re weaving a future.
FAQ
What is plant fiber cordage and why is it important for primitive rope making?
What are some common plants used for making natural twine?
- Sycamore and other maple trees for their inner bark (bast)
- Stinging nettle (Urtica dioica) for its strong fibers
- Dogbane (Apocynum cannabinum) for its flexible and strong twine
- Hemp (Cannabis sativa) for its robust fibers
- Grasses like Bermuda and Johnson grass for their flexible and durable fibers
How do I prepare plant fibers for cordage?
- Harvesting: Gather the plant material, ensuring it’s fresh and green for easier processing.
- Debarking: Remove the outer bark (if using tree fibers) to expose the inner bast. This can be done by making a longitudinal cut and peeling off the bark.
- Retting: Soak the fibers in water to break down the pectin that binds them together. This can be done by submerging the fibers in a stream or pond, or by placing them in a bucket of water and changing the water daily until the fibers are soft and slimy.
- Scutching: Beat the retted fibers with a stick or a scutching blade to separate the fibers from the woody core.
- Spinning: Twist the fibers together to create a continuous strand of cordage. This can be done using a drop spindle, a spinning wheel, or simply by hand.
What is the difference between S-twist and Z-twist cordage?
- S-twist: The fibers are spun in a clockwise direction, similar to the letter ‘S’. This type of twist is less prone to unraveling but can be more prone to kinking.
- Z-twist: The fibers are spun in a counterclockwise direction, similar to the letter ‘Z’. This type of twist is less prone to kinking but can be more prone to unraveling. When combining S-twist and Z-twist strands, they can be plied together to create a balanced, stable cordage.
How can I test the strength of my homemade rope?
- Weight test: Hang a known weight from the rope and observe how it holds. Gradually increase the weight until the rope breaks or shows signs of stress.
- Tension test: Tie the rope between two fixed points and pull on it with increasing force until it breaks. This can be done by hand or using a come-along tool.
- Knot test: Tie a knot in the rope and pull on it with increasing force until it breaks. This can help identify any weaknesses in your knotting technique.
Always remember to test your rope in a safe and controlled environment.
What are some common uses for natural twine in survival situations?
- Shelter building: Twine can be used to lash together poles and branches to create a framework for shelters.
- Hunting and trapping: Twine can be used to create snares, deadfalls, and other traps for small game. It can also be used to secure game to a carrying pole.
- Fishing: Twine can be used to create fishing lines, nets, and traps for catching fish.
- Clothing and gear repair: Twine can be used to mend tears in clothing, repair gear, or even create simple tools like a bow drill set.
- Cordage for tools: Twine can be used to create handles for tools like axes, knives, or digging sticks.
How can I preserve my homemade rope to extend its lifespan?
- Drying: After making your rope, dry it thoroughly in a well-ventilated area away from direct sunlight. This helps to remove any remaining moisture and prevents mold growth.
- Oiling: Coat your rope with a thin layer of natural oil, such as linseed oil or neatsfoot oil, to help protect it from moisture and prevent it from drying out and becoming brittle.
- Storing: Store your rope in a cool, dry place, away from direct sunlight and moisture. You can also wrap it in a protective covering, such as a cloth or plastic bag, to further protect it from the elements.
- Regular maintenance: Inspect your rope regularly for signs of wear or damage, and re-oil it as needed to maintain its flexibility and strength.


