Have you ever wondered how our ancestors managed to prepare meals without the convenience of electricity? Or perhaps you’re a survival enthusiast curious about alternative cooking methods for off-grid living? Either way, you’ve stumbled upon the right article! Today, we’re delving into the fascinating world of survival cooking, exploring 20 ingenious ways to prepare food without electricity. But first, let’s address the elephant in the room: why should you care about learning these skills?
In our modern, tech-driven world, it’s easy to take electricity for granted. However, natural disasters, power outages, or even a simple camping trip can leave us without our trusty power source. According to the U.S. Department of Energy, the average American experiences around 1.5 power outages per year, lasting an average of 3.5 hours each. Now, imagine being stranded without electricity for days, weeks, or even months. Scary, isn’t it?
That’s where survival cooking comes in. By mastering these off-grid meal preparation techniques, you’ll not only ensure your survival but also gain a newfound appreciation for the simple pleasures of cooking. You’ll learn to create delicious, nutritious meals using nothing but basic tools and the power of nature. So, are you ready to roll up your sleeves, embrace the challenge, and discover the joy of cooking without electricity? Let’s dive in!
In this article, we promise to reveal 20 innovative cooking methods that will revolutionize the way you think about meal preparation. From solar ovens to rock boiling, we’ve got you covered. By the end of this read, you’ll be equipped with the knowledge and confidence to tackle any cooking challenge that comes your way. So, grab a pen, and let’s embark on this culinary adventure together!
Mastering the Art of Off-Grid Culinary Craftsmanship
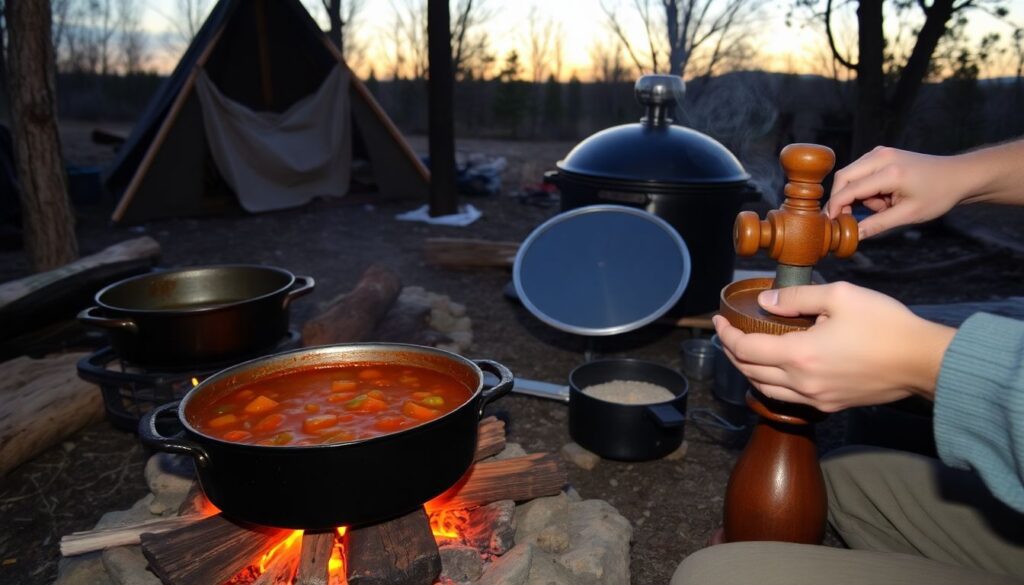
In the heart of the wilderness, where the hum of civilization fades, lies an art form as old as time itself: off-grid culinary craftsmanship. This is not merely about survival; it’s about transforming the raw, untamed ingredients of nature into a symphony of flavors that dance on your tongue. Imagine the crisp, smoky notes of a trout, freshly caught and cooked over an open fire, its skin charred to a perfect crunch, and its flesh tender and flaky. Or the earthy, robust taste of a stew, simmered in a cast-iron pot, filled with vegetables plucked from the ground that very morning, their flavors still vibrant and alive. Off-grid cooking is a journey of discovery, a testament to the power of patience and the joy of simplicity. It’s about understanding the language of fire, the rhythm of the seasons, and the subtle nuances of each ingredient. It’s about respecting the land, honoring its bounty, and creating a meal that tells a story of your time in the wild. So, let’s embark on this adventure, roll up our sleeves, and master the art of off-grid culinary craftsmanship, one delicious, primal bite at a time.
Understanding the Basics of Survival Cooking
The Power of the Sun: Solar Ovens
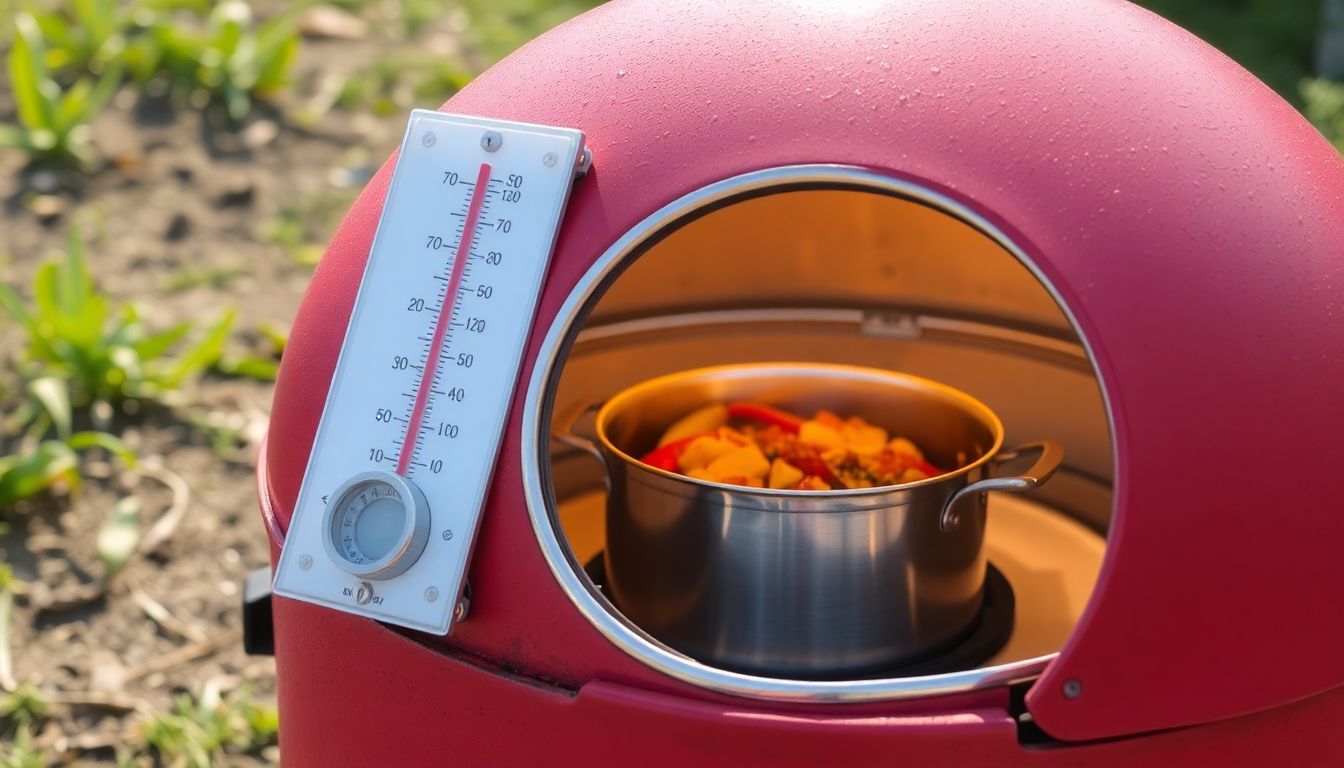
The sun, a boundless source of energy, has been harnessed by humans in various innovative ways, one of which is the creation of solar ovens. These ingenious devices convert sunlight into heat, providing a sustainable and eco-friendly alternative to conventional cooking methods. The construction of a solar oven is surprisingly simple and can be achieved using everyday materials.
At its core, a solar oven consists of a reflective surface to concentrate sunlight and an insulated box to retain heat. To build a simple solar oven, follow these steps:
- Gather your materials: a cardboard box, aluminum foil, black construction paper, tape, a sharp knife, and a thermometer.
- Cut out the top of the box to create an opening for sunlight.
- Line the inside of the box with black construction paper to absorb heat.
- Cover the outside of the box with aluminum foil to reflect sunlight into the box.
- Tape the box closed, ensuring it’s airtight to retain heat.
- Place the thermometer inside the box to monitor the temperature.
Once constructed, positioning your solar oven is crucial. Place it in a sunny spot, tilt it towards the sun, and ensure nothing blocks its path. The oven can reach temperatures high enough to cook food, with some models even exceeding 300°F (149°C).
The advantages of solar ovens are manifold. They’re free to use, as they rely solely on sunlight, and they’re safe, as they don’t produce open flames or emit harmful fumes. Moreover, they’re portable, making them ideal for camping trips or emergency situations. However, they do require patience, as cooking times can be longer than conventional methods.
Solar ovens can cook a variety of meals. For instance, to make solar s’mores, place graham crackers, chocolate, and marshmallows in a sealed, oven-safe container, and place it in the solar oven. In a few hours, you’ll have a gooey, delicious treat. Similarly, you can cook vegetables, meats, and even bake bread. The key is to use dark-colored pots and cover them to trap steam and heat. With a bit of experimentation, the possibilities are endless.
In conclusion, solar ovens are a testament to human ingenuity and our ability to harness the power of the sun. They’re not only eco-friendly but also fun to use, making them a great project for both adults and children alike. So, why not give it a try and enjoy a meal cooked under the watchful eye of the sun?
Harnessing the Heat of the Earth: Earth Ovens
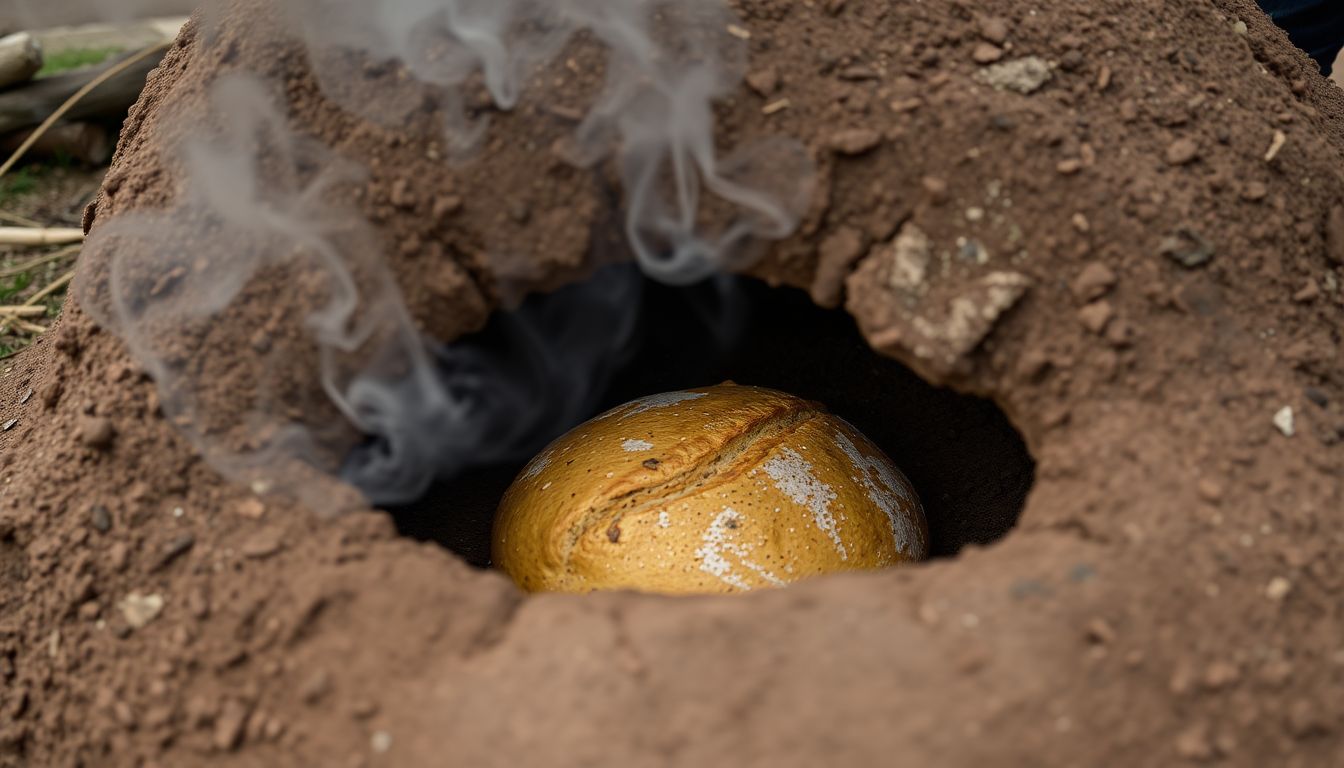
Nestled in the heart of ancient culinary traditions lies the earth oven, a timeless cooking method that harnesses the natural heat of our planet to create delectable dishes. These subterranean ovens, also known as pit ovens, have been used by various cultures across the globe for thousands of years, offering a sustainable and flavorful alternative to modern cooking methods.
Constructing an earth oven is a labor of love that begins with selecting a suitable location, preferably on flat, well-draining ground. The process involves digging a pit, typically around 3 to 4 feet deep and wide, lined with fire-resistant materials like stones or bricks. A layer of sand is then added to insulate the pit and protect the food from direct heat. The oven is then covered with a thick layer of earth, leaving an opening for smoke to escape.
Once the oven is built, it’s time to ignite the fire. A large fire is started in the pit, using dry wood and allowing it to burn for several hours. This initial fire not only heats the oven but also creates a layer of heat-retaining ashes. After the fire has died down, the ashes are carefully removed, and the oven is ready for baking.
Earth ovens are particularly well-suited for baking bread due to their consistent, even heat. The dough is shaped into loaves and placed on a peel or a large, flat stone, then slid into the oven. The opening is quickly covered with a damp cloth or a lid to retain heat and moisture. For other dishes, such as roasted meats or vegetables, they can be placed directly on the hot stones or wrapped in foil and buried in the ashes.
The environmental benefits of earth ovens are numerous. They require no external energy sources, reducing carbon emissions associated with conventional cooking methods. The slow, even heat promotes efficient cooking, minimizing fuel consumption. Additionally, the earth oven’s ability to retain heat allows for cooking multiple dishes at once, further conserving resources. Moreover, the ashes left behind can be used to enrich soil, completing a cycle of sustainability.
In an era dominated by high-tech appliances, the earth oven serves as a reminder of our deep connection to the earth and its elements. It offers a unique opportunity to engage with ancient culinary traditions, while also promoting a sustainable and delicious way of cooking.
Cooking with Fire: The Dutch Oven
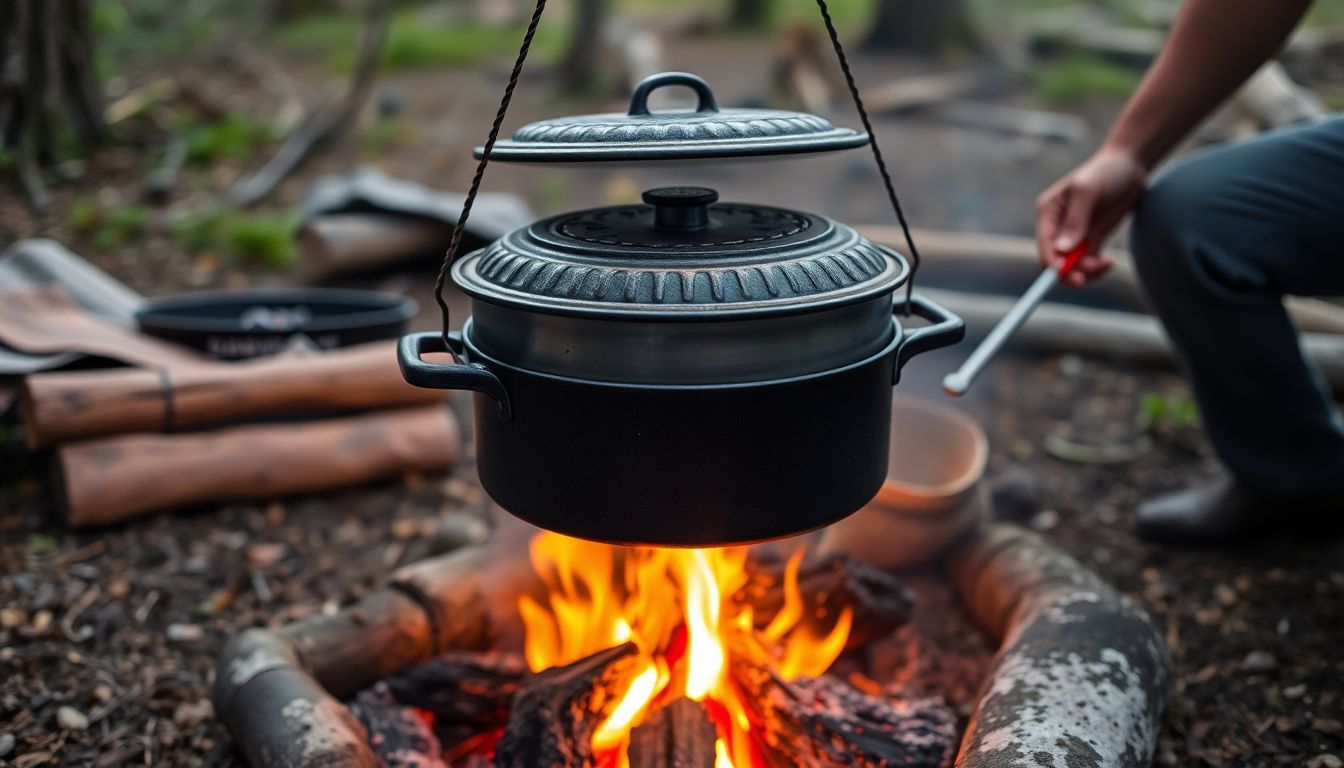
The Dutch oven, a timeless and versatile cooking vessel, has been a staple in kitchens and campsites alike for centuries. Its history can be traced back to the 17th century, when heavy cast iron pots were used for cooking over open fires in the Netherlands. These pots, known as ‘Dutch ovens,’ were brought to America by early settlers and quickly became essential for pioneers crossing the country, as they could be used for baking, boiling, frying, and even making coffee. Today, the Dutch oven continues to be a favorite among outdoor enthusiasts and home cooks alike, offering a unique, smoky flavor to dishes cooked over an open fire.
The Dutch oven’s design is simple yet effective. It consists of a deep, round pot with a flat lid that fits snugly inside a lip around the rim. This design allows for even heat distribution and retention, making it perfect for slow-cooking and baking. The lid can also be used as a griddle for cooking flatbreads or pancakes.
Seasoning and caring for a Dutch oven is a crucial step to ensure its longevity and performance. New Dutch ovens should be seasoned by rubbing them with a thin layer of oil, then heating them in an oven or over a fire until the oil smokes and the pot becomes non-stick. After each use, the Dutch oven should be cleaned with hot water and a stiff brush, then dried thoroughly and re-oiled to maintain the seasoning.
One of the joys of cooking with a Dutch oven is the wide variety of dishes it can prepare. From hearty stews and soups to crusty bread and even desserts, the possibilities are endless. Here are a few recipes to get you started:
-
Campfire Chili:
- Brown ground beef in the Dutch oven, then add onions, bell peppers, garlic, kidney beans, diced tomatoes, and your favorite chili spices. Simmer for 20-30 minutes, then serve with shredded cheese and green onions.
Cast Iron Skillet Cornbread:
- Mix together cornmeal, flour, baking powder, salt, and sugar. In a separate bowl, combine eggs, milk, and melted butter. Combine the wet and dry ingredients, then pour the batter into a greased Dutch oven. Bake for 20-25 minutes, or until golden brown.
Dutch Oven Apple Crisp:
- Toss sliced apples with sugar, cinnamon, and a touch of lemon juice. Place in the Dutch oven and top with a mixture of oats, flour, brown sugar, and butter. Bake for 30-35 minutes, or until the topping is golden and the apples are bubbling.
The Versatility of the Campfire: Spit Roasting and Grilling
Gather ’round, dear adventurers, as we delve into the timeless art of cooking over an open flame, a skill as old as humanity itself. The campfire, our humble yet versatile hearth, is not just a source of warmth and light, but a culinary playground that brings out the best in our ingredients. Let’s embark on this gastronomic journey, learning how to build and maintain a campfire for cooking, and master the techniques of spit roasting and grilling, all while exploring a myriad of recipes for various meats and vegetables.
First, let’s tend to our campfire. Choose a safe, flat spot, and clear a circle of debris. Using a ‘teepee’ structure, start with a small pile of tinder
- dry leaves, twigs, or even fire starters. Light it, and as the flames grow, add kindling
- thin sticks
- in a ‘teepee’ shape, leaving space for oxygen. Once it’s burning well, add larger logs around the kindling, again in a ‘teepee’ shape. This allows oxygen to flow and maintain a steady flame. Remember, less is more when it comes to smoke, so keep your fire manageable.
Now, let’s talk spit roasting. This ancient technique involves skewering your meat
- think whole chickens, joints of pork, or even a whole fish
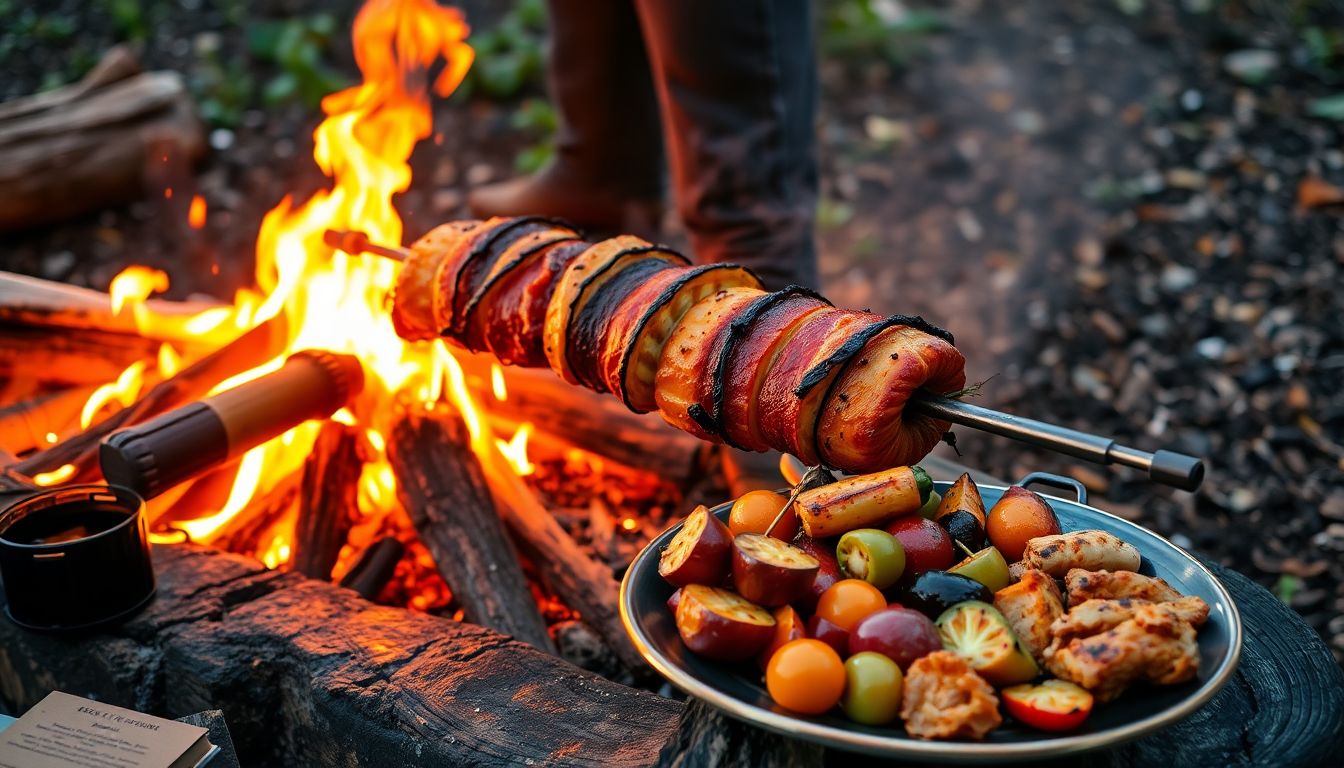
- and rotating it over the fire. The key is slow, steady heat. Build a simple spit using a green stick for the handle and a dry, sturdy stick for the skewer. Secure your meat, and using a forked stick or a tripod, suspend it over the fire. Turn it regularly for even cooking.
Grilling, on the other hand, is a bit more straightforward. Create a grill using green sticks laid across the fire, ensuring they’re sturdy enough to hold your food. Place your meat or vegetables on the grill, and let them cook. Flip them occasionally, and once done, remove them from the heat.
Now, let’s explore some recipes. For spit roasting, try a simple lemon and herb chicken. Stuff the cavity with lemon slices, garlic, and herbs like thyme and rosemary. Season the outside with salt, pepper, and olive oil. Rotate it slowly over the fire until cooked through.
For grilling, how about some vegetable skewers? Thread chunks of bell peppers, zucchini, red onion, and cherry tomatoes onto skewers. Brush them with olive oil, season with salt, pepper, and a pinch of paprika. Grill until tender and slightly charred.
And there you have it, folks! With a little patience and practice, you’ll be whipping up campfire feasts that’ll make your fellow adventurers salivate with envy. So, grab your apron
- or rather, your bandana
- and let’s get cooking!
Cooking with Water: Boiling, Steaming, and Poaching
Water, the elixir of life, is also a versatile tool in the kitchen, serving as the primary heat source in various cooking methods. Let’s delve into the art of cooking with water, exploring boiling, steaming, and poaching, and discussing the crucial aspects of water safety and purification, especially in survival cooking scenarios.
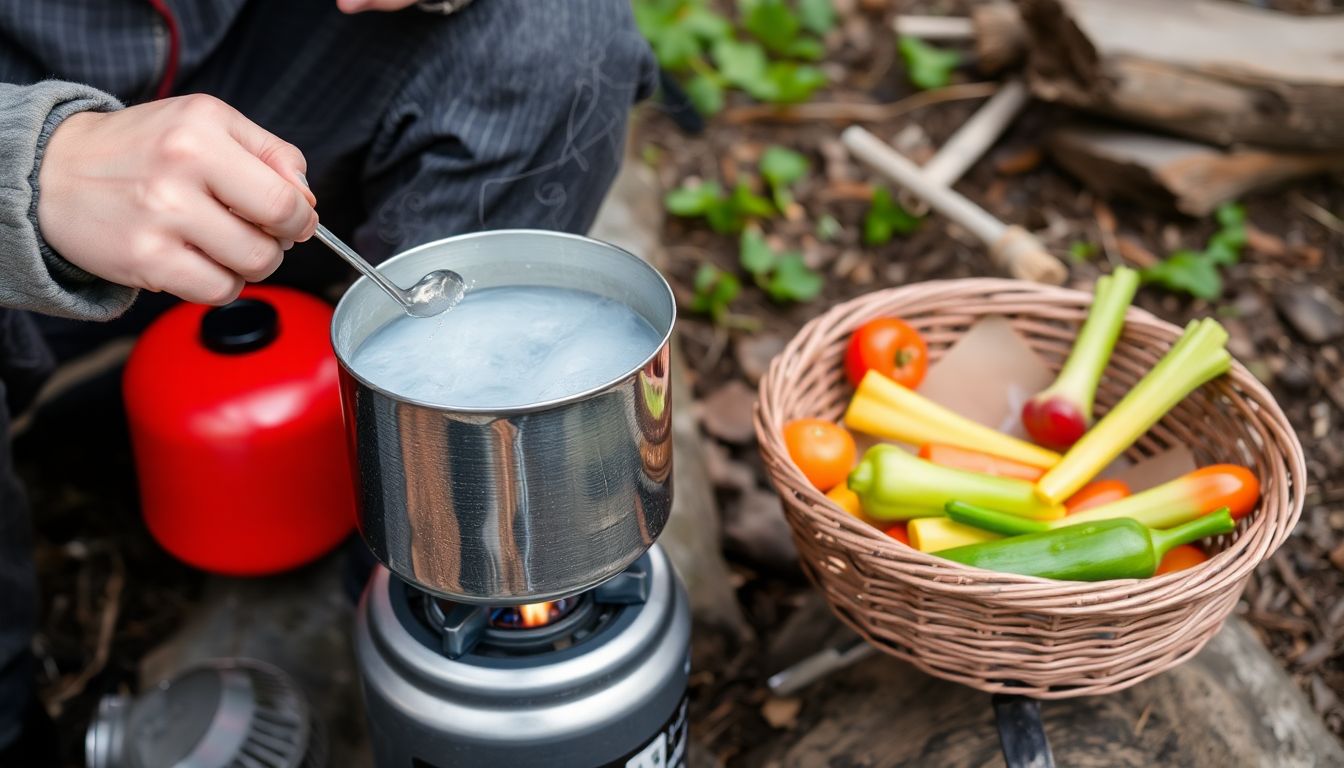
The most fundamental method is boiling, where water is heated to its rolling boil (212°F or 100°C at sea level). This method is excellent for cooking pasta, potatoes, and eggs. To boil food, simply place it in a pot, cover it with water, and bring it to a boil. Reduce heat to maintain a simmer, and cook until tender. Remember to season the water for added flavor.
Steaming, a gentler cooking method, involves suspending food above boiling water, allowing it to cook in the steam. This technique is perfect for cooking vegetables, fish, and dumplings, preserving their natural flavors and textures. To steam, place food in a steamer basket over boiling water, cover the pot, and cook until done.
Poaching, similar to steaming, involves cooking food in simmering liquid, usually water infused with aromatics. This method is ideal for cooking eggs, fish, and fruits. To poach, bring seasoned water to a simmer, gently place the food in the liquid, and cook until done. Be careful not to overcook, as it can make the food tough or dry.
In survival cooking or when water sources are uncertain, water purification is paramount. Always purify water before using it for cooking. Methods include boiling (for at least one minute), using purification tablets, or filtering through a reliable filter. Additionally, ensure you’re using clean utensils and maintaining good hygiene practices to prevent foodborne illnesses.
In conclusion, cooking with water is not only economical and eco-friendly but also a necessity in survival situations. Mastering these water-based cooking methods and understanding water safety can significantly enhance your culinary skills and preparedness.
Preserving Food Without Refrigeration
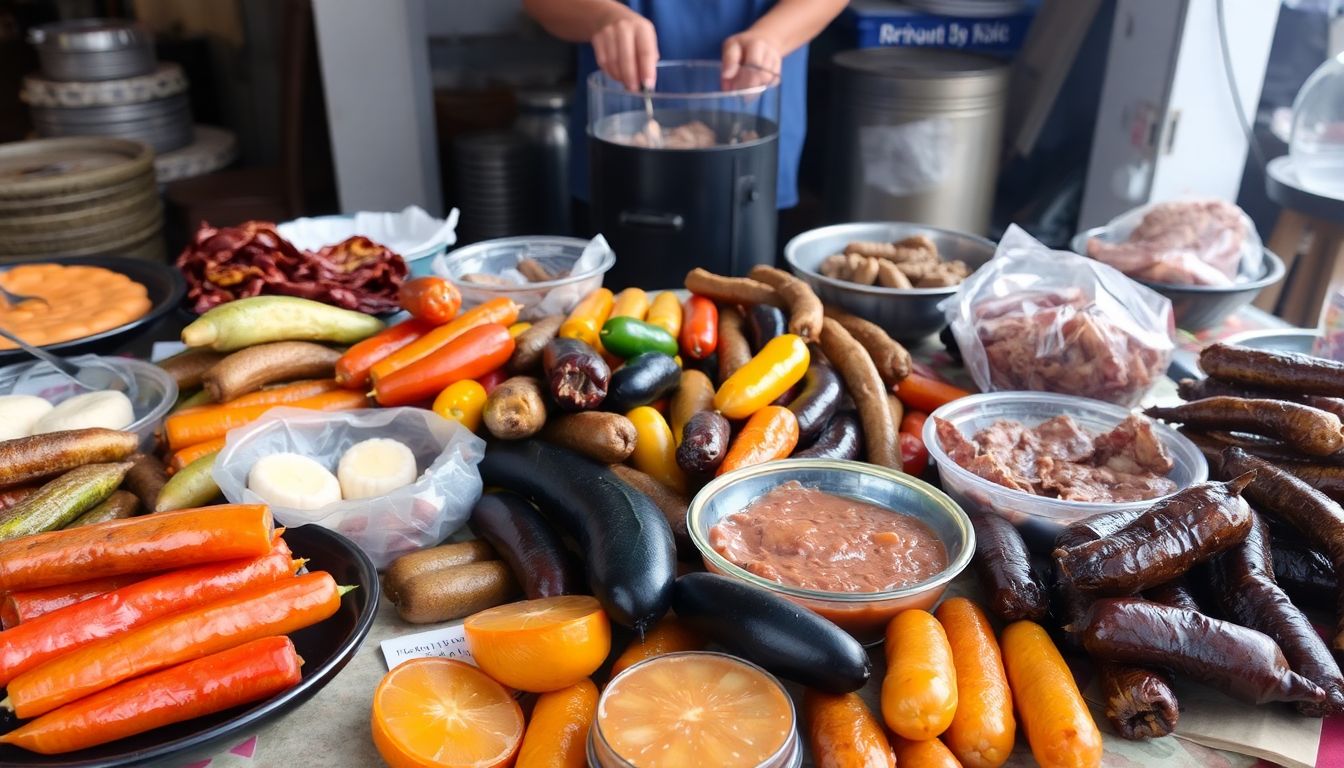
In the realm of survival cooking, the art of preserving food without refrigeration is not just a culinary skill, but a crucial life skill. This practice ensures a steady food supply, reduces waste, and allows us to enjoy a variety of flavors throughout the year. It’s a journey back in time, to when our ancestors relied on these methods to survive and thrive.
The importance of food preservation cannot be overstated. It’s about more than just extending the shelf life of our food; it’s about maintaining nutritional value, preserving cultural heritage, and fostering self-sufficiency. In a world where fresh produce might not always be available, these techniques become our lifeline.
One of the oldest and most effective methods of food preservation is salting. This process, known as curing, draws out moisture from the food, creating an environment inhospitable to bacteria. A simple recipe for salt-cured vegetables involves submerging them in a brine solution of 1 cup of salt per gallon of water for a few days to a few weeks, depending on the vegetable.
Smoking is another ancient technique that combines the effects of heat and smoke to preserve food. The heat cooks the food, while the smoke provides an additional barrier against bacteria. To smoke food, you’ll need a smoker or a makeshift one using a grill and a pan of hot coals. Place your food on a rack above the pan, cover, and let the smoke do its work. The time and type of wood used can impart different flavors, so feel free to experiment.
Fermentation is a process that uses beneficial bacteria to preserve food and enhance its nutritional value. It’s how we get delicious treats like sauerkraut and kimchi. To ferment vegetables, you’ll need a clean jar, vegetables, salt, and water. Pack the vegetables tightly in the jar, mix a brine solution (1 tablespoon of salt per cup of water), pour it over the vegetables, seal the jar, and let it sit at room temperature for a few days to a few weeks, depending on the vegetable and desired level of fermentation.
These methods are not just about survival; they’re about connection. They connect us to our past, to our ancestors, and to the food we eat. They remind us that we are part of a cycle, a process of growth, decay, and rebirth. And they teach us that with a little bit of knowledge and a lot of patience, we can make the most of what we have.
The Art of Foraging: Wild Edibles
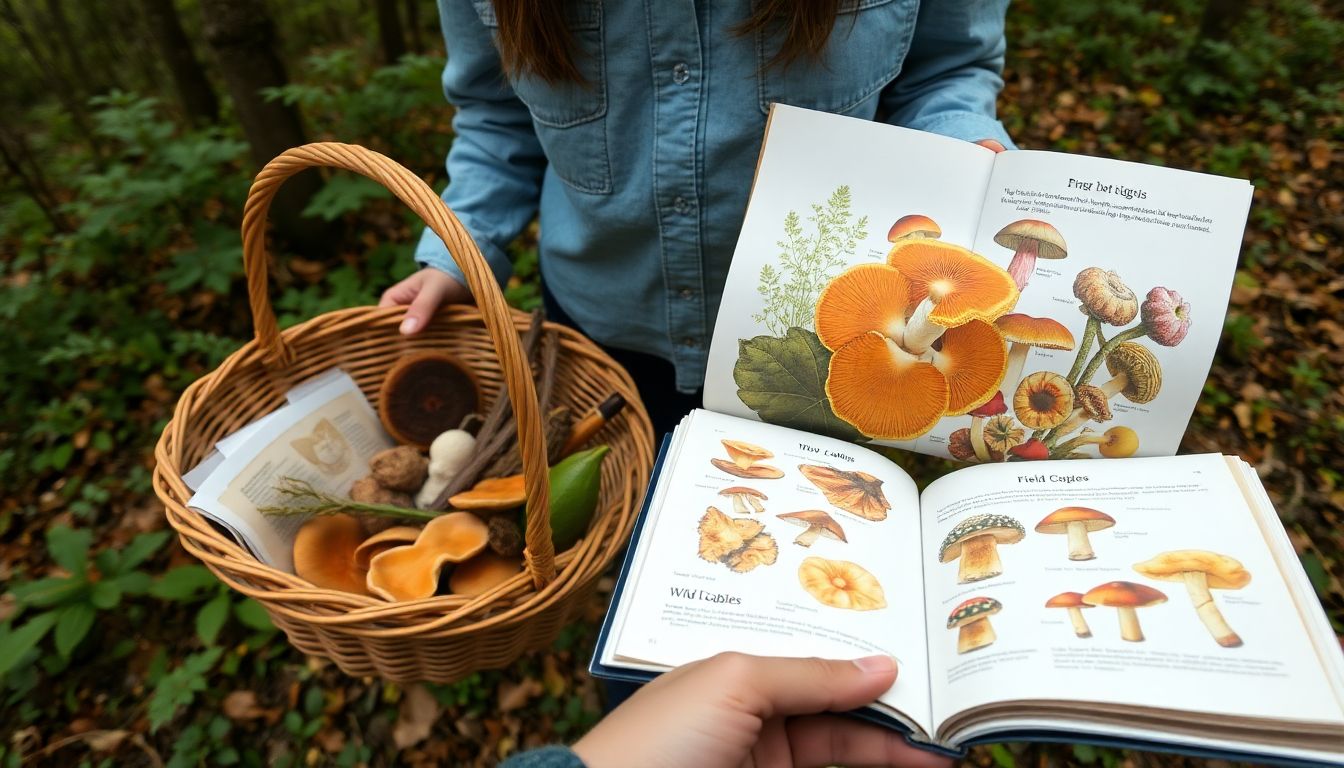
Embarking on the art of foraging, one treads a path that is both exhilarating and humbling, a journey that intertwines with nature’s bounty and our culinary curiosity. However, it’s crucial to don the hat of a responsible forager, understanding that every plant we harvest has a role in its ecosystem. Thus, the first tenet of foraging is ethics: never take more than you need, and always leave enough for the plant to propagate and for other creatures to enjoy. Safety is another paramount concern. Before you venture into the wild, familiarize yourself with poisonous look-alikes, and never consume a plant unless you are 100% certain of its identity. Remember, some plants are only edible when cooked, or at specific stages of their growth.
Identifying edible plants is an art in itself, requiring patience, keen observation, and a reliable guidebook. Start with common, easily identifiable plants like dandelions, clovers, and plantain. Learn their habitats, seasons, and distinctive features. A good rule of thumb is to avoid plants with milky sap, thorns, or strong, unpleasant smells. Always cross-reference your findings with multiple sources and, if possible, consult with an experienced forager.
Once you’ve mastered identification, it’s time to incorporate your wild ingredients into meals. The possibilities are vast: from dandelion salad to nettle soup, from wild mushroom risotto to elderflower cordial. Here’s a simple recipe to get you started:
- Wild Garlic Pesto:
Ingredients: 2 cups wild garlic leaves, 1/2 cup pine nuts, 1/2 cup grated Parmesan, 1/2 cup olive oil, Salt and pepper to taste.
Instructions: Blend all ingredients until smooth. Spread on toast, mix into pasta, or use as a dip.
Cooking with Alternative Fuel Sources
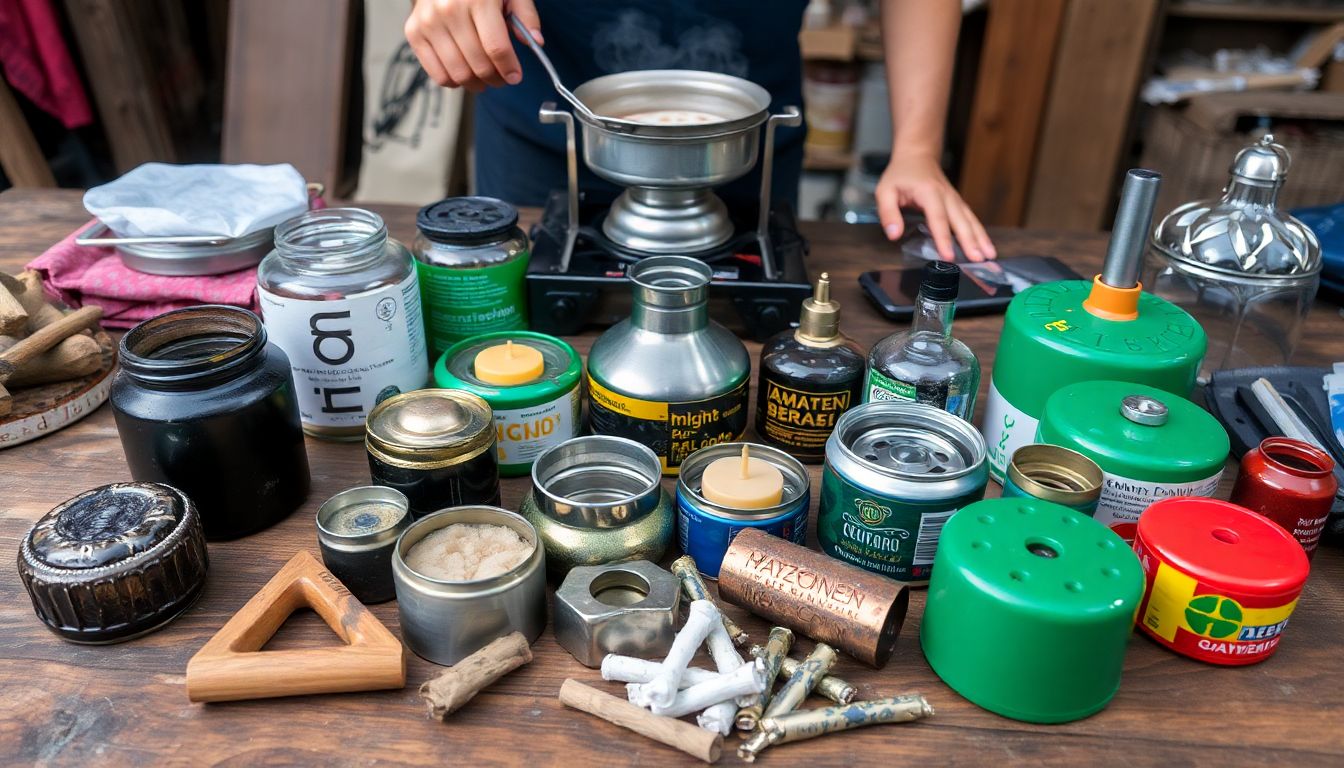
In the realm of culinary exploration, alternative fuel sources have emerged as eco-friendly and versatile options for cooking, offering a range of benefits and considerations. Let’s delve into three popular alternatives: alcohol stoves, bioethanol burners, and propane camp stoves.
Alcohol stoves, fueled by denatured alcohol or isopropyl alcohol, are lightweight, compact, and virtually odorless. They’re ideal for backpackers and campers seeking a clean, quiet cooking experience. To use, simply pour alcohol into the stove’s reservoir, light the wick, and adjust the flame with the built-in control valve. However, they’re not as powerful as other options, and alcohol can be expensive and difficult to find in some areas.
Bioethanol burners, powered by bioethanol, a renewable fuel derived from plant materials, are another green choice. They produce no smoke or soot, making them suitable for indoor use. To operate, fill the burner with bioethanol, light the wick, and control the flame with the adjustable valve. They’re clean-burning and safe, but they can be more expensive than other alternatives and may not provide as much heat as other fuel sources.
Propane camp stoves, fueled by propane gas, are popular among campers and outdoor enthusiasts. They’re powerful, efficient, and widely available. To use, attach a propane tank, turn the valve to open the fuel line, and ignite the burner. They offer precise temperature control and are great for boiling water and cooking meals. However, they can be heavy and bulky, and propane is a non-renewable resource.
Each of these alternative fuel sources offers unique advantages and considerations. Alcohol stoves are lightweight and clean, bioethanol burners are eco-friendly and safe, and propane camp stoves are powerful and efficient. The choice depends on your specific needs, preferences, and the environment in which you’ll be cooking.
Meal Planning and Preparation for Off-Grid Living
Meal planning and preparation for off-grid living presents a unique set of challenges, but with careful consideration and creativity, it can also be an exciting culinary adventure. The key to successful off-grid meal planning is to focus on nutrition, variety, and storage. Let’s dive into each of these aspects.
Firstly, nutrition is paramount. You’ll want to ensure your meals provide a balance of proteins, carbohydrates, and healthy fats. Include a variety of vegetables, fruits, whole grains, and lean proteins in your meal plans. For instance, beans, lentils, and tofu are excellent protein sources that store well and are versatile in numerous dishes.
Variety is crucial to prevent meal fatigue. Plan your meals around different cuisines and cooking methods. For example, you could have Mexican-inspired dishes one week, followed by Italian the next. Remember, even without electricity, you can still grill, boil, steam, and even bake using a solar oven or a campfire.
Storage is another critical factor. Preserve foods through canning, dehydrating, or freezing with ice packs. Rotate your food supplies to ensure you’re using the oldest items first. Here’s a simple sample meal plan for a week:
-
Day 1:
- Lentil soup with a side of crusty bread (made from stored flour and yeast).
Day 2:
- Grilled chicken with roasted vegetables (carrots, potatoes, and onions).
Day 3:
- Tofu stir-fry with mixed vegetables and rice.
Day 4:
- Baked beans with cornbread (made from stored cornmeal).
Day 5:
- Vegetable and lentil curry with naan bread (made from stored flour and yeast).
Day 6:
- Fish (caught or stored) with a side of quinoa and steamed greens.
Day 7:
Eggs (from your chickens, if you have them) with fried potatoes and a side of fruit.
Here’s a simple recipe for solar oven baked bread:
Ingredients:
3 cups of stored flour, 1 packet of stored yeast, 1 tsp salt, 1 cup of warm water.
Instructions:
Mix all ingredients until a dough forms. Let it rise in a greased pan for 30 minutes. Place the pan in your solar oven and let it bake until the bread is golden brown (about 30-45 minutes).
Off-grid meal planning is all about being resourceful and making the most of what you have. With a little creativity and planning, you can enjoy delicious, nutritious meals even without electricity.
The Joy of Baking Without Electricity
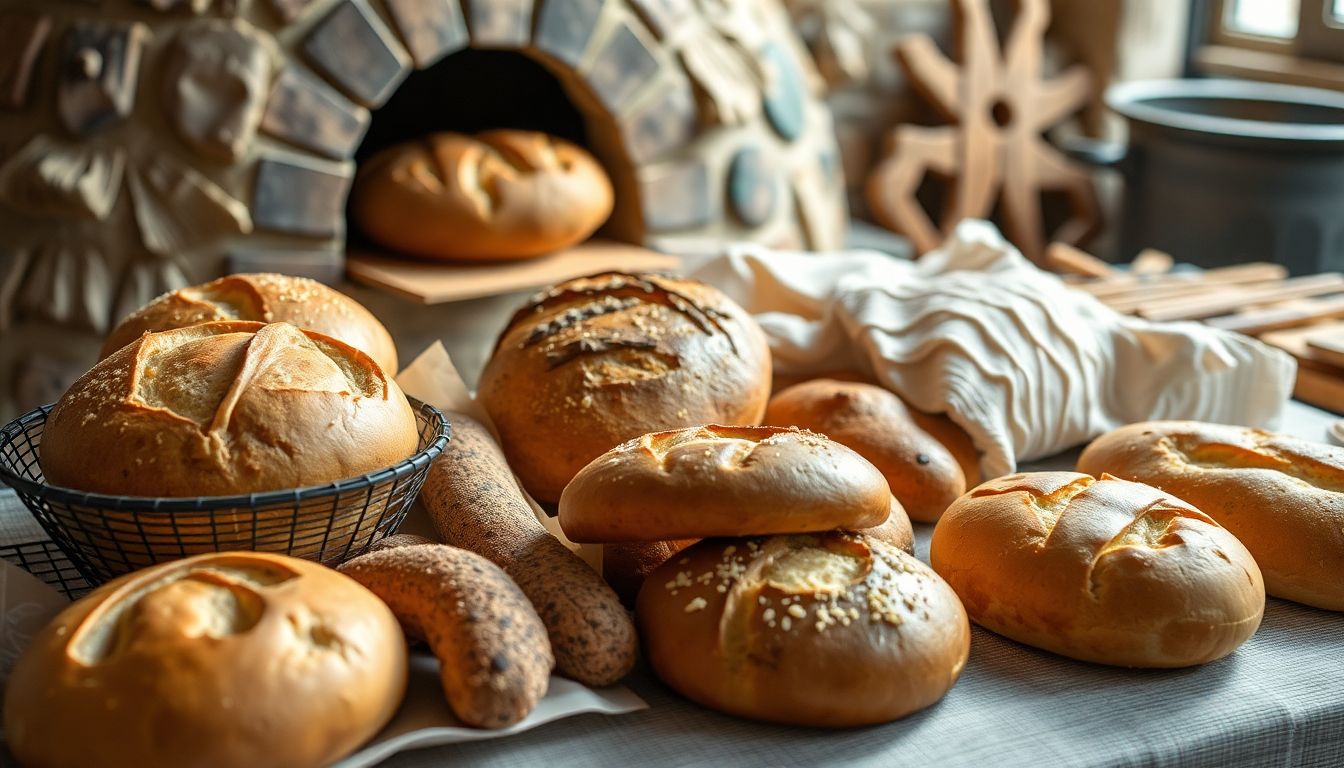
In the heart of our bustling, tech-driven world, there lies a simple joy in baking that transcends the hum of electric mixers and the glow of digital displays. Baking without electricity is not just a survival skill, but an art that connects us to our culinary heritage and the elements. Let’s explore the delightful world of alternative cooking methods and create some mouthwatering treats along the way.
The journey begins with our humble, yet versatile friend, the no-knead bread. This method, popularized by Jim Lahey, is a testament to the power of time and patience. Here’s how you can create a loaf without plugging in a single appliance:
- Mix 3 cups of bread flour, 1 3/4 teaspoons of salt, and 1/4 teaspoon of instant yeast in a large bowl.
- Add 1 1/2 cups of water and stir until there’s no dry flour left. The dough will be sticky and shaggy.
- Cover the bowl with plastic wrap and let it rest at room temperature for 12 to 18 hours. The dough will rise and develop a complex flavor.
- When ready, preheat a Dutch oven in a 450°F (230°C) oven. Carefully turn the dough onto a lightly floured surface, shape it into a ball, and place it in the preheated pot. Bake covered for 30 minutes, then uncover and bake for another 15-20 minutes until golden brown.
Now, let’s harness the power of the sun to bake some delightful cookies. Solar cooking is not only fun but also an eco-friendly way to enjoy your favorite treats. Here’s a simple recipe for solar-baked cookies:
- Prepare your favorite cookie dough recipe. Remember, no electric mixers here, so a simple, stir-together dough works best.
- Place a sheet of parchment paper on a dark cookie sheet or a piece of black construction paper. Spoon dollops of dough onto the paper, leaving enough space for them to spread.
- Place the cookie sheet in a solar oven or a large cardboard box with a clear plastic lid, facing the sun. The temperature inside should reach around 250°F (120°C).
- Bake the cookies until they’re golden brown and set, usually around 20-30 minutes. Keep an eye on them to prevent burning.
From no-knead bread to solar-baked cookies, baking without electricity is not just about necessity, but also about creativity, patience, and a deep appreciation for the simple joys in life. So, grab your apron, tie up your sleeves, and let’s celebrate the joy of baking in its most primal, elemental form.
Cooking with Kids: Fun and Educational
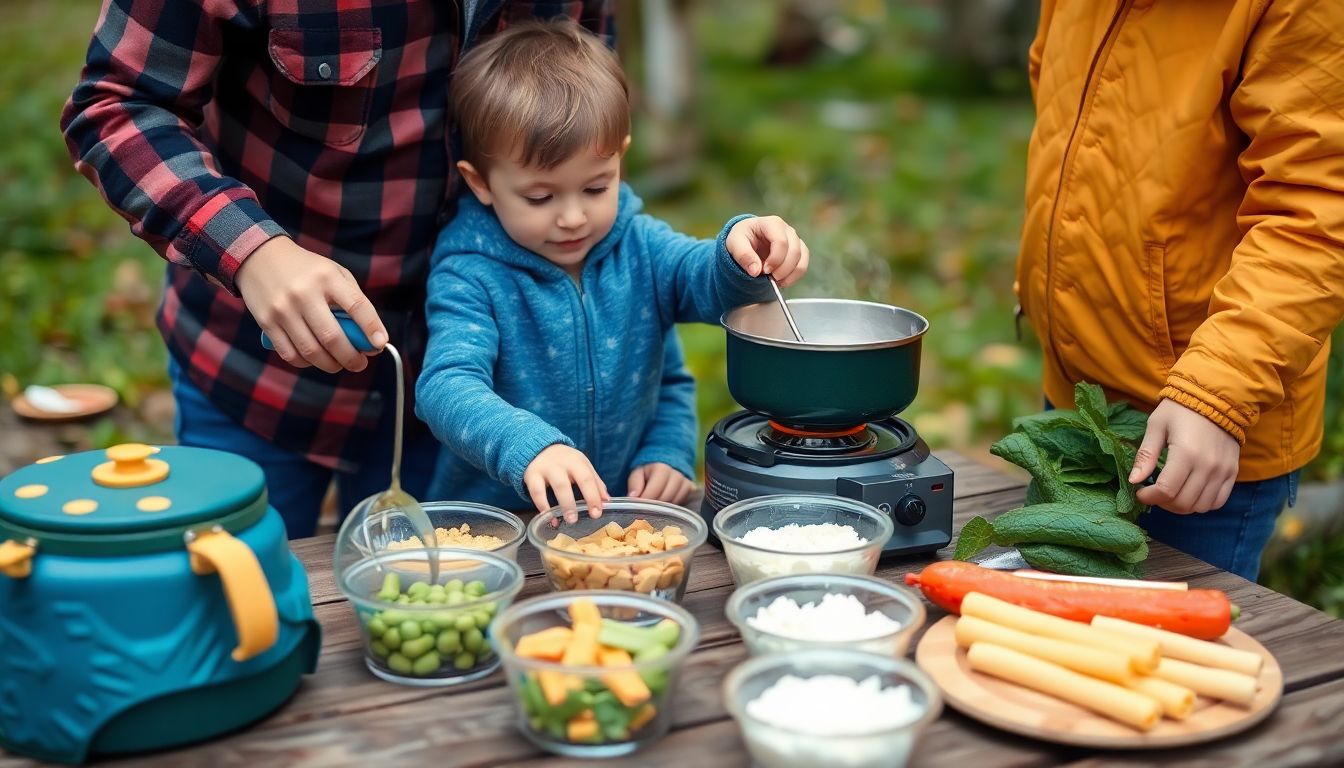
Cooking with kids is not just a fun activity, but also an educational experience that instills valuable life skills. Involving children in survival cooking, or any cooking for that matter, helps them understand the importance of food, where it comes from, and how to prepare it. This hands-on learning experience promotes creativity, improves fine motor skills, and enhances their understanding of fractions and measurements, making it a wonderful supplement to their academic learning.
Safety is paramount when cooking with kids. Always ensure that sharp objects, hot surfaces, and heavy pots are out of reach. Teach them about kitchen safety, such as not touching hot pans or leaving the kitchen with a hot stove unattended. It’s also crucial to supervise them at all times.
Age-appropriate tasks and recipes can make cooking with kids a delightful experience. For younger children, tasks like washing fruits and vegetables, stirring batter, or setting the timer can be engaging and helpful. As they grow older, they can graduate to tasks like measuring ingredients, cracking eggs, or even operating the oven with your supervision.
Here’s a simple and fun recipe for ‘Easy Peasy Pizza’ that kids will love:
- Start by preparing the pizza base. You can use store-bought dough or make your own. Let your child knead the dough, a great sensory activity!
- Spread the pizza sauce evenly on the base. This can be a fun task for kids, just remind them not to lick their fingers!
- Let your child add their favorite toppings. This could be a great opportunity to introduce new foods and encourage healthy eating.
- Pop the pizza in the oven and wait for the timer to go off. Remember, safety first, so let the pizza cool down before serving.
Enjoy your pizza party with your little chef!
FAQ
What is survival cooking and why is it important?
Survival cooking, also known as off-grid meal preparation, is the practice of preparing food without relying on modern conveniences like electricity, gas stoves, or refrigeration. It’s an essential skill to have, especially in emergency situations or when living off the grid. This type of cooking ensures you can still provide nutritious meals for yourself and your family when access to conventional cooking methods is limited or non-existent.How can I cook without electricity?
There are numerous alternative cooking methods that don’t require electricity. These include solar cooking, wood-fired stoves, rocket stoves, open fire cooking, and even using a car’s engine heat to cook. Each method has its own advantages and disadvantages, and the best one for you depends on your specific situation and needs.What is solar cooking and how does it work?
Solar cooking is a method that uses the sun’s energy to cook food. It works by trapping the sun’s heat in a box or panel, which is then used to cook food. There are different types of solar cookers, including box cookers, panel cookers, and parabolic cookers. They are eco-friendly, require no fuel, and can be used in a wide range of weather conditions.How can I cook using a wood-fired stove?
Wood-fired stoves are a versatile and reliable off-grid cooking option. They can be made from various materials like metal, clay, or even a simple pit in the ground. To use a wood-fired stove, you’ll need to gather dry, seasoned wood, start a fire, and control the heat by adjusting the airflow. Once the fire is established, you can place your cooking pot on the stove and cook your meal.What is a rocket stove and how is it different from a traditional wood stove?
A rocket stove is a highly efficient, low-smoke wood stove designed for cooking and heating. It’s different from a traditional wood stove in several ways. Rocket stoves use small-diameter wood fuel, have a high combustion chamber, and use insulated vertical chimneys to create a powerful updraft. This design allows them to burn wood more completely, producing less smoke and using less fuel.Can I cook using an open fire?
Yes, you can cook using an open fire, but it requires careful management to ensure safety and efficiency. To cook over an open fire, you’ll need to build a safe and contained fire, place a grill or grate over the flames, and position your cooking pot on top. Be sure to keep a safe distance from the fire and never leave it unattended.How can I use a car’s engine heat to cook?
Cooking with a car’s engine heat, also known as ‘engine block cooking,’ is a unique and innovative method that uses the heat generated by a running car’s engine to cook food. To do this, you’ll need a heat-resistant container, a way to suspend the container over the engine, and a safe place to park the car. This method is not recommended for long-term or frequent use, as it can damage the car’s engine and expose you to harmful fumes.What are some tips for safe and efficient off-grid cooking?
Here are some tips for safe and efficient off-grid cooking:- Always prioritize safety by keeping a safe distance from the heat source, never leaving the fire unattended, and having a plan for extinguishing the fire if necessary.
- Use appropriate cooking utensils and containers that can withstand high heat and are safe for cooking food.
- Learn to control the heat by adjusting the airflow, adding or removing fuel, or using reflectors to focus the heat.
- Plan your meals and gather ingredients before you start cooking to minimize time spent near the heat source.
- Practice makes perfect – the more you cook off-grid, the better you’ll become at managing the heat and preparing delicious meals.


