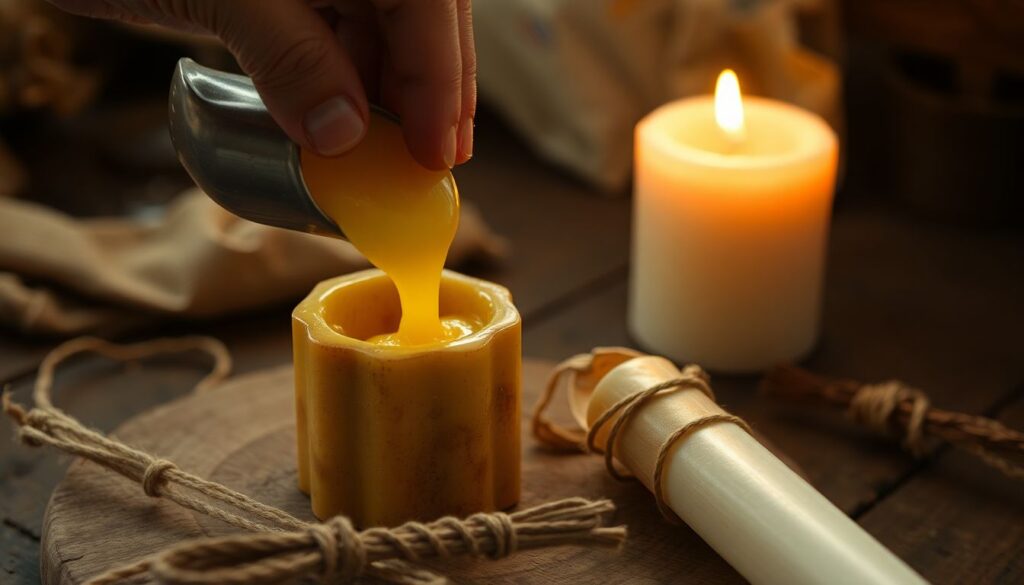
Have you ever found yourself in a situation where the power goes out, and you’re left in the dark, scrambling for a light source? Or perhaps you’re an avid camper who’s tired of relying on battery-operated lanterns that run out of juice just when you need them most? If so, you’re not alone. According to the U.S. Census Bureau, power outages cost Americans $150 billion annually, highlighting the importance of having reliable, DIY emergency lighting solutions. This is where survival candle making comes into play.
Agreeably, candles might seem like a primitive form of lighting, but they’ve been our primary source of illumination for centuries. Did you know that the ancient Romans used candles made from tallow, a hard fat extracted from cattle or sheep, as early as 500 BC? Today, we have access to a variety of materials like beeswax, soy wax, and even coconut wax to make our candles. But what if you find yourself in a survival situation with limited resources? Can you still make candles to provide light and warmth? The answer is a resounding yes!
In this comprehensive guide, we promise to equip you with the knowledge and skills to make your own emergency candles using improvised wicks and materials you can find or make from scratch. Whether you’re a prepper, a camper, or simply someone who wants to be self-sufficient, this article is for you. By the end of it, you’ll be able to create your own tallow candles from rendered animal fat, beeswax candles from honeycomb wax, and even candles from wax found in old crayons or candles. You’ll also learn how to make wicks from everyday items like string, cloth, or even plants.
So, let’s roll up our sleeves and dive into the fascinating world of survival candle making. Who knows, you might just find yourself in a situation where these skills come in handy, and you’ll be grateful you learned them. After all, knowledge is power, and in this case, it’s also light. Let’s get started!
Illuminating Your Way Through Emergencies with Tallow and Beeswax Candles
In the event of a power outage or a sudden need for light in remote areas, nothing quite compares to the comforting glow of a candle. But not all candles are created equal. Tallow and beeswax candles, often overlooked in our modern world, are not only a reliable source of light but also offer a unique charm that extends beyond their practical use. Tallow, derived from rendered animal fat, and beeswax, produced by honeybees, have been used for centuries to illuminate our homes and hearts. These natural materials burn cleanly, emitting a warm, inviting light that can be surprisingly bright. Unlike paraffin candles, which are petroleum-based and can release harmful toxins when burned, tallow and beeswax candles are eco-friendly and non-toxic. They also have a longer burn time, making them a cost-effective choice in the long run. Moreover, these candles have a pleasant, natural scent that can enhance your environment, unlike artificial fragrances found in many modern candles. Tallow candles have a subtle, neutral scent, while beeswax candles have a sweet, honey-like aroma that can help mask unpleasant odors. But perhaps the most intriguing aspect of tallow and beeswax candles is their historical and cultural significance. They have been used in various rituals, ceremonies, and everyday tasks throughout history, serving as a testament to human ingenuity and our connection to the natural world. So, the next time you find yourself in a situation where you need a reliable, non-toxic, and historically rich source of light, consider reaching for a tallow or beeswax candle. Not only will they illuminate your way, but they’ll also provide a unique, nostalgic experience that connects you to our past.
Understanding the Basics of Candle Making
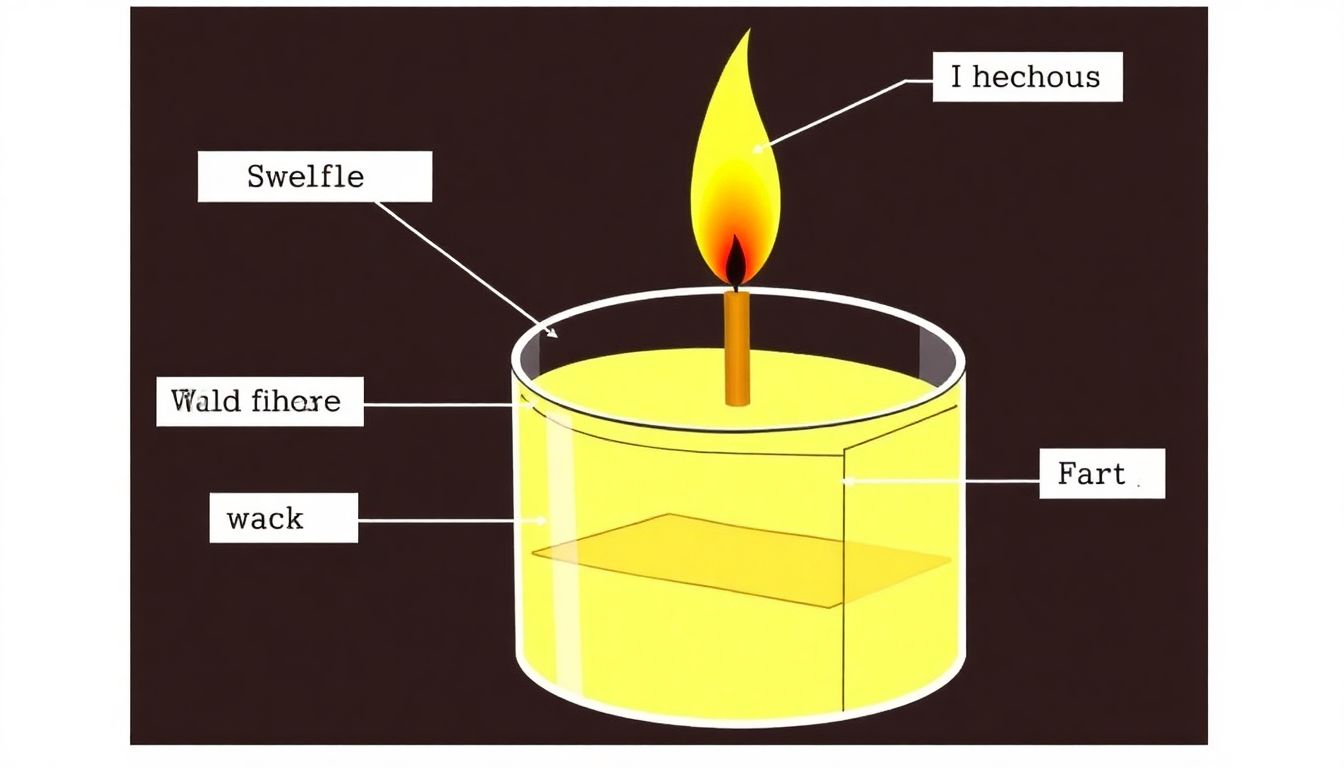
Candle making, a skill that has been around since ancient times, is not just an art but also a science. The process involves a simple chemical reaction where a solid (wax) melts to become a liquid, and then, as the candle burns, the liquid wax turns back into a solid, creating the characteristic candle flame. The science behind this lies in the melting points of the waxes used.
The role of the wick in candle making is pivotal. It’s the wick that initiates the combustion process, drawing the melted wax up into the flame. The ideal wick should be able to draw wax at a rate that matches the rate at which the wax melts. Too slow, and the candle will tunnel (where the flame burns down the middle of the candle, leaving unmelted wax around the sides); too fast, and the candle will smoke and drip.
Choosing the right materials is crucial, especially in survival situations. Tallow, a rendered animal fat, has a low melting point, making it ideal for candles in colder climates. However, it has a strong odor when burned. Beeswax, on the other hand, has a higher melting point and a pleasant scent. It also burns cleaner and longer than tallow. Other materials like soy wax and palm wax are also used, each with their own unique properties.
In a survival situation, understanding these basics can help you make candles that are efficient and safe to use. Here are the steps to make a simple candle:
- Melt your chosen wax in a double boiler.
- Place your wick in a mold or container.
- Once the wax is melted, carefully pour it into the mold or container, ensuring the wick is centered and straight.
- Allow the wax to cool and harden. This can take several hours or even overnight.
- Once the candle is completely cooled and hardened, trim the wick to about 1/4 inch before lighting.
Gathering Materials: Tallow and Beeswax
In the realm of self-sufficiency and survival, the art of candle making using natural materials like tallow and beeswax is not only rewarding but also crucial. These materials, when sourced responsibly and prepared with care, can provide reliable light and warmth in off-grid situations.
Tallow, derived from rendered animal fat, and beeswax, produced by honeybees, each bring unique benefits to the table. Tallow candles burn longer and brighter than those made from other fats, providing ample light for tasks at hand. They also have a pleasant, neutral scent that doesn’t overpower the senses. On the other hand, beeswax candles emit a soft, warm glow and have natural air-purifying properties. They also burn cleaner, producing less soot and smoke than other wax types.
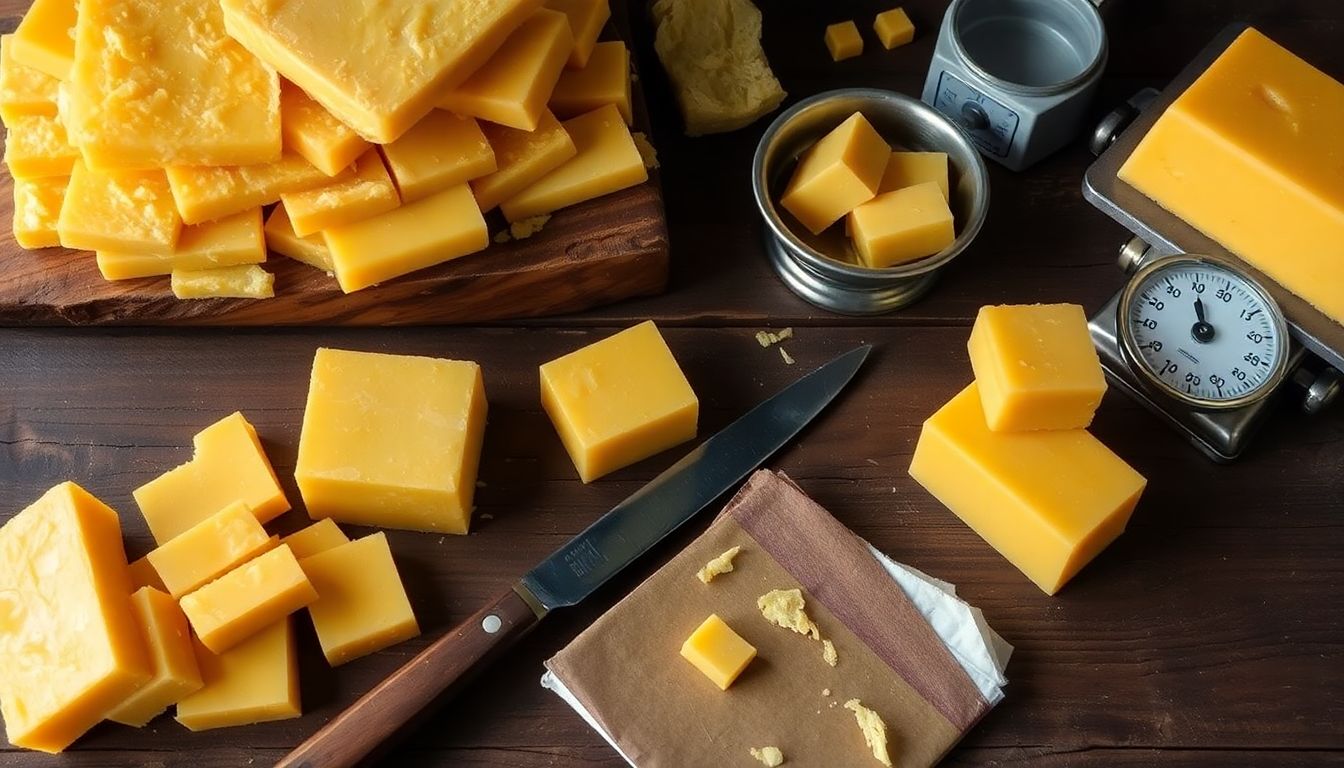
Sourcing these materials can be an adventure in itself. Tallow can often be obtained from local butchers or farmers, who may have excess fat from their operations. Beeswax can be purchased from local beekeepers or even harvested from your own beehives if you’re inclined to keep them. Some people also opt for online retailers, but supporting local beekeepers and butchers helps foster a sustainable and resilient community.
Preparing these materials for candle making involves a few simple steps. For tallow, the fat is first rendered, or melted, to remove impurities. This can be done over low heat in a double boiler or slow cooker. Once melted, the tallow is strained to remove any remaining solids and allowed to cool before being poured into candle molds. Beeswax preparation is similar, involving melting and straining to remove any debris or wax cappings. It’s important to note that beeswax should never be boiled, as this can damage its natural properties.
In conclusion, tallow and beeswax are not just materials for candle making; they are tools for self-reliance and sustainability. By understanding their benefits and learning to source and prepare them, we can gain a sense of empowerment and connection to the natural world. So, light a candle, sit back, and enjoy the warm glow of your handiwork.
Improvised Wicks: Creative Solutions
In the great outdoors, a reliable source of light can often mean the difference between a comfortable night’s rest and a long, dark wait. But what if you’ve found yourself without a conventional candle or match? Fear not, for nature’s pantry is vast and full of creative solutions. Let’s explore some improvised wicks that you can create using materials readily available in your surroundings.
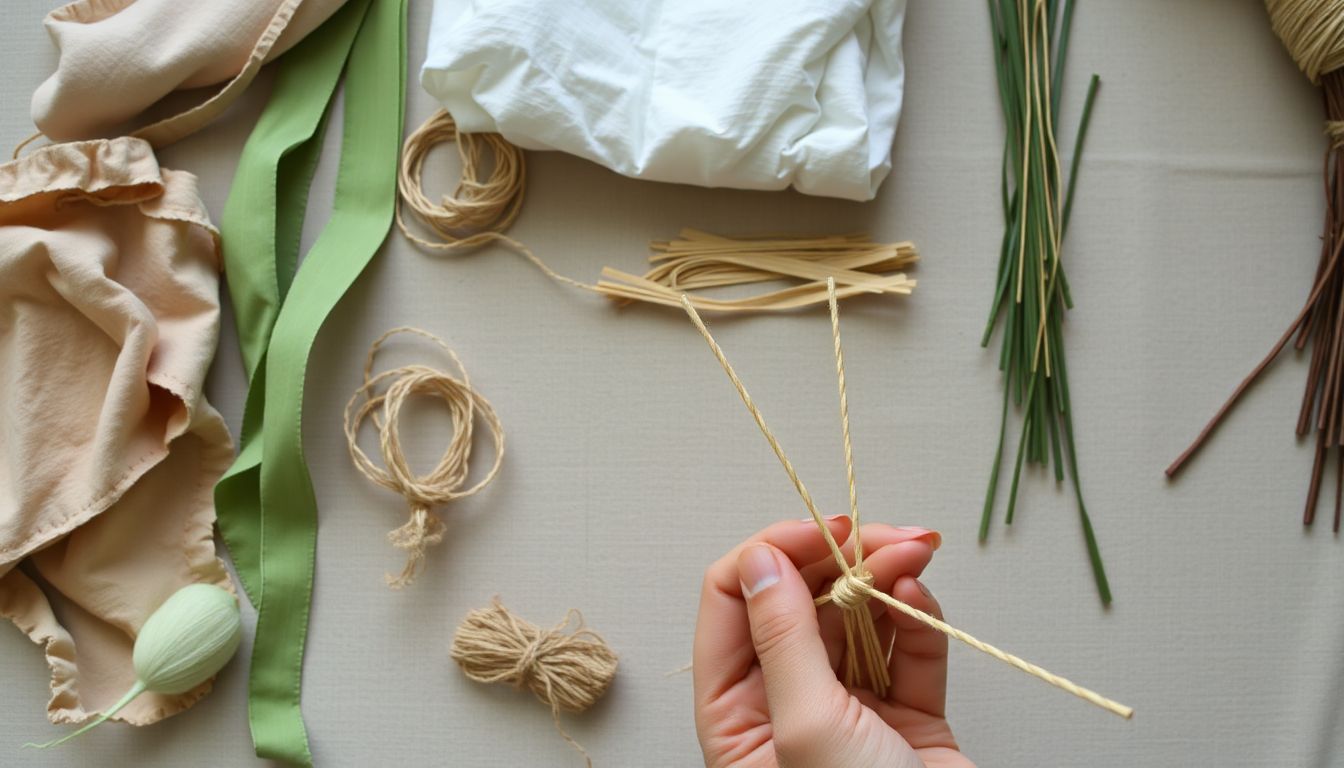
First, let’s consider the humble cloth strip. A piece of clothing, a bandana, or even a torn piece of fabric can serve as an excellent wick. The key is to choose a material that will burn steadily without dripping or smoking excessively. Cotton is an ideal choice, as it burns cleanly and consistently. To create your wick, simply tear the cloth into a long, thin strip, ensuring it’s wide enough to draw up the fuel efficiently.
Twine, that sturdy, versatile cord often used for tying and binding, can also be transformed into a wick. The natural fibers in twine, such as jute or sisal, burn well and provide a steady flame. To use twine as a wick, unravel it into a single strand, ensuring it’s not too thick or too thin. You can adjust the thickness by twisting or braiding multiple strands together.
But what if you find yourself in a situation where even cloth and twine are scarce? Nature has you covered, quite literally. Plant fibers can be used to create wicks in a pinch. Look for plants with strong, flexible fibers, such as palm leaves, pine needles, or even the inner bark of certain trees. To use plant fibers, strip away any outer layers to expose the inner fiber, then twist or braid the fibers together to create a sturdy wick.
- Remember, the thicker the wick, the larger the flame, so adjust accordingly to your needs and the fuel you have available.
- Always prioritize safety when creating and using improvised wicks. Keep a safe distance from flammable materials and never leave your improvised candle unattended.
So, the next time you find yourself in a survival situation, don’t despair if you’re short on conventional lighting. With a little creativity and resourcefulness, you can create improvised wicks from a variety of materials, turning a potential challenge into a testament to your ingenuity.

Melting Wax: Techniques and Safety
Melting wax, whether it’s tallow or beeswax, is a fundamental step in candle making and other wax-based crafts. It’s a process that requires patience, precision, and above all, safety. Let’s explore two common methods to melt wax: the double boiler and direct heat methods, along with the importance of temperature control.
The double boiler method is a gentler, safer approach. It involves placing your wax in a heat-resistant container, which is then submerged in a larger pot filled with water. As the water heats up, it melts the wax indirectly. This method is ideal for melting small quantities and prevents the wax from overheating or burning. To use this method, follow these steps:
- Fill a large pot with about an inch of water and bring it to a boil.
- Place your wax in a heat-resistant container that can fit inside the pot without touching the bottom.
- Reduce the heat to medium and let the wax melt slowly, stirring occasionally.
On the other hand, direct heat involves melting the wax directly in a pot on the stove. This method is faster but requires constant attention to prevent the wax from burning. It’s best suited for melting large quantities of wax. Here’s how to do it:
- Place your wax in a heavy-bottomed pot.
- Heat the pot over medium heat, stirring the wax occasionally.
- Once the wax starts to melt, reduce the heat to low and continue stirring until it’s completely liquid.
Regardless of the method you choose, temperature control is crucial. Overheating wax can cause it to discolor, smoke, or even catch fire. It can also release harmful fumes. Most waxes melt between 120°F to 180°F (49°C to 82°C), so it’s a good idea to use a thermometer to monitor the temperature. Once the wax reaches its melting point, remove it from the heat source to prevent overheating. Always remember, safety first when working with hot wax!
Molding Your Candles: Containers and Shapes
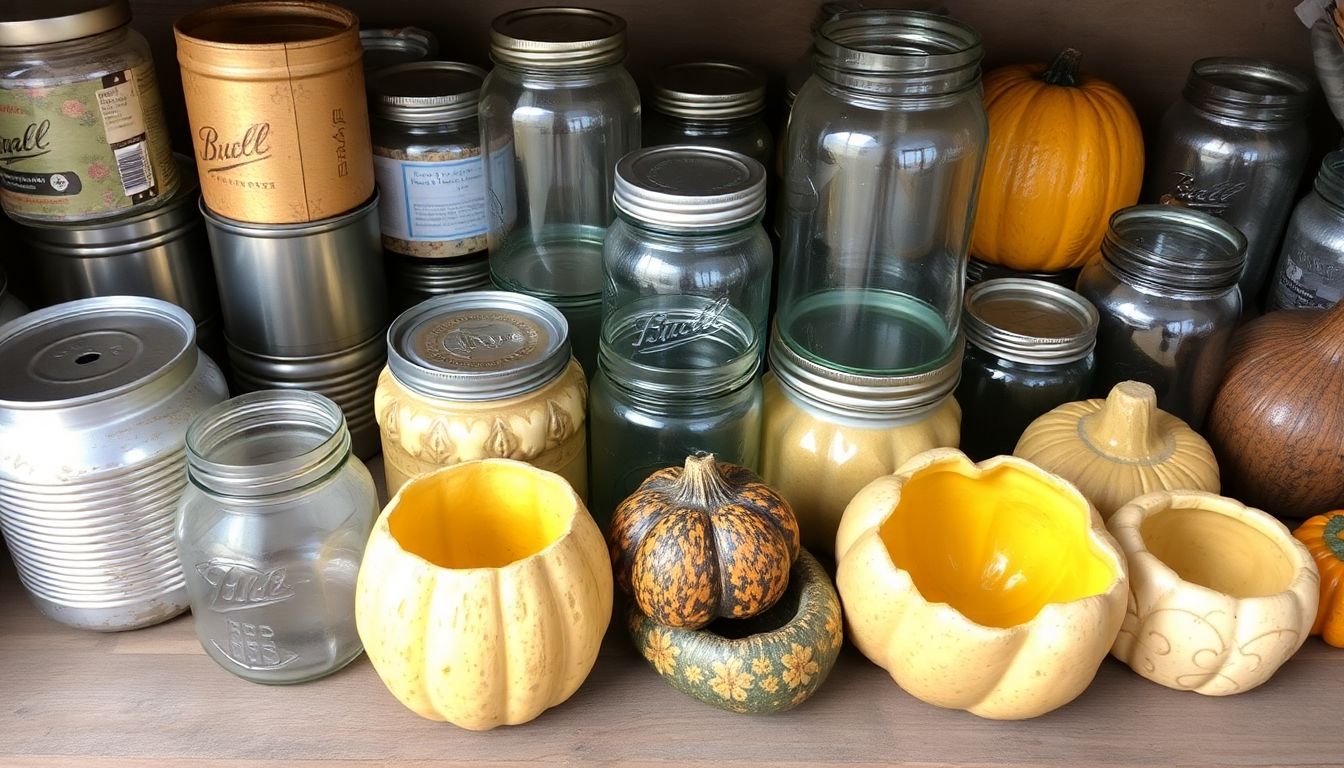
Candle making, an art that’s both ancient and modern, offers a plethora of creative options when it comes to containers and molds. From humble tin cans to elegant glass jars, each vessel brings a unique charm to your handmade creations. Let’s explore some of these options and delve into how to prepare them for pouring wax.
The humble tin can, often discarded, finds new life as a candle holder. After cleaning and removing the label, you can simply pour your wax into the can. For a more polished look, consider sanding the exterior and painting it with acrylic paint before sealing with a clear coat.
Glass jars, with their transparency, allow the wax and any added decorations to shine. They can be found in various shapes and sizes, from small jam jars to large apothecary jars. To prepare, clean the jar thoroughly, then lightly grease the inside with a release agent like mold release spray or mineral oil to ensure easy removal of the finished candle.
For those seeking more intricate shapes, silicone molds are a dream come true. They come in a variety of designs, from geometric shapes to intricate patterns. To use, lightly grease the mold with a release agent, then pour your wax into the cavities. Once the wax has set, simply flex the mold to release your candle.
Wooden molds, often used for making pillar candles, require a bit more preparation. First, ensure the wood is clean and dry. Then, apply a release agent like beeswax or carnauba wax to the interior of the mold. This will help your candle release easily once set.
Lastly, consider using ice cube trays for making small, decorative candles. These can be found in various shapes and sizes, and require no preparation other than ensuring they’re clean.
Regardless of the container or mold you choose, always remember to allow your candle to cool and set completely before attempting to remove it. This will help prevent cracking or breaking. Happy candle making!
Pouring and Cooling: The Art of Candle Making
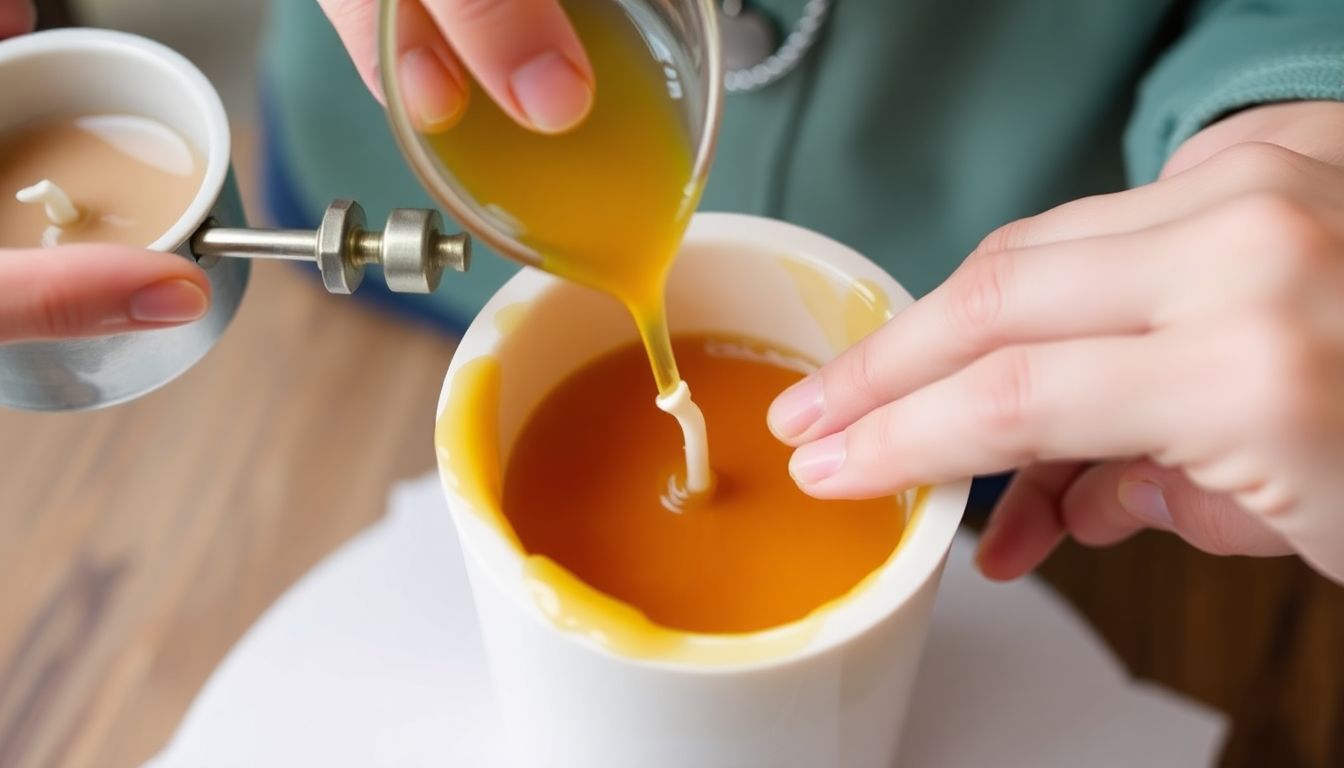
Candle making, an age-old art, is a delightful blend of science and creativity. The process of pouring molten wax into molds is a critical step that requires patience, precision, and a gentle touch. The first task is to prepare the wick, the lifeline of your candle. It should be centered perfectly in the mold, ensuring an even burn. This is often achieved by using a wick bar or a simple piece of wire bent into a U-shape, which keeps the wick suspended in the middle of the mold.
The next step is to melt the wax. This can be done using a double boiler or a wax melter, ensuring the wax doesn’t get too hot and lose its scent or color. Once melted, carefully pour the wax into the mold, leaving some space at the top for the wick to be trimmed later. The key here is to pour slowly and steadily, allowing the wax to fill the mold evenly and minimizing air bubbles.
But the art of candle making doesn’t end at pouring. The cooling process is equally, if not more, important. Rushing this step can lead to cracked or warped candles. The ideal cooling process involves placing the molds in a cool, draft-free area and allowing them to cool slowly and completely. This can take anywhere from a few hours to a full day, depending on the size and type of the candle. Some candle makers even place their molds in the refrigerator for a few hours to speed up the process, but this should be done carefully to avoid shocking the wax.
Once cooled, the candles can be gently removed from the molds. The wick can then be trimmed, and your beautiful, handmade candles are ready to be enjoyed. The slow cooling process ensures a smooth, even surface and a candle that burns evenly and beautifully.
Testing and Troubleshooting: Ensuring a Perfect Burn
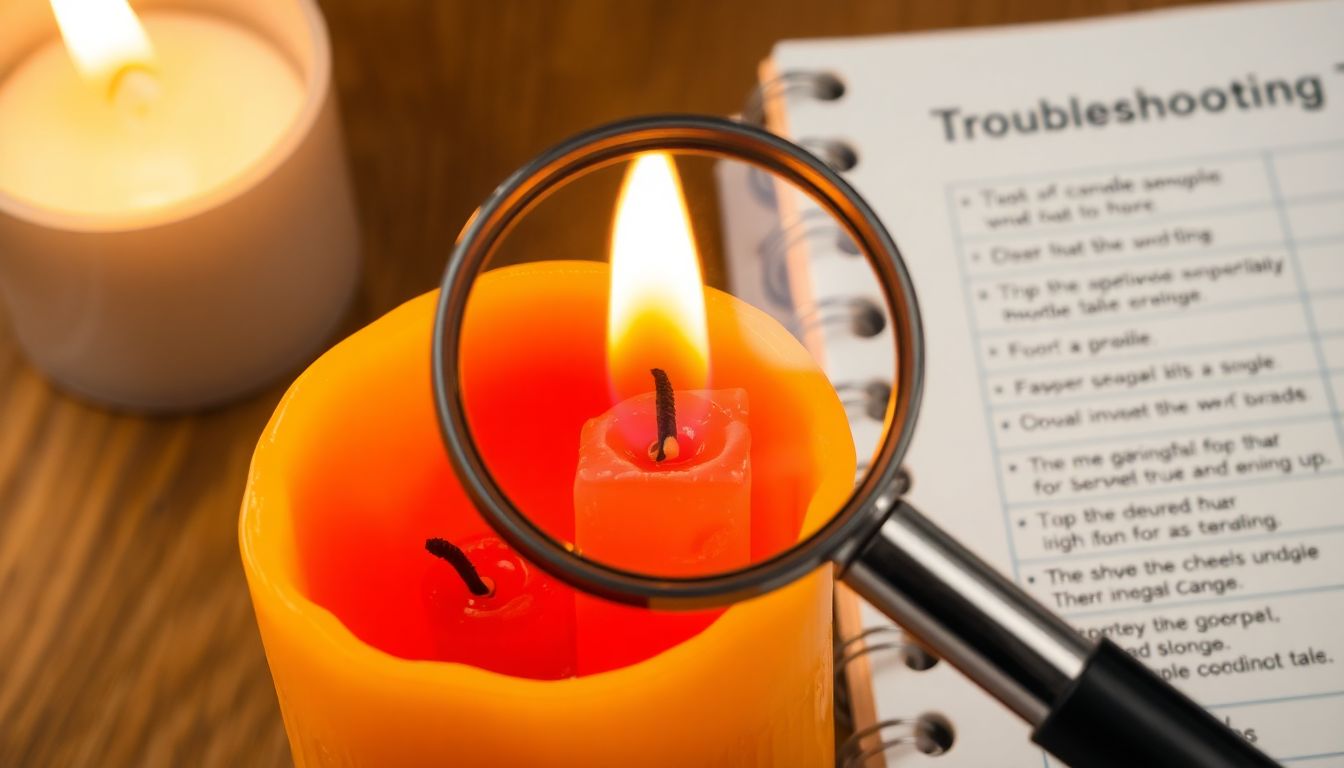
Crafting homemade survival candles can be a rewarding experience, but it’s not uncommon to encounter a few hiccups along the way. One of the most frequent issues is tunneling, where the candle burns down the middle, leaving a ring of unused wax around the wick. This can be troubleshoot by ensuring your wick is the right size for your container. A general rule of thumb is that the wick should be about 1/8 inch in diameter for every 2 inches of candle diameter. If your wick is too small, it won’t draw the melted wax up the sides, leading to tunneling. Another common problem is smoking, which can be caused by a draft, a wick that’s too long, or poor quality wax. To troubleshoot this, trim your wick to about 1/4 inch before each lighting, and ensure your candle is protected from drafts. Lastly, dripping can occur if your candle is burning in a warm room or if the wax is melting too quickly. To prevent this, make sure your candle is burning in a cool environment and consider using a wick that’s designed to burn slower. If you do encounter dripping, you can try freezing the candle for a few hours to harden the wax before relighting it.
Remember, troubleshooting is a process of elimination. Start by checking the most obvious culprits, like the wick size and the environment, and work your way down the list. With a little patience and some trial and error, you’ll be well on your way to crafting perfect survival candles that burn bright and steady.
Extending Burn Time: Tips and Tricks
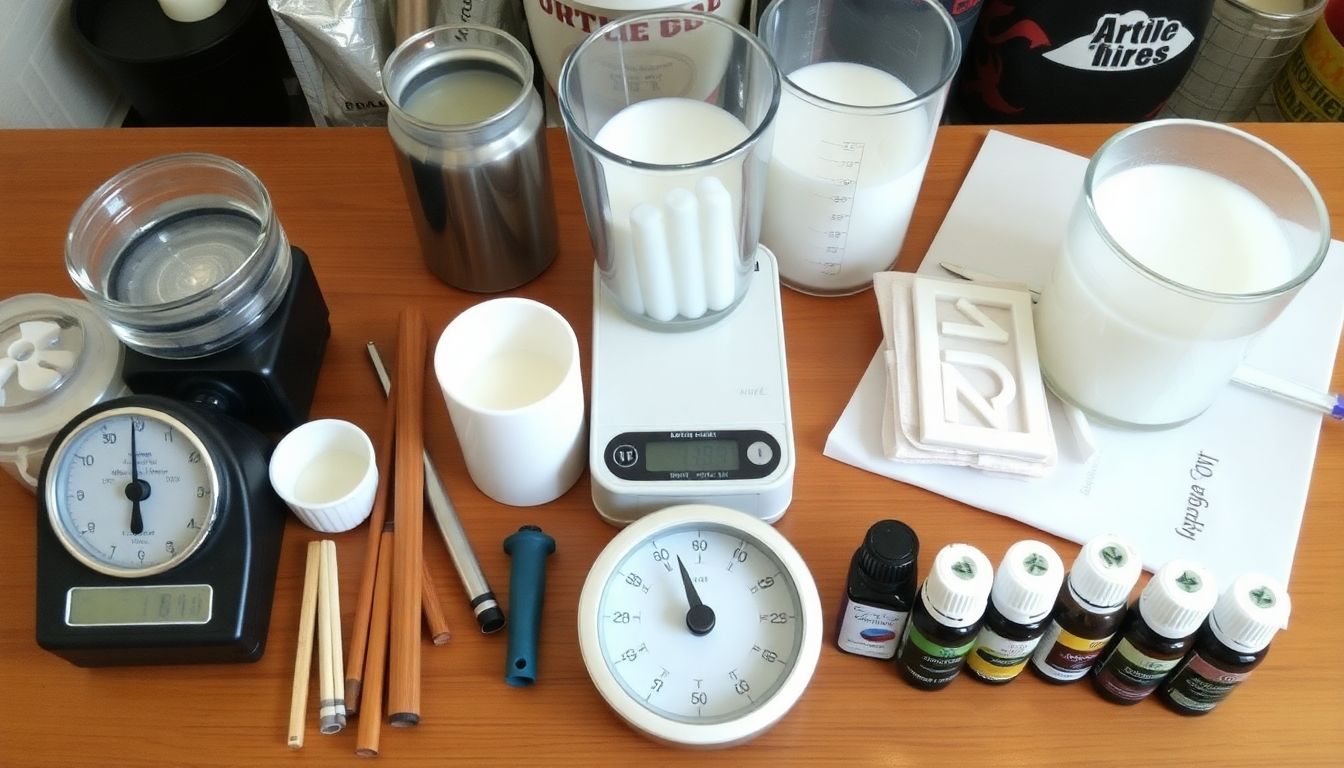
When it comes to survival situations, every resource counts, including light. Candles are a reliable source of illumination, but maximizing their burn time can make a significant difference. Let’s explore some creative and practical methods to extend the life of your survival candles.
Firstly, consider the size of your wick. A larger wick can consume more wax, but it also produces more light and heat. To balance this, you can use a wick that’s slightly larger than the standard size for your candle’s diameter. This will increase the burn time without making the flame too large or causing the candle to burn unevenly.
Another innovative approach is to create layered candles. This involves pouring a layer of wax, allowing it to set, then pouring another layer on top. You can use different colors or scents for each layer. The layers burn one after the other, significantly increasing the total burn time. To create layered candles, start with a small amount of wax in your container. Once it’s set, add a new layer, ensuring it’s slightly smaller in diameter to create a stepped effect. Repeat this process until your candle reaches the desired height.
Adding fragrances and essential oils to your candles can also enhance their burn time. These substances help to disperse the wax more evenly, preventing tunneling, which is when the candle burns down the middle, wasting wax on the sides. To incorporate fragrances, add them to your wax before pouring. Start with a small amount, around 1% of the total wax weight, and adjust according to your preference. Essential oils not only extend burn time but also provide aromatherapy benefits.
Lastly, consider your candle’s environment. Drafts can cause candles to burn faster and unevenly. Try to place your candles in a draft-free area to maximize their burn time. Additionally, trimming the wick to about 1/4 inch before each lighting can help maintain an even burn and prevent smoking.
By implementing these tips and tricks, you can significantly extend the burn time of your survival candles, ensuring a reliable source of light when you need it most.
Candle Care and Storage: Ensuring Longevity
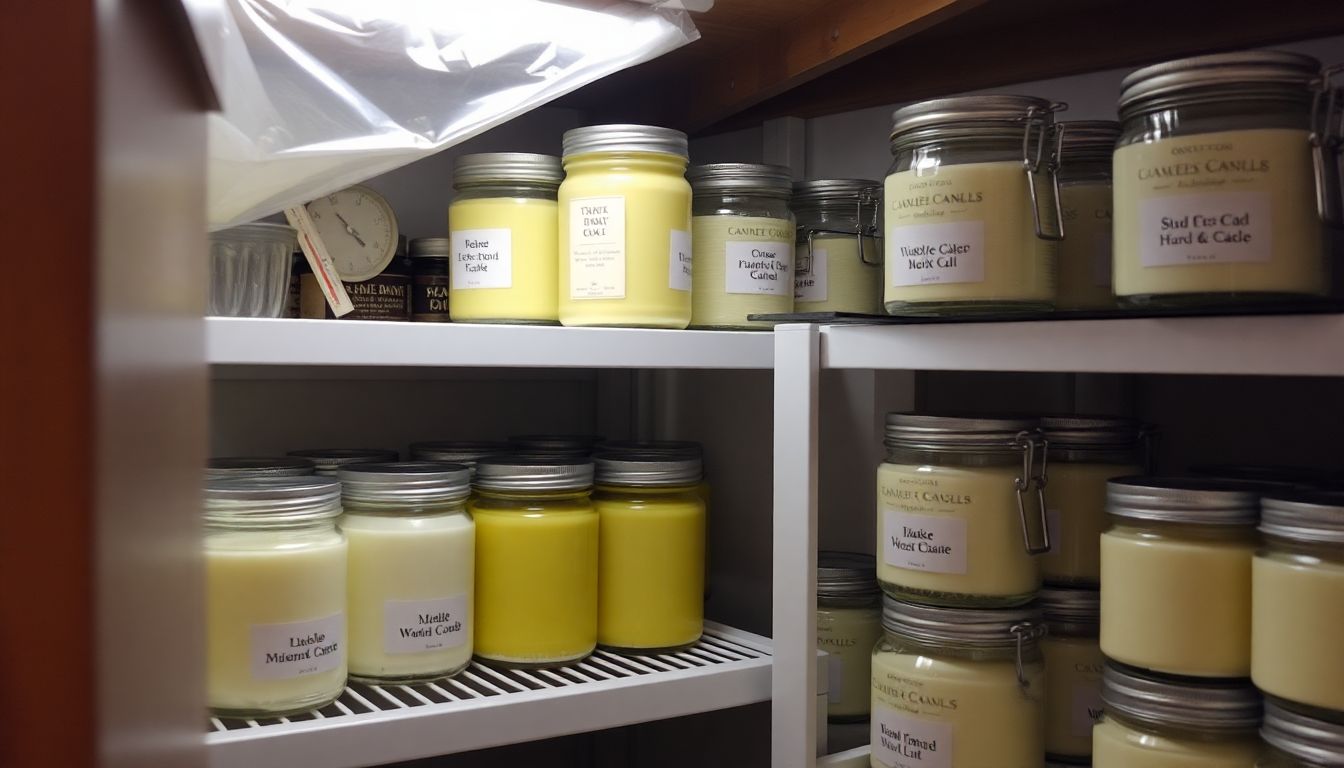
Caring for and storing homemade survival candles isn’t just about preserving their aesthetic appeal, but also ensuring they’re ready to serve their purpose when needed. With proper care, these candles can last for years, ready to provide light and warmth in times of need. Let’s dive into the art of candle care and storage to maximize their longevity.
Firstly, let’s talk about storage. Candles should be stored in a cool, dry place, away from direct sunlight and heat sources. This is because heat can cause the wax to soften and melt, leading to warping or even dripping. Similarly, direct sunlight can cause the wax to discolor and the wick to fade. A dark, cool closet or a cabinet in a spare room would be ideal.
Moisture is another enemy of candles. It can cause the wick to mold and the wax to become brittle. Therefore, it’s crucial to keep your candles away from damp areas like basements or bathrooms. If you live in a humid climate, consider using a dehumidifier in your storage space.
Now, let’s discuss how to care for your candles once they’re in use. Always trim the wick to about 1/4 inch before lighting. This helps to prevent smoking and ensures a steady flame. After each use, make sure to extinguish the candle completely and allow it to cool before storing it. This prevents the wax from becoming too soft and helps maintain the candle’s shape.
To further extend the life of your candles, consider using a candle snuffer. This not only helps to extinguish the flame more effectively but also prevents the wick from smoking when not in use. Additionally, avoid burning candles for more than four hours at a time. This helps to prevent the wick from becoming too long and the wax from overheating.
Lastly, never leave a burning candle unattended. This is a safety precaution, but it also helps to prevent accidents that could damage your candles.
By following these simple steps, you can ensure that your homemade survival candles remain in optimal condition, ready to serve their purpose when needed. After all, a well-cared-for candle is a candle that’s ready to light up your world, even in the darkest of times.
FAQ
What are the primary benefits of making your own survival candles?
What is tallow and how can I obtain it for candle making?
How do beeswax candles differ from tallow candles?
What are some common materials needed for candle making?
How can I make improvised wicks for my survival candles?
- Cotton string or twine can be used as a wick. Make sure to remove any labels or coatings before using.
- Candlewicking from old candles can be reused. Simply cut it into smaller pieces.
- Natural fibers like jute, hemp, or even strips of cloth can be used as wicks. They may need to be braided or twisted to create a thicker, stronger wick.
Experiment with different materials to find what works best for you.
What is the proper way to measure and melt wax for candle making?
How do I prepare my containers for candle making?
- For glass jars, make sure they are clean and dry to prevent any residue from affecting the wax.
- For tin cans, remove the label and any remaining adhesive, then clean and dry the can.
- For cardboard tubes, you may need to reinforce the bottom with tape or wax to prevent leakage.
You can also use molds to create shaped candles, but these are not necessary for basic survival candles.
What is the proper way to attach the wick to the container?
- First, measure the wick so that it’s about an inch or two taller than the container.
- Dip the bottom of the wick into the melted wax, then place it in the center of the container, using the wick holder or pencil to keep it upright.
- Wrap the excess wick around the wick holder or pencil, then place it across the top of the container. You can secure it with a piece of tape if needed.
For containers without a flat bottom, you may need to improvise a wick holder or use a wick that is long enough to reach the bottom of the container.
How do I pour the melted wax into the container?
- Carefully pour the melted wax into the container, leaving some space at the top for the wax to expand as it cools.
- If you’re using a double boiler, you can place the container in a larger pan filled with hot water to help regulate the temperature of the wax as you pour.
- Once the container is filled, carefully remove any excess wax from the sides and top, and trim the wick if necessary.
Allow the candle to cool undisturbed until the wax has completely hardened.
How can I ensure my survival candles burn safely and efficiently?
- Always keep candles away from flammable materials and out of reach of children and pets.
- Never leave a burning candle unattended. Extinguish it when you leave the room or go to sleep.
- Trim the wick to about 1/4 inch before each lighting to ensure a clean, even burn.
- Place candles on a heat-resistant surface to protect your container and prevent damage to your surroundings.
- If you’re using homemade wicks, you may need to experiment with different materials and lengths to find the best burn.
With proper care and attention, your survival candles can provide a reliable and efficient light source in emergency situations.


