In the realm of post-apocalyptic survival, where resources are scarce and the rules of civilization have crumbled, one skillset stands out as a beacon of hope and self-sufficiency: survival blacksmithing. This ancient art of metalworking, once the backbone of human civilization, is now more relevant than ever in a world where tools, weapons, and even basic hardware are not readily available. But what exactly is survival blacksmithing, and how can it save your life in a post-apocalyptic scenario? Let’s dive into this fascinating topic and explore the essential metalworking skills that could make all the difference in a world gone mad.
Imagine this: you’re a survivor in a post-apocalyptic world, scavenging for supplies in the remnants of a once-thriving city. You’ve found a cache of metal scraps
- old car parts, abandoned tools, even a rusty old sword. But what good are these materials if you don’t have the skills to transform them into useful tools? This is where survival blacksmithing comes in. It’s not just about heating up metal and banging it with a hammer; it’s about understanding the properties of different metals, the art of forging, and the crafting of tools that could mean the difference between life and death.
According to a study by the National Geographic Channel, in a post-apocalyptic scenario, the most valuable skills would be those that allow us to create and maintain our own resources. Topping the list were farming and medical knowledge, but a close third was the ability to work with metal. This is because metal is one of the most versatile and durable materials on Earth, and with the right skills, it can be transformed into anything from a simple knife to a complex machine.
So, you might be wondering, what kind of metalworking skills are we talking about here? And how can you, the average person, learn these skills in time for the inevitable zombie apocalypse? Well, fear not, dear reader, for this article is here to guide you through the fascinating world of survival blacksmithing. In the following paragraphs, we will explore the essential metalworking skills that every post-apocalyptic survivor needs to know, from the basics of forging to the crafting of tools and even weapons. We’ll also delve into the history of blacksmithing, providing a fascinating glimpse into how this ancient art has shaped human civilization.
By the end of this article, you will have a solid understanding of what survival blacksmithing is all about, and you’ll be well on your way to mastering the skills that could save your life in a post-apocalyptic world. So, grab your safety glasses, put on your leather apron, and let’s get started on this exciting journey into the world of fire, metal, and survival.
Mastering the Forge: Essential Metalworking Skills for Post-Apocalyptic Survival
In the grim, resource-scarce world of post-apocalyptic survival, the ability to manipulate and transform metal can be the difference between thriving and merely surviving. ‘Mastering the Forge’ is not just a guide to essential metalworking skills; it’s a roadmap to empowerment in a world where tools and technology are scarce. Imagine the satisfaction of crafting your own knife from a salvaged car engine block, or fashioning a sturdy lock from scrap metal to secure your hard-won supplies. This isn’t just about learning to weld or forge; it’s about understanding the language of metal, its strengths and weaknesses, and how to coax it into serving your needs. From fire-starting to blacksmithing, from understanding metallurgy to repurposing old tools, ‘Mastering the Forge’ is your key to unlocking a world of possibilities in a post-apocalyptic landscape. So, grab your safety glasses and let’s dive into the fiery heart of metalworking, where every spark and every strike of the hammer is a step towards self-sufficiency.
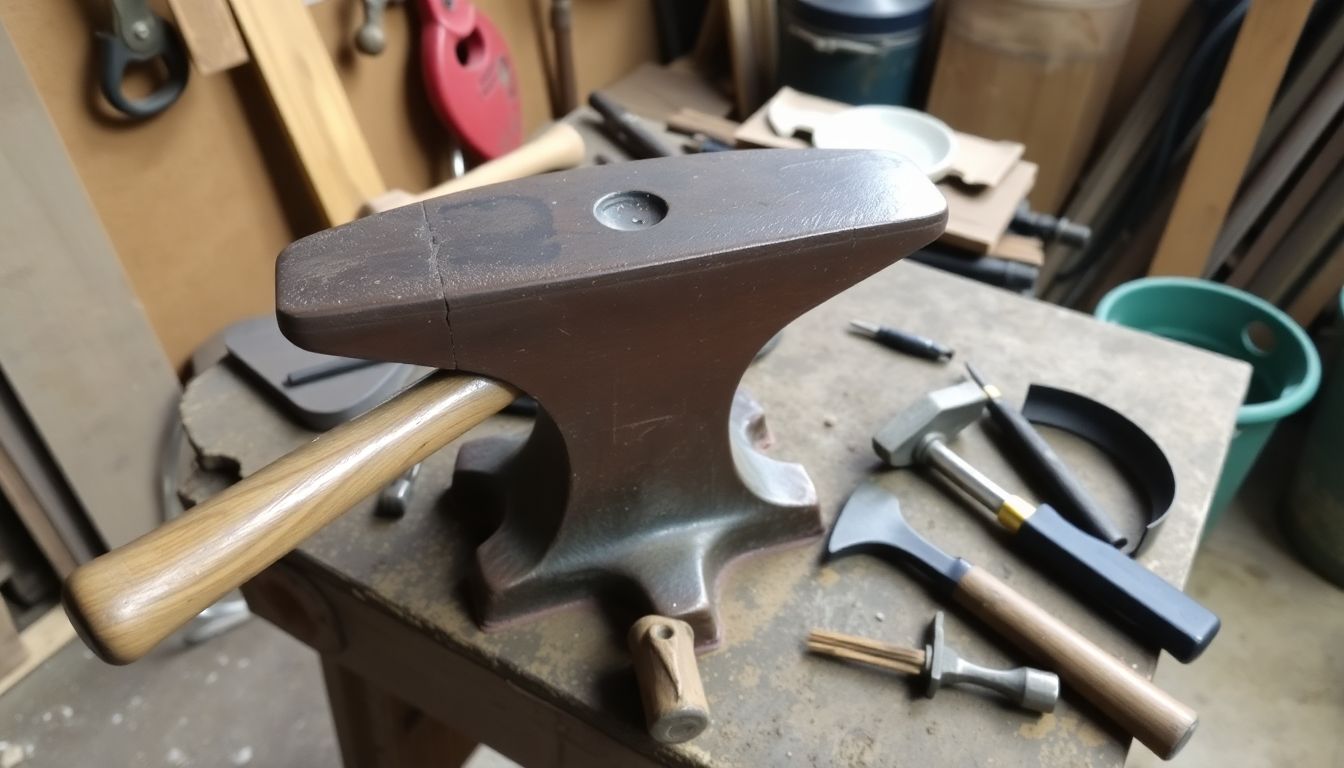
Understanding the Basics of Blacksmithing
In the heart of a post-apocalyptic world, where technology has crumbled and resources are scarce, the art of blacksmithing becomes not just a skill, but a lifeline. Blacksmithing, the ancient craft of shaping and forging iron and other metals, is a fundamental practice that can help rebuild and sustain communities. It’s a dance with fire, a symphony of hammer on anvil, and a testament to human ingenuity.
The fundamental principles of blacksmithing revolve around heat, hammer, and form. The first step is to understand the metal’s behavior at different temperatures. Below 1500°F, metal is hard and brittle, making it difficult to work. Between 1500°F and 2000°F, it becomes malleable, allowing the blacksmith to shape it. Above 2000°F, the metal becomes fluid, enabling the creation of intricate designs.
To practice blacksmithing, a few essential tools are required. A forge, a source of heat, is the blacksmith’s furnace, where the metal is heated. An anvil, a sturdy block of metal, serves as the work surface. Hammers of various sizes and shapes are used to strike and shape the metal. Tongs, punches, and chisels are also indispensable for gripping, marking, and carving the metal.
Safety is paramount in this craft, especially in a post-apocalyptic setting where medical resources may be limited. Protective gear, including heat-resistant gloves, safety glasses, and a leather apron, should be worn at all times. The work area should be well-ventilated to avoid inhaling harmful fumes. Always ensure that the forge is stable and secure, and never leave it unattended when in use.
Understanding and practicing blacksmithing in a post-apocalyptic world can lead to the creation of essential tools, weapons, and even art. It’s a skill that can be passed down, ensuring the survival and cultural continuity of communities. So, let’s pick up the hammer, ignite the forge, and shape a new future, one strike at a time.
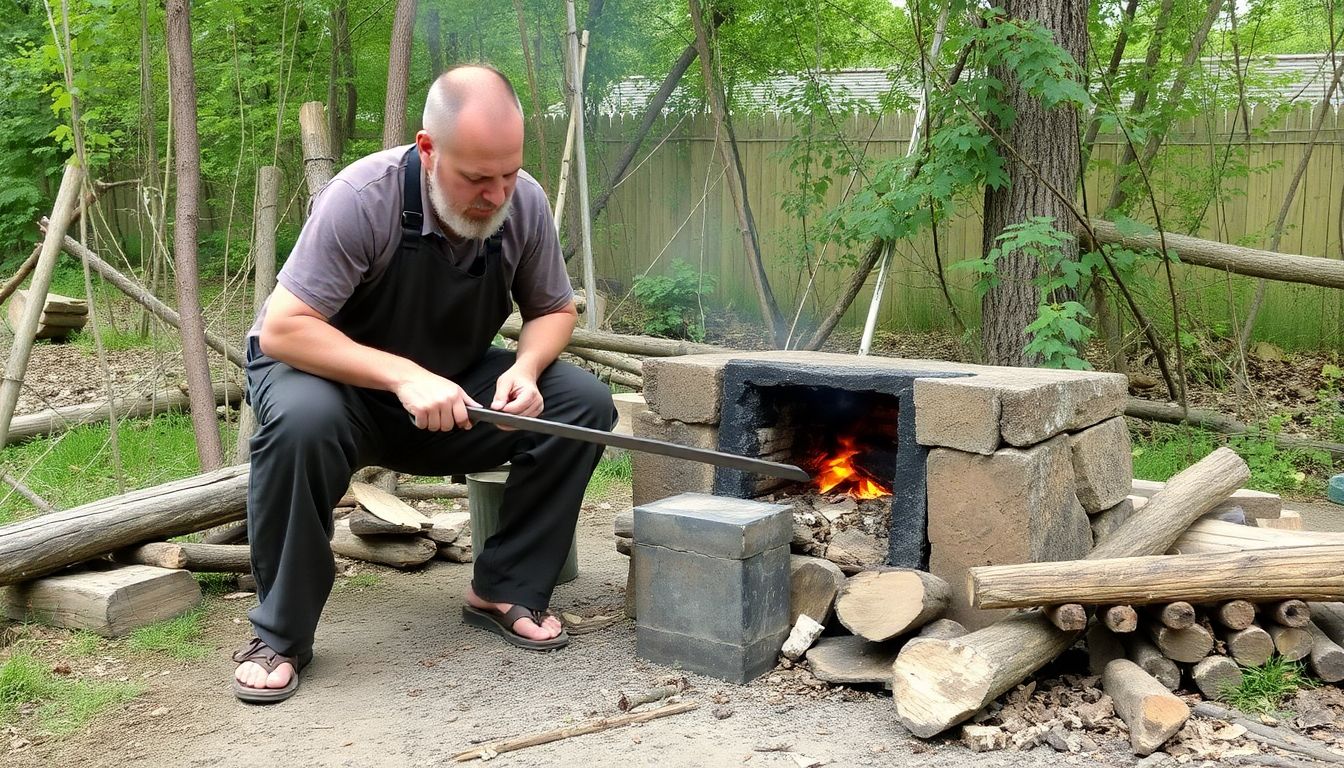
Setting Up a Post-Apocalyptic Forge
In the heart of a post-apocalyptic world, where resources are scarce and survival is the ultimate goal, establishing a sustainable and efficient forge is not just a luxury, but a necessity. A well-built forge can transform scrap metal into tools, weapons, and even art, making it a cornerstone of any community’s survival strategy.
First, let’s consider the location. Choose a spot that’s protected from the elements, preferably near a reliable source of fuel like wood or coal. A cave or a sturdy, abandoned building can serve as an excellent shelter for your forge. Remember, safety is paramount. Ensure the forge is far enough from other structures to prevent fire hazards.
Next, gather your materials. You’ll need refractory bricks or clay to line the forge, which will protect it from the intense heat. If these aren’t available, you can use a combination of clay, sand, and straw to create a makeshift refractory material. For the body of the forge, use metal if you have it, or a sturdy, heat-resistant material like fire clay or even concrete.
Now, let’s talk about the design. A simple, efficient design is best. A rectangular or cylindrical shape works well. Ensure there’s enough space for the fire and the metal you’ll be working with. Include a door or an opening at the bottom for airflow and another at the top for ventilation. You might also want to consider adding a chimney to direct smoke away from your workspace.
Once your forge is built, it’s time to maintain it. Keep the fire burning at a consistent temperature. This can be achieved by using a combination of hardwood and softwood, or coal. Hardwood burns hot and slow, while softwood burns quickly and provides a lot of heat initially. Mixing the two can help maintain a steady temperature.
Regularly clean your forge. Remove any slag or waste material that builds up. This will not only keep your forge in good condition but also make it safer to use. Additionally, consider using a bellows to pump oxygen into the fire. This will increase the temperature and make the forge more efficient.
Lastly, always prioritize safety. Wear appropriate clothing and protective gear when working with hot metal. Keep a bucket of water or sand nearby to extinguish any accidental fires. With these steps, you’ll be well on your way to setting up and maintaining a sustainable, efficient forge in a post-apocalyptic world.

Fire Management and Heat Control
Fire management and heat control are critical skills in the art of metalworking, enabling blacksmiths to manipulate metal with precision and consistency. The forge, the heart of a blacksmith’s workshop, is where these techniques come into play.
The first step in fire management is understanding the different types of fires. A blacksmith typically uses a coal fire, which can be categorized into three main types based on heat intensity: packing, kindling, and welding. Packing fires provide the lowest heat, ideal for tasks like annealing or normalizing metal. Kindling fires offer medium heat, suitable for tasks like drawing out or upsetting metal. Welding fires, the hottest of the three, are used for tasks that require high heat, such as welding or hardening metal.
To control the fire, blacksmiths use a combination of techniques. The most basic is adjusting the airflow. More air means a hotter fire, while less air results in a cooler fire. This is achieved by opening or closing the dampers on the forge. Another technique is to control the fuel. Different types of coal burn at different temperatures, and the size of the coal pieces also affects the heat output. Larger pieces burn slower and provide a more consistent heat, while smaller pieces burn faster and hotter.
Once the fire is established, maintaining consistent heat is crucial. This is where the technique of ‘stoking’ comes in. Stoking involves adding fuel to the fire in a controlled manner, ensuring a steady supply of heat. The blacksmith also needs to monitor the color of the metal being heated. Different metals require different temperatures, and the color of the metal as it heats up provides a visual cue to the blacksmith. For example, steel turns a deep red when it reaches a temperature suitable for forging.
In addition to these techniques, safety is paramount in fire management. Blacksmiths wear protective gear, including gloves, aprons, and safety glasses, to protect against the intense heat and sparks. They also ensure that the forge is well-ventilated to prevent the buildup of harmful fumes.
In conclusion, fire management and heat control are complex skills that require a deep understanding of fire, metal, and the interplay between the two. However, with practice and patience, any blacksmith can master these techniques and create stunning, functional metalwork.
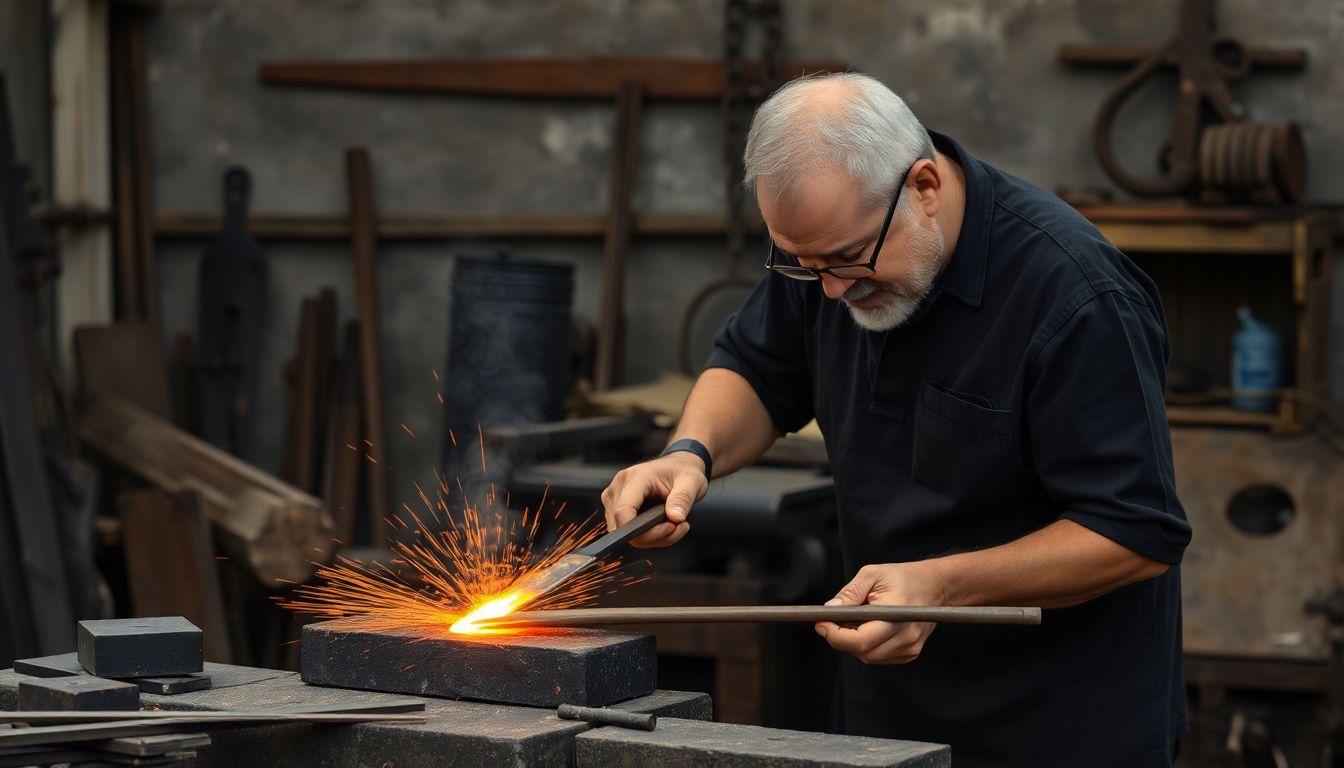
Essential Metalworking Techniques
Metalworking, an ancient craft, is not just about creating art or machinery, but also about survival. In a world without power tools or factories, understanding essential metalworking techniques can be a lifesaver. Let’s delve into four key techniques: drawing, upsetting, twisting, and punching, and explore their practical applications in survival scenarios.
The first technique, drawing, involves reducing the cross-sectional area of a metal rod or bar by pulling it through a die. This is akin to making spaghetti from dough, but with metal. In a survival situation, drawing can help you create thin, strong wires for snares, fishing hooks, or even a makeshift needle for sewing.
Upsetting, the second technique, is about increasing the cross-sectional area of a metal piece by hammering it. Imagine turning a short, thick piece of metal into a longer, thinner one. This technique is useful for creating stakes for shelters, tent pegs, or even a simple hammer for pounding other materials.
Twisting, as the name suggests, involves twisting a piece of metal to change its shape. This technique can be used to create simple tools like a hook for pulling things, a handle for a hammer, or even a makeshift wrench for turning nuts and bolts.
Lastly, punching involves creating a hole in a piece of metal. This can be done using a punch and a hammer, or even a sharp rock in a pinch. Punching is essential for creating holes for lashing, hinges for simple doors, or even a way to attach a handle to a tool.
Each of these techniques requires practice and patience, but with time, they can become second nature. Remember, metalworking is not just about the tools, but also about understanding the properties of metal and how to manipulate it. So, the next time you find yourself in a survival scenario, don’t forget, you’re not just carrying a piece of metal, you’re carrying potential.
Stay safe, stay prepared, and happy metalworking!

Crafting Essential Survival Tools
Embarking on a journey into the wild, whether for a weekend camping trip or a long-term survival scenario, requires a well-equipped kit. While modern tools are convenient, knowing how to craft essential survival tools using basic blacksmithing techniques can be a lifesaver. Let’s delve into the art of creating three indispensable tools: a knife, an axe, and arrowheads.
The process begins with selecting the right materials. For the blade, choose a high-carbon steel like 1084 or 1095, which can be hardened and tempered for a good edge. For the handle, consider hardwoods like oak or hickory, and for the axe head, a piece of mild steel will suffice.
Crafting a Knife:
- Heat the steel in a forge or over a campfire until it’s cherry red.
- Using a hammer, shape the steel on an anvil or a large rock, creating a rough blade shape.
- Quench the blade in oil or water to harden it, then temper it in the fire to prevent brittleness.
- Grind the blade on a wet grindstone or sandpaper to achieve a sharp edge.
- Attach the blade to a handle using epoxy or a tang (a part of the blade that extends into the handle).
Crafting an Axe:
The process for an axe is similar to that of a knife, but with a few differences. You’ll need to create a poll (the non-sharp end) and an eye (the hole for the handle). Once the axe head is shaped, heat treat it, and grind the edge. Attach the handle using a wooden wedge or epoxy.
Crafting Arrowheads:
For arrowheads, you can use a similar process, but on a smaller scale. Shape the steel into a point, heat treat it, and grind it to a sharp edge. Attach it to an arrow using glue or by wrapping it with sinew.
Practice makes perfect in blacksmithing. Start with small projects and gradually take on bigger challenges. With time and patience, you’ll be crafting essential survival tools that could one day mean the difference between a comfortable night’s sleep and a cold, hungry one.
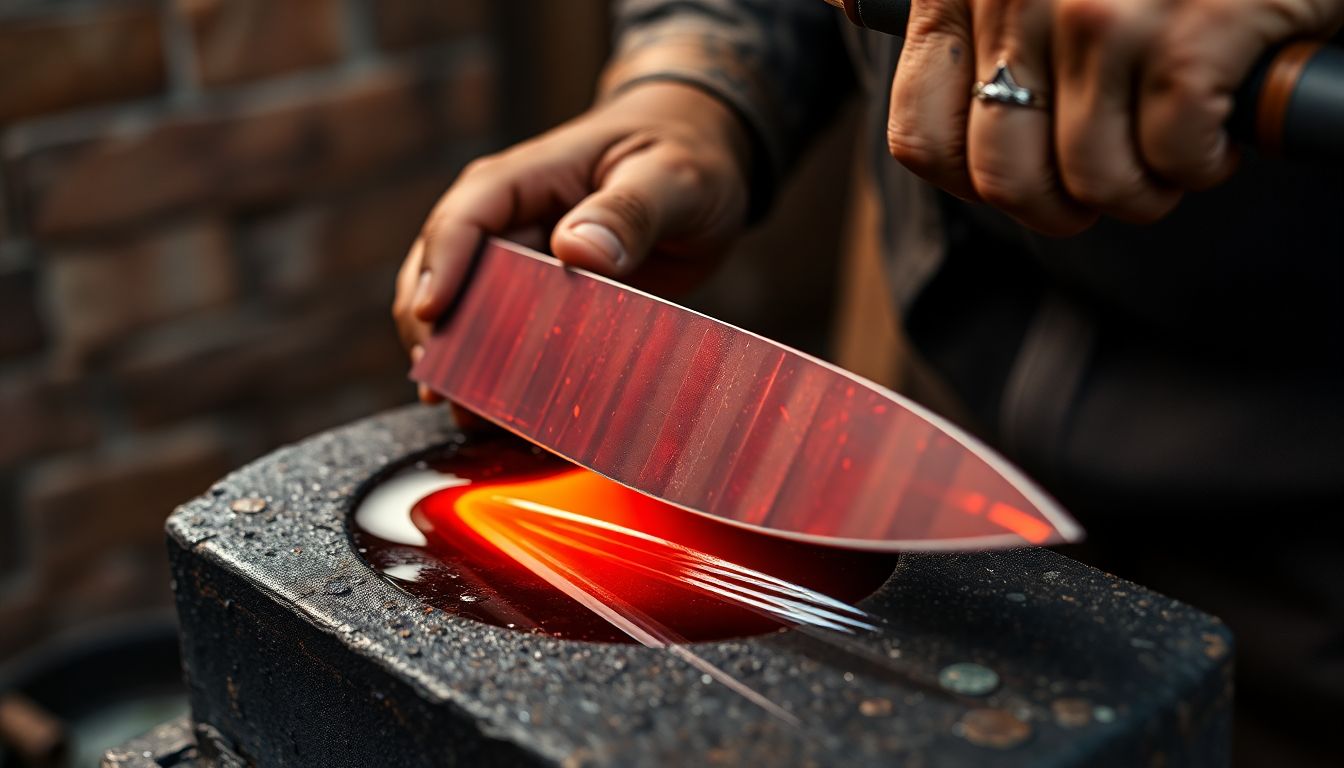
Hardening and Tempering: The Art of Edge Retention
Hardening and tempering are not just processes, but an art form that transforms ordinary tools into durable, sharp-edged masterpieces. This alchemy of metalwork involves a delicate dance between heat, time, and cooling, all aimed at creating tools that can stand the test of time and maintain their edge. Let’s delve into the science behind these processes and guide you through creating durable, sharp edges on your tools.
The science behind hardening and tempering is rooted in the transformation of the metal’s crystalline structure. When heated to a specific temperature, the metal’s molecules break free from their original crystalline lattice, creating a disorganized, Austenitic structure. This is the first step in the hardening process, often referred to as austenitizing.
After austenitizing, the metal is rapidly cooled, or quenched, to lock in the new Austenitic structure. This sudden cooling causes the metal molecules to realign in a harder, Martensitic structure, significantly increasing the tool’s hardness and resistance to wear. However, this rapid cooling also introduces internal stresses and makes the metal brittle. This is where tempering comes into play.
Tempering involves reheating the quenched tool to a lower temperature and holding it there for a specific duration. This allows the metal molecules to rearrange into a more stable, yet still hard, structure, relieving the internal stresses and improving the tool’s toughness. The tool maintains its hardness but gains flexibility, preventing it from shattering under impact.
Now, let’s put this science into practice with a step-by-step guide to hardening and tempering your tools:
- Austenitizing: Heat your tool to the appropriate temperature for its specific metal. For high carbon steel, this is typically around 1400°F (760°C). Use a reliable thermometer or a color-changing indicator to ensure accurate heating.
- Quenching: Once the tool has reached the desired temperature, quickly submerge it in a suitable quenching medium, such as oil, water, or air. The medium’s temperature and the tool’s cooling rate will depend on the metal type and desired results.
- Tempering: After quenching, reheat the tool to a lower temperature, typically between 300°F (150°C) and 1000°F (540°C), depending on the desired balance between hardness and toughness. Hold the tool at this temperature for a specific duration, then allow it to cool in still air.
- Finishing: Once cooled, your tool is now hardened and tempered. Grind or sharpen the edge to your desired shape and sharpness.
Remember, the key to successful hardening and tempering lies in precision and patience. Each metal type and tool design may require unique heating, cooling, and tempering cycles. Experiment, observe, and adjust your process to achieve the perfect balance between hardness and toughness for your specific tool. Happy forging!
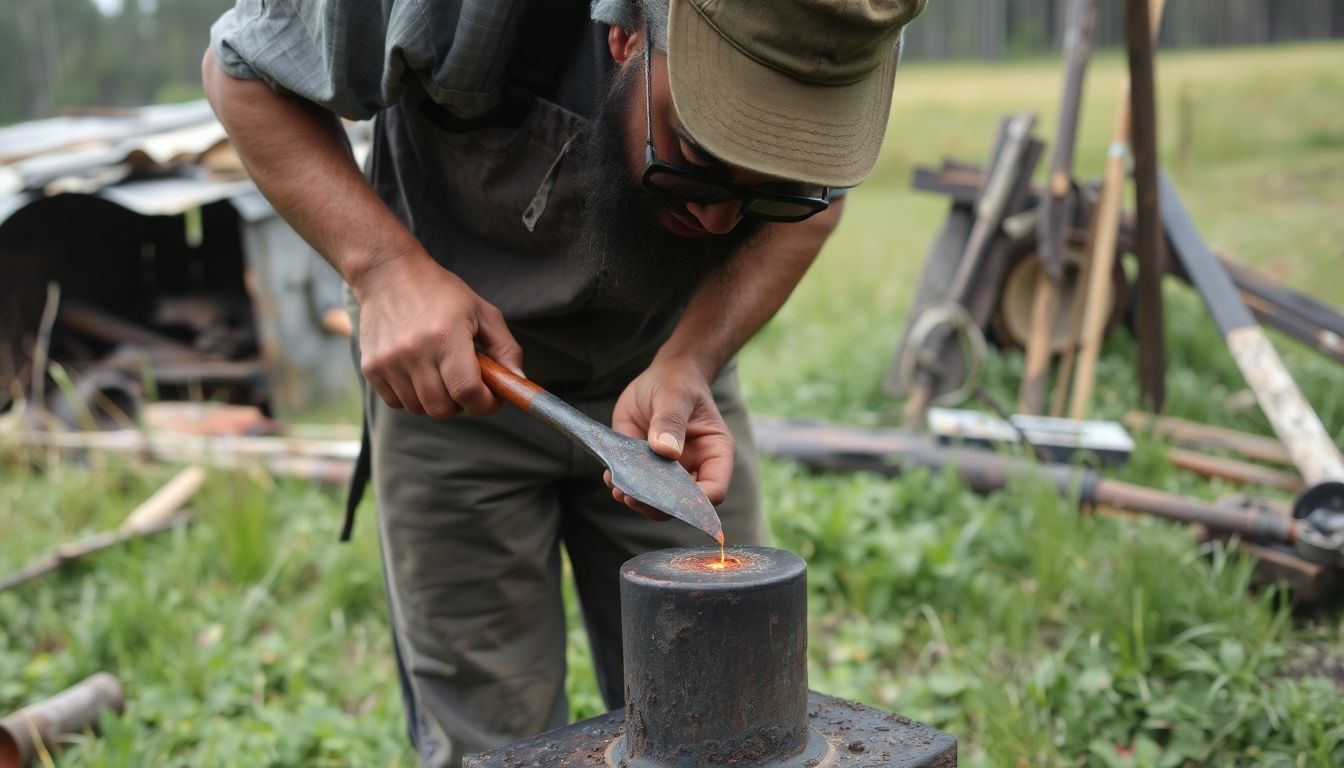
Repairing and Maintaining Tools in the Field
In the harsh, unforgiving world of a post-apocalyptic environment, the reliability of your tools can mean the difference between survival and succumbing to the harsh conditions. Regular maintenance and prompt repair are not just suggestions, but necessities. Let’s explore some tips and techniques to keep your tools in tip-top shape.
Firstly, always inspect your tools after each use. This might seem mundane, but it’s crucial to catch any issues early. Check for signs of wear, damage, or rust. Remember, prevention is always better than cure.
Next, let’s talk about storage. Tools left lying around are more likely to get damaged or lost. Store them properly, away from moisture and extreme temperatures. A dry, cool place is ideal. You might even consider making a tool roll or a simple wooden rack to keep them organized and protected.
Now, let’s dive into some specific maintenance and repair techniques.
- Knives and Axes: Sharpen them regularly. A sharp tool is a safe tool. Use a sharpening stone or a makeshift one made from a piece of ceramic or glass. Always sharpen at the same angle to maintain the edge.
- Saws: Clean the teeth after each use to remove any debris. A dirty saw can’t cut effectively and may even break. You can use a wire brush or a piece of cloth to clean it.
- Hammers: Check the handle for cracks or wear. If it’s wooden, you can wrap it with cloth or tape to provide extra grip and protect your hand. If it’s metal, ensure the head is securely attached.
- Multi-tools and Pliers: Lubricate the moving parts with a bit of oil to keep them functioning smoothly. WD-40 or any other light machine oil will do.
Lastly, always have a basic repair kit. This could include spare parts, adhesives, tapes, and tools to disassemble and reassemble your tools. Knowledge is power, so learn about your tools. Understand how they work, how to take them apart, and how to put them back together.
In a post-apocalyptic world, every tool is a lifeline. Treat it as such, and it will serve you well.
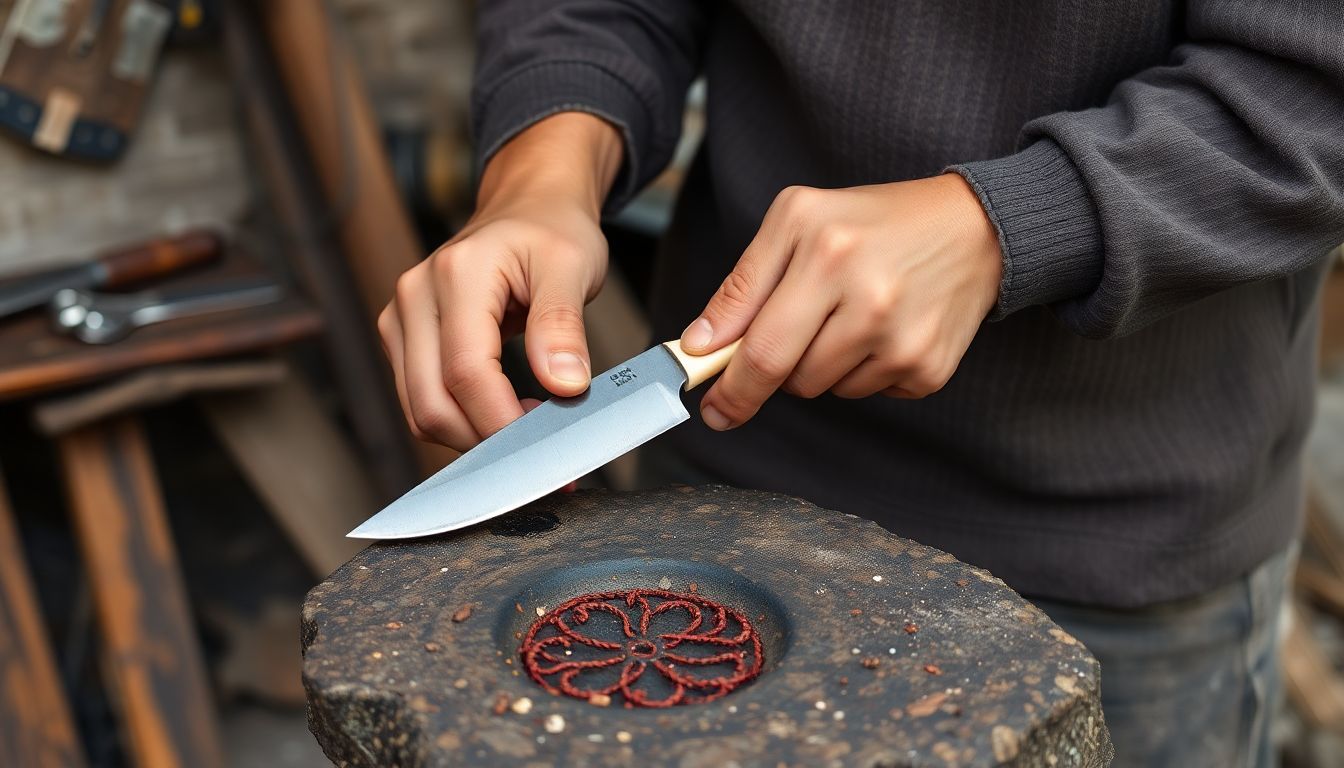
Exploring Alternative Materials and Techniques
In the realm of tool crafting and repair, the traditional materials of wood, metal, and leather have long been the staples. However, the adventurous and innovative artisan has always sought to push boundaries, leading to the exploration of alternative materials. Among these, bone, stone, and glass stand out for their unique properties and aesthetic appeal.
The use of bone in tool crafting and repair offers a blend of strength and beauty. It is lightweight yet durable, making it an excellent choice for handles and decorative elements. To incorporate bone, one must first ensure it’s ethically sourced and properly cleaned. Next, it’s crucial to stabilize the bone to prevent warping or cracking. This can be achieved through a process called ‘gigging’, where the bone is heated and cooled repeatedly, or by soaking it in a solution of borax and water.
Stone, on the other hand, provides a solid and enduring foundation for tools. It’s often used in the creation of axes, adzes, and other heavy-duty tools. Working with stone requires a different set of skills and tools. The process begins with selecting a suitable stone, such as flint, quartzite, or basalt. The stone is then shaped using a combination of percussion and pressure flaking techniques. This involves striking the stone with a harder material to remove small flakes, gradually revealing the desired shape.
Glass, when used in tool crafting, brings a touch of elegance and functionality. It’s often used in the creation of glassblown tools like vases or decorative elements. To incorporate glass, one needs to understand the art of glassblowing. This involves heating glass in a furnace until it becomes molten, then shaping it using various tools and techniques. The glass is then annealed, a process of slow cooling that prevents stress fractures.
In repair work, these materials can also be integrated to restore or enhance tools. For instance, a broken wooden handle can be replaced with a carved bone handle, adding both strength and aesthetic appeal. A chipped stone tool can be retouched using pressure flaking to restore its functionality. Glass can be used to create protective coatings or decorative inlays.
In conclusion, exploring alternative materials like bone, stone, and glass in tool crafting and repair opens up a world of possibilities. It not only allows for the creation of unique and functional tools but also provides an opportunity to learn and practice new skills and techniques.
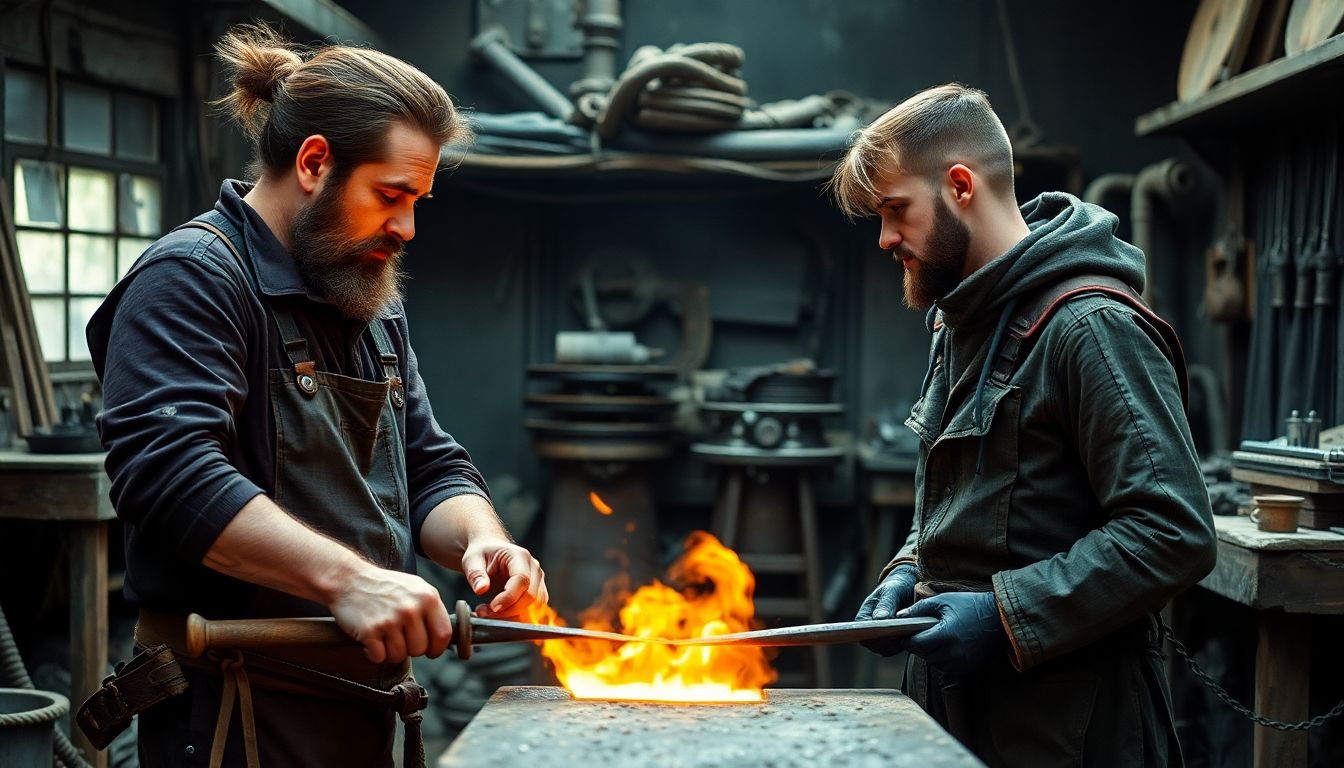
Teaching and Preserving Blacksmithing Skills
In the heart of a post-apocalyptic world, where technology has faded and self-sufficiency reigns supreme, the art of blacksmithing stands as a beacon of hope and resilience. This ancient craft, once a staple in many communities, has become a lifeline in the face of adversity, enabling us to create tools, weapons, and hardware essential for survival. The importance of preserving and teaching blacksmithing skills in this new reality cannot be overstated.
The first step in passing on this knowledge is to identify those eager to learn. Look for individuals with a keen interest, patience, and a strong work ethic. Remember, blacksmithing is a skill that demands time, practice, and dedication.
Once you’ve assembled your group of aspiring blacksmiths, it’s crucial to establish a safe and functional workspace. This could be a repurposed forge from the old world or a new one built using available resources. Safety should always be paramount, with proper ventilation, protective gear, and clear instructions on handling tools and materials.
Begin with the basics. Teach your students about the different types of metal, their properties, and how to identify them. Then, introduce them to the tools of the trade
- hammers, tongs, punches, and chisels. Explain their uses and how to handle them safely and effectively.
Next, delve into the fundamentals of forging. Teach them how to heat metal to the right temperature, how to manipulate it on the anvil, and how to quench and temper it to achieve the desired hardness. Encourage them to practice these techniques regularly, even if it’s just to create simple nails or small hooks.
As their skills develop, introduce more complex projects. Teach them how to make tools like axes, knives, and hammers. Show them how to create decorative items, like wrought iron gates or intricate metal sculptures. The possibilities are endless, limited only by their imagination and the resources available.
But teaching blacksmithing is not just about the technical aspects. It’s also about instilling a sense of pride and community. Encourage your students to work together, to learn from each other, and to share their knowledge with others. Foster a sense of camaraderie and mutual respect, for it is these bonds that will strengthen your community and ensure the survival of this vital skill.
In a post-apocalyptic world, knowledge is power. By teaching and preserving the art of blacksmithing, we ensure that our communities have the tools they need to thrive, and we honor the generations of blacksmiths who came before us. So, let us forge ahead, one hammer strike at a time.
FAQ
What is survival blacksmithing and why is it crucial in a post-apocalyptic world?
What are some essential metalworking skills every survival blacksmith should know?
- firing and maintaining a forge,
- heating and shaping metal,
- hardening and tempering,
- forging welds,
- shaping and fitting metal to create functional tools,
- and understanding the properties of different metals and alloys.
These skills allow for the creation of a wide variety of tools, from knives and axes to nails and hinges.
What kind of tools are essential for a survival blacksmith?
- a forge or heat source,
- an anvil or hard surface for shaping metal,
- hammers of various sizes and shapes,
- tongs and other gripping tools,
- a variety of punches and chisels,
- a quenching bucket or trough,
- and safety gear like gloves, aprons, and eye protection.
Additionally, having a basic understanding of how to improvise tools from available materials can be invaluable.
How can one create a forge in a post-apocalyptic scenario?
What are some essential tools that can be crafted by a survival blacksmith?
- knives and axes for chopping and cutting,
- hammers and chisels for shaping and carving wood,
- nails and hinges for construction,
- hoes and shovels for gardening,
- fish hooks and other fishing gear,
- and even simple weapons for defense.
The ability to create and maintain these tools is vital for establishing and maintaining a sustainable lifestyle in a post-apocalyptic world.
How can one learn and practice survival blacksmithing without access to modern tools or resources?
What are some common mistakes to avoid when starting out in survival blacksmithing?
- working with metal that’s too hot or too cold,
- not annealing metal before shaping it, which can make it brittle and prone to breaking,
- not quenching metal properly, which can lead to uneven hardening and cracking,
- using the wrong type of metal for the job,
- and trying to rush the process, which can lead to poor-quality work and wasted effort.
Patience, attention to detail, and a willingness to learn from mistakes are key to improving your skills.
How can one maintain and sharpen the tools they’ve crafted?
- regular cleaning to remove dirt and rust,
- oiling to prevent rust and keep moving parts lubricated,
- sharpening with a file, stone, or other abrasive,
- and in some cases, re-heating and re-hardening to restore the edge.
The specific maintenance needs of a tool depend on the type of tool, the materials used, and the conditions in which it’s used.


