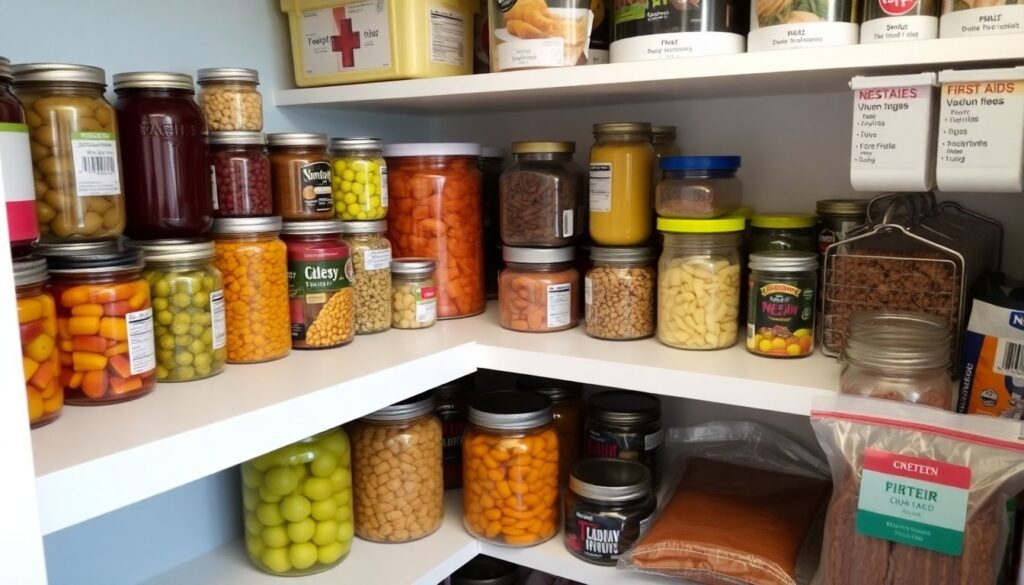
Have you ever wondered how ancient civilizations managed to store food for months, even years, without the modern conveniences of refrigeration and freezers? Or perhaps you’ve found yourself questioning how to ensure your family has access to nutritious meals in the event of a natural disaster or unexpected power outage? The art of long-term food storage, a practice that has evolved from our ancestors’ necessity to survive to our modern-day desire for self-sufficiency and preparedness, is not only fascinating but also incredibly practical. In this comprehensive guide, we delve into the techniques and best practices of food preservation and stockpiling, equipping you with the knowledge to create your own emergency rations and ensure your pantry is always well-stocked.
First, let’s address the elephant in the room: why should you care about long-term food storage? According to a study by the Federal Emergency Management Agency (FEMA), up to 40% of Americans do not have an emergency supply kit, and only 3% have enough food to last more than three days. In the face of natural disasters, economic instability, or even global pandemics, having a reliable food supply can mean the difference between comfort and hardship, or even safety and danger. But what if we told you that with the right knowledge and a little bit of planning, you could have a year’s worth of food stored in your home, ready to nourish you and your loved ones at a moment’s notice?
Now, you might be thinking, ‘That sounds great, but where do I start?’ or perhaps, ‘I don’t have the space, or the budget, for that!’ We understand your concerns, and we’re here to assure you that long-term food storage is not only possible but also accessible to everyone. In this article, we promise to demystify the process, providing you with clear, actionable steps and practical tips that will help you build your food stockpile over time, without breaking the bank or taking over your entire home. From understanding the science behind food preservation to selecting the right storage containers and rotating your stock, we’ve got you covered.
So, whether you’re a seasoned prepper looking to refine your strategies or a curious homeowner eager to learn how to make the most of your pantry, this article is for you. By the end of this guide, you’ll have a solid understanding of the techniques and best practices of long-term food storage, and you’ll be well on your way to creating a robust, sustainable food supply that will give you peace of mind and ensure your family’s well-being, no matter what life throws your way. So, let’s roll up our sleeves, grab our aprons, and dive into the fascinating world of food preservation!
Mastering Food Preservation: Techniques for Long-Term Storage and Emergency Rations
In the grand dance of civilization, few arts are as fundamental and rewarding as mastering food preservation. This ancient practice, born of necessity, has evolved into a symphony of techniques that stretch the life of our harvests, ensuring sustenance in lean times and transforming simple ingredients into culinary delights. From the humble mason jar to the time-honored root cellar, the journey into long-term storage is a voyage of discovery, where science and tradition intertwine to create a pantry that’s as robust as it is diverse. Whether you’re a homesteader preparing for the winter, a prepper ensuring emergency rations, or a food enthusiast seeking to capture the fleeting flavors of summer, understanding and employing these techniques is not just a means to an end, but an enriching experience that connects us to our past and ensures our future. So, let’s roll up our sleeves, don our aprons, and delve into the fascinating world of food preservation, where every jar sealed and every shelf stocked is a testament to our ingenuity and our connection to the land.
Understanding the Science Behind Food Spoilage
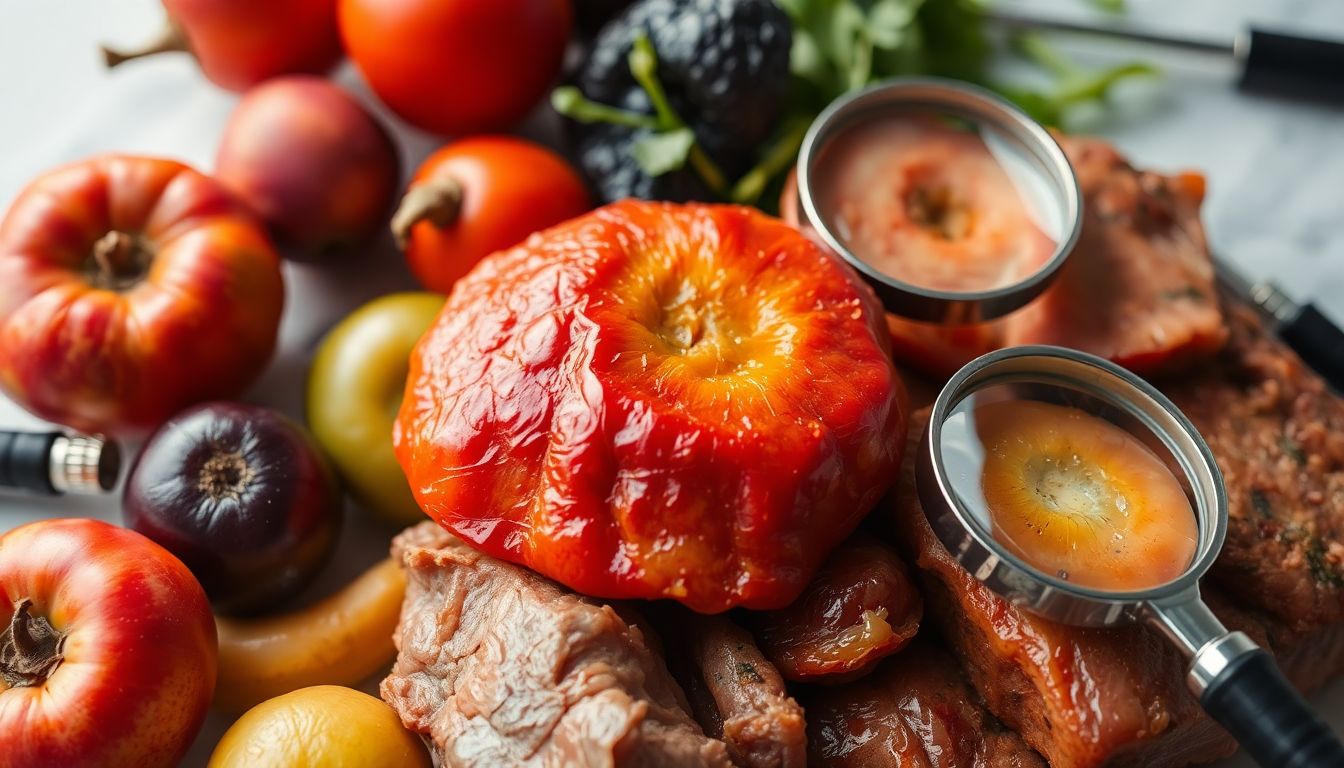
Food spoilage, a natural process that renders food unfit for consumption, is a complex interplay of various factors. At the heart of this process lie four key elements: moisture, temperature, light, and oxygen. Each of these factors plays a pivotal role in the growth and proliferation of microorganisms such as bacteria, mold, and yeast, which are the primary culprits behind food spoilage.
The story begins with moisture. Water is the lifeblood of these microorganisms, and its presence, or lack thereof, can significantly influence their growth. In a nutshell, the more water available, the more hospitable the environment for these critters. This is why foods with high moisture content, like fruits and vegetables, spoil faster than those with low moisture content, like nuts and dried fruits.
Temperature, the second protagonist in this tale, is another critical factor. Different microorganisms thrive at different temperatures. Psychrotrophic bacteria, for instance, love the cold and can grow even in refrigerated environments. Meanwhile, mesophilic bacteria prefer temperatures between 68°F and 104°F (20°C and 40°C), which is why foods left out at room temperature can spoil quickly. Understanding these temperature preferences is crucial for effective food preservation, as it guides us in using refrigeration, freezing, and other temperature control methods.
Light, the third factor, is a double-edged sword. While some microorganisms, like certain molds, can grow in the presence of light, others, such as bacteria, are inhibited by it. This is why some foods, like mushrooms, are grown in the light, while others, like yogurt, are cultured in the dark.
Lastly, we have oxygen, the fourth and perhaps most significant factor. Many microorganisms, including bacteria, mold, and yeast, require oxygen to grow and reproduce. This is why foods that are exposed to air, like fresh produce, spoil faster than those that are not, like canned goods. Understanding this relationship is key to using strategies like vacuum sealing and modified atmosphere packaging to extend the shelf life of foods.
In conclusion, understanding the science behind food spoilage is not just about preserving our food; it’s about preserving our health. By grasping how moisture, temperature, light, and oxygen contribute to the growth of bacteria, mold, and yeast, we can make informed decisions about how we store, prepare, and consume our food. This knowledge is the cornerstone of effective food preservation, ensuring that our food stays fresh, safe, and delicious for as long as possible.
The Art of Canning: Water Bath and Pressure Canning
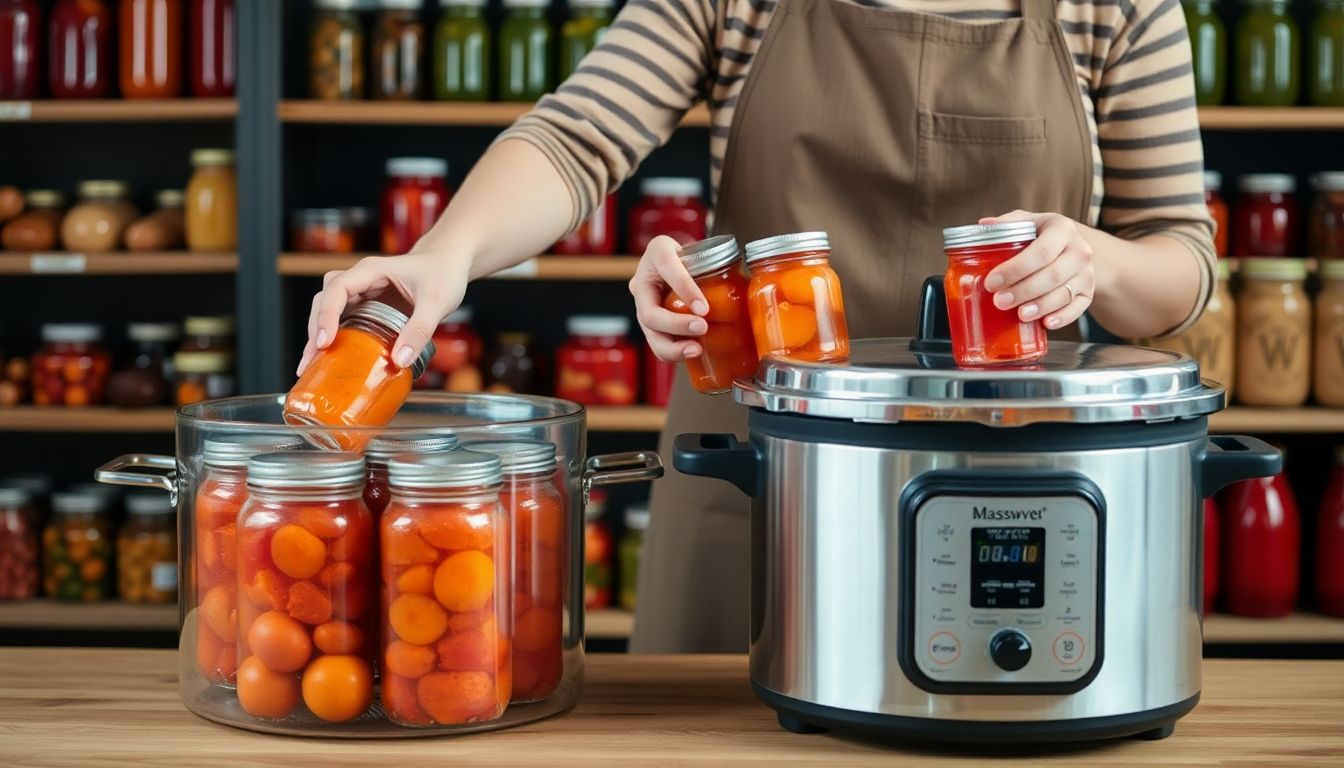
The art of canning, a timeless practice that preserves the bounty of summer for the leaner months, is a rewarding skill to master. Two primary methods exist: water bath canning and pressure canning. Each has its unique advantages and is suited to different types of food. Let’s delve into both, starting with water bath canning.
Water bath canning, also known as boiling water bath canning, is ideal for high-acid foods like fruits, jams, and pickles. It’s a gentler process that helps retain the food’s color, flavor, and texture. Here’s a step-by-step guide:
-
Equipment Needed:
- A large pot with a rack, canning jars with lids and bands, a jar lifter, a funnel, and a magnetic lid lifter.
Preparation of Food:
- Prepare your food as per your recipe, ensuring it’s hot when you’re ready to can.
Processing:
- Fill your jars with the hot food, leaving the recommended headspace (usually 1/4 to 1/2 inch). Wipe the rim clean, place the lid on, and screw on the band fingertip tight.
- Place the jars in the pot, ensuring they’re covered by at least 1 inch of water. Bring the water to a full rolling boil, then start your timer. Processing times vary by recipe, so follow your trusted source.
- Once processing time is up, turn off the heat, remove the lid, and let the jars sit for 5 minutes. Then, using a jar lifter, remove the jars, place them on a towel, and let them cool undisturbed for 24 hours.
Safety tip: Always use new lids, as they create the seal. Bands can be reused.
Now, let’s explore pressure canning. This method is used for low-acid foods like meats, poultry, and vegetables. It reaches higher temperatures, ensuring safety where botulism spores could be a concern.
Equipment Needed:
- A pressure canner, canning jars, lids, bands, jar lifter, funnel, and a pressure gauge regulator.
Preparation of Food:
- Prepare your food as per your recipe, ensuring it’s hot when you’re ready to can.
Processing:
- Fill your jars with the hot food, leaving the recommended headspace (usually 1 inch). Wipe the rim clean, place the lid on, and screw on the band fingertip tight.
- Place the jars in the canner, ensuring they’re not overlapping. Add water according to your canner’s instructions, then lock the lid. Bring the canner to the correct pressure (usually 10-15 pounds) and start your timer. Processing times vary by recipe, so follow your trusted source.
- Once processing time is up, turn off the heat and let the canner cool naturally. Once the canner is depressurized, remove the lid, and using a jar lifter, remove the jars, place them on a towel, and let them cool undisturbed for 24 hours.
- shelves filled with the flavors of summer
- make it all worthwhile.
Safety tip: Always follow your canner’s instructions for safe operation. Never force a lid open if the canner hasn’t depressurized naturally.
Both methods require careful attention to detail, but the rewards
Dehydrating: Nature’s Way of Preserving Food
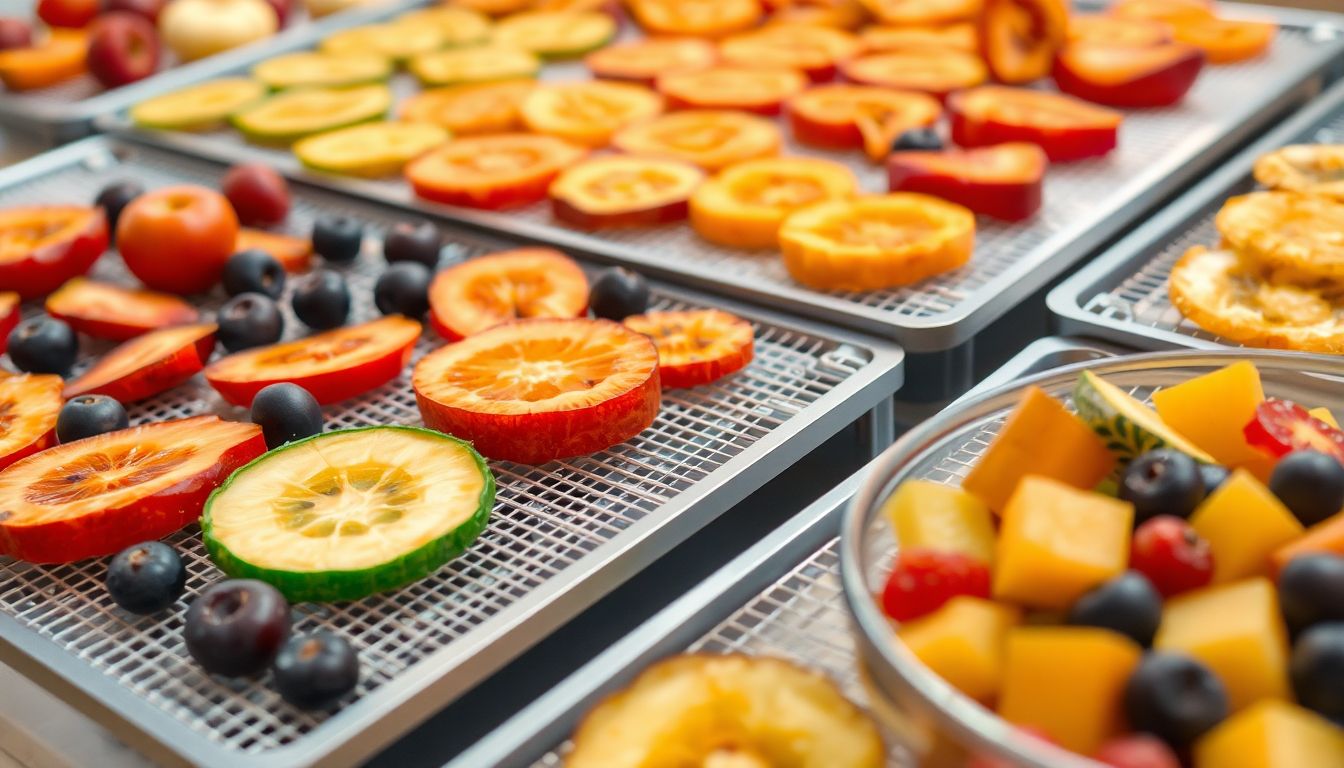
In the vast pantry of human history, one of the oldest and most ingenious methods of food preservation is dehydration. Nature, in its wisdom, has equipped us with this technique, which relies on the simple yet powerful principle of removing moisture to inhibit bacterial growth. This ancient art has been practiced for centuries, from the ancient Egyptians preserving fruits to the Native Americans creating pemmican from meat and berries. The process of dehydration is straightforward yet profound. By reducing the water content in food, we create an environment inhospitable to bacteria, fungi, and other microorganisms that cause spoilage. This is because these microbes require water to survive and reproduce. Thus, by removing moisture, we effectively slow down or halt their activity, extending the shelf life of food significantly. A wide array of foods lend themselves beautifully to dehydration. Fruits, vegetables, meats, and even herbs can be preserved this way. Fruits like apples, bananas, and berries become delightful snacks when dried. Vegetables such as carrots, bell peppers, and spinach retain their nutritional value and flavor when dehydrated. Meats, when properly prepared and dehydrated, can become long-lasting, high-energy food sources. Herbs, too, can be preserved by dehydration, retaining their vibrant flavors and colors. The methods of dehydration are as varied as the foods that can be preserved. The most natural and ancient method is sun drying. This involves spreading the food thinly on a surface and leaving it under direct sunlight until it reaches the desired level of dryness. This method is simple, cost-effective, and harnesses the power of nature. However, it is also dependent on weather conditions and can take a long time. Modern methods include oven drying and using food dehydrators. Oven drying involves setting the oven at a low temperature and leaving the food to dry slowly. This method is more controlled than sun drying but still requires constant monitoring. Food dehydrators, on the other hand, are designed specifically for this purpose. They maintain a consistent temperature and airflow, ensuring even and efficient drying. Rehydrating dried food is a simple process. For fruits and vegetables, soaking them in water for a few minutes to a few hours, depending on the food’s density, is usually sufficient. Meats may require a longer soaking time or even cooking after rehydration to ensure food safety. Herbs can be rehydrated by sprinkling them directly into dishes or beverages. In conclusion, dehydration is a testament to human ingenuity and our deep understanding of nature’s processes. It is a simple, effective, and sustainable way of preserving food that has stood the test of time. Whether you’re a homesteader, a camper, or a food enthusiast, incorporating dehydration into your culinary repertoire can open up a world of possibilities, from creating long-lasting, nutritious snacks to exploring the rich history of food preservation.
Freezing: The Easiest and Most Versatile Preservation Method
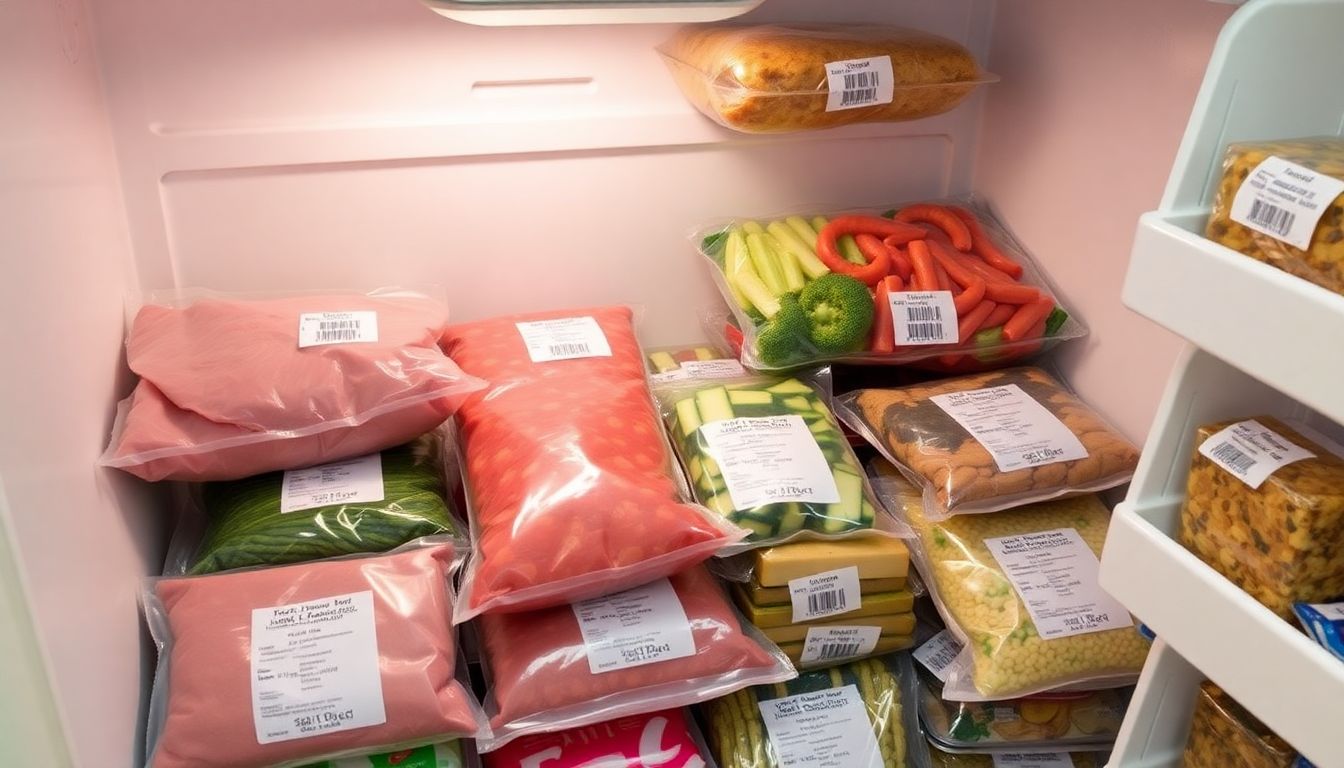
Freezing, often overlooked, is a powerhouse in the culinary world, offering unparalleled convenience and versatility in food preservation. It’s as simple as popping your ingredients or leftovers into the freezer, yet it extends the life of food significantly, making it a boon for busy individuals and families alike. But like any preservation method, freezing has its own set of benefits and limitations.
The primary advantage of freezing is its ease. It requires no special equipment or skills, just a reliable freezer. It also preserves food at its peak freshness, locking in flavors and nutrients. Moreover, it’s incredibly versatile, suitable for a wide range of foods from fruits and vegetables to meats and cooked dishes.
However, freezing isn’t without its limitations. It can alter the texture of some foods, making them soggy or tough upon thawing. It also doesn’t kill all bacteria; it merely slows their growth. Therefore, it’s crucial to ensure food is properly cooked before freezing and to thaw it safely.
Proper packaging is key to successful freezing. Air is the enemy here, as it causes freezer burn, a condition that turns frozen food dry, tough, and unappetizing. Use heavy-duty freezer bags or airtight containers, and squeeze out as much air as possible before sealing. Labeling is also important, noting the date and contents to avoid freezer roulette.
Storage temperature is another critical factor. The U.S. Food and Drug Administration recommends setting your freezer at 0°F (-18°C) or lower. This ensures food stays frozen solid, minimizing the risk of freezer burn and maintaining its quality.
Speaking of freezer burn, it’s a common issue but easily preventable. Apart from proper packaging, you can also portion out food into smaller, manageable sizes before freezing. This reduces the surface area exposed to air and slows down the development of freezer burn. Additionally, use frozen food promptly; the longer it stays in the freezer, the greater the risk of freezer burn.
In conclusion, freezing is a simple, yet powerful tool in the kitchen. With a little care and attention to detail, it can extend the life of food, save money, and reduce waste. So, don’t shy away from your freezer; embrace it as your secret weapon in the war against food spoilage!
Vacuum Sealing: The Key to Long-Term Food Storage
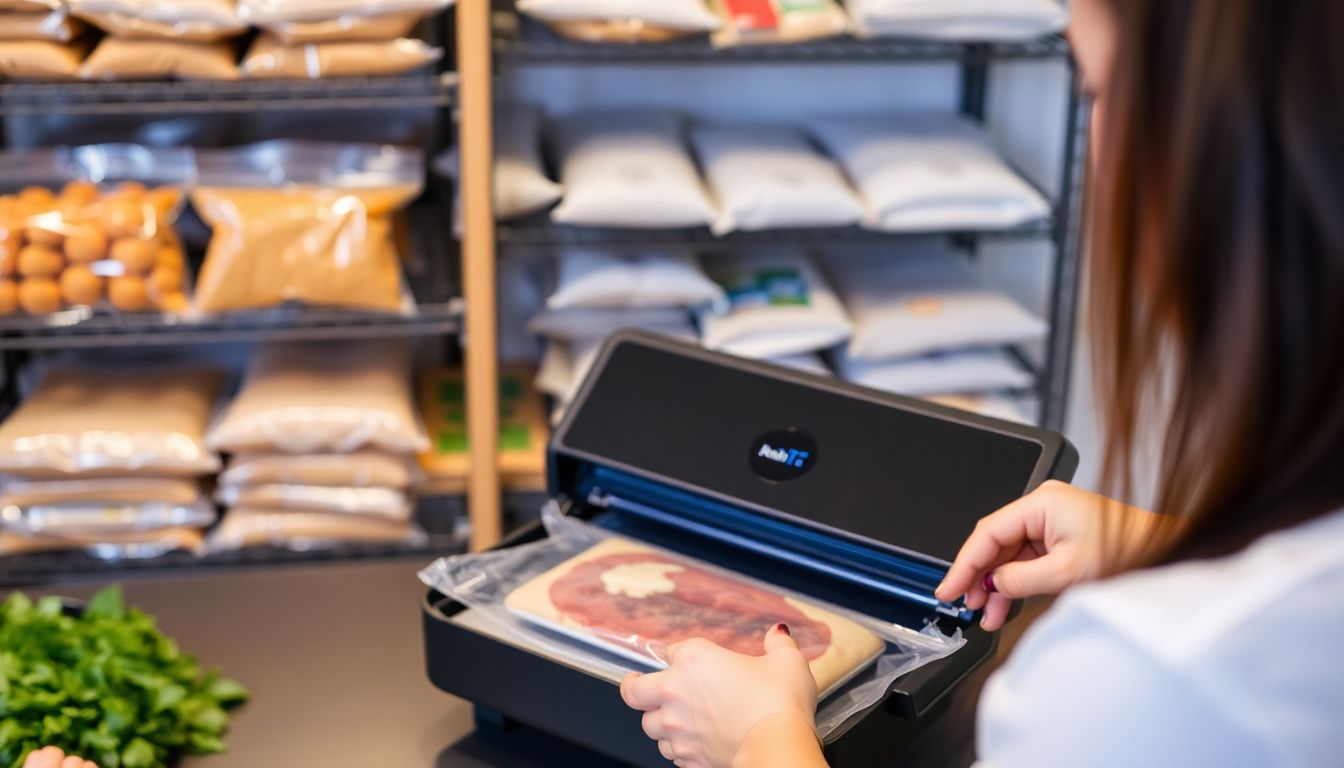
Vacuum sealing, a process that removes air and seals food in an airtight package, is a game-changer for long-term food storage. The science behind it is simple yet powerful. When food is exposed to air, it undergoes two primary enemies of freshness: freezer burn and oxidation. Freezer burn occurs when ice crystals form and evaporate, leaving behind dry, discolored patches. Oxidation, on the other hand, happens when oxygen reacts with fats, causing them to break down and turn rancid. Vacuum sealing mitigates both issues by creating an airless environment, preserving food’s quality and extending its shelf life significantly.
The process of vacuum sealing involves a few simple steps and some essential equipment. You’ll need a vacuum sealer machine, vacuum sealing bags or rolls, and the food you want to preserve. Here’s a step-by-step guide:
- Prepare your food by portioning it into meal-sized servings and placing it in the vacuum sealing bag.
- Insert the open end of the bag into the vacuum sealer, ensuring it’s securely held in place.
- Turn on the machine and select the appropriate setting for your food type. Most machines have settings for dry goods, moist foods, and liquids.
- The machine will then suck out the air, creating a tight seal. Be patient; this process can take a few minutes.
- Once the air is removed and the bag is sealed, you can store your food in the freezer or pantry, depending on the type of food.
To ensure successful long-term storage, here are a few tips:
- Freeze food before vacuum sealing to kill any bacteria and prevent spoilage.
- Leave some headspace in the bag to allow for expansion during freezing.
- Label and date your packages to keep track of what you have and when it was stored.
- Store your sealed packages in a cool, dry place, ideally between 0°F and 32°F (-18°C and 0°C) for best results.
With vacuum sealing, you can enjoy the peace of mind that comes with knowing your food is protected from the ravages of time and air, making it a valuable tool for anyone looking to stock up and save.
Root Cellaring: Storing Food Like Our Ancestors
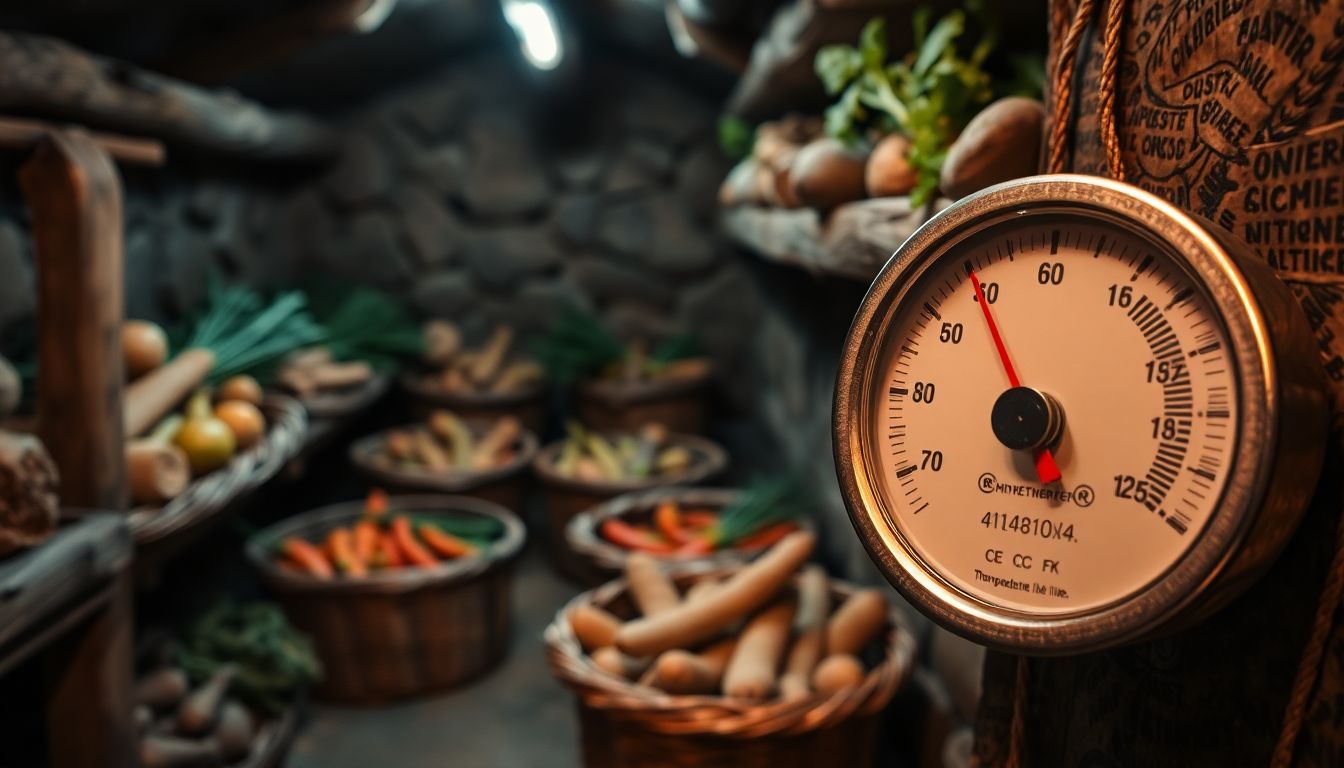
Root cellaring, an age-old practice, is a sustainable and cost-effective way to preserve food, harkening back to a time when our ancestors relied on nature’s bounty to see them through the lean winter months. The art of root cellaring involves creating a cool, dark, and humid environment that mimics the natural conditions under which many fruits, vegetables, and even dairy products thrive. This not only extends the shelf life of your produce but also allows you to enjoy the freshness of summer’s harvest well into the cold, snowy days of winter.
The first step in successful root cellaring is selecting the right location. A root cellar should be built or located in a cool, north-facing area, preferably underground or at least partially shaded from the sun. The ideal temperature for a root cellar is between 32°F to 40°F (0°C to 4°C), with a humidity level of around 90%.
Once you’ve established your root cellar, it’s time to prepare your food for storage. Start by selecting produce that is ripe but not overripe. Overripe fruits and vegetables will continue to ripen and spoil in storage. Next, clean your produce gently, ensuring not to damage the skin, as this can lead to decay. Some vegetables, like potatoes and apples, release ethylene gas as they ripen, which can speed up the spoilage of other produce. To mitigate this, store these ethylene-producing vegetables away from more sensitive produce.
To further extend the life of your stored food, consider using some of the following techniques:
- Burping: Apples and pears give off ethylene gas, which can cause other fruits and vegetables to spoil. To prevent this, ‘burp’ your root cellar by opening the door once a week to release the built-up gas.
- Sand or Sawdust: For root vegetables like carrots and beets, store them in a layer of sand or sawdust in a wooden crate. This helps to maintain humidity and prevents them from drying out.
- Paper Bags: Store onions and garlic in paper bags to control moisture and prevent sprouting.
With a little bit of planning and effort, root cellaring can become a rewarding way to preserve food and connect with our agricultural heritage. So, why not give it a try? Your taste buds and your wallet will thank you!
Fermenting: The Power of Good Bacteria
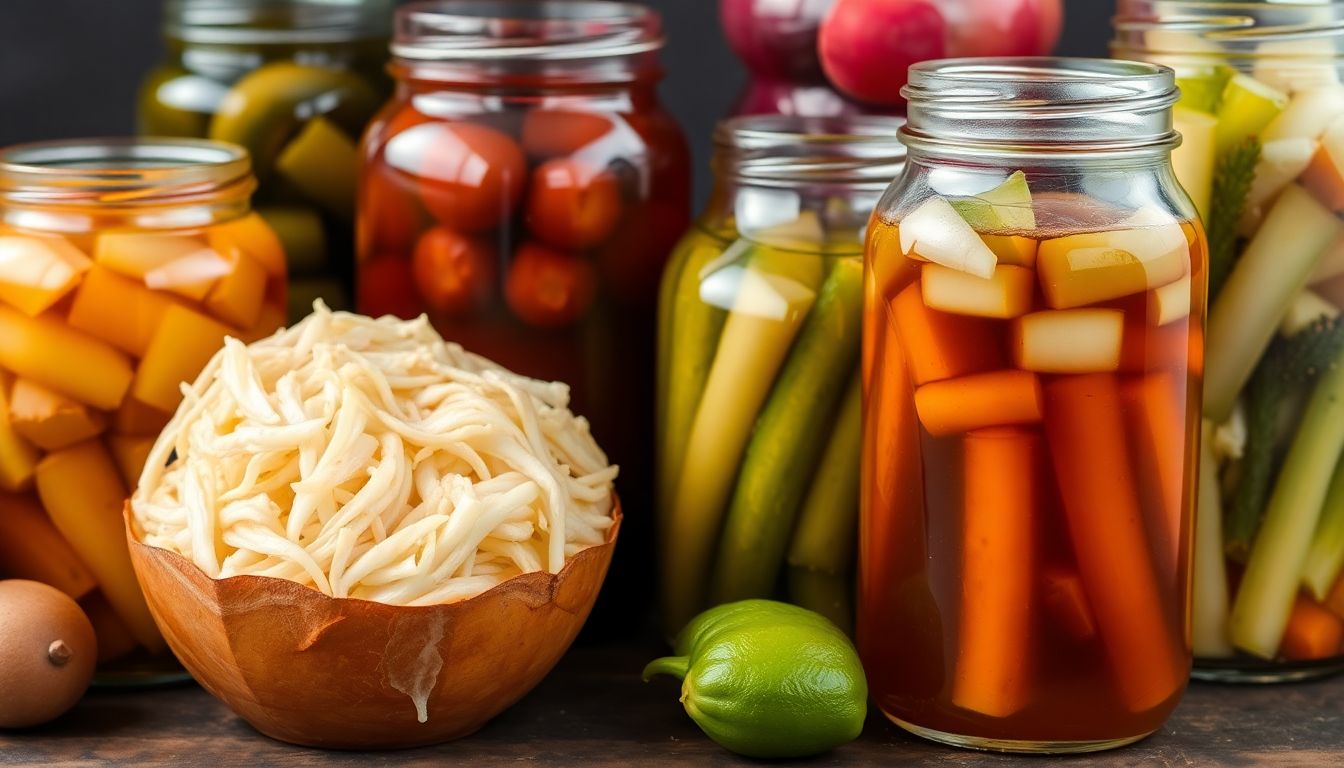
In the bustling, microscopic world that we often overlook, lies a process that has sustained civilizations for centuries: fermentation. This natural, magical dance of beneficial bacteria, yeasts, and other microorganisms isn’t just about creating tangy flavors or fizzy drinks; it’s a powerful tool that preserves food and enhances its nutritional value. Let’s dive into this fascinating world and explore how fermentation works its wonders.
The process begins with the humble bacterium, which, given the right conditions, can multiply and consume sugars, producing lactic acid and other byproducts. This is the basis of lacto-fermentation, a method that has been used for thousands of years to preserve vegetables. Cabbage becomes sauerkraut, cucumbers transform into pickles, and carrots become kvass, all thanks to the hardworking lactobacilli.
But fermentation isn’t limited to vegetables. It’s also the secret behind the creamy tang of yogurt and the effervescence of kombucha. In the case of kombucha, a symbiotic culture of bacteria and yeast (SCOBY) is added to a solution of tea, sugar, and sometimes fruit. Over time, the SCOBY consumes the sugar, producing a tangy, slightly effervescent beverage rich in probiotics.
Kefir, another fermented delight, is a tangy, slightly effervescent drink made from milk and kefir grains. These ‘grains’ are not actually grains but a combination of bacteria and yeasts that ferment the milk, turning it into a probiotic powerhouse. The fermentation process not only preserves the milk but also enhances its nutritional value, making it easier to digest and increasing its vitamin and mineral content.
Fermentation methods vary, but they all share a common goal: to harness the power of good bacteria. Whether it’s lacto-fermentation, kombucha, or kefir, each method offers a unique blend of flavors and health benefits. So, the next time you enjoy a tangy pickle or a refreshing glass of kombucha, remember the tiny, hardworking heroes behind the scenes, preserving food and enhancing its nutritional value, one fermentation at a time.
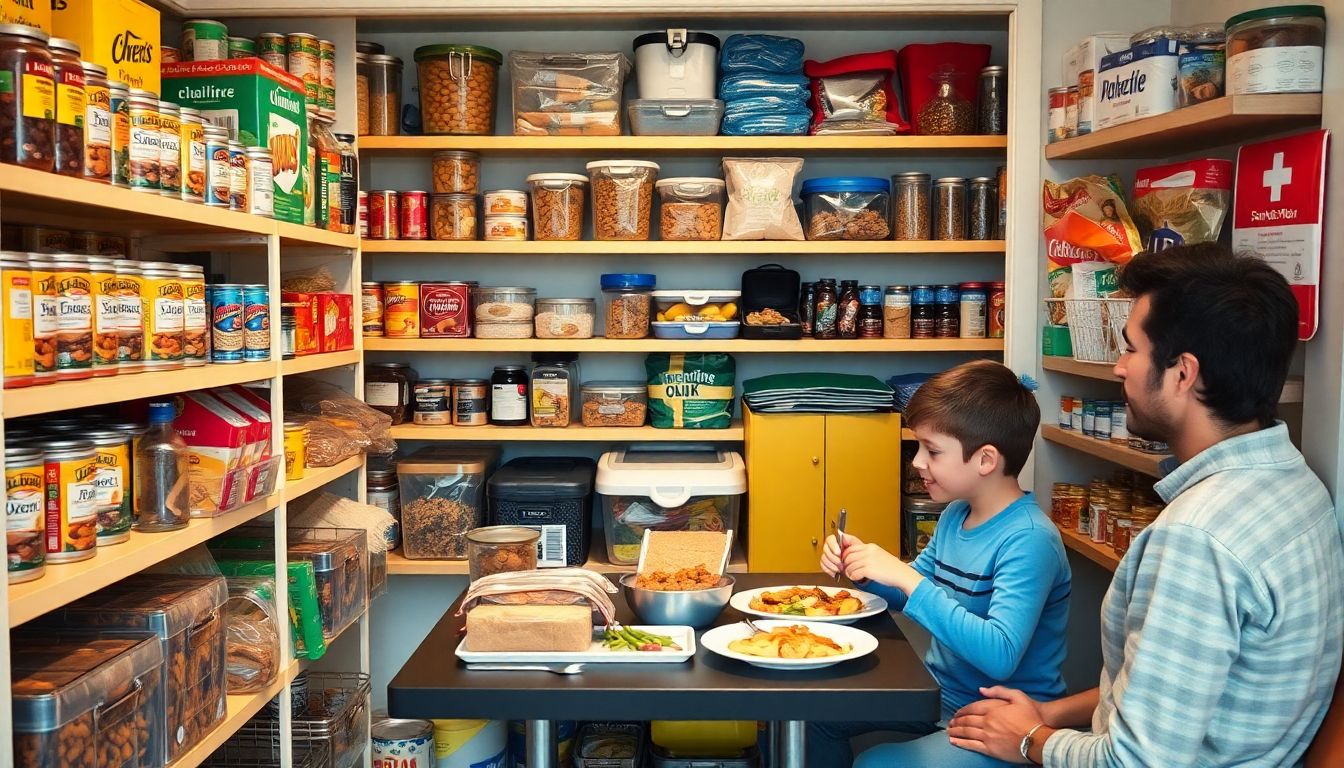
Stockpiling for Emergencies: Building Your Emergency Rations
Building an emergency food supply, or emergency rations, is a crucial step in preparing for unexpected situations. It’s like creating a safety net for your family, ensuring you have the necessary sustenance to weather any storm. Let’s dive into the guidelines for constructing an effective emergency food supply.
The first step is to calculate your daily caloric needs. This will help you determine how much food to store. A general guideline is to aim for 2,000 calories per person per day. However, this can vary depending on age, sex, and activity level. So, it’s best to calculate this individually for each family member.
Once you’ve determined your daily caloric needs, it’s time to select non-perishable foods. The key here is to choose foods that have a long shelf life and require minimal preparation. Some examples include canned goods, dried fruits, nuts, and grains. It’s also a good idea to include a variety of foods to ensure you’re getting a balanced diet.
Remember, an emergency situation can be stressful enough without having to worry about dietary restrictions. So, it’s important to consider any special dietary needs in your family. If someone has a gluten intolerance, make sure to include gluten-free options. If someone is vegetarian or vegan, ensure you have enough plant-based protein sources.
Now, let’s talk about comfort foods. In an emergency situation, it’s not just about survival, it’s also about maintaining morale. Including some of your family’s favorite comfort foods can provide a much-needed boost of comfort and familiarity.
Lastly, it’s crucial to rotate your stock. Food doesn’t last forever, even if it’s non-perishable. Make sure to use your oldest items first to prevent waste. You can do this by implementing a ‘first in, first out’ system, or FIFO. This means that when you buy new food, you put it at the back of your storage area, ensuring that the oldest items are at the front and used first.
Building an emergency food supply is a significant task, but it’s one that can provide immense peace of mind. So, start calculating, selecting, and rotating your stock today. Your future self will thank you!
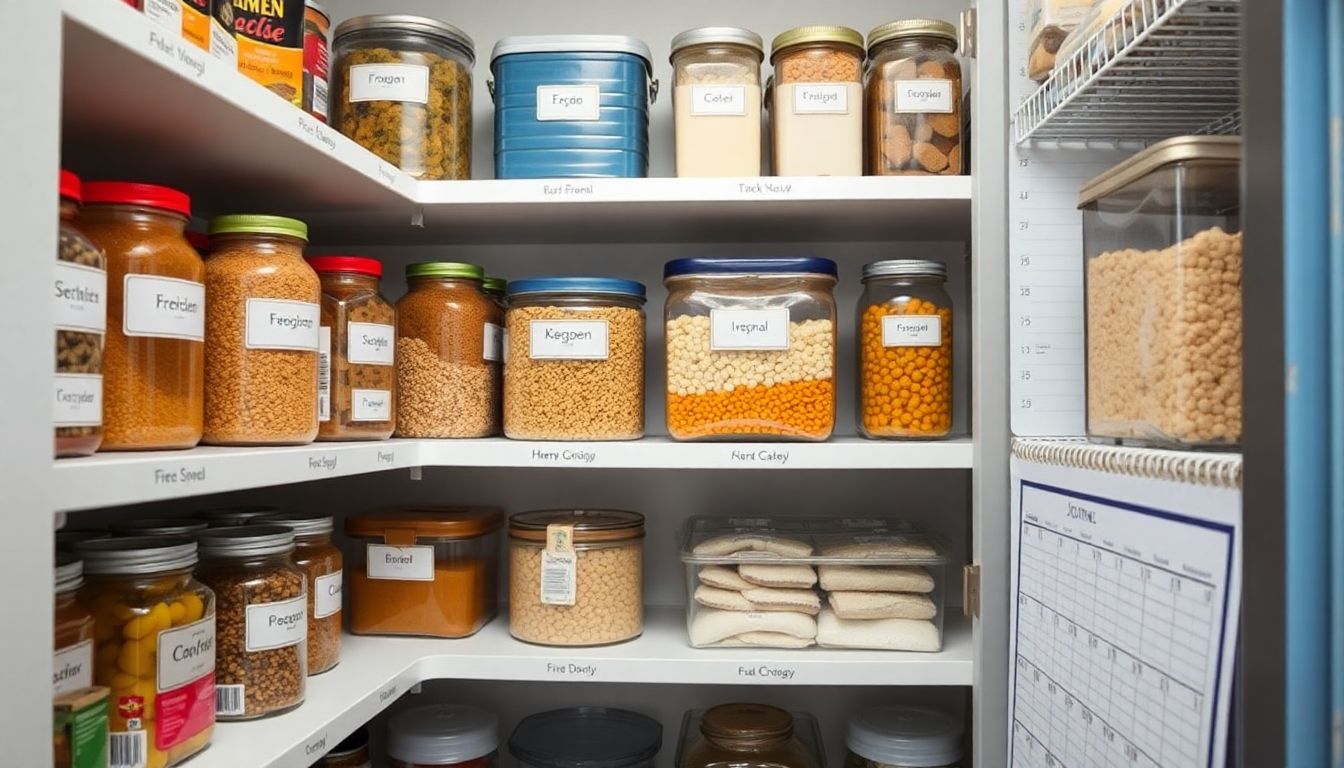
Rotating Your Stock: First-In, First-Out (FIFO) Method
The First-In, First-Out (FIFO) method is a simple yet effective way to manage your food stock, ensuring that older items are used before they expire. This method is based on the principle that the first items you bring into your stockpile are the first ones you should use. Here’s how you can implement this method and organize your inventory efficiently.
The key to a successful FIFO system is to have a clear understanding of what you have and where it’s located. Start by designating specific areas for different types of food. For example, you might have a section for canned goods, another for dry goods, and so on. Within each section, arrange items in the order they were acquired, with the oldest at the front and the newest at the back.
To make tracking your inventory easier, consider using labels. You can write the date of acquisition on each label and stick it on the corresponding item. This way, you can quickly see which items are oldest and need to be used first. Additionally, consider keeping a stockpile journal. This can be as simple as a notebook where you record the date you acquired each item, its expiration date, and where it’s located in your stockpile.
When it’s time to rotate your stock, follow these steps:
- Start with the oldest items in each section.
- Use or consume these items first.
- Move the remaining items back, making sure to keep the order from oldest to newest.
- Add new items to the back of the section.
By following this method, you’ll ensure that nothing goes to waste and that your stockpile is always well-organized and up-to-date.
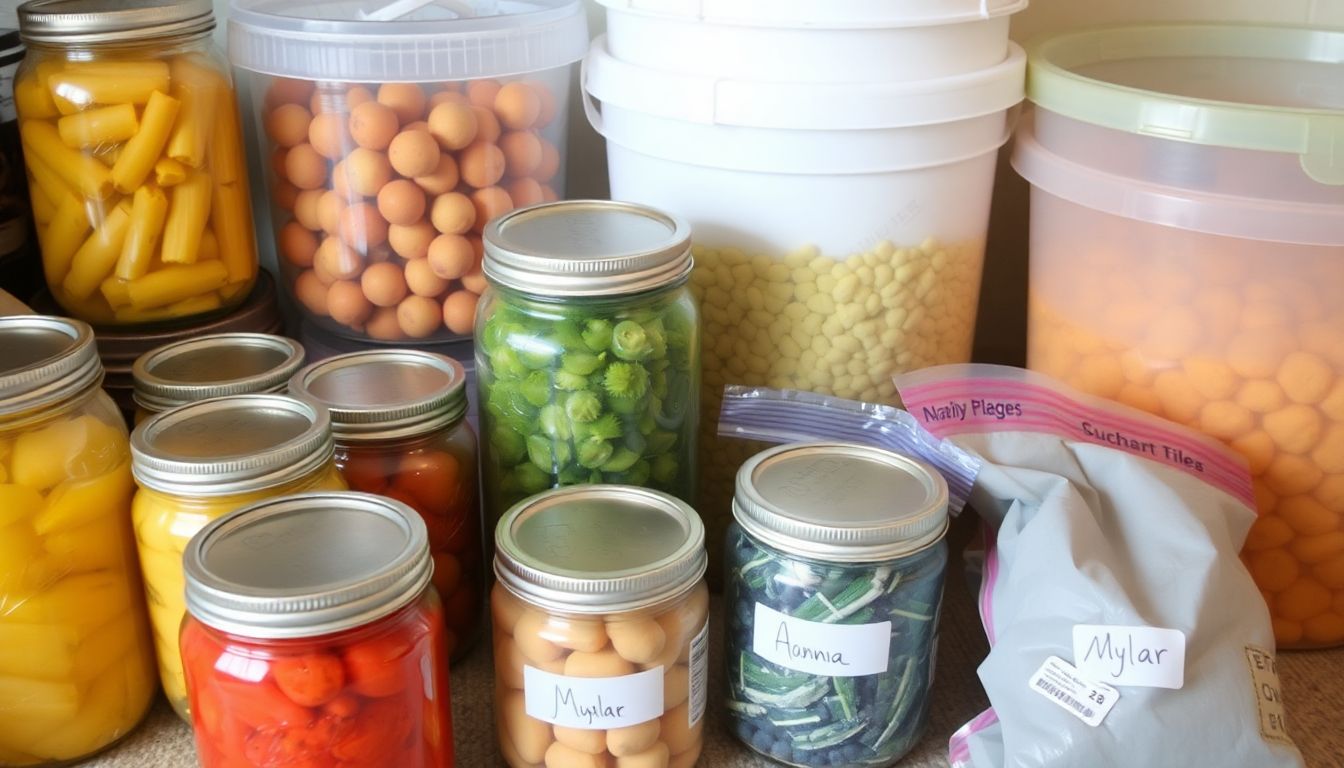
Food Storage Containers: The Right Container for the Job
When it comes to long-term food storage, the container you choose can make all the difference. The right container can preserve your food’s freshness, prevent freezer burn, and even save you money in the long run. So, let’s dive into the world of food storage containers and explore the pros and cons of some popular options.
The first contender in our food storage container showdown is the humble glass jar. Glass jars are a favorite among food preservation enthusiasts for several reasons. Firstly, glass is non-porous, which means it doesn’t absorb odors or stains, making it a great choice for storing foods with strong smells like garlic or onions. Secondly, glass is inert, meaning it won’t leach chemicals into your food, even when exposed to heat or cold. However, glass jars can be fragile and heavy, which might make them less suitable for storing heavy or delicate foods.
Next up, we have plastic containers. These are a popular choice for many due to their durability, lightweight nature, and affordability. They come in a variety of shapes and sizes, making them versatile for storing a wide range of foods. Many plastic containers are also designed to be freezer, microwave, and dishwasher safe, adding to their convenience. However, not all plastics are created equal. Some can leach chemicals into your food, especially when exposed to heat. It’s important to choose BPA-free containers to avoid this issue.
Lastly, let’s talk about Mylar bags. These are often used for long-term food storage, especially for dry goods like grains, beans, and pasta. Mylar is a durable, lightweight, and flexible material that’s resistant to moisture, light, and pests. It’s also an excellent barrier against odors, which can help keep your food fresh for longer. However, Mylar bags require a separate oxygen absorber to remove air and prevent spoilage, which can add to the cost.
In conclusion, the right container for your food storage needs depends on what you’re storing and for how long. Glass jars are great for short-term storage and foods with strong smells, while plastic containers are versatile and convenient. For long-term storage of dry goods, Mylar bags are a reliable choice. Whatever you choose, remember that the right container can help you make the most of your food and reduce waste.

Maintaining a Food Storage Journal: The Key to Successful Stockpiling
Maintaining a food storage journal is akin to having a secret weapon in your culinary arsenal, ensuring your pantry is always well-stocked, organized, and safe for consumption. This humble tool is the key to successful stockpiling, helping you avoid overstocking, waste, and potential health hazards. Let’s dive into the importance of keeping a food storage journal and how to create and maintain one. First and foremost, a food storage journal is your inventory manager. It keeps track of every item in your pantry, from canned goods to spices, ensuring you never run out of your favorite ingredients or end up with a surplus of items you rarely use. By logging each item as it enters your pantry, you’ll have a clear picture of your inventory at any given time. Secondly, a food storage journal is your expiration date tracker. Food safety is paramount, and a journal helps you keep tabs on when each item was purchased and when it’s set to expire. This way, you can rotate your stock effectively, using older items first, and avoid wasting food that’s past its prime. It’s like having a personal shopper who always knows what’s in your pantry and when it’s time to replace it. Now, let’s talk about creating and maintaining your food storage journal. The first step is to choose a format that works for you. This could be a simple notebook, a spreadsheet on your computer, or even an app designed for this purpose. The key is to choose something you’ll enjoy using and can access easily. Once you’ve chosen your format, it’s time to decide what information to include. Here’s a simple way to organize your journal:
-
Item Name:
- Be specific. Instead of ‘canned tomatoes’, write ‘diced tomatoes, 14.5 oz, Hunt’s’.
Quantity:
- How many of each item you have.
Purchase Date:
- When you bought the item.
Expiration Date:
- When the item is set to expire.
Location:
- Where the item is stored in your pantry.
Notes:
Any additional information, like if it’s open or if you have a specific recipe in mind for it.
Lastly, maintaining your journal is a continuous process. Make it a habit to update your journal every time you add or remove an item from your pantry. This way, your journal will always be an accurate reflection of your inventory. In conclusion, a food storage journal is not just a useful tool; it’s a game-changer. It turns your pantry into a well-oiled machine, ensuring you always have what you need, when you need it, and nothing goes to waste. So, grab your notebook or open that spreadsheet, and let’s get started on this culinary adventure together!
FAQ
What is the primary goal of long-term food storage, especially in relation to ‘food preservation’?
How does stockpiling food differ from everyday grocery shopping?
What are some common methods of food preservation for long-term storage?
- Canning involves heating food in sealed containers to kill bacteria and create an airtight seal that prevents spoilage.
- Dehydrating removes moisture from food, which inhibits bacterial growth and slows down the oxidation process.
- Freezing stops bacterial growth and slows down enzymatic activity, but requires consistent cold temperatures.
- Vacuum sealing removes air from packaging to prevent oxidation and bacterial growth.
- Fermenting and pickling use salt, acid, or beneficial bacteria to preserve food.
What types of foods are best suited for long-term storage?
- Grains like rice, wheat, and oats have a long shelf life and provide essential carbohydrates.
- Legumes such as beans and lentils are high in protein and can last for years when properly stored.
- Nuts and seeds are excellent sources of healthy fats and can be stored for extended periods.
- Dried fruits and vegetables provide vitamins and minerals and can last for several months to a few years.
- Shelf-stable milk, like powdered or canned, and canned meats, fish, and poultry offer protein and other nutrients.
- Sugar, salt, and cooking oils are essential for preserving and preparing food.
How can I ensure the quality and safety of my stored food over time?
- Store food in a cool, dry, and dark place, ideally between 40-60°F (4-15°C) and with a relative humidity of 50-60%.
- Use airtight containers or packaging to prevent moisture and pests from entering.
- Rotate your stock using the ‘first in, first out’ (FIFO) method to ensure that older items are used before they expire.
- Check food regularly for signs of spoilage, such as mold, off odors, or changes in texture.
- Test food for freshness before consuming, using methods like the ‘taste test’ or ‘smell test’.
- Consider using desiccants or oxygen absorbers to remove excess moisture and air from packaging.
What role do emergency rations play in long-term food storage?
How can I create a balanced and varied diet from my long-term food storage?
- Staples like grains, legumes, and fats should make up the bulk of your storage.
- Include a variety of canned or dried fruits and vegetables to provide essential vitamins and minerals.
- Store proteins such as canned meats, fish, or plant-based alternatives like tofu.
- Don’t forget about seasonings, spices, and condiments to enhance the flavor of your meals.
- Consider investing in a food storage calculator or meal planning software to help you create balanced menus.
- Regularly rotate and consume your stored food to maintain a diverse diet and prevent waste.
How can I involve my family in long-term food storage and preparedness?
- Educate your family about the importance of food storage and emergency preparedness.
- Involve them in the planning and purchasing process, teaching them about food selection, rotation, and storage.
- Encourage everyone to contribute to the stockpile, even if it’s just a few items each time.
- Teach your family how to prepare and cook meals using stored ingredients.
- Conduct regular emergency drills and discuss evacuation plans to ensure everyone knows what to do in case of an emergency.
- Make the process fun by turning it into a game or challenge, such as seeing who can create the most meals from stored ingredients.
What should I do with expired or spoiled food from my long-term storage?
- Check for signs of spoilage, such as mold, off odors, or changes in texture, and discard any questionable items.
- If the food is still sealed and unopened, it may be safe to donate to a food bank or pantry, depending on the shelf life and storage conditions.
- For opened or partially used items, or those that have clearly spoiled, dispose of them in your regular trash.
- Consider composting suitable food waste, such as fruits and vegetables, if you have a composting system.
- Clean and sanitize storage containers and areas where spoiled food was stored to prevent contamination and pests.
- Replace expired or spoiled items with new, fresh supplies during your next rotation or restocking.


