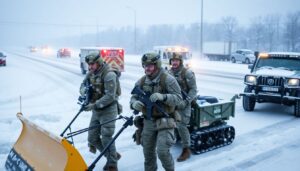
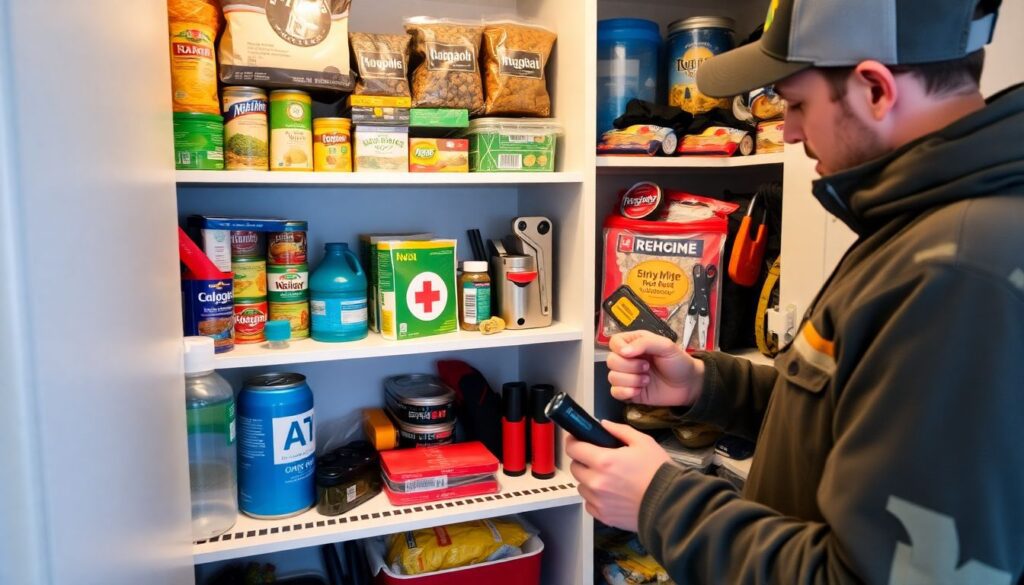
Have you ever found yourself wondering, ‘What if the power goes out for days, or even weeks?’ Or perhaps you’ve thought, ‘How would I survive if I couldn’t rely on my local grocery store for food?’ If these thoughts have crossed your mind, you’re not alone. According to a survey by the American Red Cross, only 38% of households have an emergency supply kit, and only 47% have an emergency plan. This is where prepping comes in, and if you’re a beginner, you’re in the right place. This article, ‘How To Start Prepping for Beginners Checklist’, is your comprehensive guide to kickstarting your prepping journey. By the end of this article, you’ll have a clear understanding of what prepping is, why it’s important, and most importantly, you’ll have a practical checklist to start your prepping adventure. So, let’s dive in and make sure you’re ready for whatever life throws your way.
First, let’s address the elephant in the room. Prepping often gets a bad rap, with some people associating it with doomsday scenarios and survivalist stereotypes. But the truth is, prepping is simply about being prepared for unexpected events. It’s about ensuring you have the necessary supplies and knowledge to keep you and your loved ones safe and comfortable in case of an emergency. Whether it’s a power outage, a natural disaster, or even a global pandemic, prepping is about being proactive and taking control of your situation.
Now, you might be thinking, ‘That sounds like a lot of work. Where do I even start?’ That’s where this article comes in. We’re not going to overwhelm you with a complex, expensive plan. Instead, we promise to provide you with a beginner-friendly, step-by-step checklist that you can start implementing today. This isn’t about turning your home into a bunker; it’s about making smart, practical decisions that will give you peace of mind.
So, what can you expect to gain from this article? By the end of it, you’ll have a clear understanding of the basics of prepping. You’ll know what supplies to start gathering, how to create an emergency plan, and how to involve your family in the process. You’ll also gain insight into the importance of skills and knowledge, not just stuff. And the best part? You’ll start your prepping journey feeling empowered and confident, knowing that you’re taking steps to protect your loved ones and secure your future.
A Comprehensive Guide for New Preppers: Your Beginner’s Checklist
Embarking on your prepping journey is an exciting venture, and we’re thrilled to have you here! As a new prepper, you’re about to dive into a world of self-reliance, resilience, and preparedness. But where do you start? Fret not, for we’ve crafted this comprehensive guide just for you. Think of it as your beginner’s roadmap, a checklist to ensure you’re covering all essential bases. We’ll explore the fundamentals of prepping, from understanding your risks and setting priorities to building an emergency fund and stockpiling supplies. We’ll delve into skills like first aid, fire safety, and food preservation. We’ll even touch upon the often-overlooked aspects of mental preparedness and community building. So, grab your notebook, and let’s embark on this adventure together. Remember, prepping isn’t about doomsday scenarios; it’s about being ready for life’s little curveballs. Let’s make this journey fun, engaging, and most importantly, useful. After all, every step you take today is a step towards a more secure and confident tomorrow.
Understanding Prepping: Why and What
Prepping, often misunderstood, is simply the practice of being prepared for unexpected events. It’s like packing an umbrella for a rainy day, but on a larger scale. Preppers aren’t doomsday fanatics; they’re people who understand that life is full of uncertainties, and it’s wise to be ready for them.
Why is prepping important? Well, imagine a sudden power outage lasting days, or a natural disaster striking your area. Without preparation, these events can turn into major inconveniences or even crises. Prepping ensures you have essentials like food, water, and medical supplies to tide you over until help arrives or normalcy resumes.
Misconceptions about preppers abound. Some people think we’re all survivalists living in bunkers, waiting for the apocalypse. That’s not accurate. Most preppers are ordinary folks who want to be self-reliant and ready for short-term emergencies like power outages, floods, or job loss.
The scope of prepping is vast, encompassing both short-term emergencies and long-term disasters. For short-term events, it could mean having a week’s worth of food and water, a first aid kit, and a plan for communication and evacuation. For long-term disasters, it might involve learning survival skills, stockpiling supplies, and even planning for self-sustaining homesteads.
Prepping isn’t about fear or paranoia; it’s about responsibility and common sense. It’s about ensuring you can take care of yourself and your loved ones when things go wrong. So, why not give it a thought? After all, it’s not about waiting for the storm to pass; it’s about being ready when it hits.
Assessing Your Risks and Needs
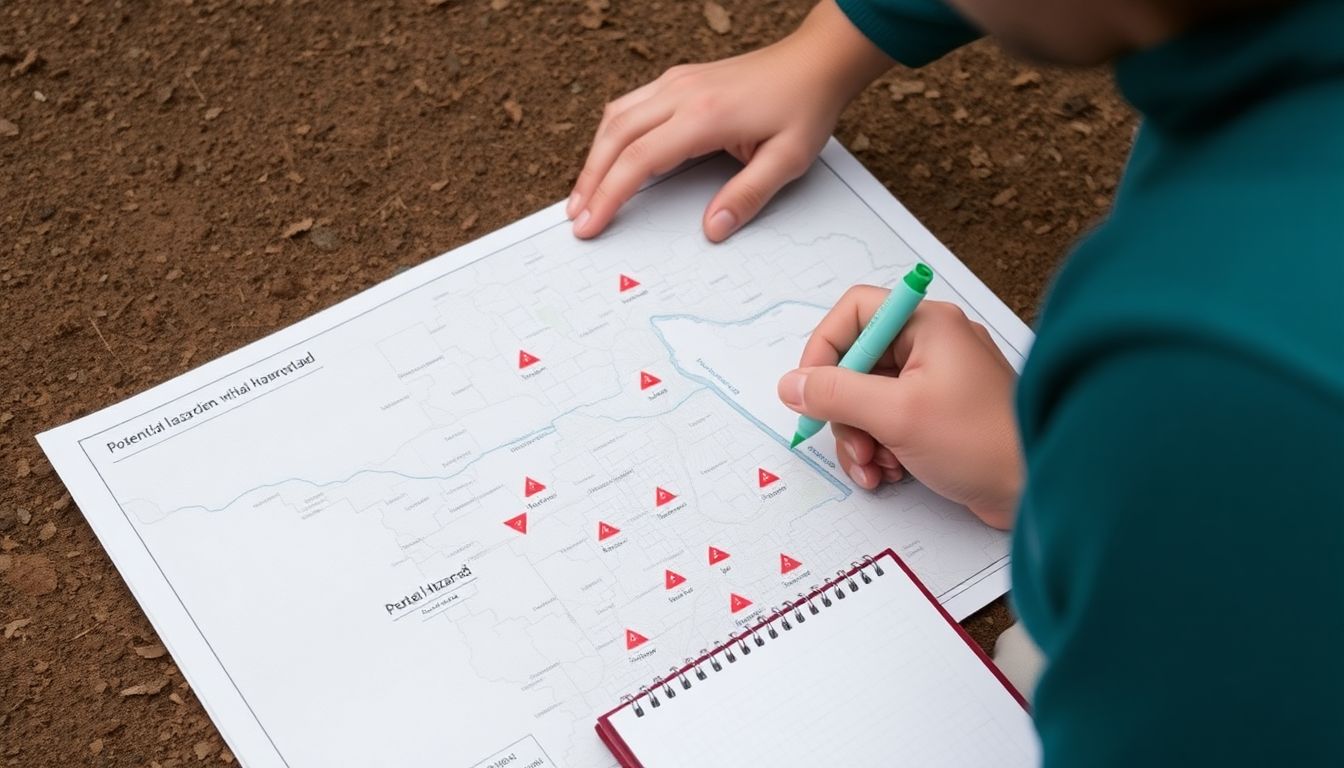
Embarking on the journey of personal safety and preparedness often begins with a simple yet crucial step: assessing your risks and needs. As a beginner, it’s essential to identify potential hazards and threats in your immediate environment. This could range from natural disasters common to your area, such as hurricanes or earthquakes, to man-made threats like industrial accidents or even crime rates in your neighborhood. Understanding these risks helps you anticipate and prepare for potential challenges, ensuring the safety and well-being of you and your family.
The next step is to evaluate your personal and family needs. This involves considering your unique circumstances, such as health conditions, dietary restrictions, or the presence of pets. It’s also crucial to think about your family’s dynamics, including ages, abilities, and dependencies. By understanding these needs, you can create a more tailored and effective preparedness plan.
Prioritizing these needs is a critical aspect of this process. Not all risks and needs are equally urgent or severe. To prioritize, you can use a simple system: categorize them into ‘immediate’, ‘short-term’, and ‘long-term’ needs. Immediate needs are those that must be addressed right away, such as life-threatening situations or critical medical requirements. Short-term needs might include securing your home or accessing essential services. Long-term needs, on the other hand, could involve rebuilding your life after a significant event or planning for future changes.
Finally, let’s discuss the concept of ‘situational awareness’. This is essentially being aware of your surroundings and the things happening around you. It’s about noticing the little details that can make a big difference in your safety and preparedness. Applying situational awareness in daily life involves staying alert, observing your environment, and being prepared to act if necessary. It’s not about living in fear, but rather about being informed and proactive. By incorporating these steps into your life, you’re not just assessing your risks and needs, but also taking concrete steps towards ensuring your safety and well-being.
Building an Emergency Fund
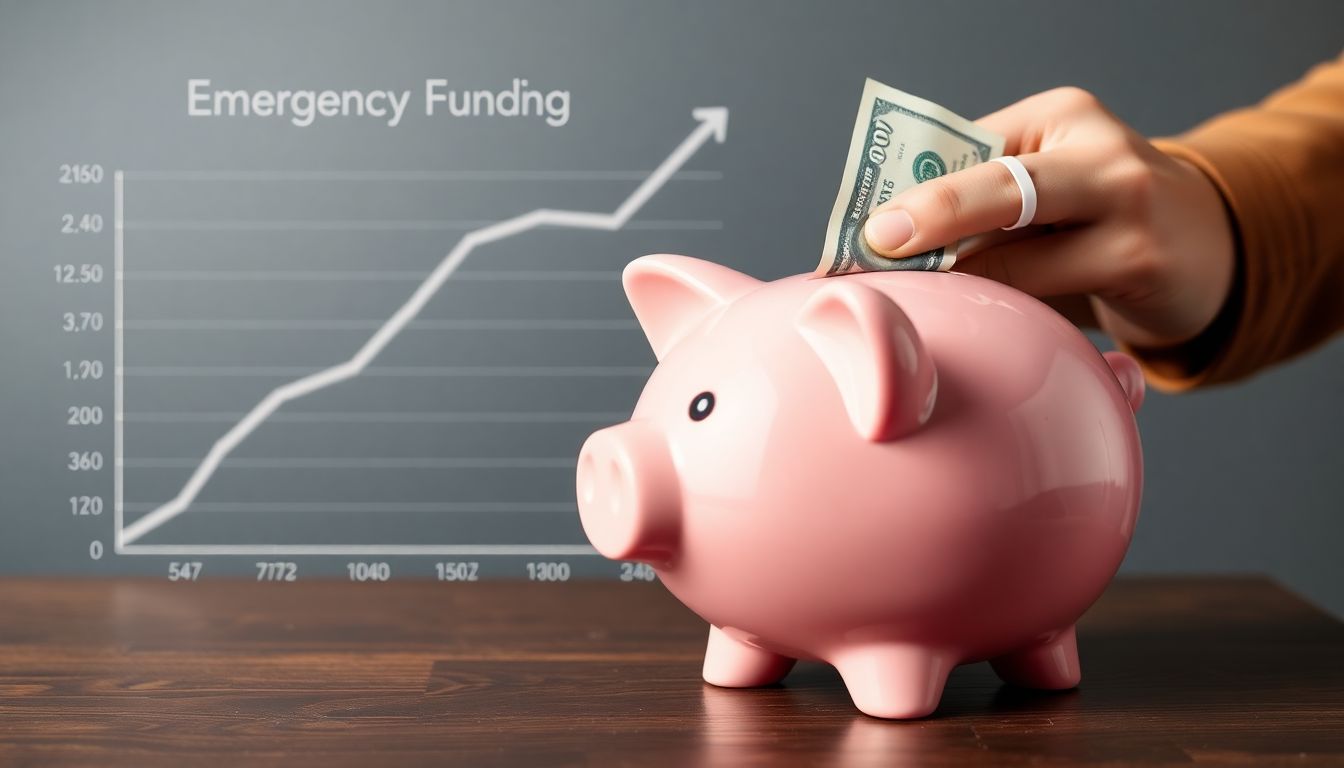
Building an emergency fund is like having a safety net, a financial cushion that can catch you when life throws unexpected curveballs. It’s the first step towards achieving true financial freedom. Imagine this: you’re driving home from work, and suddenly, your car breaks down. Or perhaps you’re at home, and your water heater decides to give up the ghost, flooding your basement. These unexpected expenses can quickly derail your budget, but not if you have an emergency fund.
The general rule of thumb is to aim for three to six months’ worth of living expenses in your emergency fund. However, starting small is better than not starting at all. Here’s a simple roadmap:
-
30-Day Goal:
- Start by saving $1,000. This can cover minor emergencies like car repairs or unexpected medical bills.
90-Day Goal:
- Once you’ve hit the $1,000 mark, aim for three months’ worth of living expenses. This could be around $3,000 to $5,000, depending on your monthly budget.
6-Month Goal:
- This is the ultimate goal. Six months’ worth of living expenses can provide a significant safety net, protecting you from major financial setbacks like job loss or a prolonged illness.
Now, let’s talk about how to build this fund. The first step is to create a budget. Knowing where your money goes each month will help you identify areas where you can cut back. This could be eating out less, canceling subscriptions you don’t use, or finding free activities to enjoy instead of expensive ones. Once you’ve trimmed the fat, commit to saving a fixed amount each month. It could be $50, $100, or more
- every little bit helps. Automate your savings by setting up a direct deposit into a separate, easily accessible savings account. This way, you’ll save without even thinking about it.
Remember, building an emergency fund is a marathon, not a sprint. It takes time, patience, and persistence. But with each dollar you save, you’re one step closer to financial peace of mind. So, start today. Your future self will thank you!
Stockpiling Food and Water
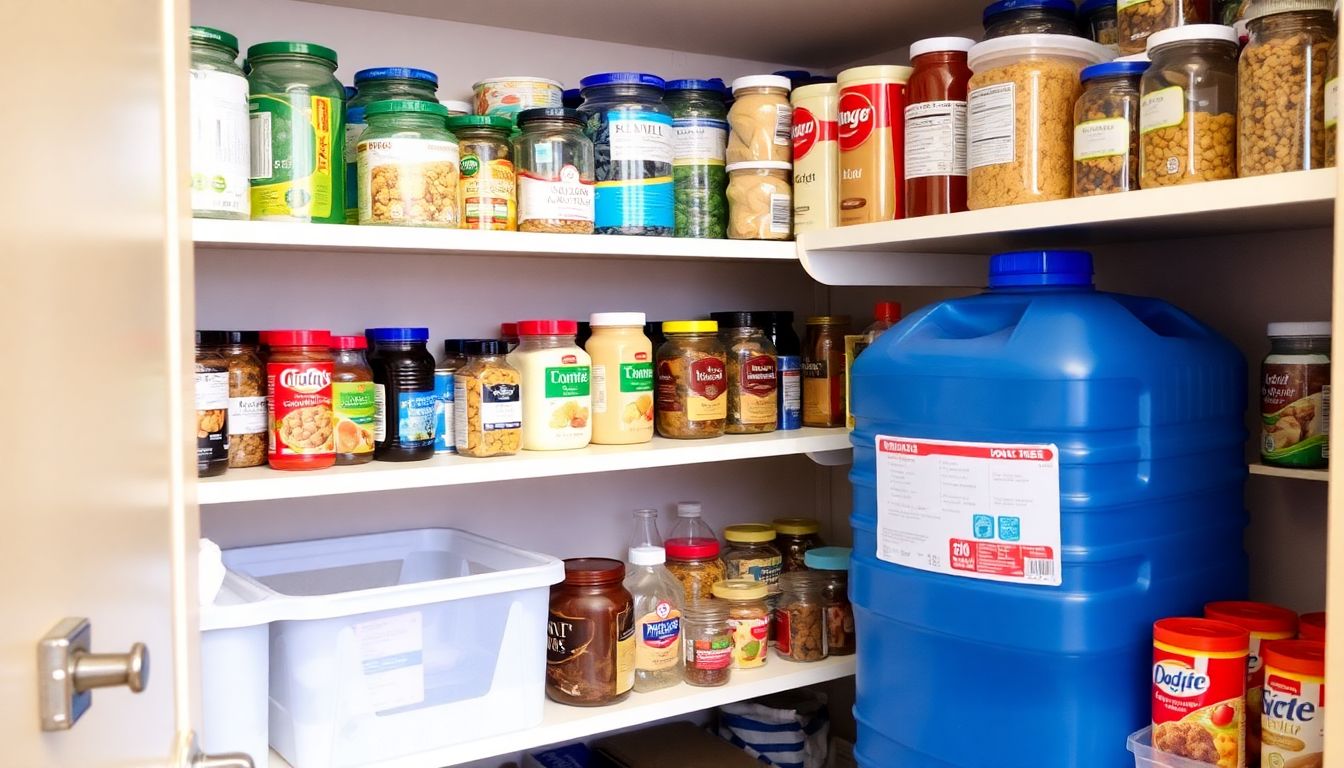
Embarking on the journey of stockpiling food and water is like planting a seed of self-sufficiency and preparedness. It’s not just about hoarding, but about ensuring your family’s well-being in times of uncertainty. Let’s dive into creating a well-stocked pantry, focusing on long-lasting, nutritious food.
The first step is understanding the shelf life of foods. Grains, legumes, and dried fruits can last for years if stored properly. Canned goods, while having a shorter shelf life, are still a staple due to their nutritional content and variety. Rotate your stock regularly to ensure you’re using the oldest items first.
Now, let’s talk about water. It’s the most crucial resource, and you should aim to store at least one gallon per person per day. A two-week supply is a good starting point. Store water in clean, food-grade containers, and replace it every six months to ensure freshness.
Water purification is equally important. Here are some methods:
- Boiling: Bring water to a rolling boil for at least one minute (or three minutes at higher altitudes).
- Chlorination: Use unscented household bleach (16 drops per gallon) and let it sit for 30 minutes before using.
- Filtration: Use a portable water filter to remove sediment and some bacteria.
- Purification tablets: These tablets kill bacteria, viruses, and protozoa.
Here’s a list of essential food and water storage items:
- Grains: Rice, wheat, oats, quinoa
- Legumes: Lentils, beans, chickpeas
- Dried fruits and nuts
- Canned goods: Vegetables, fruits, meats, fish
- Powdered milk and alternative milks
- Electrolyte drinks and powdered sports drinks
- Water purification tablets
- Portable water filter
- Water storage containers
- Manual can opener
- First aid kit
- Multi-purpose tool
- Flashlight and extra batteries
Remember, the key to successful stockpiling is regular rotation, proper storage, and a balanced, nutritious approach. It’s not just about having food and water; it’s about having the right food and water to sustain you and your family. Happy stockpiling!
First Aid and Medical Supplies
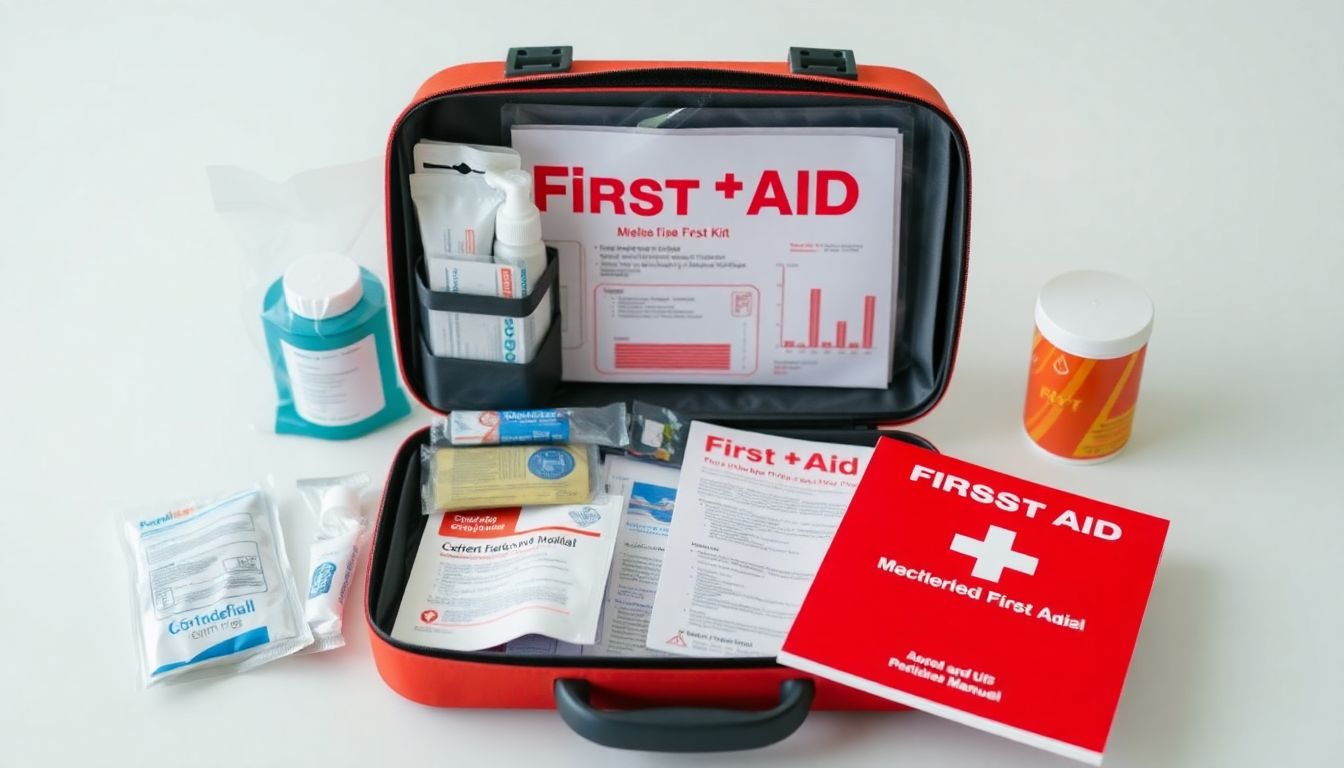
First aid and medical supplies are not just for hospitals and clinics; they’re essential in our daily lives, especially at home. Having a well-stocked first aid kit can mean the difference between a minor inconvenience and a major crisis. It’s like having a little medical center in your home, ready to tackle common emergencies.
Building a first aid kit is not as daunting as it sounds. Start with a sturdy, waterproof container that’s easy to carry. Then, fill it with essential medical supplies and medications. Here’s a simple guide:
- Bandages and Dressings: Include a variety of sizes and shapes to cater to different wounds. Don’t forget adhesive bandages, gauze rolls, and sterile pads.
- Antiseptics: Hydrogen peroxide, rubbing alcohol, and antiseptic wipes help prevent infections.
- Medications: Over-the-counter pain relievers, antihistamines, and anti-diarrheal medications are must-haves. Also, include any prescription medications your family members take regularly.
- Tweezers and Scissors: For removing splinters or cutting bandages.
- Thermometer: To monitor fevers.
- Instant Cold Packs: For treating sprains and strains.
- Emergency Blanket: To keep the victim warm if necessary.
- First Aid Manual: A guide to treating common medical emergencies.
Now, let’s talk about common medical emergencies and how to treat them. Burns, cuts, sprains, and allergic reactions are just a few examples. Always remember, the first step is to stay calm and assess the situation. For burns, cool the area with cool (not cold) water and cover it with a sterile, non-adhesive bandage. For cuts, apply pressure to stop the bleeding and clean the wound with an antiseptic. For sprains, follow the RICE method: Rest, Ice, Compression, and Elevation. And for allergic reactions, administer an epinephrine auto-injector if available and call emergency services immediately.
Regularly check and restock your first aid kit to ensure it’s always ready for action. After all, preparedness is the best medicine.
Essential Tools and Gear
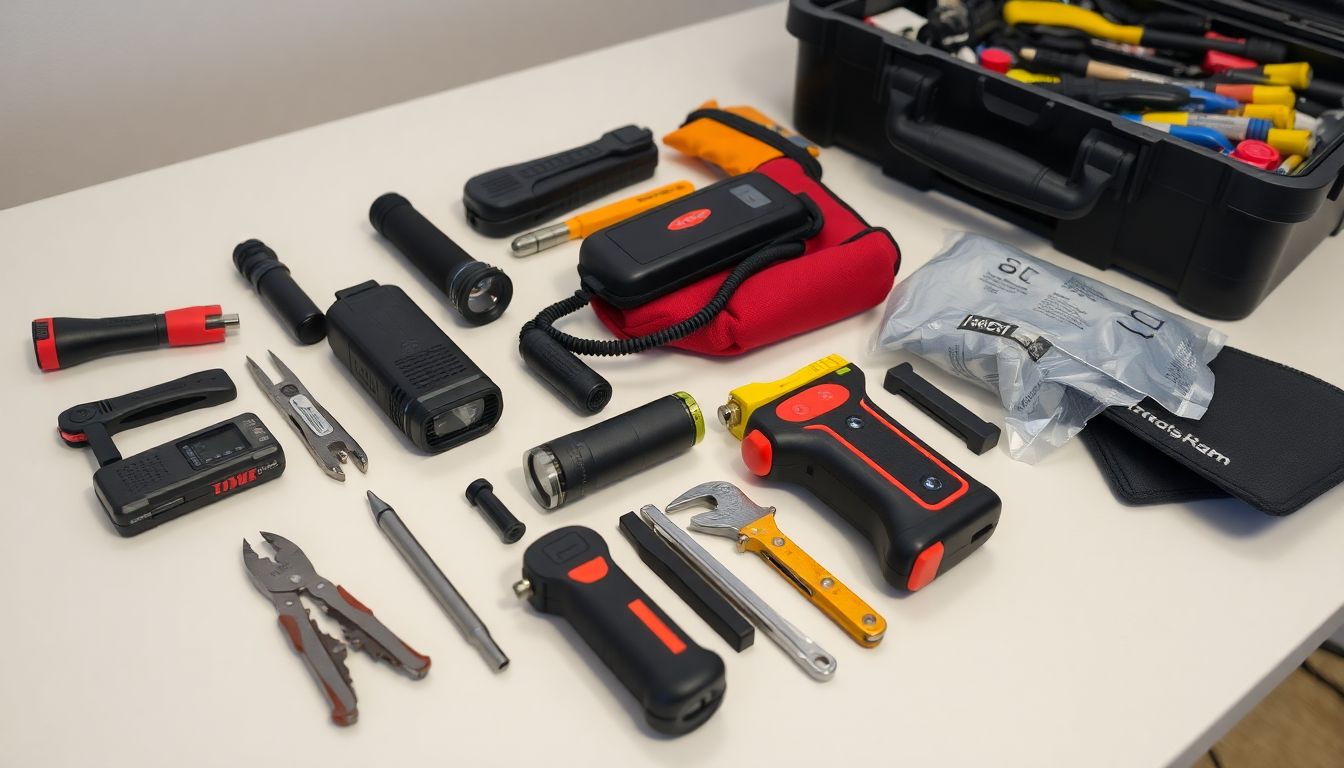
Embarking on any adventure, be it a camping trip, a DIY project, or even a simple hike, having the right tools and gear can make all the difference between a smooth, enjoyable experience and a frustrating, potentially dangerous one. This is why it’s essential to invest in and maintain a set of reliable, versatile tools that can tackle a variety of situations.
The first tool that should be on everyone’s list is a high-quality multi-tool. These compact, versatile devices combine several tools into one, making them indispensable for everything from fixing a broken zipper to tightening a loose screw. When choosing a multi-tool, look for one with a good balance of tools that suit your needs. A pair of pliers, a knife, and a few screwdrivers are essential, but you might also want to consider tools like a bottle opener, a can opener, or a small saw depending on your activities.
Next, a reliable flashlight is a must-have. Whether you’re navigating a dark campsite, looking for something under the couch, or dealing with a power outage, a good flashlight can be a lifesaver. Consider a flashlight with multiple brightness settings and a long battery life. LED lights are generally a good choice as they’re durable and energy-efficient. Don’t forget to pack extra batteries or a portable charger.
Another useful tool is a portable radio. A radio can provide important weather updates, news, and entertainment, especially when you’re off the grid. Look for a radio with good reception, a long battery life, and an emergency NOAA weather band. Some radios also come with USB ports for charging your other devices.
To maintain your tools and ensure they’re always ready when you need them, store them properly. Keep them clean and dry, and consider using a tool roll or pouch to keep them organized. Regularly inspect your tools for any signs of wear and tear, and replace them as needed. With proper care, your essential tools and gear will serve you well for many adventures to come.
Shelter and Self-Defense
In the grand tapestry of life, few things are as comforting as the knowledge that there’s a safe haven to retreat to when the world outside becomes uncertain or threatening. This is where the concept of shelter and self-defense comes into play, two sides of the same coin that ensures our safety and peace of mind. Let’s delve into the importance of having a safe place to call home, the measures we can take to harden our homes, and the significance of knowing basic self-defense techniques.
Firstly, having a secure shelter is not just a luxury, but a necessity. It’s the place where we can find solace, heal, and regroup when faced with emergencies. Whether it’s a natural disaster, a home invasion, or a global pandemic, a secure home provides the foundation for our resilience. It’s our sanctuary, our command center, and our safe room all rolled into one.
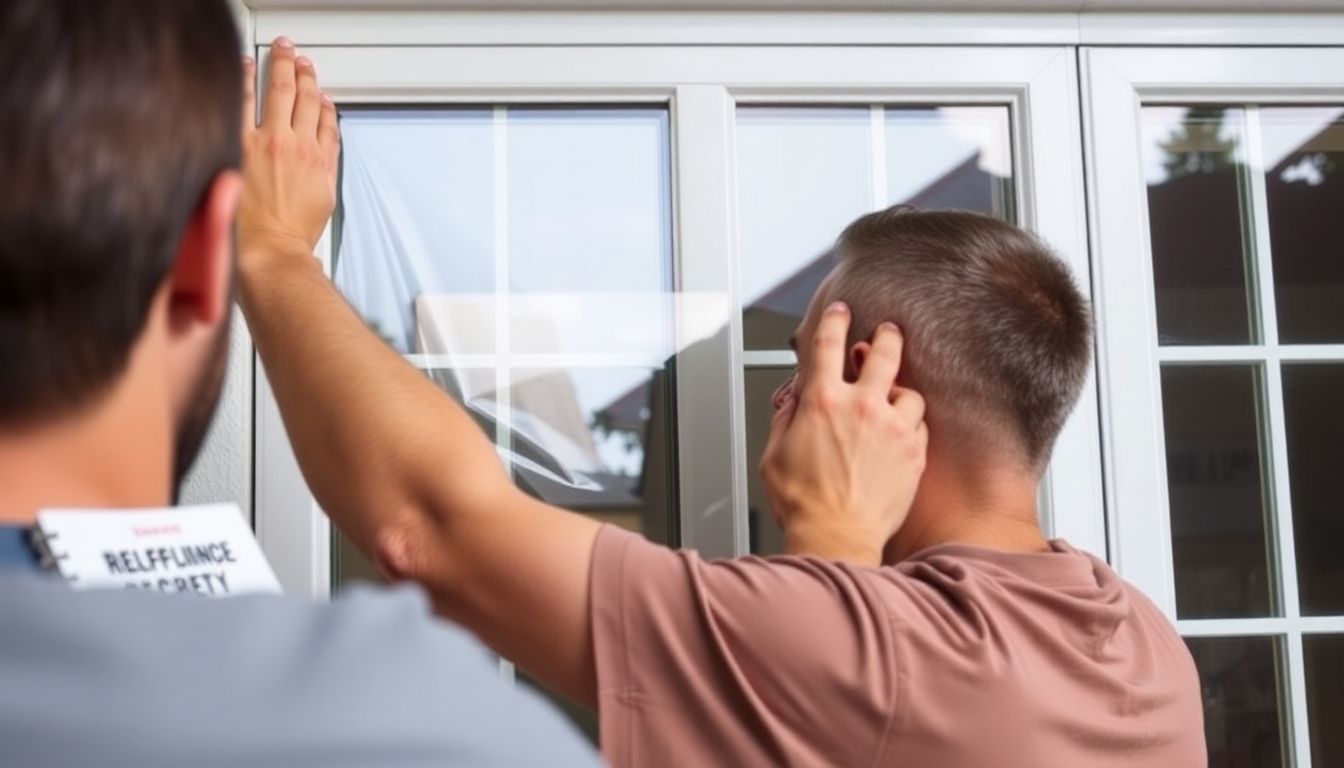
Harden your home, and you harden your family’s security. This involves a multi-layered approach, starting with the perimeter. Ensure your fence is in good repair, install motion-activated lighting, and consider a security system. The doors and windows are the next line of defense. Reinforce them with sturdy locks, security film, and consider installing a door reinforcement kit. Don’t forget the garage, often an overlooked entry point. Keep it locked, and consider installing a door reinforcement kit here as well.
Now, let’s talk about self-defense. Knowing basic self-defense techniques is like having a secret superpower. It’s not about becoming a martial arts expert, but about understanding your body’s natural defenses and how to use them effectively. It’s about knowing how to de-escalate a situation, how to create distance, and how to fight back if necessary. It’s about empowering yourself and instilling confidence. Self-defense classes are a great way to learn these skills, and many offer courses tailored to different ages and abilities.
In conclusion, shelter and self-defense are two pillars of personal safety. A secure home provides a safe retreat, while knowing self-defense techniques equips us to face the world with confidence. They are not mutually exclusive; rather, they complement each other, creating a robust safety net that allows us to navigate life’s challenges with resilience and courage.
Skills and Knowledge: The Power of Preparedness
In the grand tapestry of life, few threads are as vital as the skills and knowledge we acquire and hone. This is especially true when it comes to preparedness, that comforting blanket of self-sufficiency and resilience we weave to face life’s uncertainties. Imagine, if you will, a world where you can nourish your family with homegrown produce and hearty meals cooked from scratch, where you can mend your home with your own capable hands, and where you’re not beholden to external services for your basic needs. This is the power of preparedness, and it’s within reach for anyone willing to learn and practice essential skills.
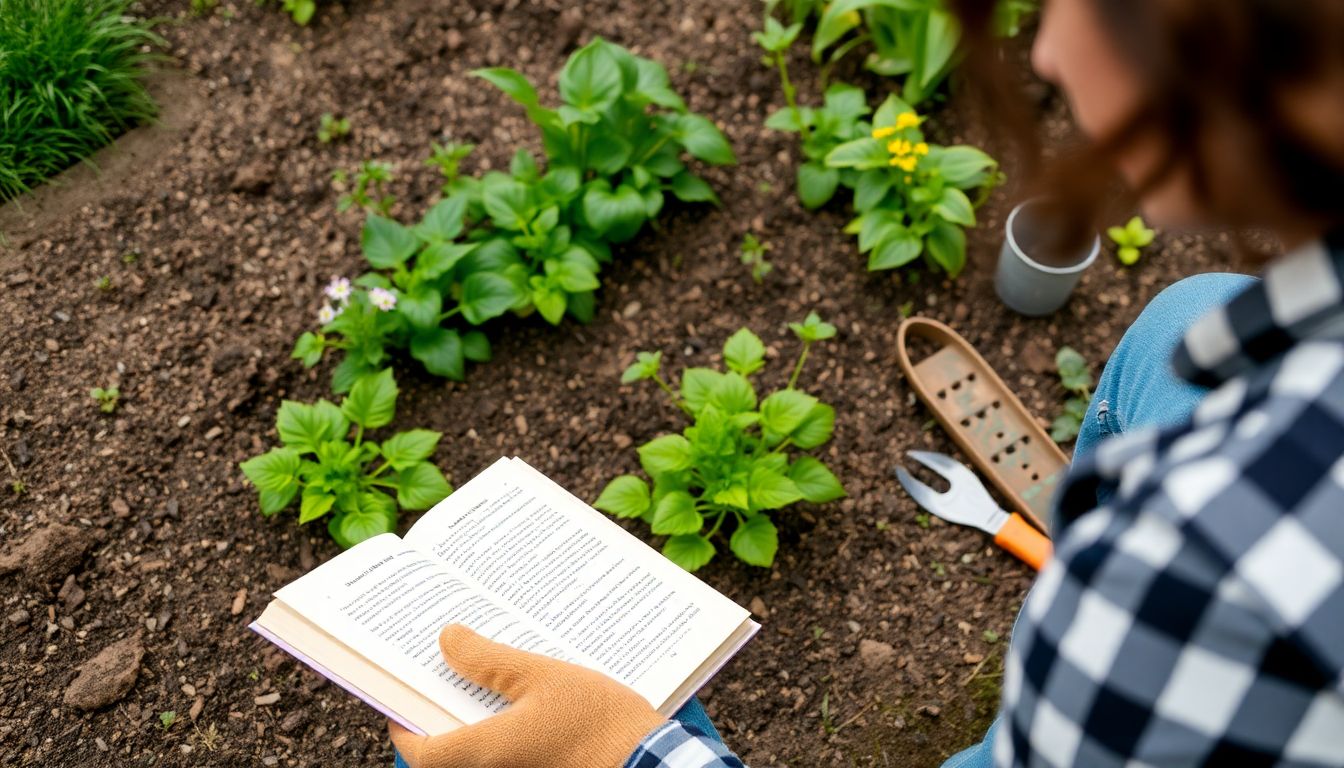
Take, for instance, the humble art of cooking. It’s not just about feeding yourself; it’s about understanding the science behind food, preserving resources, and creating culinary delights that can lift spirits and bring people together. Gardening, too, is more than a pastime. It’s a way to ensure a steady supply of fresh, nutritious produce, to connect with nature, and to learn about ecosystems and sustainability. And basic construction skills? They’re the building blocks of independence, allowing you to maintain, repair, and even build your own spaces.
But how does one acquire these skills and knowledge? The path is as varied as the skills themselves. Online courses, for example, offer a wealth of information at your fingertips. From platforms like Coursera and Udemy to YouTube tutorials, you can learn everything from knife skills to masonry techniques. Books, too, are an invaluable resource. They provide in-depth knowledge, practical tips, and often, a historical or cultural context that enriches your understanding. Local classes, whether at community centers, schools, or through organizations like the 4-H or Master Gardener programs, offer hands-on learning and the opportunity to connect with like-minded individuals.
Remember, learning is a lifelong journey, and every step, no matter how small, brings you closer to self-sufficiency. So, whether you’re rolling up your sleeves to plant your first seed, sharpening your knife for a cooking challenge, or picking up a hammer to tackle a DIY project, know that you’re not just learning a skill, you’re weaving a thread of resilience into your life’s tapestry. And that, dear reader, is the power of preparedness.

Creating a Family Emergency Plan
Creating a family emergency plan might seem daunting, but it’s a crucial step in ensuring your loved ones’ safety. It’s not just about having a plan, but also about involving the whole family in the process. This makes everyone aware of what to do in case of an emergency, reducing panic and fostering a sense of unity.
First, let’s talk about communication. In an emergency, clear and timely communication can make all the difference. Here’s a simple way to start:
- Choose an out-of-town contact person who can act as a central point of communication for your family during an emergency. This person should live far enough away that they wouldn’t be affected by the same event.
- Program this person’s contact information into every family member’s phone under an ‘ICE’ (In Case of Emergency) contact.
- Teach your children how to call this person and how to use the ‘ICE’ contact feature.
Next, establish meeting points. These should be two locations: one right outside your home and another outside your neighborhood, in case you can’t return home.
- For the first meeting point, choose a large, visible landmark like a tree, a light pole, or a mailbox. Make sure everyone knows where it is and how to get there.
- For the second meeting point, select a location like a library, a community center, or a neighbor’s house that’s outside your immediate neighborhood. Again, ensure everyone knows the location and how to get there.
Lastly, plan your evacuation routes. Identify at least two ways to exit your home and neighborhood. Keep these routes simple and easy to remember. Practice these routes with your family, so everyone knows what to do.
Involving your whole family in this process is not just about teaching them what to do, but also about giving them a sense of control and empowerment. Make it a fun activity, a family project. Use games, role-playing, and quizzes to keep everyone engaged and informed. After all, a family that plans together, stays together, even in the face of an emergency.

Prepping on a Budget: Creative Solutions
Prepping on a budget doesn’t mean you have to compromise on preparedness. With a little creativity and resourcefulness, you can stock up on essentials and create supplies without breaking the bank. Let’s dive into some budget-friendly tips and explore the concept of ‘free prepping’.
Firstly, buying in bulk is a tried-and-true method for stretching your dollar. Many stores offer discounts on larger quantities, and with proper storage, you can preserve these items for months. For instance, buying a year’s supply of rice or beans can significantly reduce your monthly grocery bill. Just ensure you have enough space to store these items and consider the rotation method to use up older stock first.
Repurposing items is another excellent way to save money. For example, old T-shirts can be turned into cleaning rags, and empty glass jars can be used for storage or as makeshift candles. Even empty toilet paper rolls can be transformed into fire starters or seedling pots. The possibilities are endless, and a quick search online can provide inspiration for repurposing almost any item.
Making your own supplies can also save you money in the long run. For instance, you can make your own soap, candles, or even cleaning products using simple ingredients. Not only is this more cost-effective, but it also allows you to control the ingredients and avoid harsh chemicals.
Now, let’s talk about ‘free prepping’. This concept involves making the most of free resources available in your environment. For example, you can forage for wild edibles, collect rainwater, or even grow your own food in a small garden or balcony planters. Websites like Freecycle and local Facebook groups often have free items up for grabs, which can be repurposed for your prepping needs. Additionally, libraries offer free books and resources, and some even have seed libraries where you can borrow and return seeds.
In conclusion, prepping on a budget is all about being resourceful and creative. By buying in bulk, repurposing items, making your own supplies, and utilizing free resources, you can build a solid foundation for preparedness without straining your finances. So, start exploring these options and watch your prepping supplies grow, one budget-friendly step at a time.
Maintaining and Rotating Your Supplies
Maintaining and rotating your stored supplies is not just a matter of convenience, but a crucial step in preventing spoilage and waste. Food, medications, and other perishable items can degrade over time, losing their potency or becoming unsafe to use. Regular maintenance and rotation ensure that you’re using the freshest and most effective products, saving you money and potentially your health.
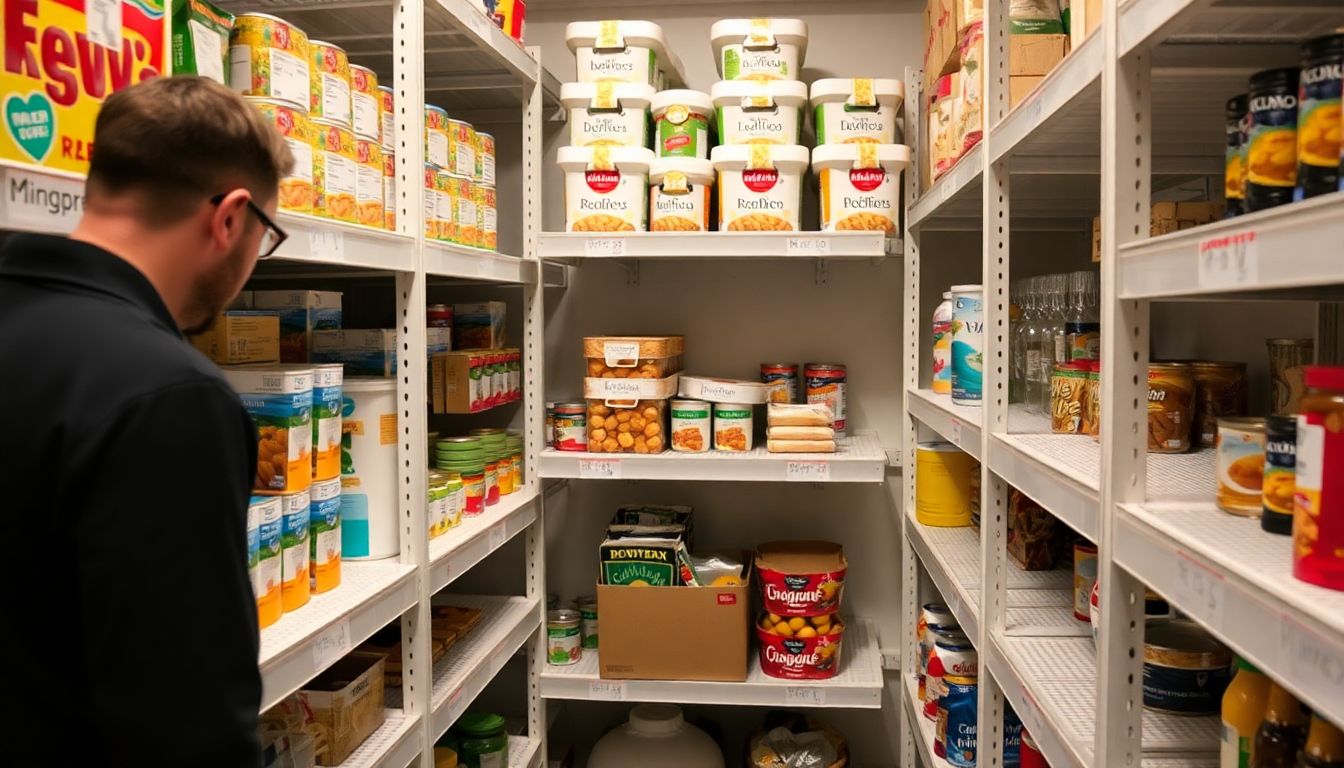
The key to an efficient system is organization and tracking. Start by designating specific areas for different types of supplies. For example, keep canned goods together, and separate them by type (tomatoes, vegetables, fruits, etc.). Label shelves clearly and keep an inventory list, updating it each time you add or remove items.
Now, let’s discuss the rotation system. The first-in, first-out (FIFO) method is the most common and effective. This means using the oldest items first, ensuring that nothing sits on the shelf too long. Here’s how to implement it:
- When you bring home new supplies, place them at the back of the shelf or in a designated ‘new’ area.
- As you need items, take them from the front, ensuring you’re using the oldest stock first.
- Once you’ve used all the items from the front, move the remaining supplies to the front, and place new items at the back.
This simple system ensures that you’re consistently using the oldest items, preventing spoilage and waste. It’s also a good idea to regularly check your inventory and rotate items even if they haven’t been used. This can help you catch any issues early and ensure that everything is still safe to use.
Remember, maintaining and rotating your supplies isn’t just about food. It’s also important for medications, cosmetics, and other household items. Always check expiration dates and use the oldest items first. With a little organization and effort, you can significantly reduce waste and ensure that you’re always using the freshest, most effective products.
Prepping for Pets: Don’t Forget Your Furry Friends
When it comes to preparing for emergencies, it’s easy to focus solely on human needs and forget about our furry, feathered, or scaled companions. However, pets are part of our families too, and their well-being should be a priority in our prepping plans. Including them in our preparations ensures that they remain safe, healthy, and happy, even in challenging circumstances.
Firstly, it’s crucial to have an emergency plan for your pets. This should include knowing where you’ll go if you need to evacuate, how you’ll transport your pets, and having a list of pet-friendly shelters or hotels along your evacuation route. It’s also a good idea to have a pet first aid kit, just as you would for humans. This kit should include gauze, adhesive tape, tweezers, a pet first aid book, and any necessary medications your pet is currently taking.
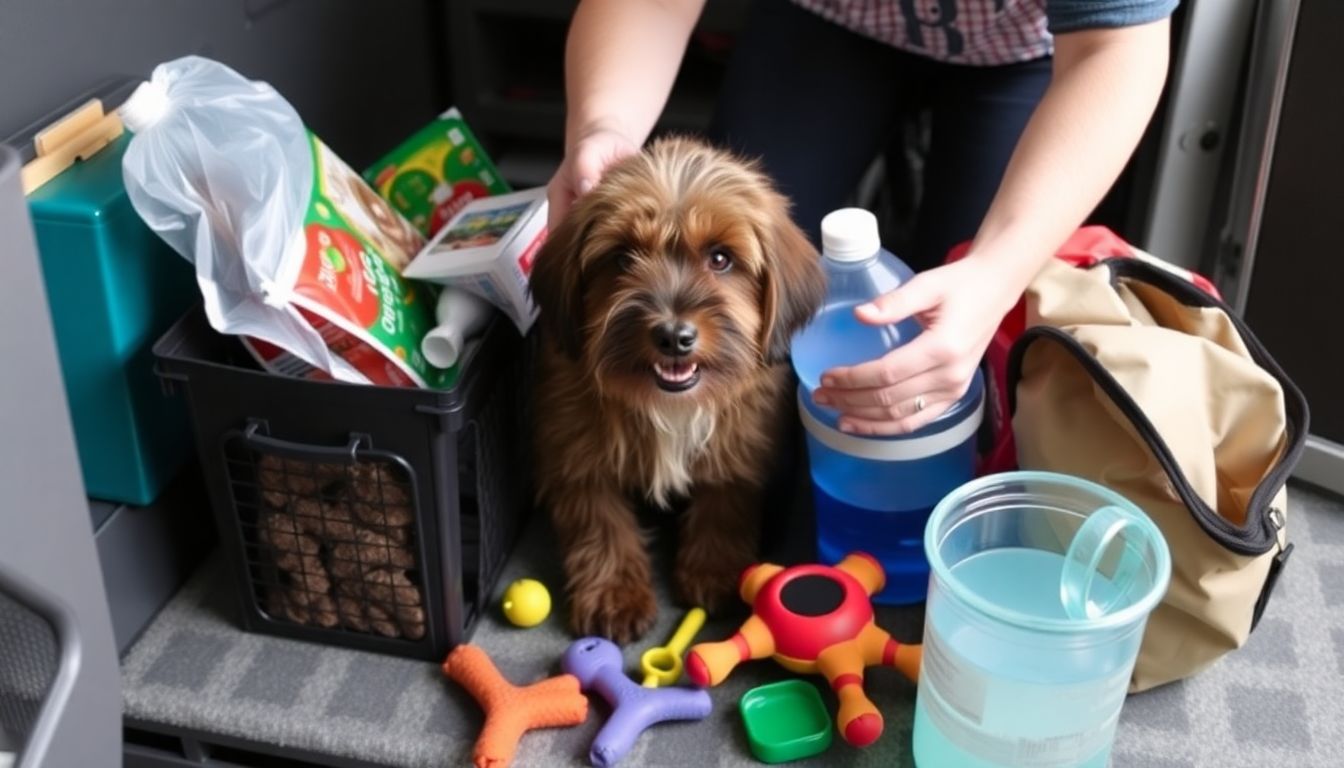
Next, let’s talk about essential pet supplies. The amount you need will depend on the size and type of your pet, but here’s a general list to get you started:
- Food and water bowls
- Enough food to last at least two weeks
- Fresh water
- Pet carrier or crate
- Litter box and litter for cats
- Pet waste bags
- Pet toys and comfort items
- Pet medications and a copy of your pet’s vaccination records
- Pet first aid kit
- Pet ID tags and a leash
Store these supplies in a cool, dry place, and make sure they’re easily accessible. It’s also a good idea to rotate your pet food and water supplies regularly to ensure they’re fresh.
During an emergency, it’s important to keep your pets calm and reassured. Stick to your usual routines as much as possible, and provide plenty of comfort and reassurance. If you need to evacuate, make sure your pets are secure in their carriers or crates before you leave. Once you’ve reached your destination, make sure your pets have a safe, secure space to stay.
Remember, pets are part of our families, and their needs are just as important as our own. By including them in our prepping plans, we’re ensuring that they’ll be there to comfort us and share our lives, even in the toughest of times.

Staying Informed: News and Information Sources
Staying informed during an emergency is not just beneficial, it’s crucial. It’s the difference between being prepared and being caught off guard, between making informed decisions and being overwhelmed. In times of crisis, reliable information can provide life-saving guidance, help you protect your loved ones, and even save you from unnecessary panic. That’s why it’s essential to have access to trustworthy news and information sources.
There are numerous ways to stay informed during an emergency. Local news outlets, both traditional (like TV and radio) and digital (websites and social media), are often the first to report on local incidents. They provide real-time updates and can offer insights into how an emergency is affecting your specific area. Some reliable local news sources include:
- Local TV and radio stations
- Newspapers and their websites
- Local news websites and blogs
For weather-related emergencies, the National Oceanic and Atmospheric Administration (NOAA) Weather Radio is an invaluable tool. It broadcasts official Weather Service warnings, watches, forecasts, and other hazard information 24/7. You can purchase a NOAA Weather Radio at many retail stores and online.
Emergency alert systems, such as the Emergency Alert System (EAS) and the Wireless Emergency Alerts (WEA), are also vital. EAS broadcasts critical information from the President to all broadcasters, cable systems, satellite radio and television providers, and wireless providers. WEA, on the other hand, allows government officials to send geographically-targeted messages to compatible wireless devices. These alerts can warn you of severe weather, missing children, and other urgent situations.
Other reliable sources of information include government websites and social media accounts, as well as reputable national news outlets. Always remember to verify information from social media with official sources before sharing or acting upon it.
In conclusion, staying informed during an emergency is a matter of safety and preparedness. By knowing where to find reliable news and information, you’re taking a significant step towards protecting yourself and your loved ones.
FAQ
What is prepping and why should beginners start?
How much time and money should I invest in prepping as a beginner?
What are the first steps in creating a beginner’s prepping checklist?
- Water: Aim for one gallon per person per day. Store it safely and consider a way to purify more if needed.
- Food: Start with a three-day supply of non-perishable food for each person. Rotate your stockpile regularly.
- Shelter: Ensure you have the means to stay warm and dry. This could be extra blankets, a portable heater, or even a tent.
- First Aid: Build a basic first aid kit and learn some basic first aid skills.
How can I store food safely and efficiently as a beginner?
- Choose non-perishable, high-calorie foods that you and your family will eat. Rotate your stockpile regularly to prevent waste.
- Store food in a cool, dry place, away from sunlight and pests. Consider using food-grade buckets with gamma seals or Mylar bags with oxygen absorbers for long-term storage.
- Learn about food storage methods like canning, dehydrating, or fermenting to preserve food at home.
- Consider investing in a deep freezer for long-term storage of frozen foods.
What are some essential tools and supplies for a beginner’s prepping kit?
- Multi-tool or pocket knife: A versatile tool with multiple functions, such as a knife, pliers, and screwdrivers.
- Flashlight or headlamp with extra batteries: A reliable light source is crucial during power outages.
- Paracord: A strong, lightweight rope with many uses, from securing gear to creating a makeshift shelter.
- Duct tape: The ‘fix-it’ tape can temporarily repair leaks, secure bandages, or create a makeshift shelter.
- Whistle: A loud, attention-getting signal for emergencies.
- Map and compass: Navigation tools that can help you find your way if GPS signals are down.
How can I prepare for power outages as a beginner?
- Have a backup power source, such as a portable generator or solar charger, to keep essential devices running.
- Stock up on flashlights, batteries, and candles for light. Consider using LED lights, which are more energy-efficient and longer-lasting.
- Keep a fully charged power bank for your electronic devices.
- Store non-perishable food that doesn’t require cooking and have a manual can opener.
- Stay informed about the outage and follow safety guidelines from local authorities.
What are some basic first aid skills every beginner prepper should know?
- How to treat wounds: Clean, dress, and bandage wounds to prevent infection.
- CPR and choking relief: Learn these lifesaving techniques to help someone in distress.
- How to treat burns: Cool, cover, and seek medical attention if necessary.
- How to treat shock: Keep the person warm, elevate their feet, and seek medical help if needed.
- How to make a splint: Immobilize broken bones or sprains using household items.
Consider taking a first aid course or using online resources to learn these skills.
How can I prepare for financial emergencies as a beginner?
- Build an emergency fund: Aim to save at least $1,000 initially, then work towards having 3-6 months’ worth of living expenses.
- Pay off high-interest debt: Prioritize paying off debts with high interest rates to free up more money for savings.
- Diversify your income: Consider side hustles or passive income streams to increase your financial resilience.
- Review your insurance policies: Ensure you have adequate coverage for your home, health, and vehicles.
- Create a budget: Track your income and expenses to understand where your money goes and where you can cut back.
How can I involve my family in prepping as a beginner?
- Educate your family: Teach your family about the importance of prepping and the risks you’re preparing for.
- Make it fun: Turn prepping into a game or activity, like a family scavenger hunt to find emergency supplies.
- Assign roles: Give each family member age-appropriate tasks and responsibilities during an emergency.
- Practice drills: Conduct regular drills, such as fire drills or earthquake simulations, to prepare your family for real-life emergencies.
- Encourage self-reliance: Teach your family valuable skills, like cooking, gardening, or first aid, to boost their confidence and self-reliance.
