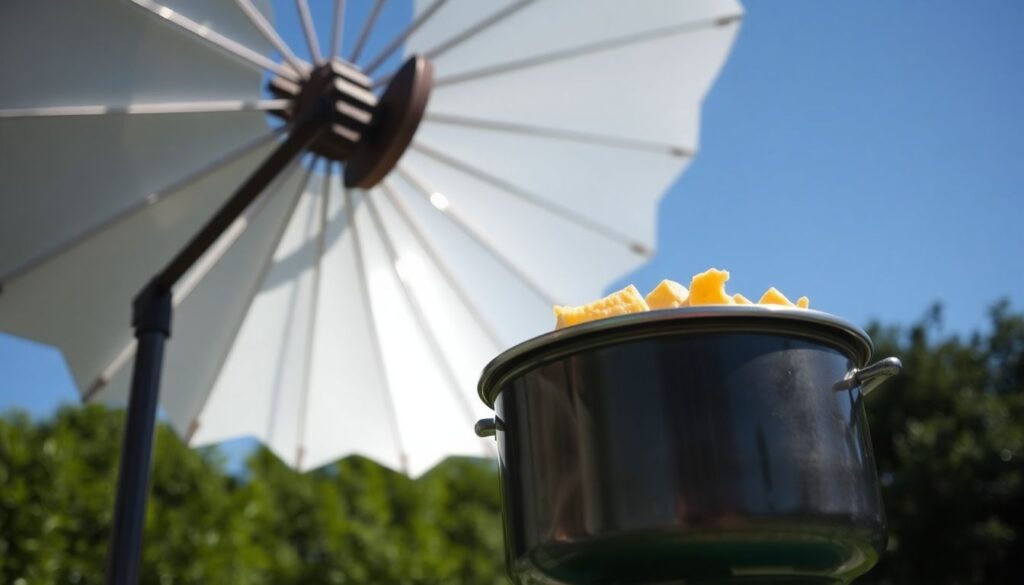
Have you ever wondered if it’s possible to harness the power of the sun to cook your favorite off-grid meal? What if I told you that you can create a solar oven, a parabolic cooker, capable of reaching temperatures high enough to bake a cake or even cook a stew, all using nothing but the sun’s rays? Welcome to the world of solar cooking, where sustainability meets culinary creativity!
According to the International Solar Cooking Conference, over 5 million people worldwide have adopted solar cooking as a primary method of food preparation. This not only reduces their reliance on non-renewable resources but also improves their health by minimizing indoor air pollution caused by traditional cooking methods. So, the question is, why not give it a try?
In this article, we’re going to embark on an exciting journey to build your very own solar oven. We’ll explore the science behind solar cooking, guide you through the step-by-step process of creating a parabolic cooker, and share some delicious off-grid meal ideas to get you started. By the end of this article, you’ll not only have a newfound appreciation for the sun’s power but also a functional solar oven ready to cook up a storm!
So, are you ready to join the solar cooking revolution? Let’s dive in!
Mastering Solar Cooking with a DIY Parabolic Cooker
Embark on a sun-powered culinary adventure with our guide to mastering solar cooking using a DIY parabolic cooker! Imagine harnessing the boundless energy of the sun to create a delicious meal, all while reducing your carbon footprint. A parabolic cooker, shaped like a satellite dish, concentrates sunlight onto a single point, generating intense heat – perfect for cooking, boiling water, or even baking. Let’s dive into the fascinating world of solar cooking! First, gather your materials: a large, lightweight reflective material like aluminum foil or Mylar, a sturdy frame to hold your shape, and some basic tools. With a bit of creativity and elbow grease, you’ll transform these humble components into a powerful solar oven. Once your cooker is assembled, it’s time to experiment with recipes. Start with simple dishes like stews or soups, then graduate to more complex meals as your skills and confidence grow. Keep in mind that solar cooking requires patience, as it relies on the whims of the weather. But the reward is well worth the wait – a perfectly cooked meal, infused with the warmth of the sun. So, grab your ingredients, step into the sunlight, and let the cooking begin! Who knows, you might just become the talk of the town with your innovative, eco-friendly culinary creations.
Understanding Solar Cooking
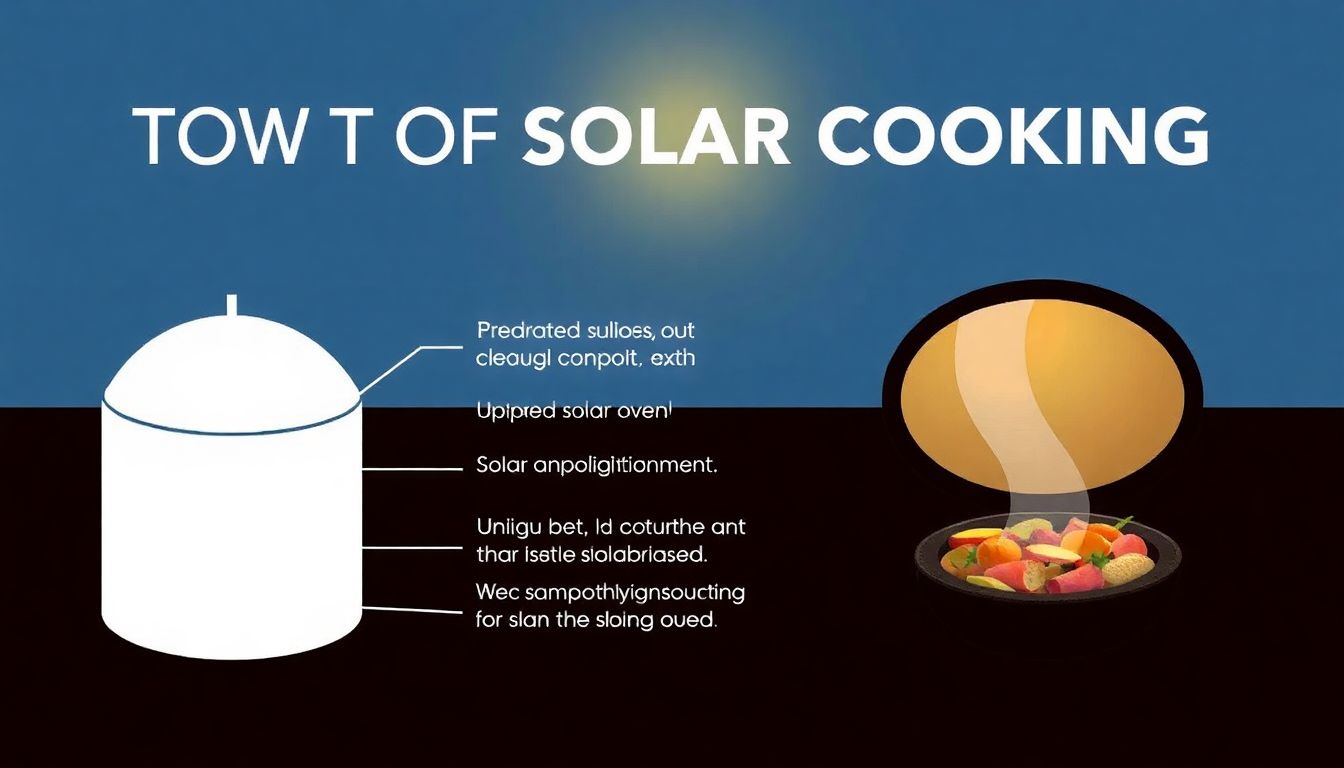
Solar cooking, a sustainable and eco-friendly alternative to conventional methods, harnesses the power of the sun to prepare food and beverages. This innovative technique offers numerous benefits, including reduced energy consumption, lower greenhouse gas emissions, and the elimination of fuel-related health risks. Unlike conventional cooking methods that rely on fossil fuels or electricity, solar cooking does not produce smoke or require constant attention, making it an ideal solution for communities worldwide, particularly in regions with abundant sunlight.
The science behind solar cooking is rooted in the principles of reflection and concentration of sunlight. Solar ovens, the primary tools for solar cooking, are designed to capture and focus sunlight onto a small area, generating high temperatures suitable for cooking. This is achieved through the use of reflective surfaces, such as mirrors or polished metal, which concentrate sunlight onto a cooking vessel placed at the focal point.
There are several types of solar cookers available, each with its unique design and functionality. Box cookers, the most common type, consist of an insulated box with a clear cover and a reflective surface that concentrates sunlight onto the cooking vessel. Parabolic cookers, on the other hand, feature a curved, mirrored surface that focuses sunlight onto a single point, achieving higher temperatures and faster cooking times. Other types of solar cookers include panel cookers, which use flat, reflective surfaces to concentrate sunlight, and evacuated tube cookers, which employ a vacuum-insulated glass tube to trap heat.
To use a solar cooker, follow these simple steps:
- Choose a sunny location for your solar cooker, preferably with minimal shade or obstruction.
- Position the cooker to face the sun directly, ensuring the reflective surface captures as much sunlight as possible.
- Place your food or beverage in a dark-colored, oven-safe container, as these absorb heat more efficiently.
- Position the container at the cooker’s focal point, where sunlight is concentrated.
- Monitor the cooking process, adjusting the cooker’s position as the sun moves to maintain optimal heat.
- Once cooking is complete, allow the food to rest for a few minutes before serving.
Solar cooking may require some patience and planning, as cooking times can vary depending on factors such as sunlight intensity, weather conditions, and the type of food being prepared. However, the environmental and health benefits make it a worthwhile endeavor for those seeking a more sustainable approach to cooking.
The Allure of Parabolic Cookers
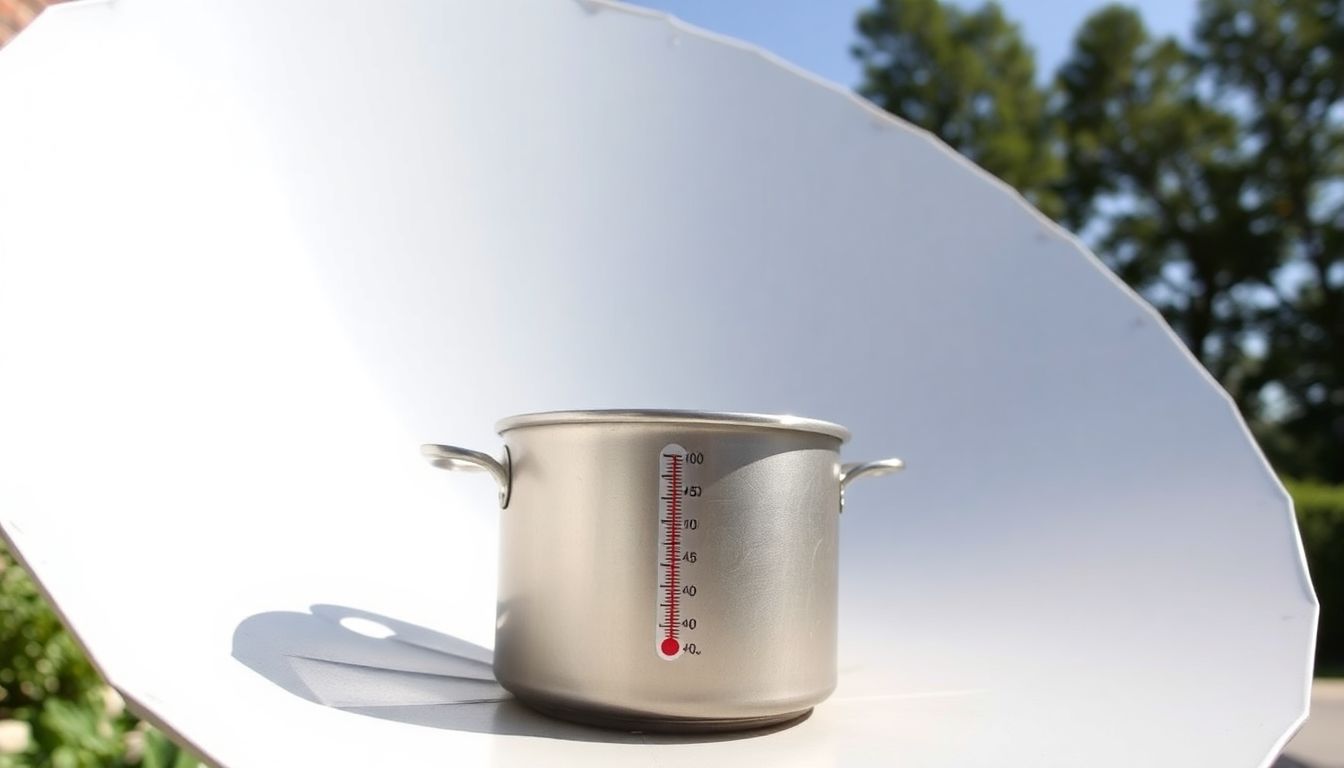
The allure of parabolic cookers lies in their unique design and remarkable ability to harness the power of the sun. These ingenious contraptions, shaped like a parabola, are not merely solar cookers; they are concentrators of sunlight, transforming the sun’s rays into a powerful, heat-generating force.
At the heart of their operation is the parabolic reflector, a curved surface that mirrors the sun’s rays, focusing them onto a single point, known as the focus. This concentration of sunlight results in temperatures that can reach up to 400°C (752°F), making parabolic cookers one of the most efficient solar cookers available.
One of the standout advantages of parabolic cookers is their speed. They can boil water in a fraction of the time it would take a conventional cooker, making them an ideal choice for those who value time and efficiency. Moreover, their high temperatures allow for a wide range of cooking methods, from boiling and simmering to frying and baking, making them versatile tools for the modern kitchen.
However, parabolic cookers are not without their challenges. Their design requires precise tracking of the sun, which can be automated but adds to the complexity and cost of the cooker. They also require a clear line of sight to the sun, making them less suitable for use in areas with frequent cloud cover or tall buildings.
In comparison, other types of solar cookers, such as box cookers and panel cookers, are simpler in design and more forgiving in terms of sun tracking. However, they typically operate at lower temperatures and are less efficient than parabolic cookers. The choice between these cookers often depends on the specific needs and circumstances of the user.
In conclusion, parabolic cookers offer a compelling blend of efficiency, versatility, and speed, making them an attractive option for those interested in harnessing the power of the sun for cooking. Despite their challenges, their unique design and high performance make them a fascinating and effective tool for sustainable living.
Materials and Tools Needed
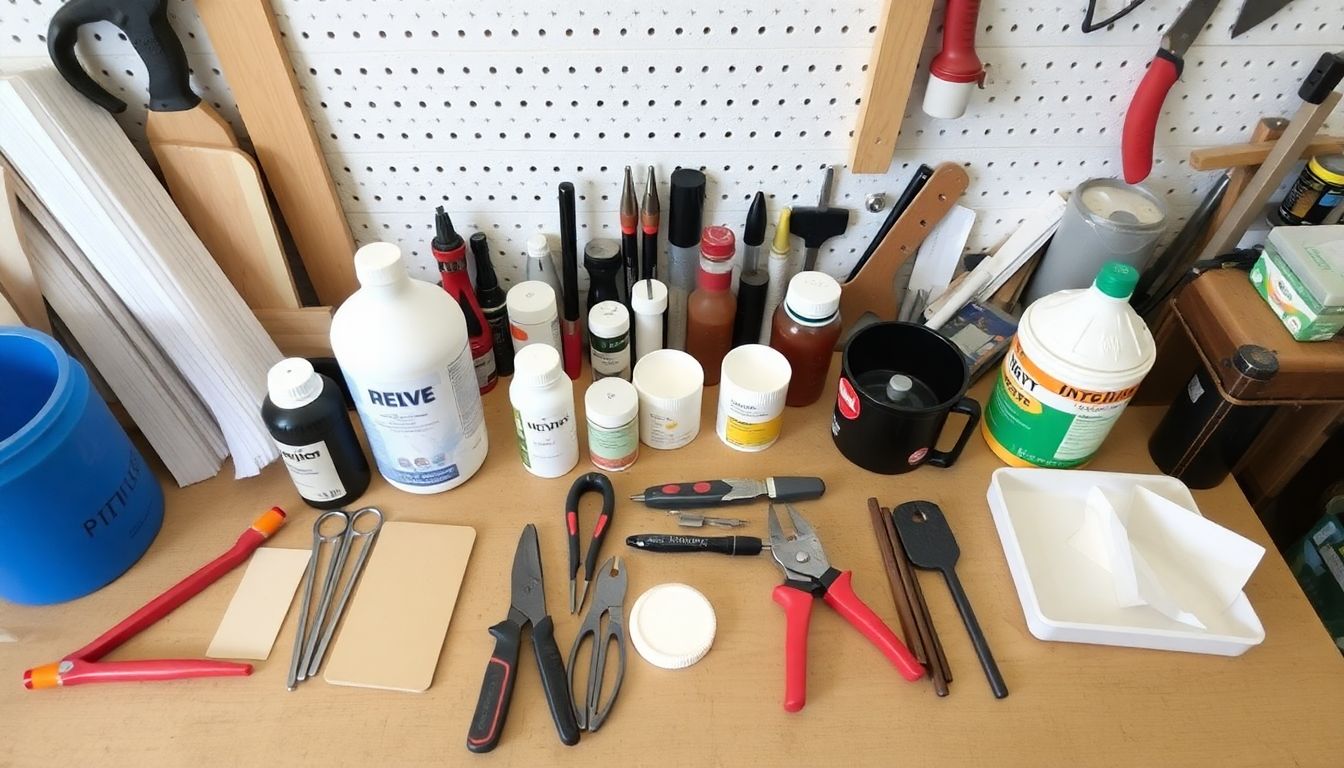
Building a DIY parabolic solar cooker is an eco-friendly and budget-conscious project that harnesses the power of the sun. The materials and tools needed are surprisingly simple and affordable, with many items being easily accessible or even repurposable. Let’s dive into the list and some sourcing tips.
The backbone of your solar cooker will be a reflective surface to focus sunlight onto a cooking pot. The most common and affordable option is aluminum foil, which can be found in any local grocery store. For a more durable and reflective surface, consider using mirror sheets or even old, broken mirrors that you can find at thrift stores or through local online marketplaces. These can be cut to size using a glass cutter or a strong pair of scissors.
To shape your reflective surface into a parabolic curve, you’ll need a supportive structure. A simple and affordable option is to use chicken wire, which can be bent and shaped easily. You can source this from local hardware stores or even find it at garden centers. Alternatively, you could repurpose an old satellite dish or even a large, shallow bowl with a wide base.
To hold your cooking pot in place at the focus of the parabola, you’ll need a stand. This can be as simple as a small tripod made from wooden dowels or metal pipes, or even a repurposed plant stand. Ensure it’s adjustable to accommodate different sizes of pots.
For the cooking pot itself, a simple, black, stainless steel pot with a lid works best. The black color absorbs the heat, while stainless steel is durable and won’t leach chemicals into your food. You can often find these at thrift stores or discount stores.
Lastly, you’ll need some basic tools to assemble your solar cooker. A pair of scissors or tin snips for cutting the aluminum foil or mirror sheets, pliers for shaping the chicken wire, and a screwdriver or drill for assembling the stand. A ruler and a pencil will help with measurements and marking.
Sourcing materials locally not only saves you money but also reduces your carbon footprint. Check local hardware stores, thrift stores, and online marketplaces for affordable and repurposable items. Don’t be afraid to get creative with your sourcing
- an old satellite dish can become a solar cooker, and an old plant stand can become a cooking pot stand! Happy solar cooking!
Designing the Parabolic Reflector
Designing a parabolic reflector, often used in solar cookers or satellite dishes, involves creating a surface that focuses sunlight onto a single point. The process begins with understanding the mathematics behind the parabolic shape. A parabolic reflector has a single focus point, F, and a directrix, D, such that the distance from any point on the parabola to the focus is equal to its distance to the directrix. The formula for the parabolic cross-section is y^2 = 4px, where ‘p’ is the distance from the vertex to the focus, known as the ‘focal length’.
To design your parabolic reflector, follow these steps:
- Calculate the focal length (p): This depends on the desired size of your reflector and the distance at which you want to focus the sunlight. A common ratio is p:D = 1:4, where D is the diameter of the reflector.
- Determine the dimensions: Using the focal length, calculate the overall dimensions of your reflector. The diameter (D) is 4p, and the depth (from the vertex to the directrix) is also 4p.
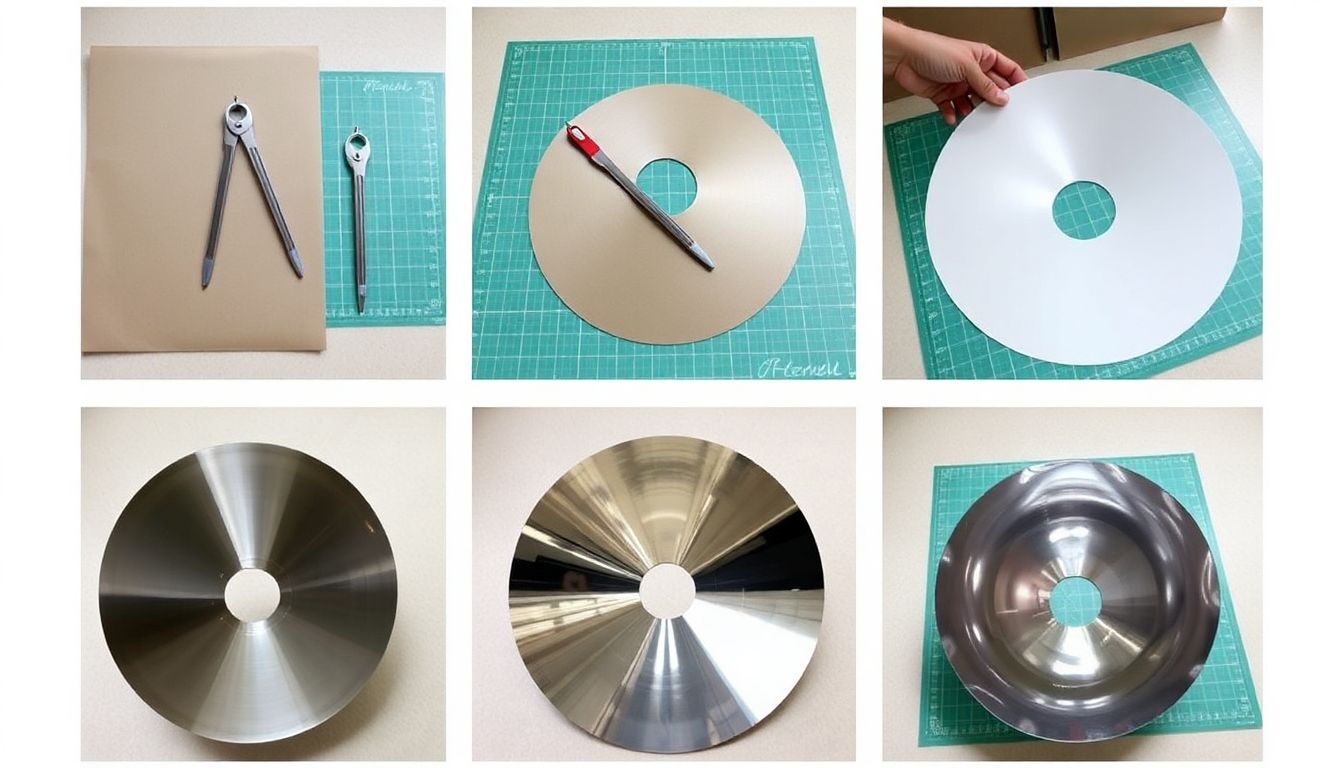
- Create a template: Draw the parabolic shape on a flat surface using the formula y^2 = 4px. You can use a simple tool like a compass to draw the curve. Alternatively, you can use computer software to generate the curve and print it at the correct scale.
- Shape the reflector material: Once you have your template, trace it onto the material you’re using for your reflector (like aluminum foil or sheet metal). Carefully cut out the shape, then bend or shape the material to match the parabolic curve. You can use a simple jig or form to help maintain the parabolic shape.
Remember, the accuracy of your parabolic reflector depends on the precision of your calculations and the faithfulness of your material to the parabolic shape. With practice, you’ll be able to create effective parabolic reflectors for various applications.
Assembling the Solar Cooker Frame
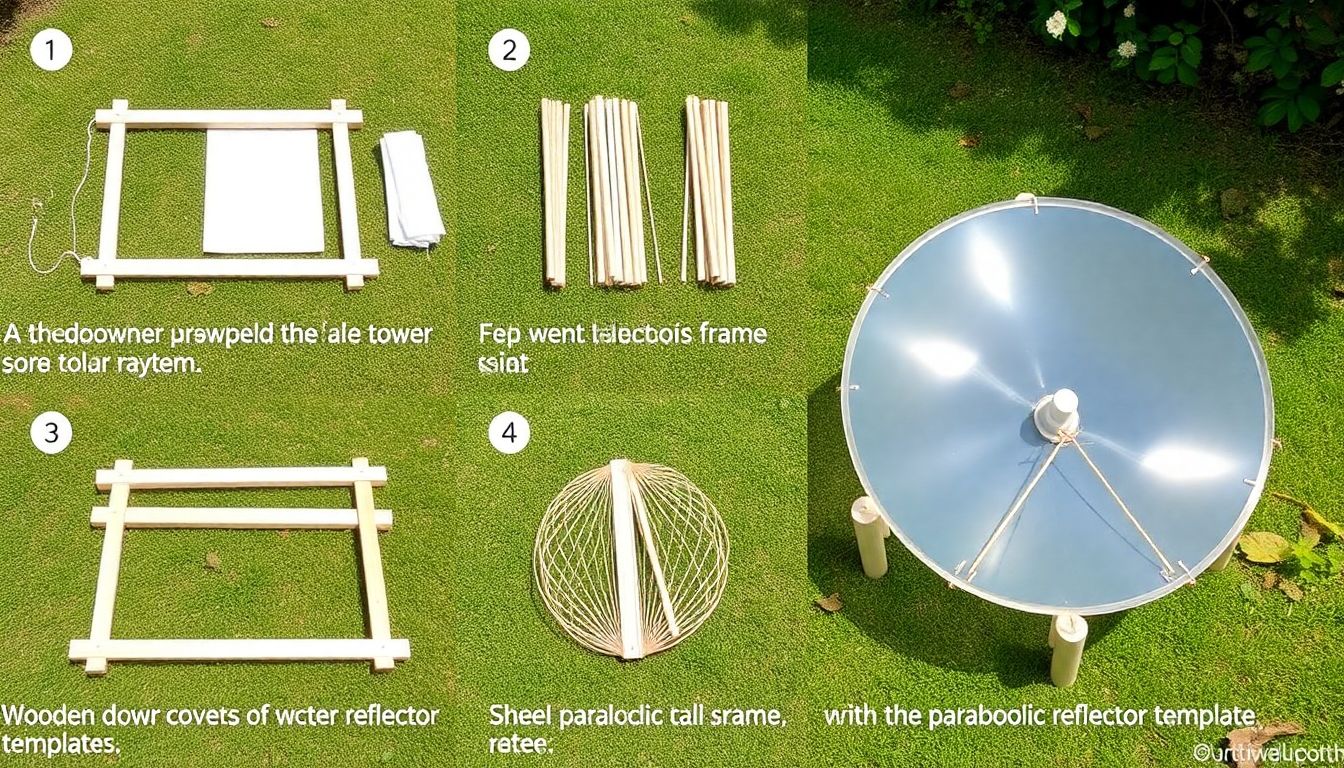
Assembling the solar cooker frame is a pivotal step in creating an efficient and durable solar cooking system. The frame serves as the backbone, supporting the parabolic reflector that concentrates sunlight to cook food. There are several frame designs to consider, each with its own advantages and complexities.
The most common designs include the adjustable focus frame and the fixed focus frame. The adjustable focus frame, as the name suggests, allows you to adjust the focal point of the reflector, making it suitable for different cooking needs. It typically consists of a central tube with adjustable struts that support the reflector. On the other hand, the fixed focus frame has a fixed focal point, making it simpler to construct but less versatile. It usually comprises a single, rigid structure.
Materials for the frame can vary, but they should be lightweight, durable, and able to withstand high temperatures. Aluminum and stainless steel are popular choices due to their strength and corrosion resistance. For the adjustable focus frame, materials like aluminum tubing and steel cables are often used for the struts and supports.
Assembly methods depend on the design and materials chosen. For the adjustable focus frame, the process might involve:
- Cutting and shaping the aluminum tubing and steel cables to the desired lengths and angles.
- Assembling the central tube and struts, ensuring they fit snugly and can be adjusted as needed.
- Attaching the supports for the parabolic reflector, ensuring they are evenly spaced and secure.
- Testing the frame’s adjustability and stability before attaching the reflector.
For the fixed focus frame, assembly might involve:
- Cutting and welding the steel or aluminum pieces according to the design.
- Assembling the frame, ensuring it is rigid and stable.
- Attaching the supports for the parabolic reflector, ensuring they are secure and evenly spaced.
Regardless of the design and materials chosen, it’s crucial to ensure the frame is sturdy, well-aligned, and able to withstand the heat and pressure of the cooking process. A well-constructed frame will not only enhance the performance of your solar cooker but also extend its lifespan.
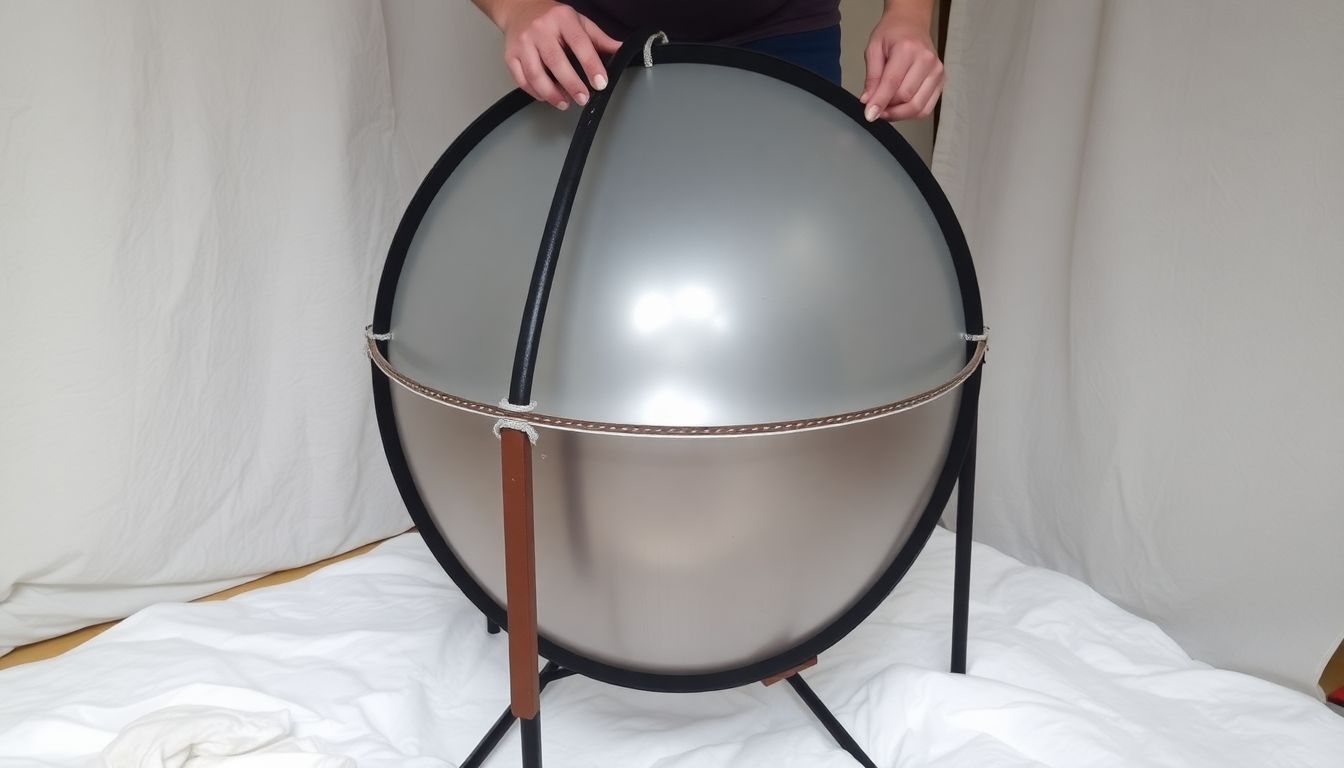
Attaching the Reflector and Insulation
Attaching the parabolic reflector to the frame and insulating the solar cooker are crucial steps to ensure optimal performance and heat retention. Let’s dive into these processes, starting with the reflector attachment.
The parabolic reflector, typically made of polished aluminum or mirrored glass, should be securely fastened to the frame. The frame, usually made of lightweight yet sturdy materials like aluminum or stainless steel, provides the structure for the cooker. Begin by aligning the reflector with the frame, ensuring it’s centered and level. Most frames come with pre-drilled holes for easy attachment. Using the provided screws or bolts, attach the reflector to the frame, working from the center outwards to maintain tension and prevent warping. Tighten the fasteners evenly to secure the reflector without damaging it.
Once the reflector is attached, it’s time to insulate the cooker. Insulation plays a vital role in maintaining heat and preventing heat loss. Several materials can be used for insulation, each with its own set of advantages and disadvantages.
- Fiberglass: Fiberglass is a popular choice due to its excellent insulating properties and affordability. It’s lightweight, non-toxic, and easy to install. However, it can be messy to work with and may require additional protective gear during installation.
- Mineral Wool: Mineral wool is another effective insulator. It’s fire-resistant, durable, and has good soundproofing properties. It’s also easy to install and doesn’t require protective gear. However, it can be more expensive than fiberglass and may retain moisture if not properly installed.
- Reflective Insulation: Reflective insulation, often made of aluminum foil, provides excellent heat reflection. It’s lightweight, easy to install, and can be used in conjunction with other insulators for added effectiveness. However, it can be more expensive and may not provide the same level of insulation in cold temperatures.
To install the insulation, start from the bottom of the cooker, working your way up. Ensure the insulation fits snugly around the cooker, covering all exposed surfaces. For added insulation, you can use a combination of materials, such as fiberglass for the core and reflective insulation for the outer layer. Always ensure the insulation doesn’t block the reflector or the pot holder.
With the reflector attached and the cooker insulated, your solar cooker is now ready to harness the power of the sun, providing you with a sustainable and eco-friendly cooking solution.
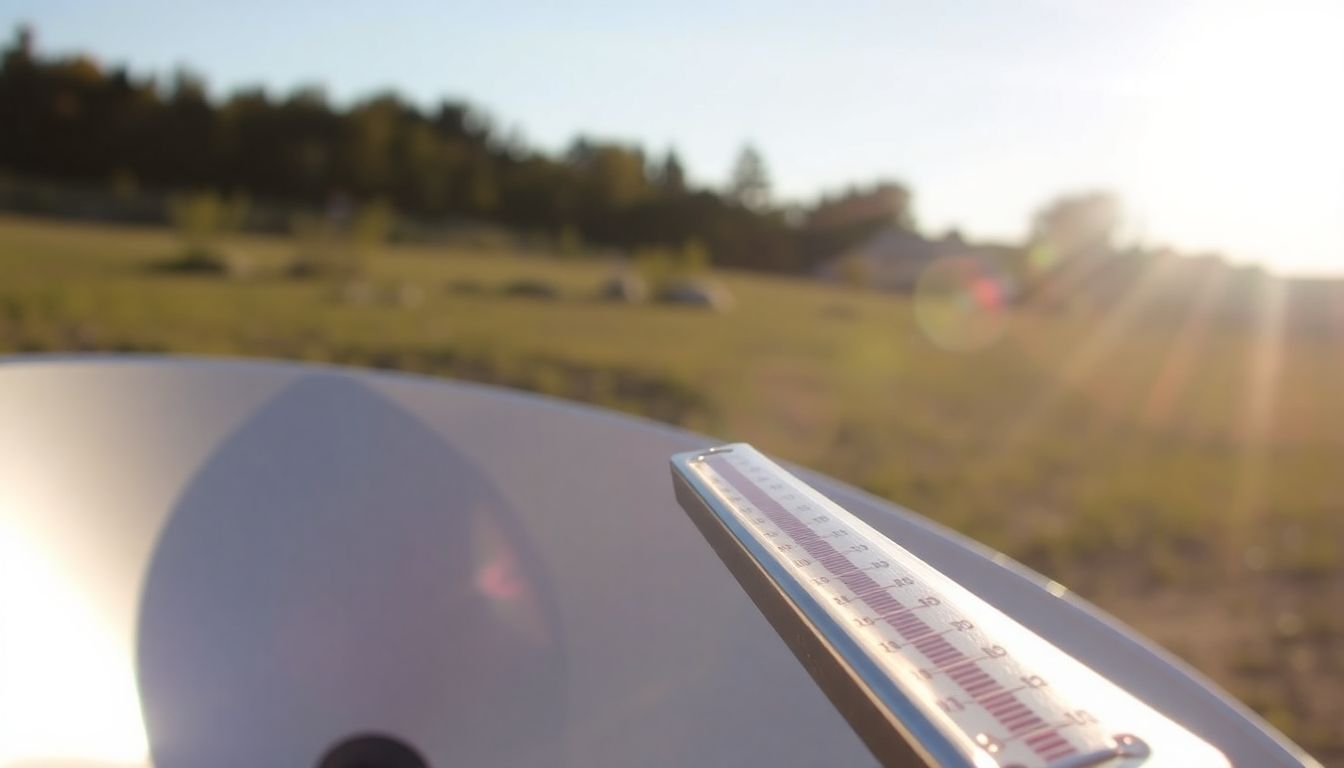
Testing and Adjusting Your Solar Oven
Testing and adjusting your solar oven, a parabolic solar cooker, is an exciting process that ensures you get the most out of your renewable energy source. Let’s dive into the steps to test and optimize your solar oven’s performance.
The first step is to find the optimal angle and position for your solar oven. This is crucial as it determines how effectively the oven concentrates sunlight. Here’s how you can do it:
- Start by placing your solar oven in a sunny, open area, free from shadows.
- Adjust the angle of the oven so that the sun’s rays reflect directly onto the cooking pot. The ideal angle is when the sun’s rays are perpendicular to the oven’s surface.
- Use a protractor or a simple angle-measuring tool to help you achieve the correct angle. The angle should be approximately 90 degrees minus your latitude.
- Fine-tune the position by moving the oven slightly until the reflected sunlight is concentrated perfectly onto the pot.
Once you’ve found the optimal angle and position, it’s time to test your solar oven. Here’s how you can do it:
- Place a pot of water in the oven and track the temperature using a thermometer.
- Observe the temperature as the sun moves across the sky. The temperature should rise steadily and peak around noon.
- If the temperature isn’t rising as expected, double-check your angle and position. Ensure there are no obstructions casting shadows on the oven.
Troubleshooting common issues:
- If the oven isn’t getting hot enough, ensure the parabolic surface is clean and free of dust. A dirty surface can scatter sunlight and reduce concentration.
- Check for any damage to the parabolic surface. Even small dents can affect the oven’s performance.
- If the oven is overheating, it might be too close to the cooking pot. Increase the distance between the pot and the parabolic surface.
Improving performance:
- Use a dark-colored pot with a flat bottom. Dark colors absorb more sunlight, and a flat bottom ensures even heat distribution.
- Use a lid on your pot to trap heat and increase the temperature.
- Consider using a temperature controller to maintain a consistent temperature.
Regular testing and adjustment will help you maximize your solar oven’s performance, ensuring you get the most out of your renewable energy source.
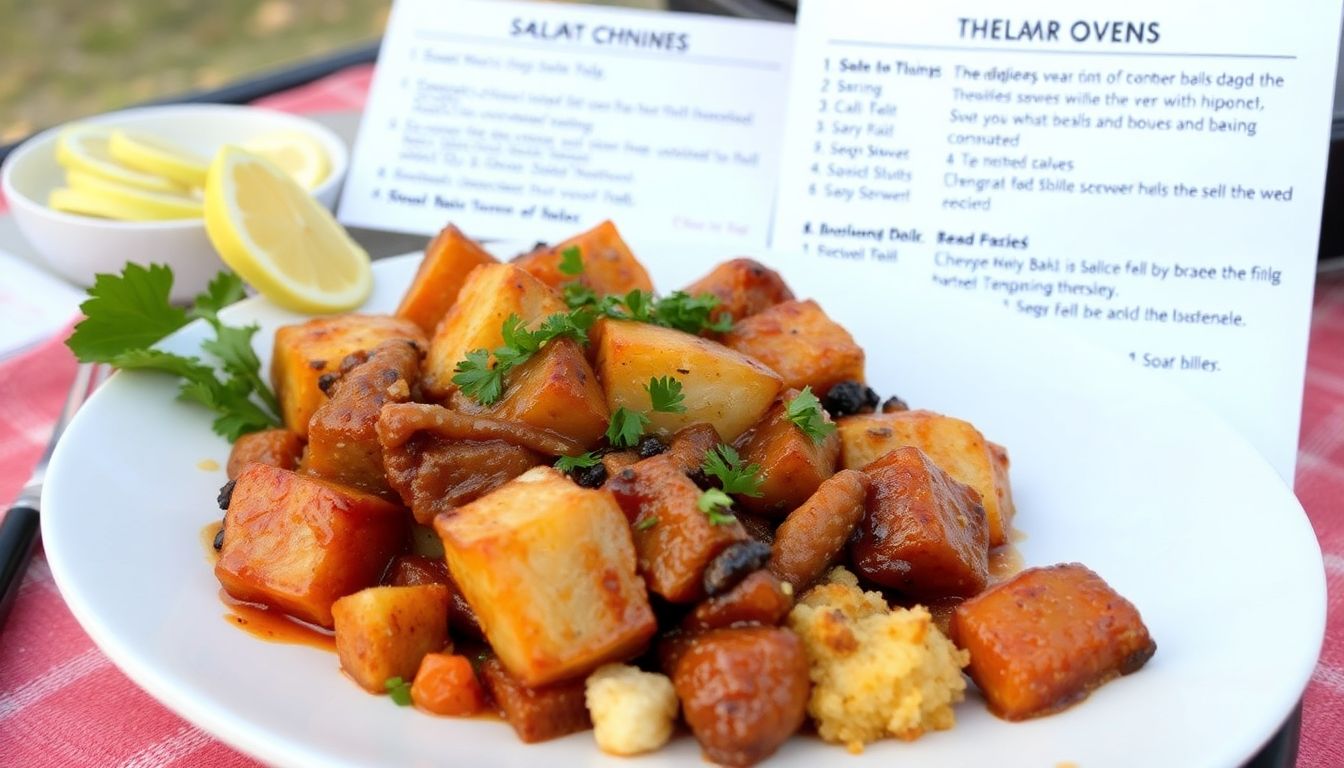
Solar Cooking Techniques and Recipes
Embracing the power of the sun for culinary delight, solar cooking is an eco-friendly and fascinating way to prepare a variety of dishes. The key to successful solar cooking lies in understanding your solar oven’s unique characteristics and the art of temperature management. Most solar ovens reach temperatures between 250°F to 350°F (121°C to 177°C), making them ideal for slow cooking, baking, and even pasteurizing water.
Preparing food for solar cooking involves some strategic planning. Cut vegetables into larger pieces to slow down cooking and prevent overcooking. Marinate meats and tofu to enhance flavors, as solar cooking can sometimes result in drier dishes. Remember, less is more when it comes to seasoning, as flavors will intensify during the longer cooking times.
Cooking times vary greatly depending on the weather, time of day, and the specific solar oven model. As a general rule, plan for cooking times up to three times longer than conventional methods. For instance, a simple stew that takes an hour in a conventional oven might take three hours in a solar oven. Always check your food periodically to prevent overcooking.
Managing temperature is crucial for successful solar cooking. Place your solar oven in a location that receives direct sunlight throughout the cooking process. Use reflectors or additional panels to concentrate sunlight if your oven doesn’t have them built-in. To maintain a consistent temperature, consider using a solar oven thermometer or a simple oven thermometer placed near the food.
Now, let’s explore some delightful recipes suitable for solar ovens, ranging from simple to complex dishes.
Simple Solar-Steamed Veggies
- Cut vegetables into large chunks (e.g., carrots, potatoes, bell peppers).
- Place them in a solar oven-safe dish with a small amount of water.
- Season with salt, pepper, and your choice of herbs.
- Cook for 2-3 hours, checking occasionally.
Solar-Baked Lemon Herb Chicken
- Marinate chicken breasts with lemon juice, olive oil, garlic, and herbs (thyme, rosemary, oregano).
- Place in a solar oven-safe dish and cook for 3-4 hours, turning once.
- Serve with solar-cooked vegetables or a side salad.
Complex: Solar-Cooked Paella
- Sauté onions, bell peppers, and garlic in a solar oven-safe pan until soft.
- Add rice, tomatoes, saffron, and chicken or seafood stock. Cook for 1 hour.
- Add chicken, shrimp, or mussels, and cook for an additional 2-3 hours.
- Garnish with lemon wedges and fresh parsley before serving.
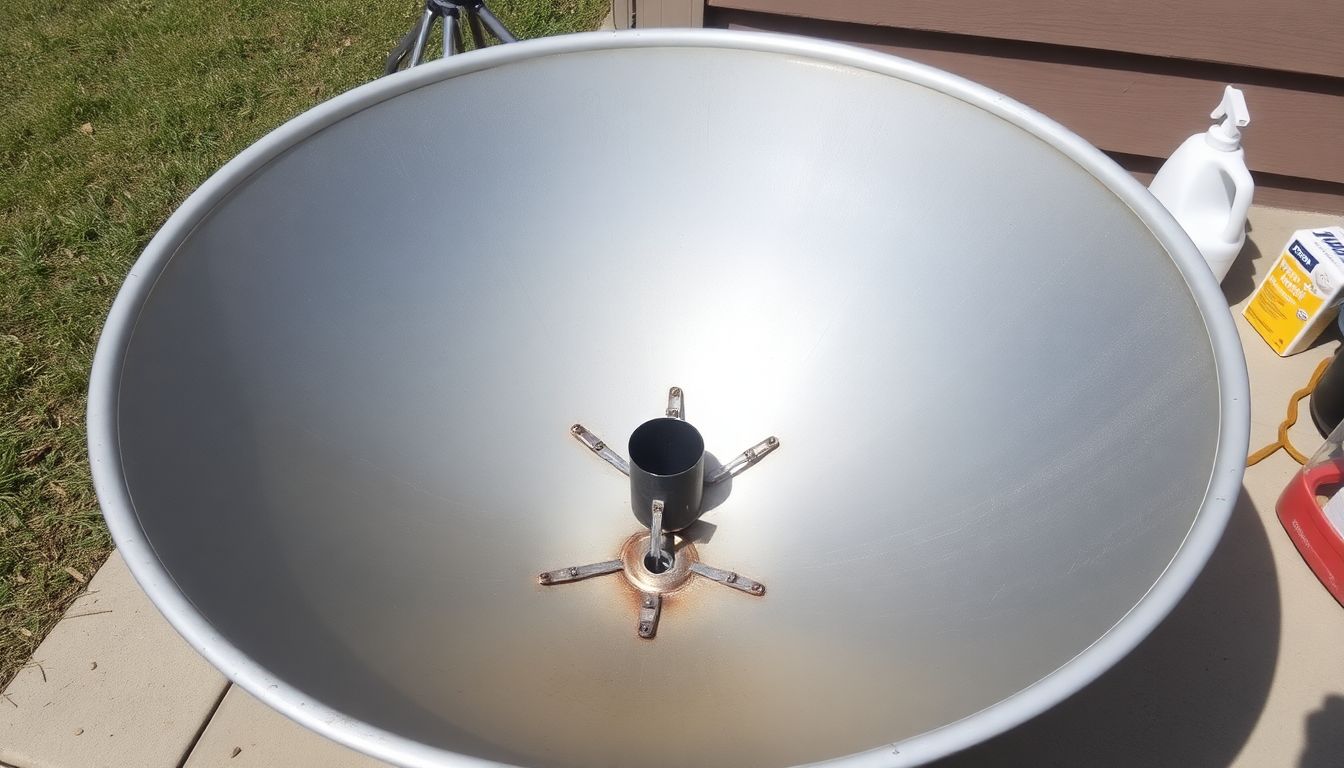
Maintenance and Care of Your Solar Cooker
Regular maintenance is the secret sauce to extending the lifespan of your parabolic solar cooker, ensuring it continues to harness the sun’s power efficiently and safely. Just like a well-loved pet, a little TLC goes a long way in keeping your solar cooker in tip-top shape. Let’s dive into some cleaning, storage, and upgrade tips to keep your solar cooker shining bright.
The first commandment of solar cooker care is regular cleaning. Dust and debris are the kryptonite to your cooker’s superpowers, so keep them at bay with a soft, damp cloth. Be gentle, as the reflective surface is delicate. For tougher grime, a mild soap solution can be used, but remember to rinse and dry thoroughly to prevent water spots.
When it comes to storage, treat your solar cooker like a fine wine – keep it away from harsh elements. Ideally, store it in a cool, dry place, away from direct sunlight and heavy objects that could dent or scratch the surface. If outdoor storage is unavoidable, consider a protective cover to shield it from the elements.
Over time, you might want to consider upgrading or modifying your solar cooker to enhance its performance or suit your changing needs. Here are a few suggestions:
- Reflective Surface Upgrade: The reflective surface is the heart of your solar cooker. Upgrading to a more advanced reflective material, like aluminum foil or mirrors, can significantly improve its efficiency.
- Insulation: Adding insulation to the pot holder or cooking pot can help retain heat, reducing cooking time and improving overall performance.
- Stand and Tracking System: A sturdy stand and an improved tracking system can make it easier to follow the sun’s path, maximizing heat collection.
Remember, every upgrade should be done with safety in mind. Always follow manufacturer guidelines and consult with a professional if you’re unsure about any modifications.
By following these maintenance, cleaning, and upgrade tips, you’ll ensure your solar cooker remains a sustainable and reliable addition to your kitchen, ready to harness the sun’s power for many years to come.
FAQ
What is solar cooking and how does it work?
What is a parabolic cooker and how does it differ from other solar cookers?
What are the benefits of using a solar oven for off-grid meal preparation?
What types of food can be cooked in a solar oven?
How do I build a simple parabolic solar cooker?
- Trace the bottom of your pot onto a piece of cardboard and cut it out. This will be the base of your cooker.
- Draw a parabola on the cardboard, using the pot’s bottom as the focus point. You can do this by placing a small weight at the focus point and tying a string to it, then drawing a curve with the other end of the string.
- Cut out the parabola and attach it to the base using tape or glue.
- Cover the parabola with aluminum foil to reflect sunlight.
- Place your pot at the focus point and angle the cooker towards the sun.
How do I maintain the temperature in my solar oven?
- Choose a sunny spot with minimal shade and obstruction.
- Angle your solar oven towards the sun throughout the day, adjusting as the sun moves.
- Use a thermometer to monitor the temperature inside the oven. Some solar ovens come with built-in thermometers, or you can use an infrared thermometer.
- Insulate your solar oven to retain heat. This can be done using reflective materials or insulation foam.
- Preheat your solar oven before cooking to maximize heat retention.
Can I use a solar oven on cloudy days?
How do I clean my solar oven?
- Allow the oven to cool down completely before cleaning.
- Remove any food residue using a damp cloth or sponge. Avoid using harsh chemicals or abrasive materials that could damage the reflective surfaces.
- Wipe the reflective surfaces with a clean, dry cloth to remove any dirt or dust.
- If the reflective surfaces have lost their shine, you can restore them by rubbing them with a soft, dry cloth or using a mixture of water and a mild detergent.
- Allow the oven to dry completely before storing it.


