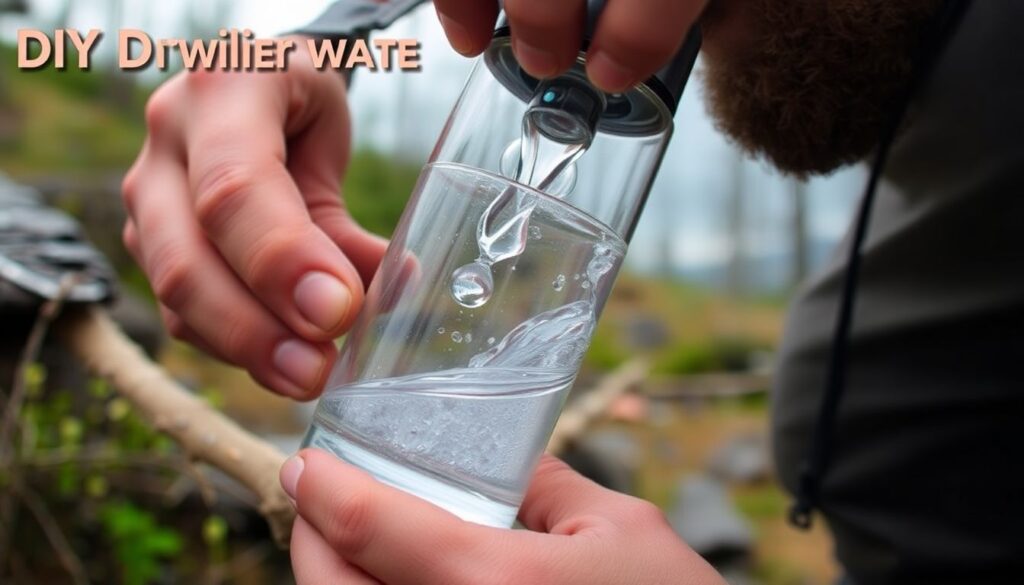
In the face of natural disasters, societal breakdowns, or even while exploring the great outdoors, access to clean, safe drinking water becomes a paramount concern. According to the World Health Organization, around 2.2 million people die each year from waterborne diseases, a stark reminder of the importance of water purification in survival situations. But what if you find yourself in a scenario where clean water isn’t readily available? How can you ensure the water you’re drinking won’t make you sick? This is where understanding water purification techniques becomes a lifesaving skill. Agreeably, water is an essential element for human survival, and in emergency situations, it’s crucial to know how to make it safe for consumption. This article promises to equip you with a comprehensive understanding of various water purification methods, from DIY purifiers to advanced filtration systems. We’ll delve into the science behind these techniques, their pros and cons, and provide practical guidance on how to implement them effectively. Before we dive into the details, let’s consider this: Have you ever wondered how early explorers managed to survive in harsh, water-scarce environments? Or how some communities in developing countries still rely on traditional water purification methods for their daily needs? The answer lies in their understanding and application of water purification techniques. By the end of this article, you’ll not only gain a historical and cultural perspective on water purification but also learn how to apply these techniques in modern survival situations. In this comprehensive guide, we’ll explore a wide range of water purification methods, including: – **Boiling**: A simple, time-tested method that uses heat to kill bacteria and other pathogens. – **Filtration**: We’ll discuss various filtration systems, from basic DIY setups to advanced portable filters, and the science behind their effectiveness. – **Chemical Treatments**: We’ll explore the use of chemicals like iodine, chlorine, and chlorine dioxide for water purification, their pros, cons, and proper usage. – **Distillation**: A process that involves boiling water and collecting the steam, leaving impurities behind. – **Solar Disinfection (SODIS)**: A low-cost, eco-friendly method that uses sunlight to purify water. – **Combination Methods**: We’ll also look at how combining different methods can enhance their effectiveness. Each method has its unique advantages and limitations, and understanding these can help you choose the best approach based on your situation. Whether you’re a prepper, an outdoor enthusiast, or simply someone who wants to be prepared for unexpected situations, this article will provide you with the knowledge and skills to ensure you always have access to safe drinking water. So, let’s embark on this journey to explore the fascinating world of water purification. By the end of this article, you’ll not only have a deep understanding of various water purification techniques but also the confidence to apply them in real-life survival situations. Let’s dive in!
Mastering Water Purification: DIY Techniques for Survival Situations
In the face of emergencies or survival situations, access to clean water is paramount. Mastering water purification techniques can mean the difference between life and death. This guide will delve into DIY methods that are not only effective but also accessible with minimal resources.
Boiling is one of the most reliable methods for purifying water. It’s simple and requires nothing more than a heat source and a container. The U.S. Centers for Disease Control and Prevention (CDC) recommends bringing water to a rolling boil for at least one minute. At higher altitudes, where water boils at a lower temperature, boiling should be extended to three minutes.
Another method is distillation, which involves heating water and condensing the steam back into a clean container. This process leaves behind any impurities, including salts, viruses, and bacteria. It’s a slow process, but it’s highly effective and can be done using simple equipment like a solar still or a makeshift still using a large pot, a lid, and a cup.
Water purification tablets are another option. These tablets, often containing iodine or chlorine, can kill bacteria, viruses, and protozoa. However, they may not be effective against all types of contaminants and can leave a distinct taste. Always follow the instructions on the package for the correct dosage and wait time.
Filtration is another crucial technique. It involves passing water through a filter to remove physical contaminants like dirt, sediment, and some types of bacteria. There are many types of filters available, from simple cloth filters to advanced ceramic filters. Some filters, like those made from activated carbon, can also improve the taste of water by removing chlorine and other impurities.
Combining these methods can provide the most comprehensive purification. For instance, boiling water after filtration can kill any remaining bacteria, while distillation can remove any remaining chemicals or salts. Remember, the goal is to make water safe to drink, so always ensure that your water is clear, odorless, and tasteless before consuming.

Understanding the Importance of Purified Water in Survival Situations
In survival situations, access to clean water is often the top priority, as the human body can only survive for a few days without it. Purified water plays a crucial role in these circumstances due to its ability to provide hydration without posing health risks. Contaminated water, on the other hand, can harbor harmful pathogens like bacteria, viruses, and parasites, which can lead to severe illnesses such as diarrhea, cholera, and giardiasis. These illnesses can further dehydrate the body, leading to a vicious cycle that can be life-threatening. Therefore, it is essential to understand the risks associated with drinking contaminated water and to have the knowledge and tools necessary for water purification. This includes knowing how to find and treat water sources, understanding the different methods of purification such as boiling, filtration, and chemical treatment, and having the appropriate equipment on hand. By prioritizing access to purified water and understanding its importance, individuals can significantly improve their chances of survival in emergency situations.
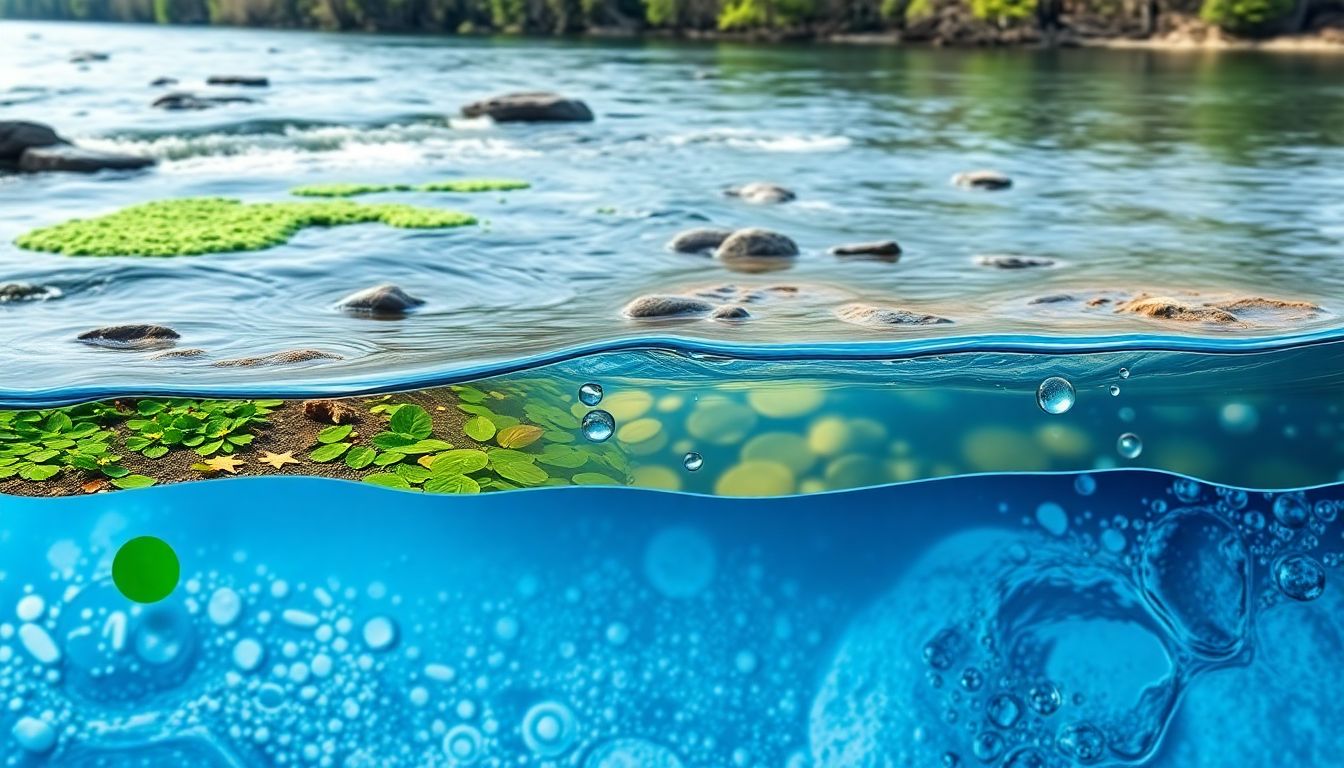
Identifying Contaminants in Water Sources
Water contaminants, substances that pollute water bodies, can be categorized into three main types: biological, chemical, and physical. Biological contaminants, such as bacteria, viruses, and parasites, originate from human and animal waste, agricultural runoff, and sewage leaks. They are invisible to the naked eye but can be identified using simple tests like the coliform test, which detects the presence of bacteria, or more advanced methods like PCR for specific pathogens. Chemical contaminants, on the other hand, include substances like pesticides, heavy metals, and pharmaceuticals. They enter water sources through industrial discharge, agricultural practices, and improper waste disposal. Some chemicals can be identified visually, like the discoloration of water due to iron or the sheen on water surfaces from oil spills. However, most require laboratory tests, such as gas chromatography or mass spectrometry, for accurate detection. Physical contaminants, like sediment, debris, and plastic particles, enter water bodies through erosion, littering, and industrial activities. They can often be identified visually, as they change the water’s clarity and may contain visible particles. Some simple tests, like pH strips, can also help identify certain physical contaminants, such as acid mine drainage, which turns water acidic. Understanding these differences is crucial for targeted water treatment and ensuring the safety of our water sources.
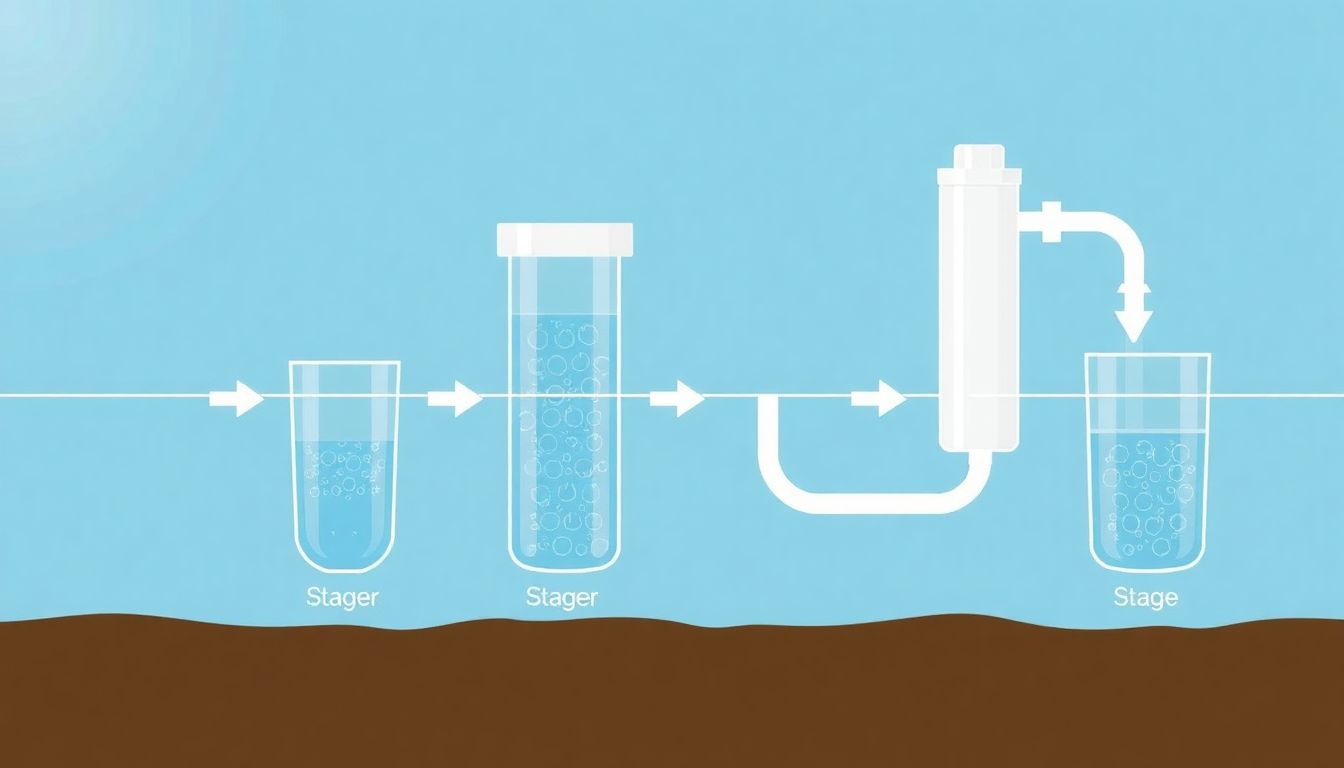
Understanding Water Filtration Principles
Water filtration is a critical process that ensures the safety and quality of our water supplies. At its core, water filtration is based on the principle of separating impurities from water by passing it through various materials or barriers. The efficiency of this process is governed by several key factors: pore size, filtration media, and flow rate.Pore size refers to the diameter of the tiny openings in the filtration media. This is a crucial determinant of the filtration process as it dictates the size of particles that can pass through. Smaller pore sizes allow for more efficient removal of contaminants, but they also increase the risk of clogging and reduce water flow rate. Conversely, larger pore sizes allow for better flow rates but may not capture smaller impurities.The choice of filtration media is another vital aspect. This can range from simple sand and gravel to complex materials like activated carbon, ceramic filters, or even biological filters that use living organisms to break down contaminants. Each media has its unique properties and capabilities. For instance, activated carbon is excellent at removing organic compounds and improving taste and odor, while sand and gravel are effective in removing sediment and some bacteria.Flow rate, the speed at which water passes through the filter, also plays a significant role. A higher flow rate means more water is filtered in less time, but it can also lead to reduced contact time with the filtration media, potentially compromising the filtration process. Conversely, a lower flow rate allows for more thorough filtration but may result in slower water delivery.Understanding these principles is key to differentiating between the three main types of filtration: mechanical, biological, and chemical. Mechanical filtration, which relies on physical barriers to trap impurities, is typically the first line of defense in water treatment. It’s effective in removing sediment, rust, and some bacteria. Biological filtration, often used in aquaculture and wastewater treatment, utilizes living organisms to break down organic matter and ammonia. Lastly, chemical filtration involves the use of materials like activated carbon to remove dissolved chemicals and improve water quality. Each of these filtration methods plays a unique role in ensuring the water we use is safe and clean.
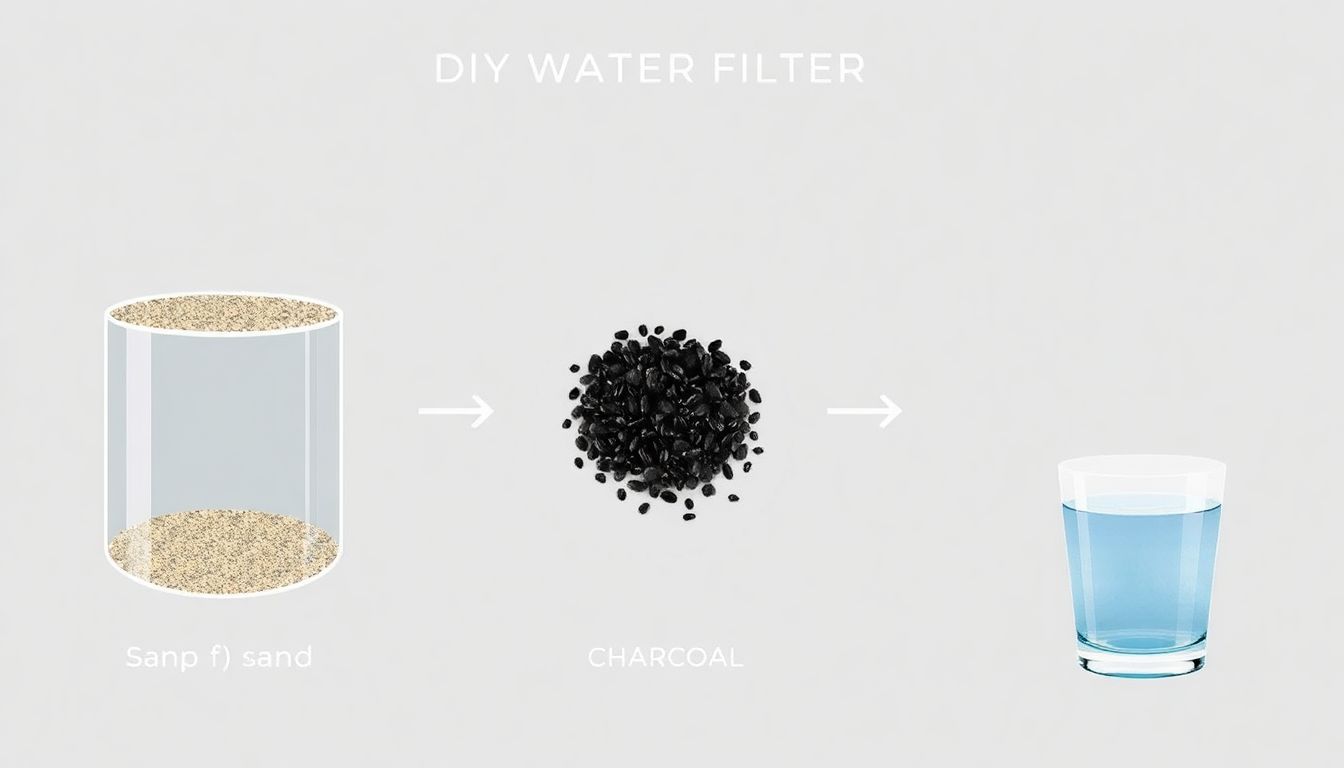
DIY Water Filters: Natural Materials
Creating a DIY water filter using natural materials is an eco-friendly and cost-effective way to purify water. The most common materials used are sand, gravel, charcoal, and cloth. Here’s how you can create a simple filter using these materials and their respective pros and cons: Start by finding a large plastic bottle or a bucket. Cut the bottom off the bottle or poke holes in the bucket’s base for water to flow out. Layer your materials inside the container, starting with a layer of cloth at the bottom to act as a pre-filter, removing large particles and preventing smaller materials from escaping. Next, add a layer of gravel, which helps to remove heavier sediments and improves water flow. Sand comes next, as it’s effective in removing smaller particles and some bacteria. Finally, top off the filter with activated charcoal, which is highly porous and adsorbs a wide range of contaminants, including chemicals, some bacteria, and viruses. Each material plays a crucial role in the filtration process, but they also have their limitations. Sand and gravel are excellent at removing sediments but are less effective against chemical contaminants and most viruses. Charcoal, on the other hand, is highly effective against chemicals and some bacteria but can harbor bacteria itself if not properly prepared. Cloth is a versatile pre-filter but may not remove all microscopic contaminants. To use the filter, pour water into the container, allowing it to pass through the layers of material. The filtered water can then be collected from the bottom of the container. It’s essential to clean and replace the filter materials regularly, depending on the water’s quality and usage frequency. While these DIY filters are not as efficient as commercial ones, they can significantly improve water quality, making them a valuable tool in emergency situations or for off-grid living.
DIY Water Filters: Household Items
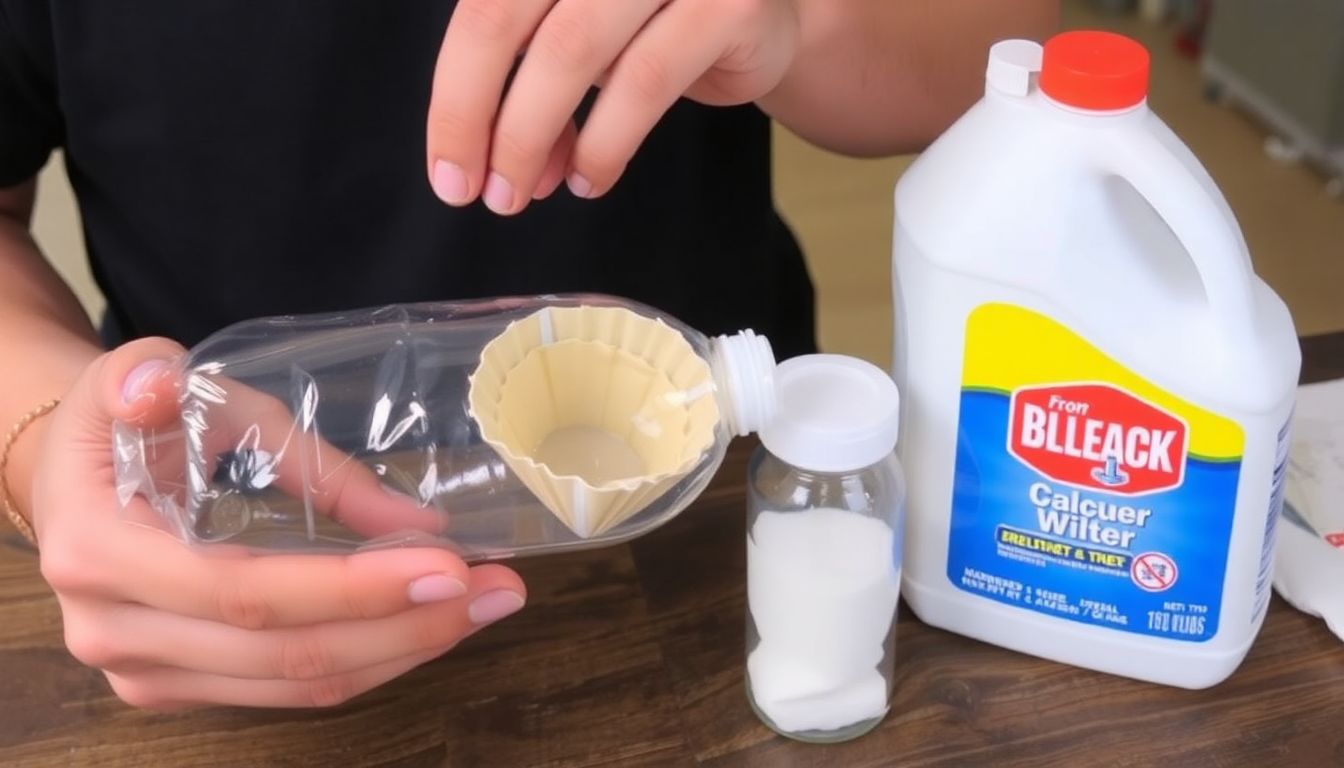
In the quest for clean and safe drinking water, you don’t always need to rely on store-bought filters. With a little creativity and some common household items, you can create effective DIY water filters. One of the simplest methods involves using coffee filters, cotton, and plastic bottles. Here’s how you can make one: First, cut the bottom off a clean, empty 2-liter plastic bottle. Then, fill the bottle with layers of materials that will filter out impurities. Start with a layer of cotton at the bottom, followed by a few coffee filters, and finally, another layer of cotton on top. Ensure each layer is compacted to maximize filtration. Next, place the bottle on a stand or secure it in a way that allows water to drip through the filter into a clean container below. As water passes through the cotton and coffee filters, it will be strained of larger particles and contaminants. However, it’s crucial to note that while this method helps remove physical impurities, it does not kill bacteria or viruses. Therefore, it’s essential to add a disinfection step to these filters. Boiling the filtered water for at least one minute (or three minutes at higher altitudes) is an effective way to kill pathogens. Alternatively, you can use water purification tablets or drops that contain iodine or chlorine. Always follow the instructions provided with these products. By combining filtration and disinfection, you can create a basic but effective water purification system using common household items. This knowledge can be particularly useful in emergency situations or when access to clean water is limited.
Improving DIY Filters with Activated Charcoal
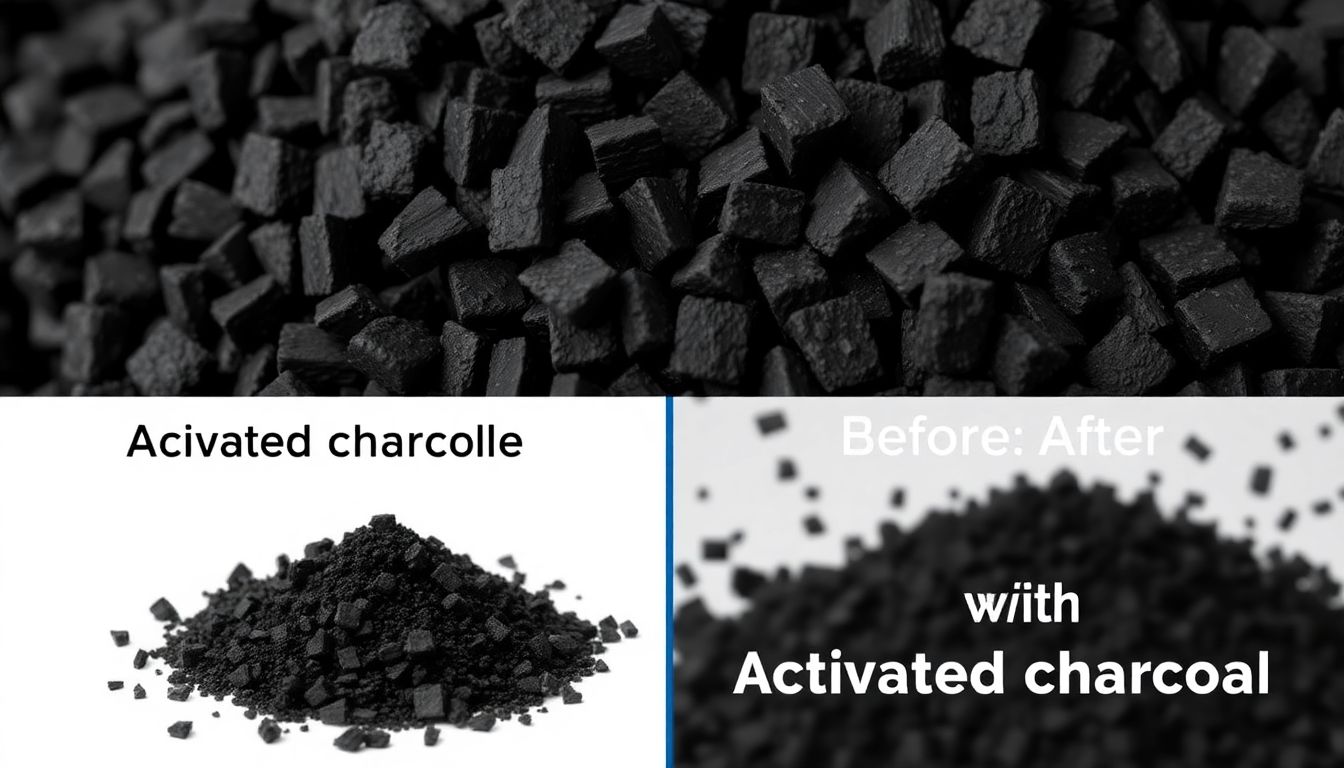
Activated charcoal, a form of carbon processed to have small, low-volume pores that increase its surface area, is a powerful addition to DIY water filters, significantly enhancing their purification capabilities. Unlike regular charcoal, which is primarily used for fuel and heat, activated charcoal possesses exceptional absorption properties due to its porous structure. This allows it to attract and bind to a wide range of impurities, including chlorine, some volatile organic compounds (VOCs), and certain heavy metals, making it an invaluable component in water filtration systems.To prepare activated charcoal for use in a DIY water filter, start with high-quality activated charcoal pellets or powder, preferably made from coconut shells or other hardwoods, as they offer the best absorption properties. Begin by rinsing the charcoal thoroughly to remove any dust or fines, then soak it in hot water for about 30 minutes to expand the pores and enhance its absorption capacity. After soaking, drain the water and allow the charcoal to dry completely. Once dry, the activated charcoal is ready to be incorporated into your filter system.In a typical DIY water filter setup, activated charcoal is often used in combination with other filtration media, such as sand, gravel, or ceramic filters, to provide comprehensive purification. The charcoal layer should be placed downstream from other filters to ensure that it captures any remaining impurities and improves the overall taste and odor of the filtered water. By incorporating activated charcoal into your DIY water filter, you can significantly enhance its performance and create a more effective barrier against various water contaminants, ensuring a safer and more enjoyable drinking experience.
Disinfecting Water: Boiling, Solar, and Chemical Methods
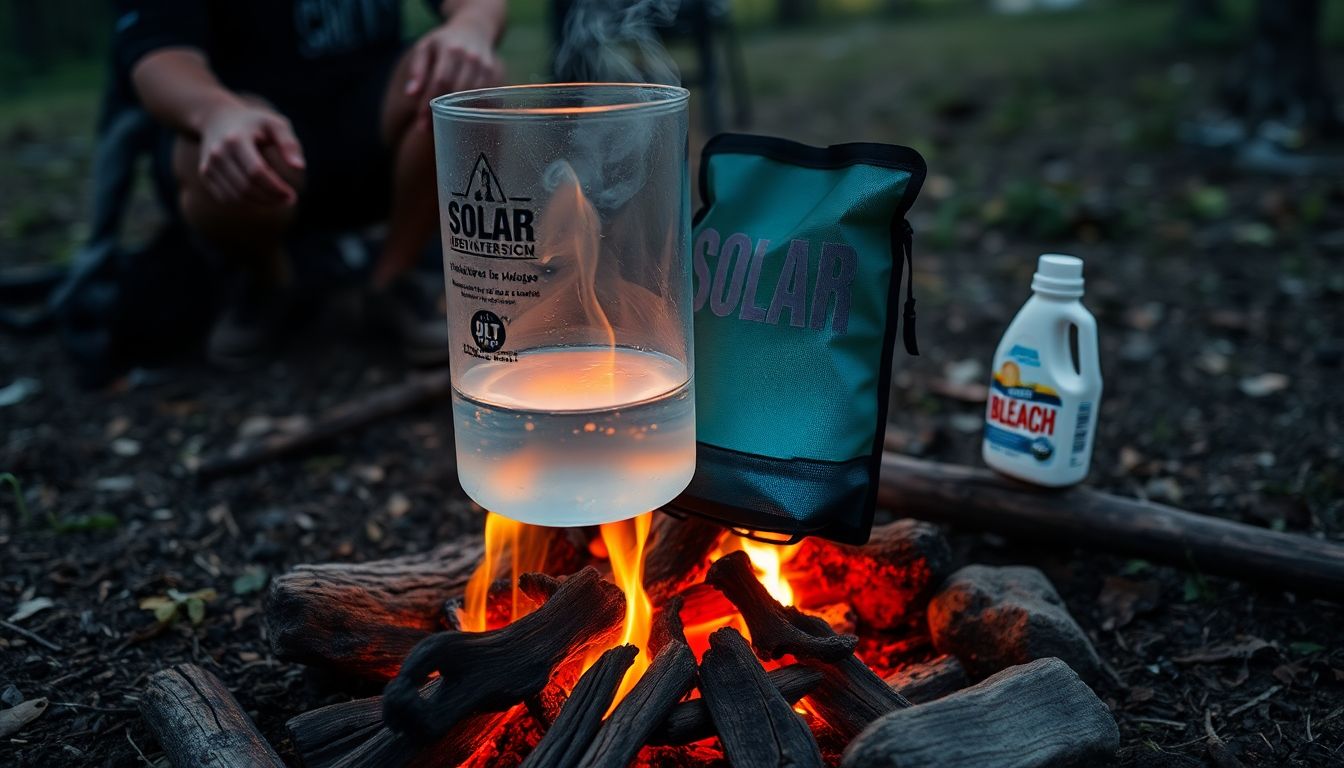
After filtration, water may still contain harmful pathogens like bacteria, viruses, and parasites, which can cause serious illnesses. Therefore, disinfection is a crucial final step to ensure the water’s safety for drinking and other uses. Boiling is a simple and effective method. Heating water to a rolling boil for at least one minute (or three minutes at higher altitudes) kills all pathogens. However, it requires fuel and can make water taste flat. Solar disinfection (SODIS) is a low-cost, eco-friendly alternative. Exposed to sunlight in a clear plastic bottle for six hours (or two days in cloudy conditions), the sun’s UV rays and heat kill pathogens. This method is ideal for small quantities of water but not practical for large volumes. Chemical disinfection is another option, using common household products like bleach, iodine, or chlorine tablets. Adding the recommended dose and letting the water sit for the specified time (usually 30 minutes for bleach, 20 minutes for iodine, or following the tablet’s instructions) kills most pathogens. However, these chemicals can leave a taste and may not be safe for people with thyroid conditions (iodine) or those sensitive to chlorine. Regular testing and proper storage of chemicals are essential to ensure their effectiveness and safety.
Maintaining and Storing DIY Water Filters
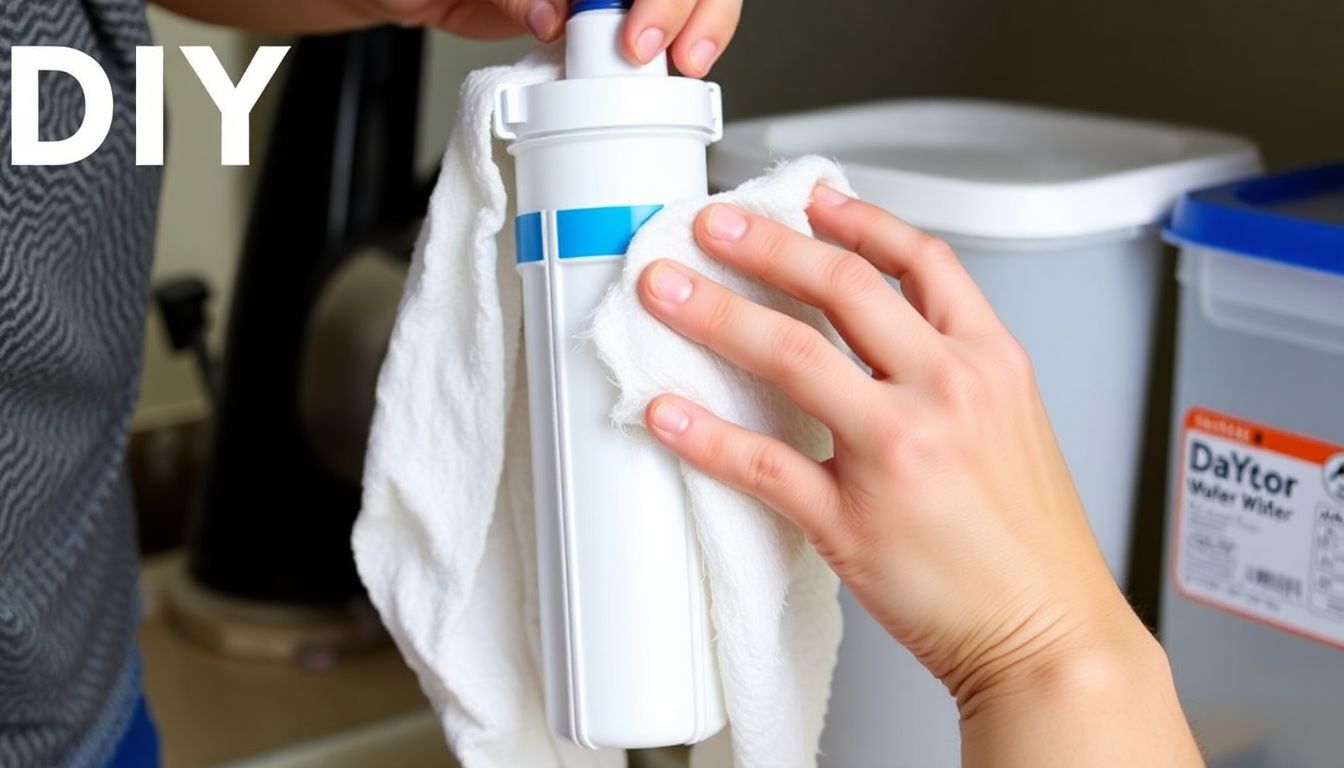
Maintaining and storing DIY water filters is crucial to ensure their longevity and prevent contamination of the water they are designed to purify. Regular cleaning and drying are essential tasks that should be performed to keep the filters in optimal condition. After each use, rinse the filter thoroughly with clean water to remove any debris or contaminants that may have accumulated. Allow the filter to air dry completely before storing it away. This prevents the growth of mold and bacteria, which can compromise the filter’s effectiveness and potentially contaminate the water. When storing the filter, it’s important to keep it in a cool, dry place away from direct sunlight. A clean, dry container or bag can be used to protect the filter from dust and other particles. Additionally, it’s a good idea to label the storage container with the date of the last cleaning to ensure that the filter is cleaned regularly. By following these simple maintenance and storage tips, you can prolong the lifespan of your DIY water filter and ensure that it continues to provide clean, safe drinking water.
Emergency Water Purification: When Time is of the Essence
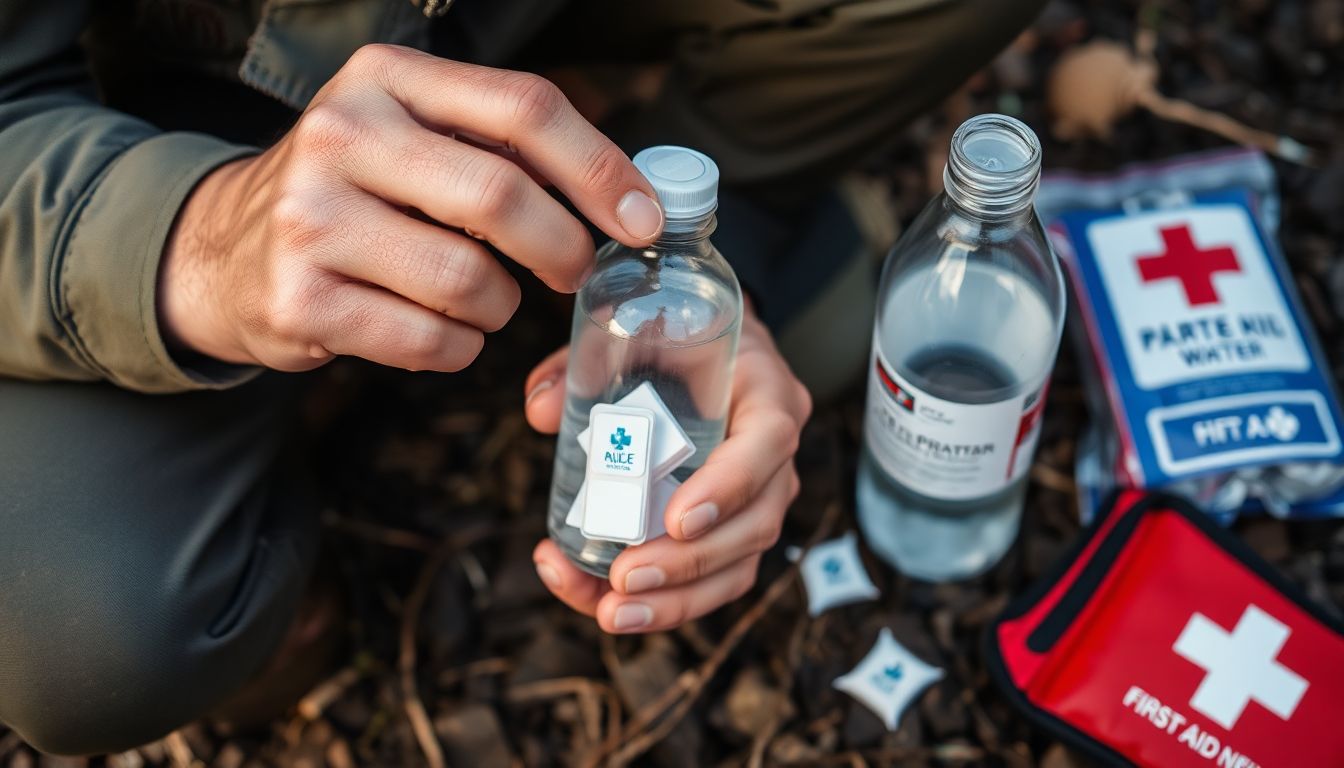
In emergency situations, access to clean water is paramount, and time is often of the essence. When traditional water treatment methods are unavailable, quick and easy purification techniques can mean the difference between safety and illness. One such method is the use of water purification tablets or drops. These portable, lightweight, and easy-to-use products contain chemicals like iodine, chlorine dioxide, or chlorine that kill bacteria, viruses, and protozoa, making water safe to drink. They are particularly useful in emergency kits, outdoor adventures, or disaster scenarios where clean water sources are scarce. To use, simply add the recommended dosage to the water, wait for the specified time (usually 30 minutes), and the water is ready for consumption. However, these methods are not without their drawbacks. Iodine-based tablets, for instance, can leave an unpleasant taste and may stain containers. They are also not suitable for people with thyroid conditions, as excessive iodine intake can be harmful. Chlorine dioxide tablets, while tasteless, may cause stomach upset in some individuals. Moreover, these chemical treatments do not remove heavy metals, chemicals, or improve water’s clarity. Boiling water is another emergency purification method that kills bacteria, viruses, and protozoa, but it requires a heat source and takes time, making it less practical in some emergency situations. Ultimately, while water purification tablets and drops offer a swift solution in emergencies, they should be used alongside other safety measures and not as a long-term water purification strategy.
FAQ
What are the primary methods of water purification for survival situations?
How does water filtration work, and what are the different types of filters?
How can I make a DIY water filter for survival situations?
- shirt or bandana) to remove large particles. Adding a layer of sand and a layer of activated charcoal (if available) can improve filtration. Another method is the ceramic filter candle, which can be made by mixing clay, sawdust, and water, forming it into a candle shape, and allowing it to dry. This filter can be used with a gravity
- fed system or by pouring water through it.
What is the importance of backwashing and maintaining DIY water filters?
- filters, and monitoring flow rates, helps maintain the filter’s performance and extends its lifespan. Neglecting maintenance can lead to reduced water quality, increased contamination risk, and potential filter failure.
How long does it take to purify water using different methods, and what are the factors affecting purification time?
- 5 minutes, depending on altitude and the initial water temperature. Chemical disinfection with iodine or chlorine takes 30 minutes to 4 hours, depending on the water’s turbidity and the amount of chemical added. Solar disinfection can take 6
- 50 hours, depending on sunlight intensity, water temperature, and container color. Filtration time varies based on the filter type, water quality, and flow rate. Factors affecting purification time include water temperature, initial contamination levels, filter clogging, and the method’s specific requirements.
What are the signs of waterborne illnesses, and how can I prevent them while using purified water?
How can I safely store purified water for long-term survival situations?
- term survival situations involves preventing contamination and minimizing water degradation. Store water in clean, food
- grade containers with tight
- fitting lids, and keep them in a cool, dark place to protect the water from sunlight and contaminants. Rotate your water supply by using the oldest water first to prevent stagnation and bacterial growth. Add a small amount of unscented household bleach (8 drops per gallon) to stored water as a precautionary measure to maintain its potability. Regularly inspect stored water for any signs of contamination or degradation, and replace it if necessary.


