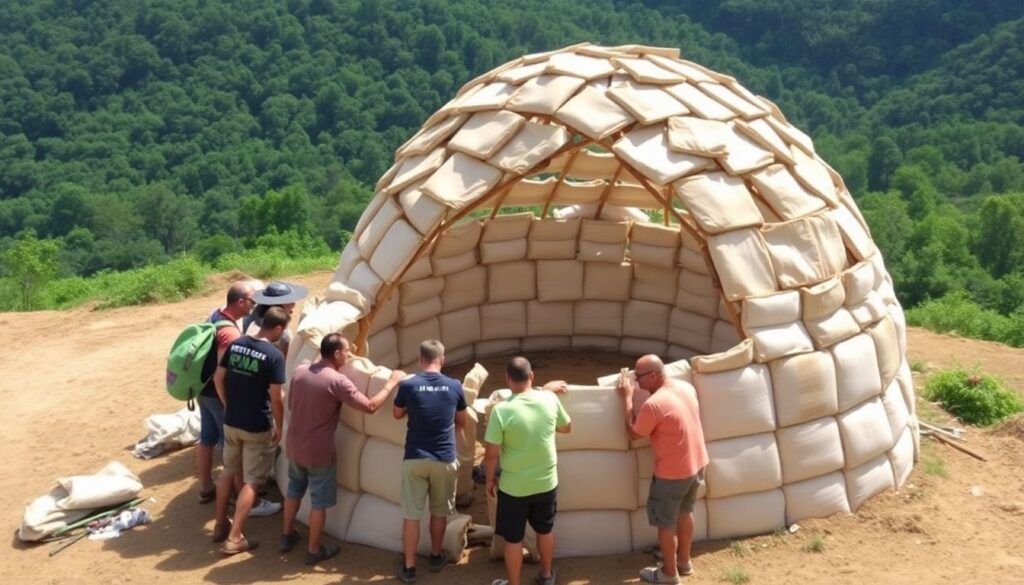
Have you ever wondered how a simple bag of sand and a little creativity can transform into a sturdy, sustainable shelter? Welcome to the fascinating world of earthbag construction, where the humble sandbag becomes the building block for low-cost, disaster-resistant homes. In this comprehensive guide, we delve into the art and science of building an earthbag shelter, a sustainable solution that’s gaining traction worldwide as an emergency housing option.
But first, let’s address the elephant in the room. With natural disasters on the rise, leaving millions of people homeless each year, the need for affordable, resilient housing has never been more pressing. According to the Internal Displacement Monitoring Centre, in 2020 alone, 30 million people were displaced by disasters. The question is, how can we provide shelter for these vulnerable populations without breaking the bank or harming the environment?
Agree with us when we say that the current state of emergency housing leaves much to be desired. Traditional solutions like tents and prefabricated homes are expensive, resource-intensive, and often not fit for long-term use. Moreover, they contribute to the growing problem of waste and environmental degradation. It’s a grim picture, but it’s not all doom and gloom. There’s a ray of hope shining brightly in the form of earthbag construction.
Now, you might be skeptical. How can a simple sandbag possibly stand up to the forces of nature? The answer lies in the power of physics and the ingenuity of human design. Earthbag structures, when built correctly, can withstand earthquakes, floods, and even bullets. They’re so durable that they’ve been used to build everything from homes to castle-like structures. In fact, the world’s largest earthbag dome, standing at an impressive 38 feet, has been standing strong in California since 2005.
So, what’s in it for you? By the end of this article, you’ll not only understand the science behind earthbag construction but also gain practical insights into building your own earthbag shelter. We promise to demystify the process, providing step-by-step guidance, tips, and tricks from experienced earthbag builders. Whether you’re a seasoned architect, a DIY enthusiast, or a humanitarian aid worker, this guide is for you. So, grab your hard hat and let’s dive into the world of earthbag construction. Who knows, you might just find the perfect solution to the global housing crisis.
Mastering Sandbag Construction for Sustainable Shelter
Embarking on a journey to master sandbag construction for sustainable shelter is like stepping into a world where the humble sandbag becomes a canvas for creativity and resilience. Imagine transforming an ordinary, grainy material into a robust, eco-friendly building block that can withstand the test of time and nature’s fury. Sandbag construction, also known as ‘sackdame’ or ‘sackwork’, is an ancient technique that has been given a modern twist, making it a sustainable and affordable solution for housing and disaster relief. By understanding the art and science behind sandbag construction, you’ll learn to harness the power of earth, water, and human ingenuity to create structures that are not only durable but also blend seamlessly with their surroundings. From the careful selection of materials to the intricate patterns of bag placement, each step in the process is a testament to the beauty of simplicity and the strength of community. So, let’s roll up our sleeves, grab a shovel, and dive into the fascinating world of mastering sandbag construction for sustainable shelter.
Understanding Earthbag Construction
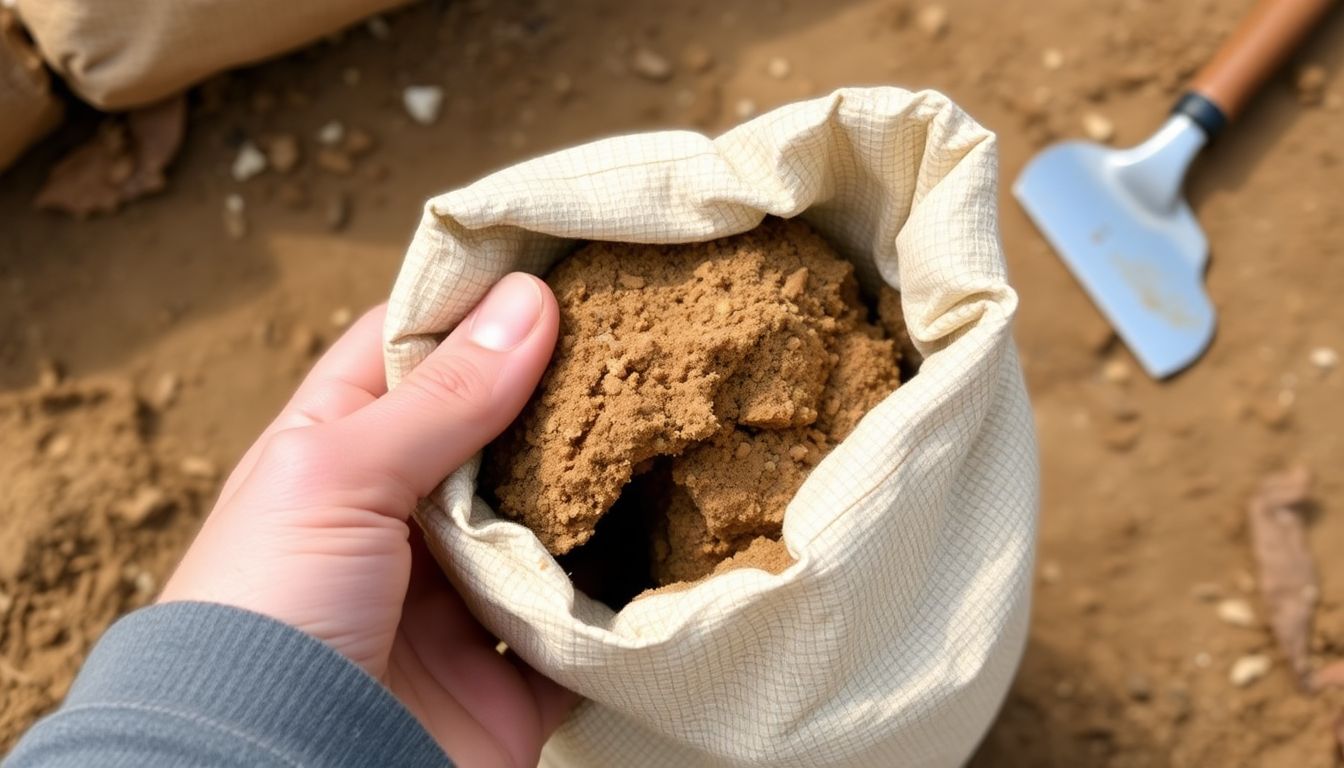
Earthbag construction, a sustainable and ancient building method, is gaining renewed interest in modern architecture. This technique, dating back to the Neolithic era, involves filling flexible bags, typically made of polypropylene, with a mix of earth and other materials, and stacking them like bricks to create structures. The history of earthbag construction is deeply rooted in various cultures around the world, from the ancient Nubians to the more recent Hobbit houses of New Zealand.
The primary material in earthbag construction is the humble sandbag. These bags, usually measuring about 18 inches by 30 inches, are not just filled with sand, but a carefully proportioned mix of earth, sand, and sometimes cement or lime. The ideal mix consists of about 70% earth, 20% sand, and 10% cement or lime, ensuring the bags are strong, durable, and stable.
Earthbag construction offers several advantages over traditional building methods. Firstly, it’s incredibly cost-effective, as the primary material, earth, is readily available and free. Secondly, it’s highly sustainable, with a minimal carbon footprint. The process of creating earthbag structures consumes far less energy than manufacturing concrete or steel. Additionally, earthbag buildings are incredibly durable and can withstand extreme weather conditions, earthquakes, and even bullets, as demonstrated by their use in military applications.
Moreover, earthbag construction allows for unique architectural designs. The bags can be stacked in various patterns, creating beautiful, organic shapes and textures. The technique also allows for easy incorporation of other materials like stone or glass for decorative purposes. Lastly, earthbag structures have excellent thermal mass, helping to regulate indoor temperatures naturally.
To construct an earthbag building, the process is straightforward. First, a foundation is laid, usually made of concrete or stone. Then, the bags are filled with the earth mixture and stacked in courses, with each new layer offset from the one below to create stability. Barbed wire or plastic mesh can be placed between courses to reinforce the structure. Once the walls reach the desired height, they can be plastered with an earth-based render to provide a smooth finish. The result is a strong, sustainable, and unique building that blends seamlessly with its environment.
Designing Your Earthbag Dome
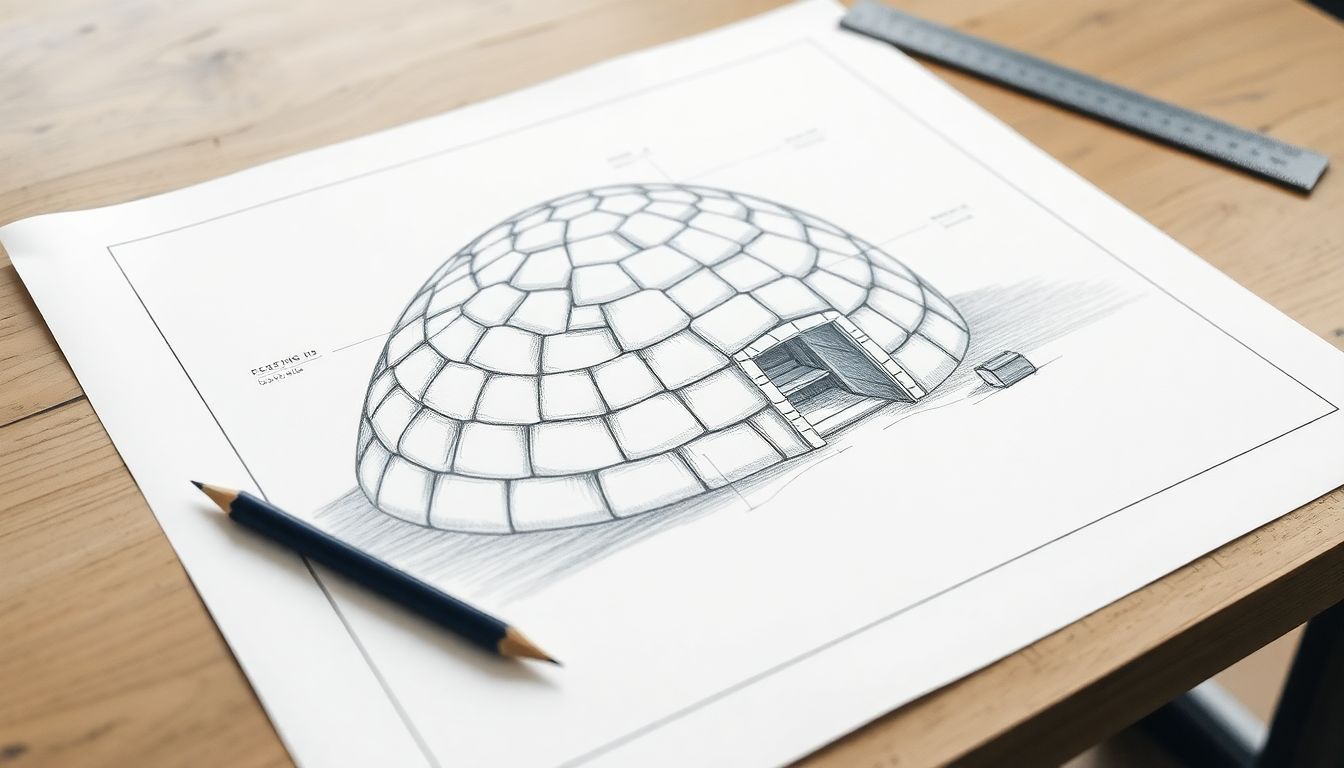
Designing an earthbag dome, a sustainable and eco-friendly structure, is an exciting journey that combines creativity, mathematics, and a touch of earth. Let’s delve into the design process, considering size, shape, and foundation, and explore the mathematical principles that ensure these domes stand the test of time.
The first step in designing your earthbag dome is determining its size. The diameter of the dome significantly influences its volume and strength. A larger dome can withstand more weight and pressure, but it also requires more materials. Consider your needs and budget when deciding on the size. A common starting point is a dome with a diameter between 12 to 20 feet, providing ample space while keeping construction manageable.
Next, let’s discuss the shape. Earthbag domes are typically built in the shape of a geodesic dome, a hemispherical thin-shell structure based on a network of great circles (geodesics) on the surface of a sphere. This shape is incredibly stable due to its uniform stress distribution and lack of flat surfaces that can collect water or snow. The most common geodesic dome frequency is 3, which divides the dome into 20 equal triangular sections. Each section is filled with earth-filled bags, creating a strong, interlocking pattern.
Now, let’s talk about the mathematical principles behind dome shapes and their stability. The geodesic dome is based on the principles of geometry and trigonometry. The dome’s curvature is calculated using the formula for the arc of a circle, ensuring that each section of the dome is a perfect segment of a sphere. The angle between the dome’s segments is 120 degrees, a stable and efficient angle for distributing stress. Additionally, the dome’s height-to-diameter ratio is typically around 0.632, providing optimal strength and stability.
Lastly, let’s not forget the foundation. A solid foundation is crucial for any structure, and earthbag domes are no exception. The foundation should be level, stable, and wide enough to support the dome’s weight. A common approach is to use a ring of earth-filled bags as the foundation, providing a solid base for the dome to rest on. This ring should be at least as wide as the dome’s base and reinforced with a layer of barbed wire to prevent erosion.
In conclusion, designing an earthbag dome is a fascinating process that combines art and science. By understanding the principles of size, shape, and foundation, and applying the mathematical principles behind dome shapes, you can create a strong, sustainable, and beautiful structure that will stand the test of time.
Gathering Materials and Tools
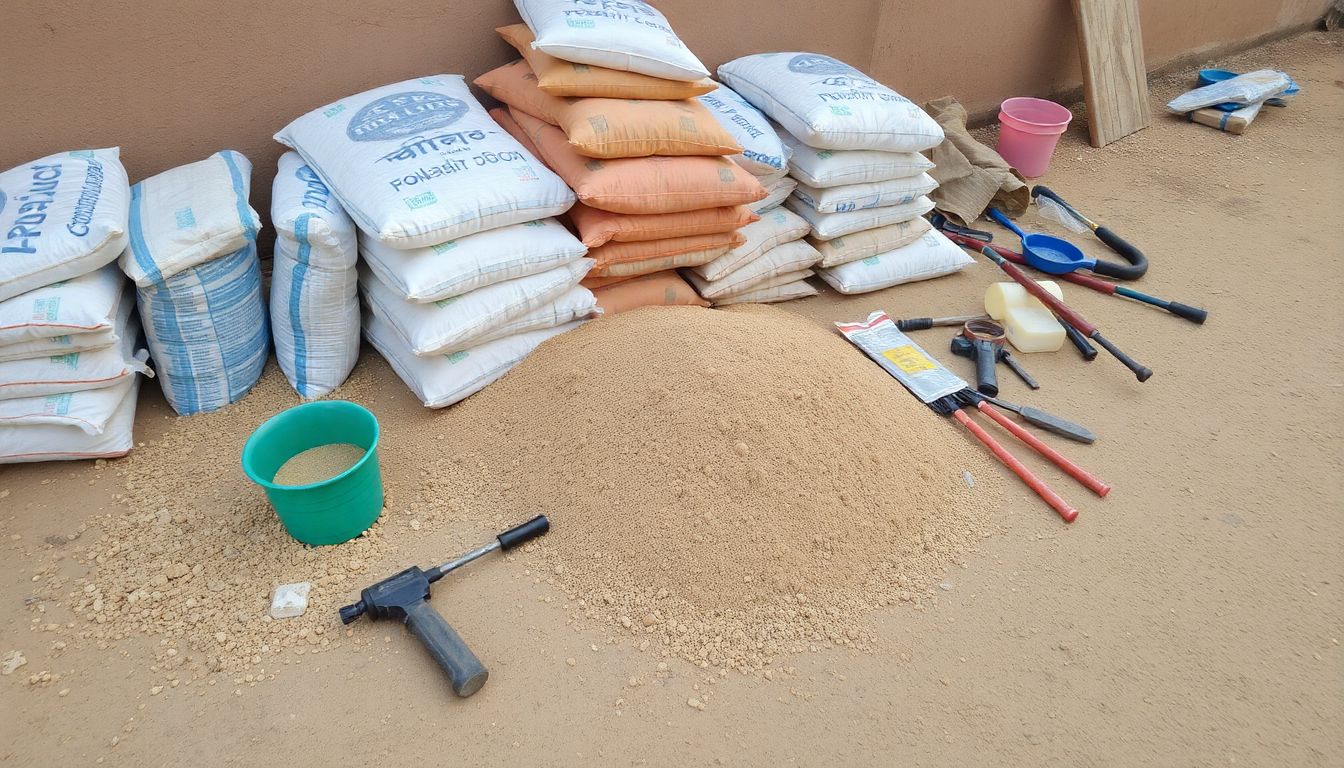
Building an earthbag shelter, a sustainable and eco-friendly housing option, requires a careful selection of materials and tools. The primary components include earthbags, which are polypropylene bags filled with earth, and a stabilizing mixture of sand and cement. Water is essential for mixing the cement and creating a cohesive bond between the earth and the bags.
The first step in gathering materials is to source the earth. This can be done locally, using soil from your property or a nearby site, which can significantly reduce transportation costs. Ensure the soil is not too clay-rich, as this can cause cracking when dry. If you’re not sure about the soil composition, a simple test can be done by mixing some with water; if it forms a smooth paste, it’s suitable for use.
Next, you’ll need to acquire cement. This is typically purchased from hardware stores or building supply outlets. To save on costs, consider buying in bulk or sharing a purchase with neighbors or friends who might also be interested in sustainable building.
Water is another crucial element, and you can usually source this from your local water supply. If you’re in a drought-prone area or want to be self-sufficient, consider collecting rainwater or using a well.
As for tools, you’ll need a variety to ensure the construction process runs smoothly. Here’s a list of essentials:
- Shovel: For filling the earthbags
- Trowel: For mixing the cement and sand
- Wheelbarrow: For transporting materials
- Rubber mallet: For compacting the earthbags
- Tape measure: For ensuring accurate dimensions
- Level: For maintaining straight walls
Many of these tools can be borrowed from friends or rented, saving you the cost of purchasing them.
Lastly, don’t forget to consider safety gear, such as gloves, safety glasses, and a dust mask, to protect yourself during the construction process.
By sourcing materials locally and being resourceful with tools, you can significantly reduce the cost of building an earthbag shelter, making it a more accessible and sustainable housing option.

Preparing the Building Site
Preparing the building site is a critical first step in ensuring the longevity and stability of any structure. This process involves several key stages, each crucial in its own right. Let’s delve into the details of site preparation, from clearing the area to creating a stable foundation.
The journey begins with the clearance of the building site. This step is not merely about aesthetics; it’s about safety and functionality. Trees, rocks, and other debris must be removed to prevent potential hazards during construction and to ensure the smooth operation of heavy machinery. Moreover, clearing the area allows for a clear view of the site, facilitating better planning and execution of the building process.
Once the area is clear, the next step is leveling the ground. A level surface is not just about aesthetics; it’s about structural integrity. An uneven surface can lead to a weak foundation, which in turn can compromise the entire structure. The leveling process involves removing high spots and filling in low spots to create a uniform surface. This can be done using a combination of manual labor and heavy machinery, depending on the scale of the project.
After leveling, the focus shifts to creating a stable foundation. The foundation is the base upon which the entire structure rests. A weak foundation can lead to cracks in the walls, uneven floors, and a host of other problems. To create a stable foundation, the ground is first compacted to prevent settling. Then, a layer of gravel is added to facilitate drainage and prevent water from seeping into the foundation. Finally, the concrete is poured and allowed to cure.
Proper site preparation is not just about following a series of steps; it’s about understanding the importance of each step. A well-prepared site ensures that the building process runs smoothly, that the structure is stable and durable, and that it can withstand the test of time. It’s the unsung hero of construction, the foundation upon which the entire project rests.

Laying the First Course of Earthbags
Laying the first course of earthbags is a pivotal step in the construction of an earthbag structure, setting the foundation for the entire edifice. This process, though seemingly simple, requires careful attention to detail to ensure the stability and longevity of the structure.
The journey begins with the preparation of the earthbag filling. The ideal soil mixture for earthbags is a combination of clay, sand, and gravel, with a moisture content that allows it to be easily compacted. This mixture, often referred to as ‘cob,’ is then filled into the bags, typically using a funnel to ensure an even distribution.
Once the bags are filled, the real artistry begins. The first course of earthbags is laid directly on the foundation, with each bag placed in a precise, overlapping pattern. This is not merely a case of stacking bags one on top of the other; rather, it’s a dance of sorts, where each bag is placed with a specific angle and overlap to create a stable, interlocked pattern. This technique, known as ‘basketweave’ or ‘running bond,’ ensures that the bags are securely locked together, creating a strong, monolithic wall.
After the bags are in place, the compaction process begins. This is where the true strength of the earthbag structure is born. Using a tamper, the bags are systematically compacted, driving out any air pockets and ensuring that the soil is tightly packed. This step is crucial as it’s the key to creating a solid, stable wall that can withstand the test of time and the elements. The initial course of earthbags, properly filled, placed, and compacted, serves as the cornerstone of the structure, influencing its overall stability and durability.
In essence, laying the first course of earthbags is not just about following a series of steps; it’s about understanding the science behind the process, respecting the materials, and honoring the ancient art of earthbag construction. It’s a testament to the power of simplicity and the beauty of functional design.
Building the Dome Walls
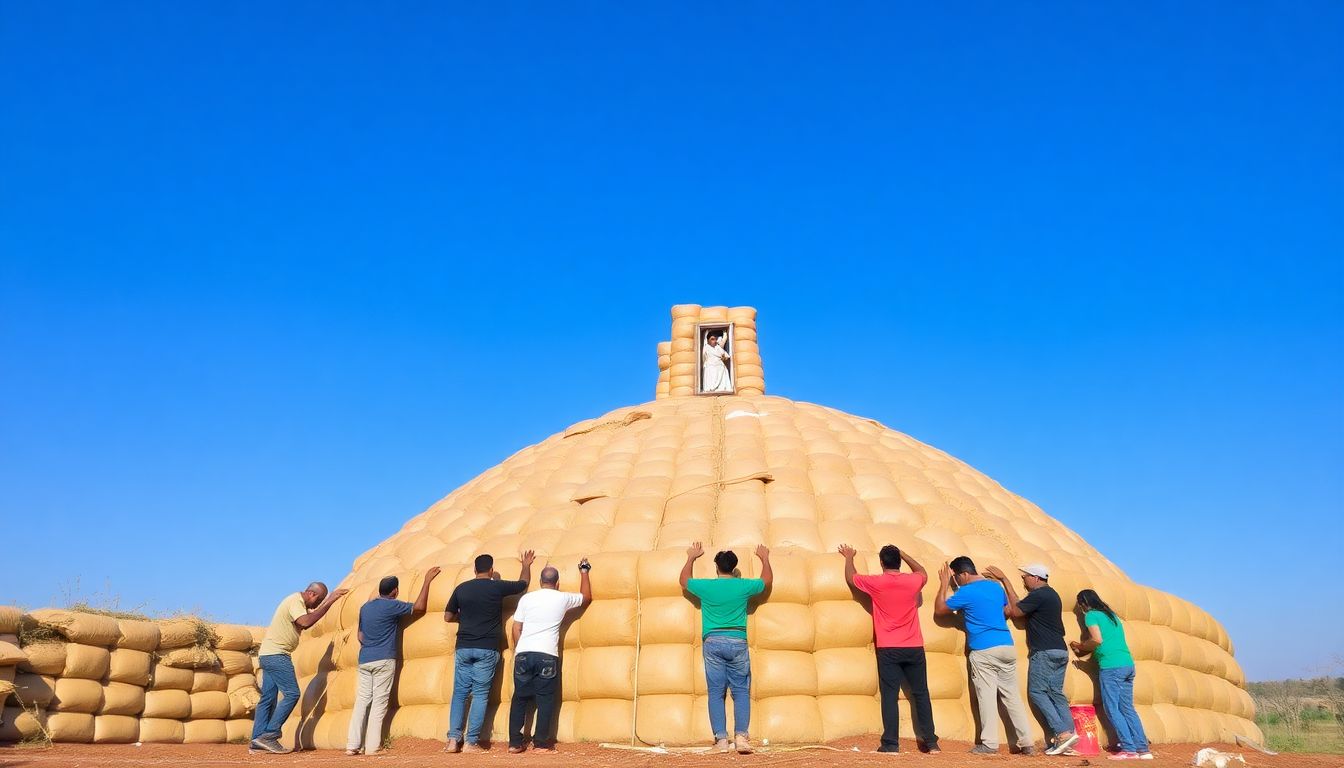
Building the dome walls, a meticulous process that combines ancient craftsmanship with modern geometry, begins with a foundation that must be as precise as the dome’s design. The base, often a circular platform, is the first layer that will support the weight of the entire structure. This base is crucial for maintaining the dome’s shape and stability, as any imperfection here can ripple through the subsequent layers.
The process then transitions into the core of the dome construction: building up the walls layer by layer using the technique of basket weaving. This technique involves interlocking bags, typically filled with a mixture of earth and organic materials, in a specific pattern that creates a strong, stable, and insulating wall. The bags, often made of natural fibers, are woven together much like a basket, with each layer supporting and reinforcing the one above it.
To maintain the dome’s shape and stability during this process, several steps are taken. Firstly, a temporary support structure, often made of wood or metal, is erected to guide the construction and maintain the dome’s shape. This structure, known as a centering, is carefully designed to match the dome’s desired dimensions and curvature.
Secondly, each layer of bags is carefully placed and compressed to ensure it adheres to the layer below and maintains the dome’s shape. This is often done using a tool called a plumb bob to ensure vertical alignment and a spirit level to ensure horizontal alignment.
Lastly, as each layer is completed, it is covered with a layer of plaster or render to protect the bags from the elements and to create a smooth, finished surface. This layer also helps to maintain the dome’s shape and stability by providing additional support.
Once the dome walls reach their desired height, the centering is carefully removed, leaving behind a strong, stable, and beautifully curved structure. The process of building the dome walls, while labor-intensive and time-consuming, results in a unique, sustainable, and aesthetically pleasing architectural feature.
Creating Doorways and Windows
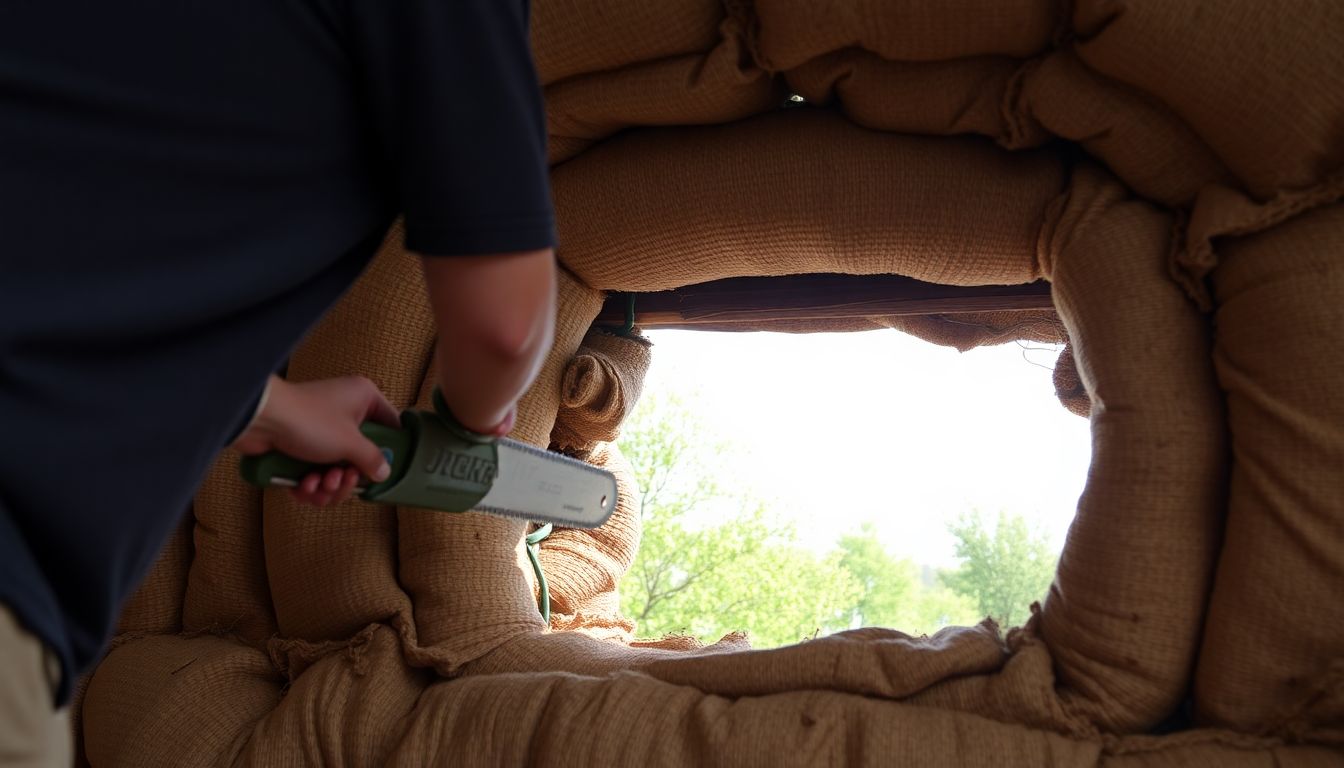
Incorporating doorways and windows into an earthbag dome structure is a delicate balance of art and science, ensuring both aesthetic appeal and functional efficiency. The earthbag building technique, using barbed wire enclosed bags filled with earth, allows for a high degree of flexibility in design, making it an ideal candidate for unique, organic shapes and openings.
The first step in this process is planning. Sketch out your dome design, marking where you envision your doorways and windows to be. Consider the path of the sun throughout the day to maximize natural light and warmth in the winter, and shade in the summer. The size and placement of these openings will greatly impact the interior climate and ambiance of your dome.
Once you’ve decided on the placement, mark these spots on the foundation ring. As you begin to stack your earthbags, leave out bags at these marked spots to create the framework for your openings. It’s crucial to maintain the structural integrity of the dome while doing this, so consult with an experienced builder or engineer if you’re unsure.
For doorways, consider using a lintel to support the weight of the earthbags above. This can be made from wood, metal, or even a well-compacted earthbag. Ensure the lintel is securely supported on both sides to prevent sagging or collapse.
Windows can be created by leaving a gap between earthbags, then filling this gap with a lightweight material like straw-clay or cob. This can be sculpted to create unique, organic shapes. Alternatively, you could insert a prefabricated window frame into the opening, ensuring it’s well-sealed to prevent water intrusion.
Proper ventilation is key in earthbag structures to prevent moisture buildup. Consider installing high vents at the peak of your dome to allow hot air to escape, and low vents near the floor to draw in cool air. These can be created by leaving small gaps between earthbags, or by installing vent pipes.
Remember, the key to successful doorway and window installation in an earthbag dome is planning. Measure twice, cut once, as the saying goes. With careful planning and execution, your earthbag dome can be a beacon of natural light and ventilation, a testament to the harmony between human habitation and the natural world.
Plastering and Finishing the Dome
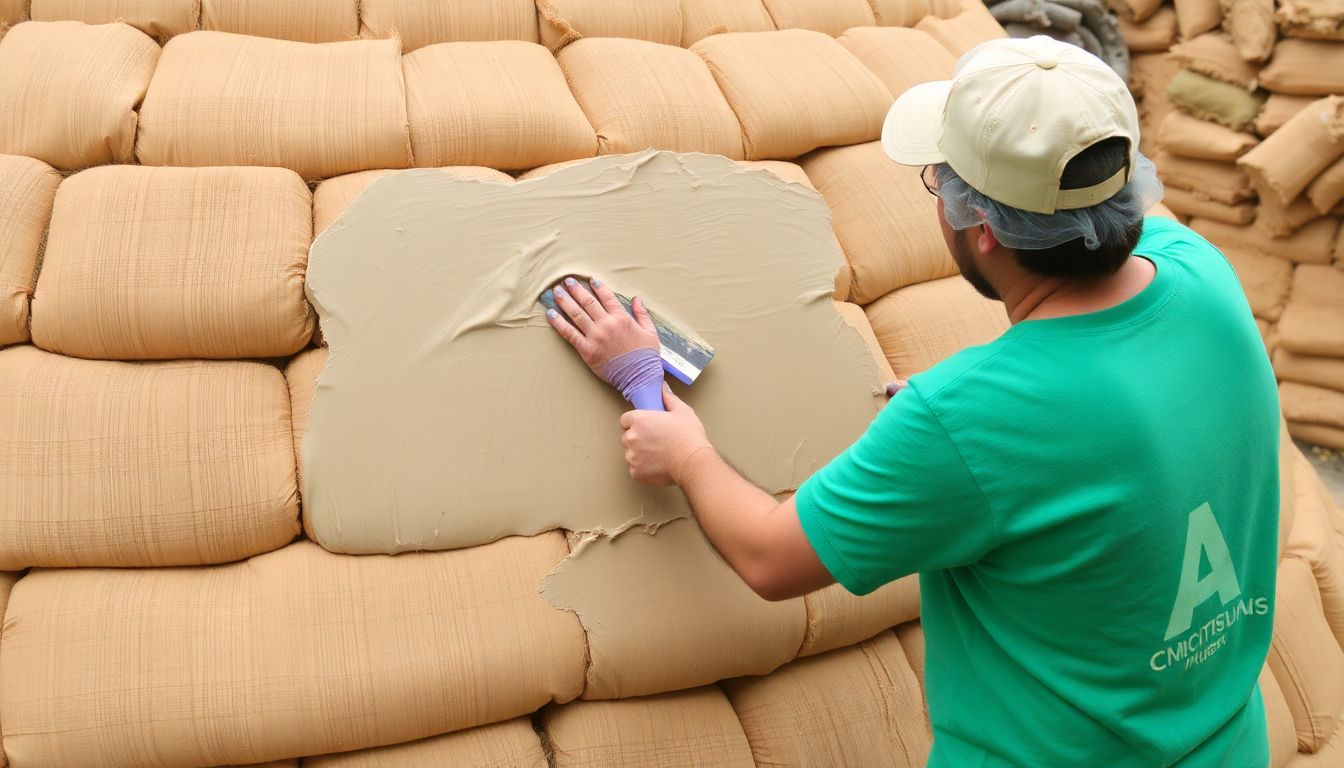
Plastering an earthbag dome is a crucial step in its construction process, transforming the raw, uneven surface into a smooth, protective, and aesthetically pleasing finish. The primary goal is to create a durable, water-resistant barrier that shields the structure from the elements and prevents erosion. The process begins with preparing the dome surface by removing any loose materials and ensuring it’s clean and dry.
The plastering process itself involves several steps. First, a scratch coat is applied, made from a mixture of earth, sand, and water. This coat is designed to fill any voids or cracks and provide a solid base for subsequent layers. Once dry, a second coat, known as the brown coat, is applied. This layer is typically made from a mixture of earth, sand, and straw, which adds strength and flexibility to the plaster. The final coat, or finish coat, is applied once the brown coat has dried. This layer can be made from various materials, depending on the desired finish and durability.
Different types of plaster offer unique benefits. Earth plaster, made from natural materials like clay and sand, is the most common and eco-friendly option. It’s breathable, allowing the dome to ‘breathe’ and regulate humidity, and it’s also fire-resistant. Lime plaster, made from limestone, is another option. It’s highly durable, water-resistant, and can be tinted to create a variety of colors. However, it’s less eco-friendly than earth plaster due to the energy required for its production. Cement plaster, while strong and durable, is the least eco-friendly option due to its high carbon footprint. It’s also less breathable than earth or lime plaster.
Regardless of the plaster type chosen, the application process remains similar. The plaster is mixed with water to a consistency similar to thick paint, then applied to the dome using a trowel or hawk. Care is taken to ensure an even, smooth finish. Once applied, the plaster is allowed to dry naturally, with the dome protected from direct sunlight and rain to prevent cracking. With patience and careful application, the result is a beautiful, durable, and protective finish that enhances the earthbag dome’s unique charm.
Roofing and Waterproofing
When it comes to roofing an earthbag dome, the options are as varied as the landscapes they protect. Let’s explore three popular choices: living roofs, thatched roofs, and metal roofs, each with its unique charm and benefits.
Living roofs, also known as green roofs, are a delightful option that turns your dome into a lush, verdant oasis. These roofs are covered in vegetation, ranging from mosses and grasses to even small shrubs. They not only provide excellent insulation, keeping your dome cool in summer and warm in winter, but also help manage rainwater runoff and improve air quality. To install a living roof, you’ll first need to ensure your dome’s structure can support the additional weight. Then, apply a waterproof membrane, followed by a root barrier, a growing medium, and finally, the chosen plants. It’s a labor of love, but the result is a roof that’s as functional as it is beautiful.
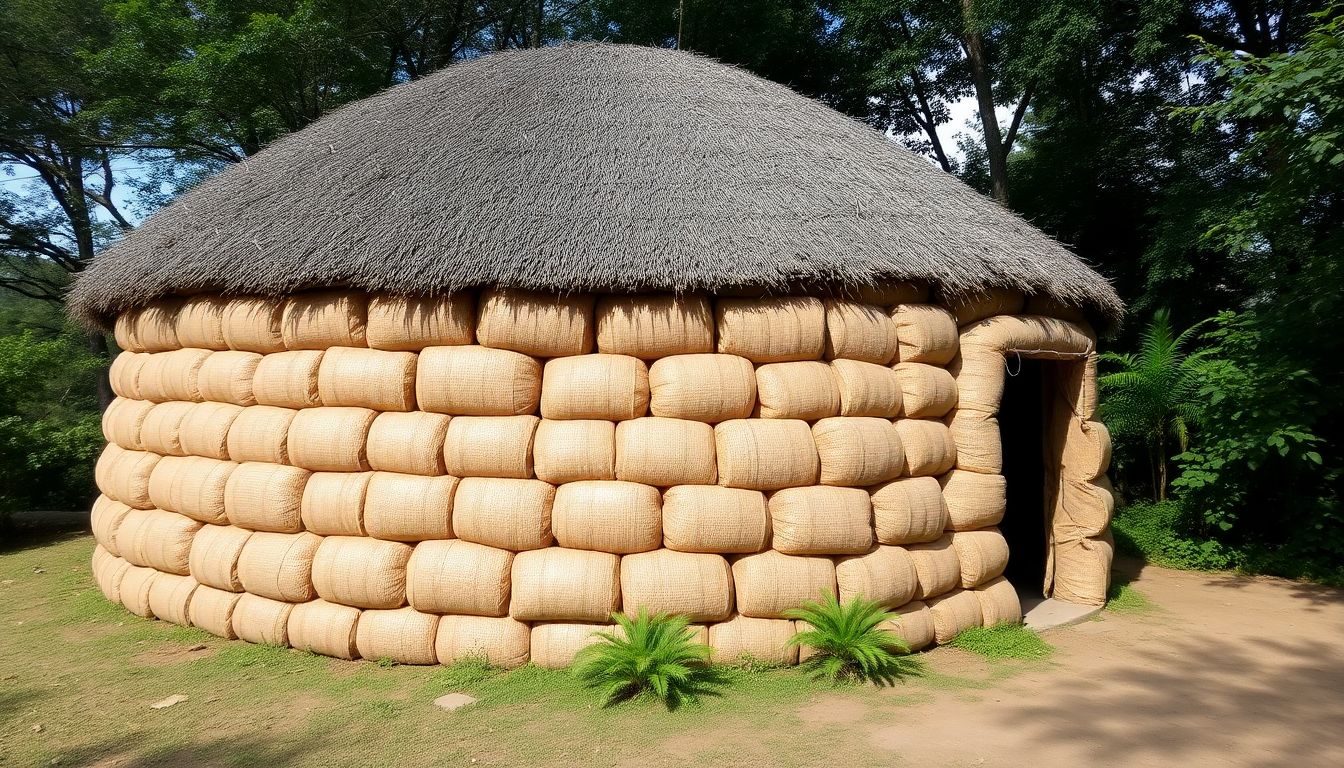
Thatch roofs, on the other hand, offer a rustic, traditional appeal. Materials like straw, palm fronds, or even grass can be used to create a thick, insulating layer that protects your dome from the elements. Thatch roofs are excellent insulators, keeping interiors cool in hot climates and providing a cozy warmth in colder regions. They’re also surprisingly durable, with a lifespan of up to 50 years. However, they do require regular maintenance to prevent pests and rot. To install a thatched roof, you’ll first need to create a sturdy framework. Then, apply a waterproof underlayment, followed by the thatching material, secured in place with ropes or wires.
Metal roofs are a modern, low-maintenance option that provides excellent protection against the elements. Materials like galvanized steel, aluminum, or copper can be used to create a durable, long-lasting roof. Metal roofs are lightweight, fire-resistant, and can withstand high winds and heavy snow loads. They’re also energy-efficient, reflecting heat from the sun and helping to keep your dome cool. To install a metal roof, you’ll first need to ensure your dome’s structure can support the weight. Then, apply a waterproof underlayment, followed by the metal roofing panels, secured in place with screws or nails.
Regardless of the roofing material chosen, proper waterproofing is crucial to protect your earthbag dome from the elements. This involves applying a waterproof membrane to the roof, as well as any areas where the roof meets the walls. It’s also important to ensure that any openings, like vents or skylights, are properly sealed. Regular inspections and maintenance can help extend the life of your roof and keep your dome safe and dry.
Flooring and Interior Finishes
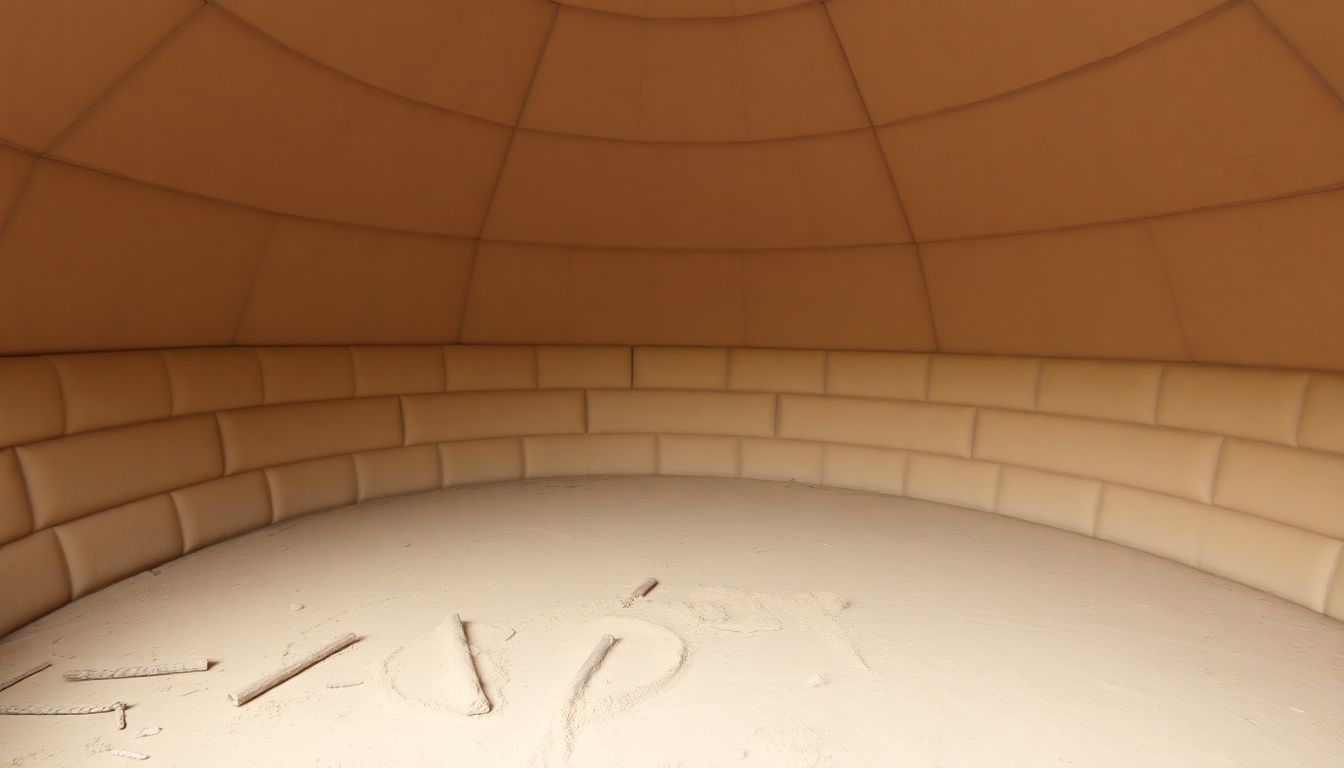
When it comes to flooring and interior finishes for an earthbag shelter, the options are as varied as the earth itself. Let’s delve into the delightful world of earthen floors, wooden floors, and plastered walls, all while keeping sustainability at the forefront.
The first dance with the earth comes in the form of earthen floors. This ancient technique, known as ‘cob’ building, uses a mixture of earth, sand, and straw to create a durable, breathable, and incredibly beautiful floor. The process begins with preparing the subfloor, ensuring it’s level and stable. Then, the cob mixture is laid down in layers, each one trodden upon to compact it before the next is added. The result is a floor that’s not only eco-friendly but also has a unique, rustic charm that tells a story of its own.
Now, let’s step onto something a tad more traditional
- wooden floors. While not as common in earthbag shelters due to their weight, wooden floors can add a touch of warmth and elegance. The key here is to use reclaimed or sustainably sourced wood. The installation process involves laying down a subfloor, followed by the wooden planks, ensuring they’re securely fastened and well-spaced for expansion.
Lastly, let’s not forget the walls. Plastered walls in an earthbag shelter can be a canvas for creativity and sustainability. Earthen plasters, made from a mix of earth, sand, and natural binders like clay, can be applied directly onto the earthbag walls. This not only provides a smooth, finished look but also helps regulate humidity and temperature. You can even add natural pigments to create a vibrant, earthy color palette.
Using natural, sustainable materials in your earthbag shelter is not just a trend, it’s a necessity. It reduces your carbon footprint, supports local economies, and creates a living space that’s in harmony with nature. So, go ahead, embrace the earth, and let your shelter tell a story of sustainability and beauty.
Maintaining Your Earthbag Shelter
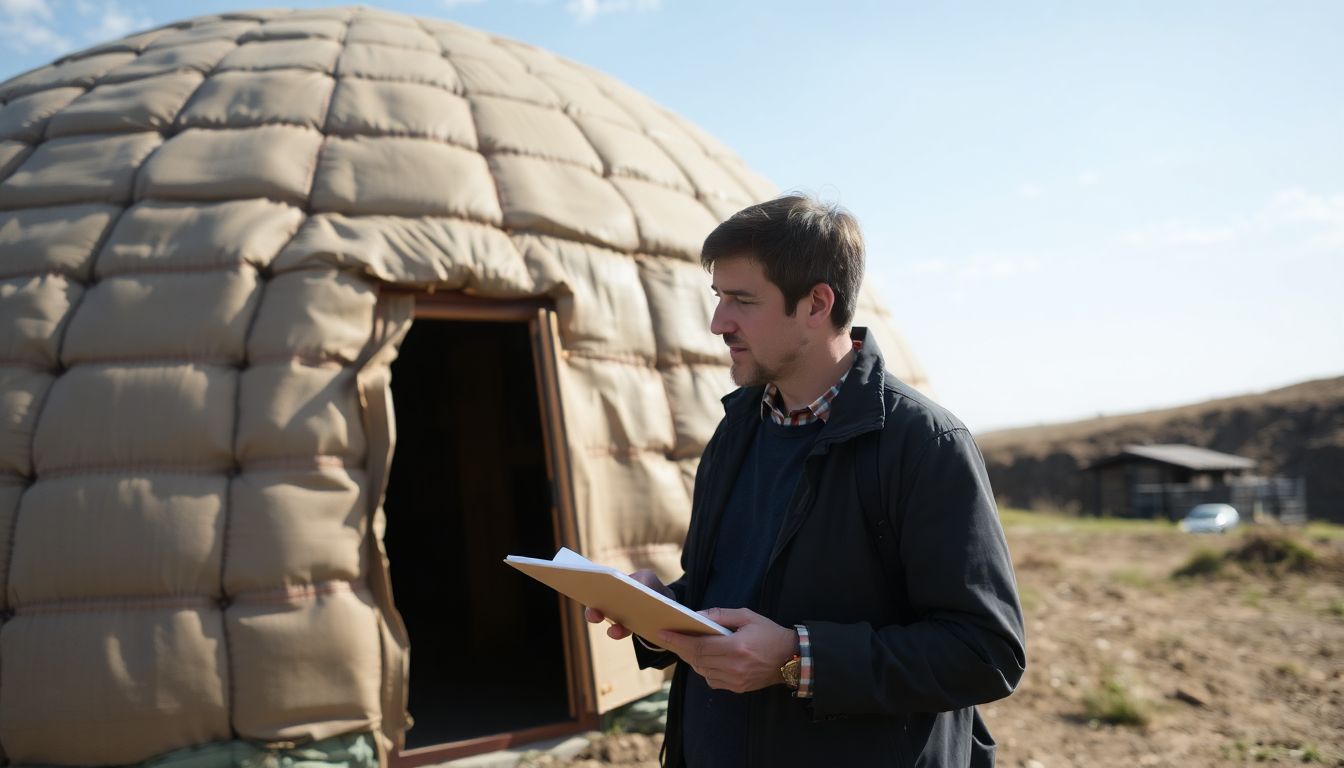
Nestled in the heart of nature, your earthbag shelter stands as a testament to sustainable living. To ensure it remains a cozy, durable sanctuary for years to come, regular maintenance is key. Let’s dive into some tips to keep your earthbag shelter in tip-top shape.
First things first, conduct regular inspections. Once a year, preferably during the spring or fall, give your shelter a thorough once-over. Check for any cracks, bulges, or signs of erosion. Remember, prevention is always better than cure.
Repairs should be addressed promptly. If you spot any cracks, fill them with a mixture of earth and a natural binder like lime or clay. For larger issues, don’t hesitate to call in a professional. It’s better to spend a little now than face a big repair bill later.
Plaster touch-ups are essential to maintain the integrity of your earthbag shelter. The plaster provides a protective layer, preventing water damage and erosion. Inspect your plaster regularly, and touch up any areas that show signs of wear or tear. A fresh coat of plaster can also give your shelter a facelift, keeping it looking as good as new.
Now, let’s talk about the long-term durability of earthbag shelters with proper maintenance. With regular care, your shelter can last for decades, even centuries. The earthbag construction method has been used for centuries, with examples still standing today. Proper maintenance ensures that your shelter ages gracefully, blending seamlessly with its natural surroundings.
In conclusion, maintaining your earthbag shelter is a labor of love. It’s about respecting the earth and the time you’ve invested in creating your sanctuary. With regular inspections, prompt repairs, and plaster touch-ups, your earthbag shelter will stand strong, providing a cozy, sustainable home for generations to come.
FAQ
What is Earth Bag Construction and how does it differ from traditional building methods?
How does an Earth Bag Dome differ from other earth bag structures?
What are the primary materials needed for building an Earth Bag Dome?
- Polypropylene bags (50 lbs capacity)
- Earth or sand (well-compacted)
- Barbed wire or rebar for reinforcement
- Plastic sheeting or roofing material
- Straw or other organic material for insulation (optional)
Can Earth Bag Domes be used as sustainable emergency housing?
What is the typical construction process for an Earth Bag Dome?
- Site preparation and foundation
- Base ring construction using bags filled with earth or sand
- Incremental addition of courses, using a spiral or vertical stacking pattern, to build the dome shape
- Reinforcement with barbed wire or rebar at regular intervals
- Plastering or rendering the exterior with earth-based materials for protection and insulation
- Roof construction using plastic sheeting or other waterproof materials
- Optional interior finishing, such as insulation with straw or other materials
How long does it take to build an Earth Bag Dome, and how many people are needed?
What are the maintenance requirements for an Earth Bag Dome?
Are Earth Bag Domes suitable for all climates, and can they be used for long-term housing?
How do Earth Bag Domes contribute to sustainability and environmental conservation?
- They use locally available materials, reducing transportation emissions and supporting local economies.
- They sequester carbon by incorporating organic materials into the structure.
- They provide thermal mass, reducing energy consumption for heating and cooling.
- They are durable and long-lasting, minimizing waste from frequent rebuilding.
- They can be easily disassembled and the materials reused or recycled.
By promoting earth bag construction, we can help reduce the environmental impact of the building industry and contribute to a more sustainable future.


