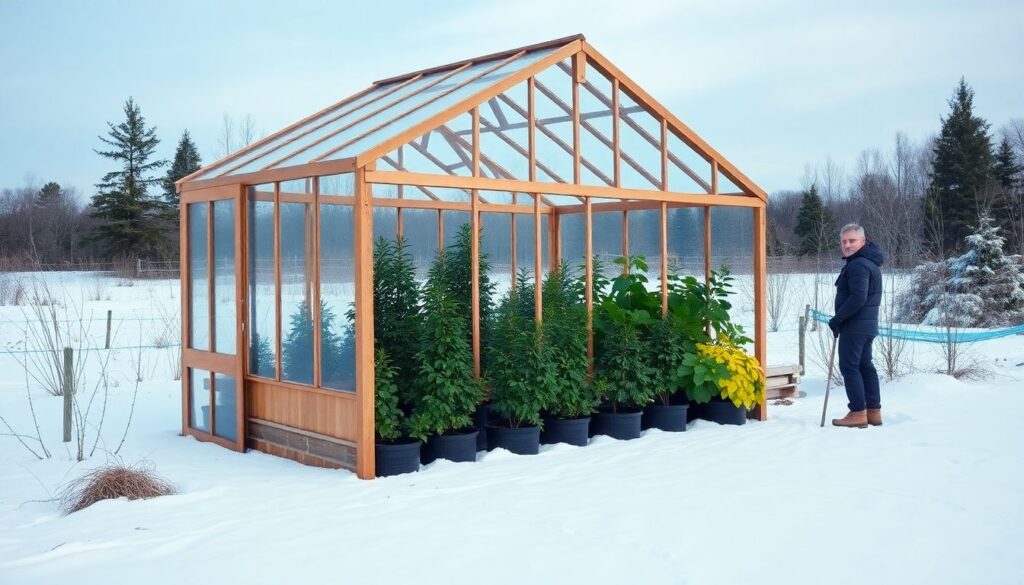
Have you ever wondered how it’s possible to grow fresh, homegrown produce even in the dead of winter? The answer lies in the ingenious construction of a survival greenhouse, a structure designed to extend your growing season and provide plant protection against the harshest conditions. But why stop at mere survival when you can thrive? In this comprehensive guide, we delve into the fascinating world of cold frame construction and year-round food production, promising to equip you with the knowledge and skills to transform your backyard into a thriving, four-season garden.
Did you know that with a well-built survival greenhouse, you could potentially grow up to 300% more food than in a traditional garden? Imagine the satisfaction of harvesting crisp lettuce, juicy tomatoes, and fragrant herbs while your neighbors are still shoveling snow! According to the U.S. Department of Agriculture, the average American household spends around $400 per year on fresh fruits and vegetables. By mastering the art of year-round food production, you could significantly reduce this expense while enjoying the freshest, most nutritious produce possible.
But building a survival greenhouse is about more than just saving money. It’s about self-sufficiency, sustainability, and the joy of watching life flourish in even the coldest months. It’s about the satisfaction of knowing that you’ve created a sanctuary for your plants, a place where they can grow and thrive no matter what the weather throws at them. So, are you ready to roll up your sleeves, embrace the challenge, and learn the secrets of cold frame construction? Then keep reading, because by the end of this article, you’ll have everything you need to build your own survival greenhouse and start enjoying the fruits of your labor all year round.
Mastering Cold Frame Construction for Extended Growing Seasons
Embracing the art of cold frame construction is like unlocking a secret door to an extended growing season, allowing you to defy the chill of winter and revel in the joy of fresh, homegrown produce long after the first frost. Imagine the satisfaction of harvesting crisp lettuce, vibrant herbs, or even tender strawberries while your neighbors are still dreaming of spring. A cold frame, a simple yet ingenious structure, is essentially a miniature greenhouse that captures the sun’s warmth during the day and traps it within at night, creating a microclimate that can elevate temperatures by as much as 20°F. The key to mastering cold frame construction lies in understanding the balance between insulation and ventilation. A well-built cold frame should be sturdy enough to withstand wind and snow, yet porous enough to allow for air circulation, preventing harmful condensation buildup. The most common materials for construction are wood, glass, and polycarbonate, each offering unique advantages in terms of durability, insulation, and light transmission. The design can range from a simple, single-walled structure to a more complex, double-walled model with additional insulation. Regardless of the design, the north-facing side should be well-insulated to protect against the harshest winds, while the south-facing side should be predominantly glass or clear plastic to maximize sunlight exposure. Once constructed, your cold frame becomes a sanctuary for your plants, a testament to your patience and skill, and a beacon of hope in the bleakest winter months. With proper management, it can extend your growing season by several months, making it an invaluable addition to any gardener’s arsenal. So, why not embrace the challenge, roll up your sleeves, and let the journey of mastering cold frame construction begin? Your garden, and your taste buds, will thank you.
Understanding the Need for a Survival Greenhouse
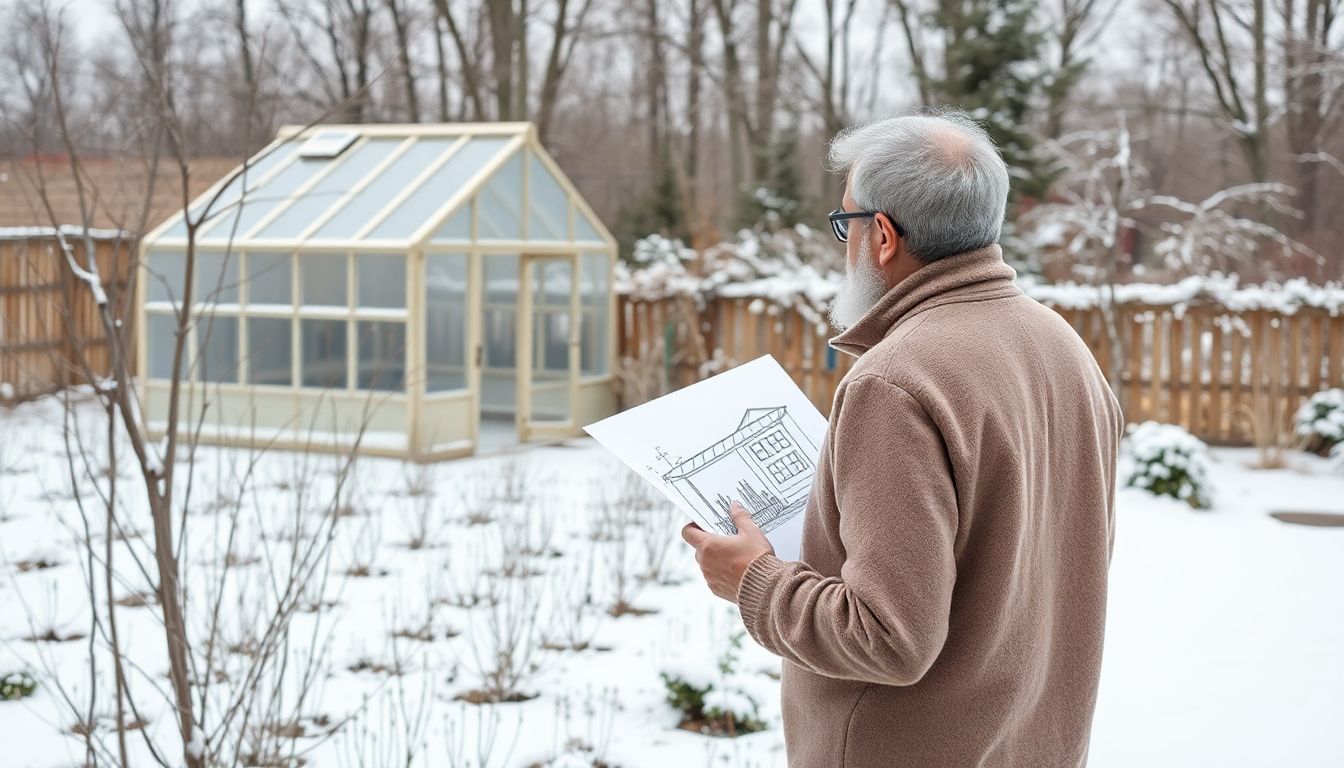
In the grand tapestry of human resilience, the humble survival greenhouse stands as a beacon of self-sufficiency and adaptability. A greenhouse, in essence, is a protective bubble for plants, a sanctuary that shields them from the harsh realities of the great outdoors. It’s a testament to our ingenuity, a tool that allows us to defy the seasons and cultivate life where it might otherwise wither and die.
The primary role of a survival greenhouse is to safeguard plants from the capricious nature of weather. It’s a fortress against frost, a shield against hail, and a refuge from the scorching sun. By providing a stable environment, it allows plants to grow at their own pace, unhindered by the whims of the weather. This protection extends the growing season, pushing the boundaries of what’s possible in terms of year-round food production.
But why is this so important? The benefits of a steady food supply are manifold, especially in challenging times. A survival greenhouse ensures a consistent harvest, providing a reliable source of nutrition when other resources may be scarce. It’s a lifeline, a way to maintain health and strength when the world outside might be in turmoil. Moreover, it’s a means of preserving traditional knowledge and skills, a reminder of our connection to the land and the cycles of life.
Imagine, if you will, the satisfaction of harvesting fresh vegetables in the dead of winter, the comfort of knowing that you have a steady supply of food, regardless of what the world throws at you. A survival greenhouse is more than just a structure; it’s a symbol of hope, a testament to our ability to adapt and thrive in the face of adversity. It’s a small step towards self-sufficiency, a step that could make all the difference in challenging times.
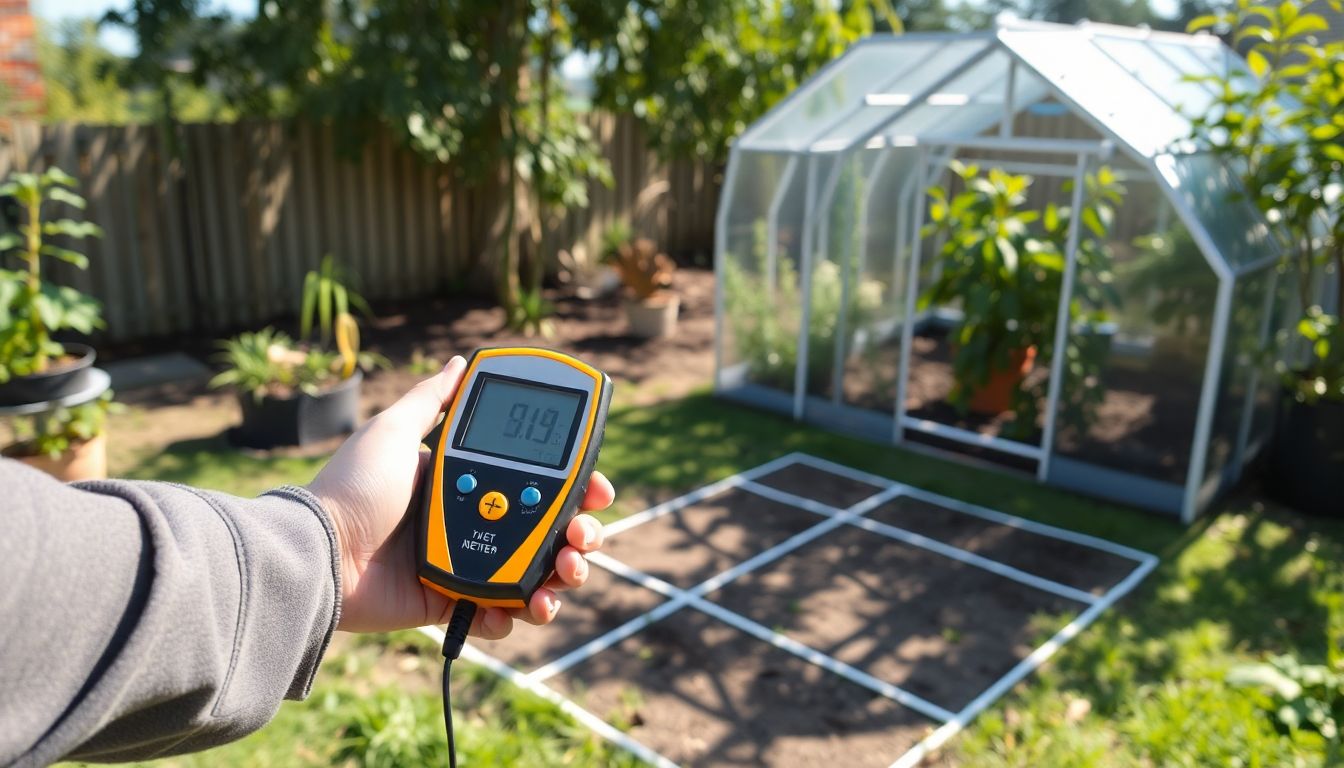
Choosing the Right Location for Your Greenhouse
Choosing the right location for your greenhouse is a critical decision that can significantly impact the growth and health of your plants. The ideal location should provide ample sunlight, protection from harsh winds, and easy access to water. Let’s delve into these factors and explore how to maximize sunlight in different climates.
Sunlight is the lifeblood of plants, and a greenhouse’s primary purpose is to capture and intensify this vital resource. To ensure your plants receive sufficient light, consider the following steps:
- Measure Sunlight Exposure: Use a sunlight meter or a simple light meter to measure the amount of light your potential greenhouse site receives. Aim for at least six hours of direct sunlight daily, with eight to ten hours being optimal for most plants.
- Consider the Time of Day: The sun’s path changes throughout the day and the year. In the Northern Hemisphere, the sun is higher in the sky during summer and lower during winter. Choose a site that receives sunlight throughout the day, but especially during the morning and afternoon when the sun’s rays are less intense.
- Climate-Specific Considerations: In colder climates, consider a south-facing slope to capture more sunlight and warmth. In hotter climates, a north-facing slope or partial shade can provide respite from intense afternoon sun.
Wind protection is another crucial factor. High winds can damage your greenhouse structure, disrupt plant growth, and cause excessive heat loss. To mitigate these issues, consider the following:
- Natural Windbreaks: Position your greenhouse near natural barriers like trees, hedges, or fences to protect it from strong winds.
- Building Orientation: Orient your greenhouse perpendicular to prevailing winds to minimize their impact.
- Greenhouse Design: Choose a sturdy, well-ventilated greenhouse design that can withstand local wind conditions.
Lastly, ensure your greenhouse is located near a water source to facilitate regular watering. A nearby faucet or rainwater collection system can save you time and effort, and help maintain your plants’ health.
By carefully considering these factors and following these tips, you’ll be well on your way to choosing the perfect location for your greenhouse, creating an optimal environment for your plants to thrive.

Designing and Planning Your Cold Frame Greenhouse
Designing and planning your own cold frame greenhouse can be a rewarding experience, allowing you to grow fresh produce year-round while adding a charming touch to your outdoor space. Let’s embark on this journey together, step by step.
The first step in your greenhouse adventure is determining the size and shape of your cold frame. Consider the available space in your garden, the amount of sunlight it receives, and the types of plants you intend to grow. A general rule of thumb is to make the length at least twice the width to maximize sunlight exposure. Popular sizes range from 4′ x 8′ to 6′ x 12′, but feel free to customize based on your needs.
Next, let’s talk materials. The beauty of a cold frame greenhouse lies in its simplicity and affordability. You can create an effective structure using basic, readily available materials. Here’s a simple list to get you started:
- Wood or composite lumber for the frame
- Plywood or oriented strand board (OSB) for the base
- Polycarbonate or glass panels for the glazing
- Hinges and latches for the lid
- Roofing felt or landscape fabric for the base liner
Using these materials not only keeps costs down but also allows you to complete the project with basic DIY skills.
Proper insulation is crucial for maintaining a suitable growing environment, especially during colder months. To insulate your cold frame, consider the following techniques:
- Use double-walled polycarbonate panels, which provide better insulation than single-walled ones.
- Add a layer of foam board or rigid insulation to the lid and sides for extra protection.
- Apply reflective insulation to the inside of the lid to help retain heat and reflect sunlight.
- Ensure the base is well-insulated with foam board or rigid insulation to prevent heat loss through the ground.
By incorporating these insulation methods, you’ll create a cozy haven for your plants, even on the chilliest of days.
Now that you have a solid foundation for designing and planning your cold frame greenhouse, it’s time to roll up your sleeves and bring your project to life. Happy building, and happy growing!
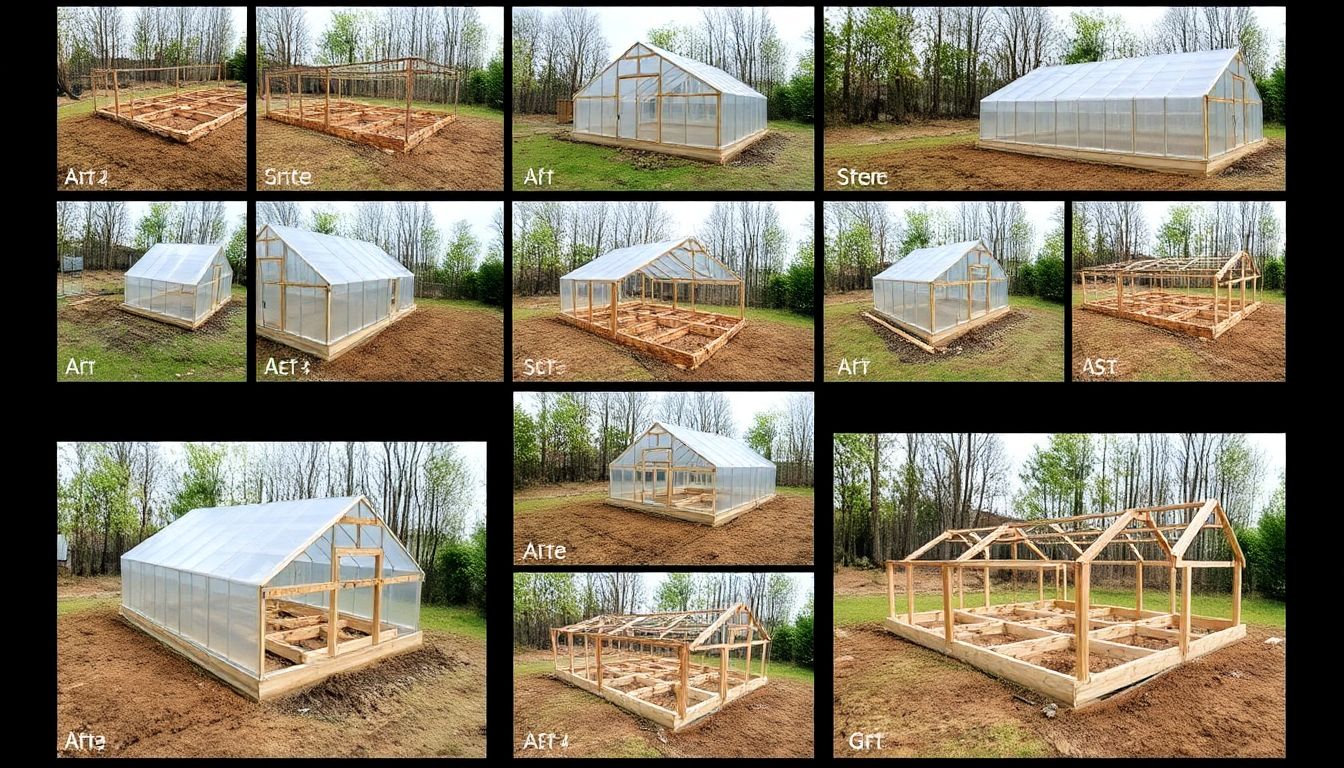
Building the Foundation and Frame
Embarking on the journey to create your own greenhouse is an exciting endeavor, and the first crucial step is to build a solid foundation and frame. This process involves several stages, each vital to ensure your greenhouse stands strong and functional. Let’s dive into the step-by-step guide to constructing the foundation and frame, using materials like wood, metal, or plastic.
The adventure begins with site preparation. Choose a location that receives ample sunlight, is level, and has good drainage. Clear the area of any debris, vegetation, or rocks. If the site is not level, you may need to excavate or add soil to create a flat surface.
Next, it’s time to build the base. For a wooden base, you can use pressure-treated lumber to prevent rot. Cut the lumber to the desired size, ensuring it’s square and level. Assemble the pieces using galvanized nails or screws to prevent rust. If using metal or plastic, follow the manufacturer’s instructions to assemble the base components.
Once the base is complete, it’s time to assemble the frame. This step varies depending on the material used. For wooden frames, cut the lumber to the appropriate lengths and connect them using joints like mortise and tenon or dovetail. Ensure the frame is square and plumb. For metal or plastic frames, follow the manufacturer’s instructions, typically involving bolting or snap-together components.
As you assemble the frame, remember to include supports for the roof and any doors or windows. Ensure the frame is sturdy and can withstand wind and weather.
Finally, attach the frame to the base using screws or bolts. This step is crucial to ensure the greenhouse remains stable and does not shift over time.
And there you have it! With these steps, you’ve laid the groundwork for your greenhouse. The next phase will be to add the glazing material and complete the structure. Happy building!
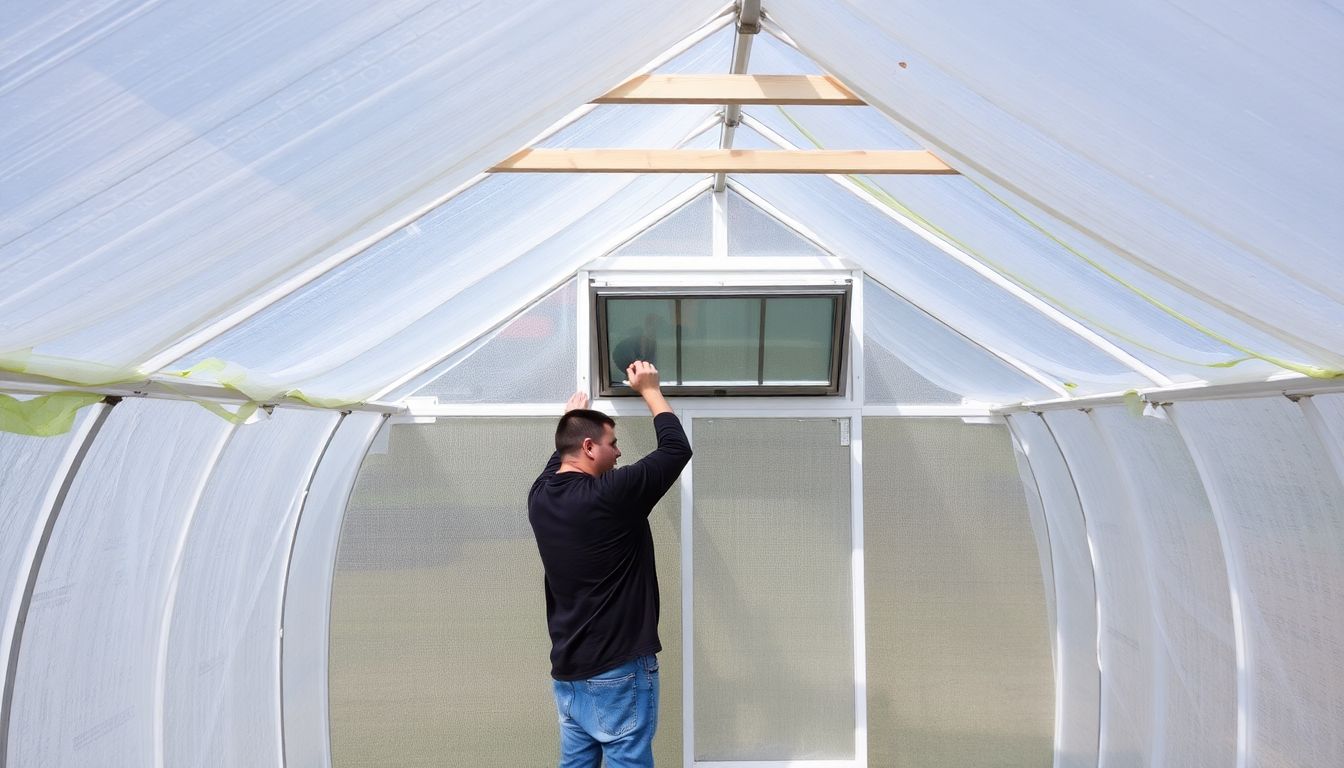
Insulating and Protecting Your Greenhouse
Protecting your greenhouse from the cold is as important as shielding it from the heat. A well-insulated greenhouse ensures a consistent, optimal temperature for your plants, extending your growing season and promoting healthier growth. Let’s delve into the world of greenhouse insulation, focusing on cold frames and some popular insulation materials.
Double glazing, a tried-and-true method, involves using two layers of glass with a gap in between. This gap traps air, creating an insulating barrier that significantly reduces heat loss. To install double glazing, you’ll need to measure and cut your glass panels to fit your greenhouse frame. Secure them using glazing clips or putty, ensuring a tight seal to prevent drafts.
Polycarbonate is another excellent insulator, offering high impact resistance and excellent insulation properties. It’s available in various thicknesses, with twin-wall polycarbonate being a popular choice for greenhouses. To install, measure and cut the polycarbonate sheets to size, then secure them to your greenhouse frame using screws or bolts. Ensure the sheets overlap slightly to create a tight seal.
Bubble insulation, or bubble wrap, is a more affordable option that provides good insulation. It’s easy to install
- simply cut it to size and stick it onto your greenhouse glazing. For added protection, you can use it in conjunction with other materials.
Automatic vents and heaters are additional protective features that can greatly enhance your greenhouse’s climate control. Automatic vents open and close in response to temperature changes, ensuring optimal ventilation. They can be installed on the roof or sides of your greenhouse, depending on your model. Heaters, on the other hand, provide an extra layer of protection during extreme cold snaps. They can be electric, gas, or oil-powered, and should be installed according to the manufacturer’s instructions.
Remember, the key to successful greenhouse insulation is creating a tight seal and using materials that provide good insulation properties. By combining these methods, you’ll create a cozy, protected environment for your plants to thrive in, even during the coldest months.
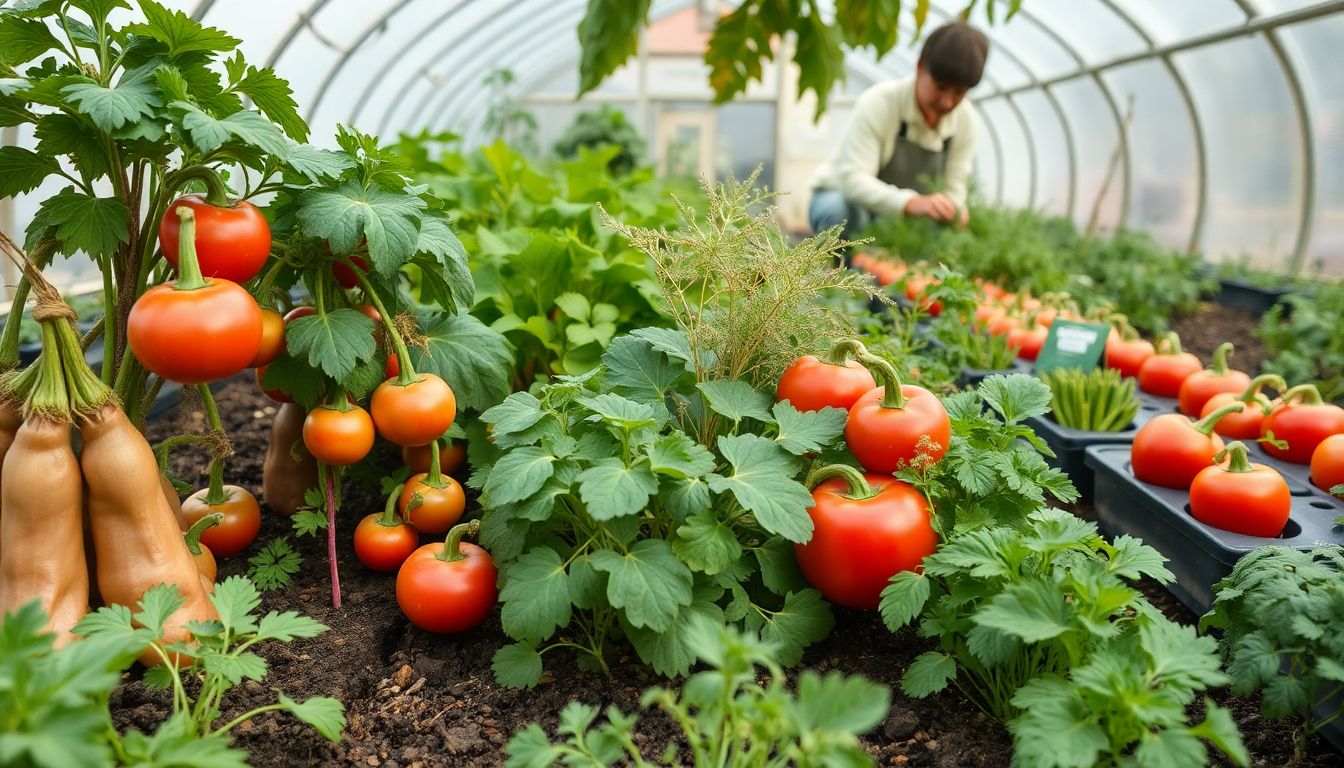
Planting and Caring for Cold-Resistant Vegetables
Embarking on a year-round gardening journey? You’re in luck! There’s a vibrant array of cold-resistant vegetables and herbs that thrive in the chill, making them perfect for your cold frame greenhouse. Let’s dive into the world of these hardy greens and learn how to plant, care for, and harvest them.
Our cold-loving cast includes lettuce, spinach, kale, and chard. These leafy heroes are not only delicious but also incredibly resilient. Lettuce, with its crisp leaves, comes in various types like romaine, butterhead, and loose-leaf. Spinach, a powerhouse of iron and calcium, has smooth or savoy leaves. Kale, the nutritional powerhouse, has curly or lacinato leaves. Lastly, chard, with its colorful stalks and leaves, is a beautiful addition to any garden.
Now, let’s get our hands dirty! Here’s how to plant these cold-resistant crops in your cold frame greenhouse:
- Prepare your soil: Ensure it’s well-draining and rich in organic matter. A pH between 6.0 and 7.0 is ideal.
- Sow seeds: Plant seeds directly into the soil, about 1/4 inch deep. Follow the seed packet’s instructions for spacing.
- Water gently: Keep the soil consistently moist but not waterlogged. A spray bottle can help avoid disturbing the seeds.
- Provide light: Cold frames should be opened during the day to provide adequate light. Close them at night to trap heat.
Caring for your cold-resistant crops is a breeze:
- Mulch: Apply a layer of organic mulch to retain soil moisture and suppress weeds.
- Fertilize: Use a balanced, organic fertilizer every 4-6 weeks to keep your plants healthy.
- Monitor temperature: Keep an eye on the temperature in your cold frame. Most of these crops can tolerate temperatures down to 20°F (-6°C).
Harvesting is a rewarding experience:
- Lettuce and spinach: Pick outer leaves once they’re large enough to eat, allowing the plant to continue growing.
- Kale and chard: Harvest the outer leaves or cut the entire plant back to encourage new growth.
Enjoy your year-round harvest of these cold-resistant vegetables and herbs!
Monitoring Temperature and Humidity
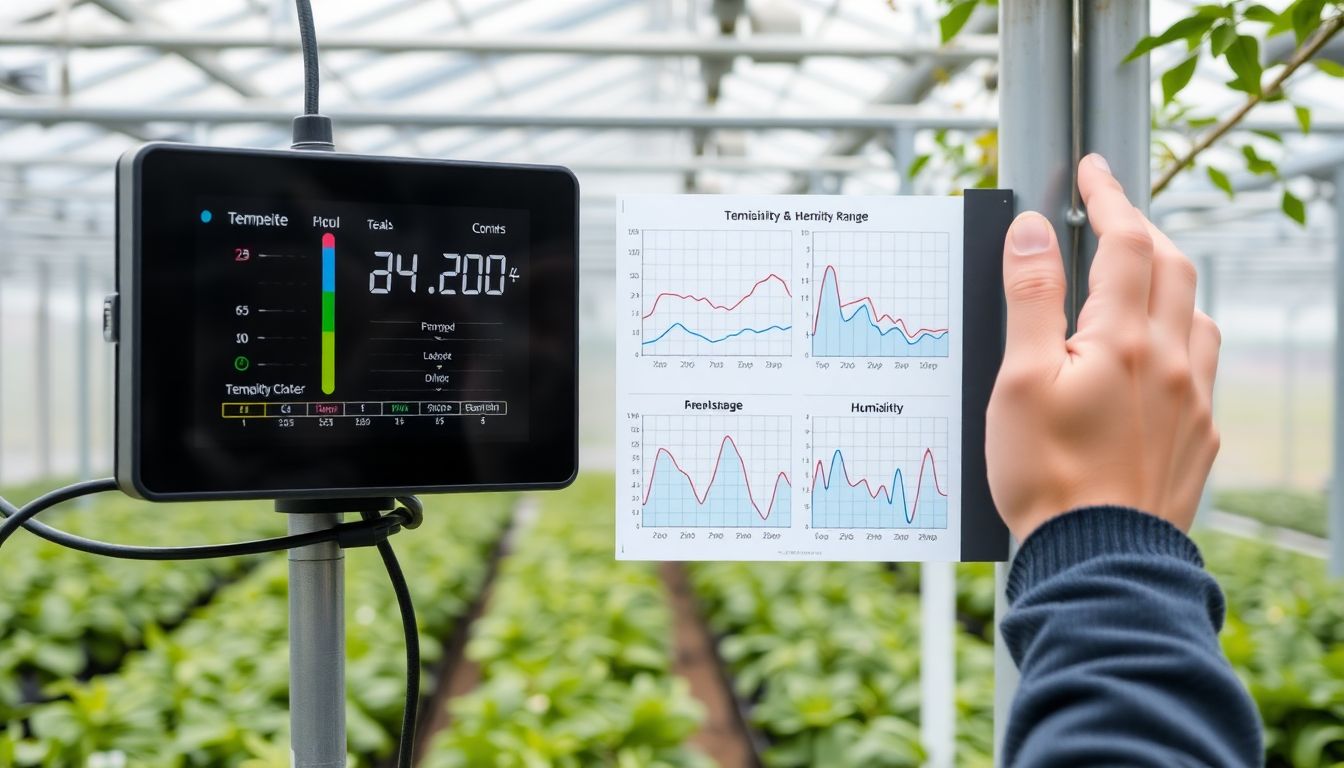
In the lush, verdant world of greenhouse cultivation, the delicate balance of temperature and humidity is as crucial as sunlight and water. These two environmental factors are not mere niceties; they are the very lifeblood of your plants, dictating their growth, health, and ultimately, their survival.
The importance of monitoring temperature and humidity levels cannot be overstated. Plants, much like Goldilocks, prefer things ‘just right’. Too hot or too cold, too dry or too wet, and they’ll start to wilt, their growth stunted, their leaves yellowing, or worse, they may perish. Each plant species has its own sweet spot, and it’s our job as greenhouse gardeners to ensure they’re comfortable.
To keep a watchful eye on these critical parameters, we employ a duo of trusty tools: thermometers and hygrometers. Thermometers, those humble mercury-filled tubes, measure temperature, while hygrometers, often resembling small, white, circular clouds, gauge humidity levels. They’re the eyes and ears of your greenhouse, providing real-time data that helps you make informed decisions.
But monitoring is only half the battle. The other half involves regulation, ensuring that your plants are always snug in their ideal climate. This can be achieved manually, through age-old methods like opening or closing vents, shading windows, or using heaters and humidifiers. However, in today’s tech-savvy world, automated systems have taken the stage. These systems, equipped with sensors and controlled by computers or smartphones, can adjust temperature and humidity levels with precision and efficiency.
Imagine, if you will, a greenhouse that’s always one step ahead, a greenhouse that breathes and adjusts with the changing seasons, the rising and setting sun. That’s the power of monitoring and regulation, turning your greenhouse into a harmonious, thriving ecosystem. So, let’s embrace these tools, manual or automated, and give our plants the perfect home they deserve.
Maintaining and Winterizing Your Greenhouse
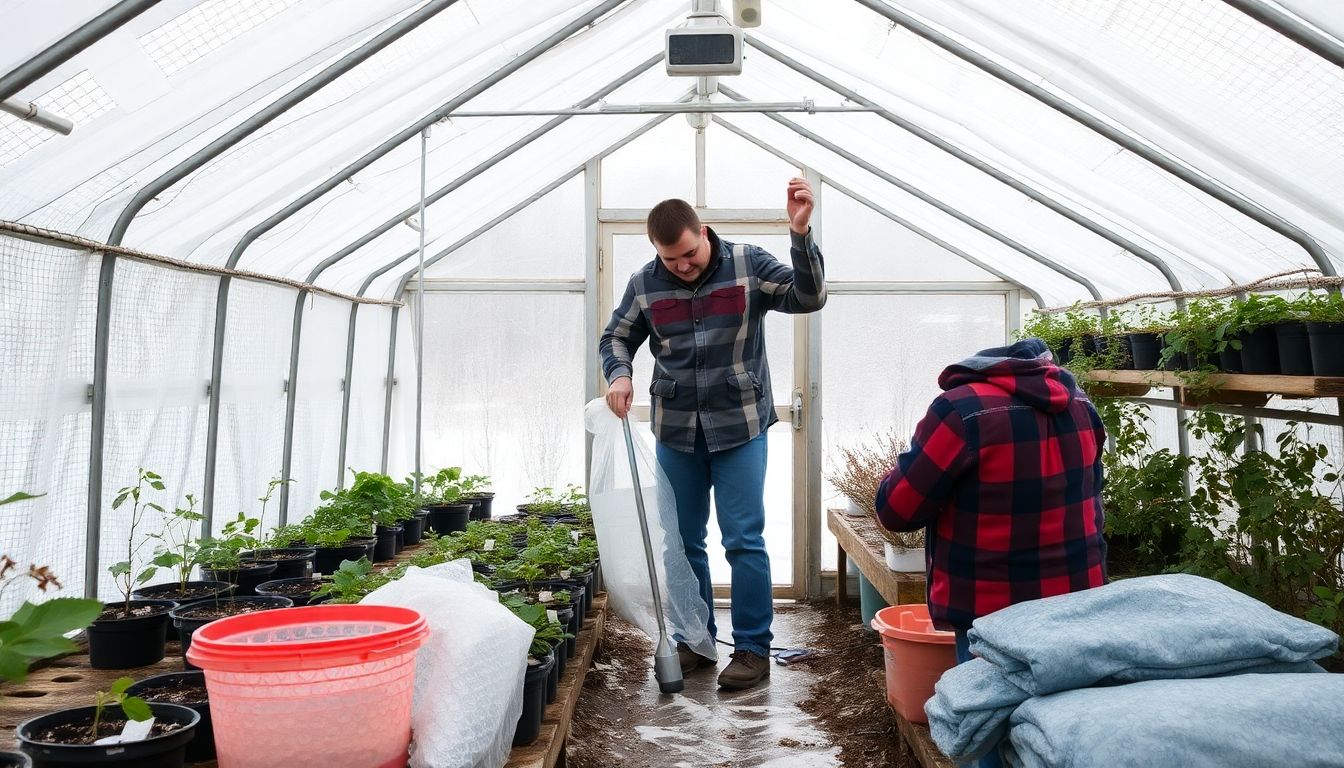
Maintaining a greenhouse is a rewarding task that ensures your plants thrive throughout the year. Regular upkeep is key to keeping your greenhouse a healthy and productive space. Start by establishing a cleaning routine.
Regularly sweep out debris and dust to prevent the buildup of mold and pests. Use a mild soap and water solution to clean the glass or plastic panels, ensuring they remain transparent for optimal light penetration. Additionally, inspect your greenhouse’s structure for any signs of damage or wear, and repair them promptly to maintain its integrity.
Pest control is another crucial aspect of greenhouse maintenance. Introduce beneficial insects like ladybugs and lacewings to keep pest populations in check. Regularly monitor your plants for signs of infestation, and use organic or chemical treatments as needed, following the instructions carefully.
Winterizing your greenhouse is vital to protect it from harsh weather conditions and ensure its longevity. Before the first frost, remove any dead or diseased plants to prevent the spread of disease.
- Prune plants to reduce their size and make them easier to protect during cold snaps.
- Mulch around plants to insulate their roots and retain soil moisture.
- If your greenhouse is not heated, consider using row covers or frost blankets to provide an extra layer of protection.
In areas with heavy snowfall, ensure your greenhouse’s structure can withstand the weight. You might need to reinforce the frame or install heating to melt snow as it accumulates. Regular inspections during the winter months can help you identify and address any issues early. By following these tips, you can maintain your greenhouse year-round, providing a safe and nurturing environment for your plants.
Expanding Your Greenhouse: Advanced Techniques
Embarking on the journey to expand your greenhouse’s capabilities in cold climates is an exciting venture that opens up a world of possibilities for extended growing seasons. Let’s delve into some advanced techniques that can help you achieve this, making your greenhouse a year-round sanctuary for your plants.
Firstly, consider harnessing the power of heat sinks and thermal mass. Heat sinks, such as water barrels or concrete blocks, absorb heat during the day and release it at night, providing a consistent temperature for your plants. Similarly, thermal mass, like stone or brick walls, can store heat and provide a stable environment for your plants. By strategically placing these elements in your greenhouse, you can create a microclimate that extends your growing season.
Another innovative technique is the use of row covers. These lightweight fabrics not only protect your plants from frost but also trap heat, creating a miniature greenhouse effect. They can be used in combination with heat sinks and thermal mass for added protection and warmth.
Now, let’s explore the fascinating concept of a ‘greenhouse within a greenhouse’. This involves creating an inner greenhouse, often using a clear plastic tunnel, within your existing greenhouse. The inner greenhouse traps additional heat, providing an even warmer environment for your most sensitive plants. This technique allows you to grow plants that would otherwise be impossible in your climate.
To further maximize plant growth, consider the following steps:
- Insulate your greenhouse: Use reflective insulation or bubble insulation to prevent heat loss through the roof and walls.
- Ventilation: Install automatic vents or use a small fan to circulate air and prevent overheating during the day.
- Heating: Supplement natural heat with a heating system, such as a solar-powered heater or a small electric heater, for those particularly cold nights.
- Shade: Use shade cloth or blinds to protect plants from intense sunlight, which can cause heat stress.
By implementing these advanced techniques, you’ll be well on your way to creating a thriving greenhouse ecosystem that defies the coldest of climates.
FAQ
What is a cold frame and how does it help extend the growing season?
What are the key components of a cold frame construction?
How do I insulate my cold frame for better plant protection?
- Measure the interior dimensions of your cold frame.
- Cut insulation material to fit snugly against the sides and bottom of the cold frame.
- Secure the insulation in place using staples, glue, or by fitting it into grooves in the frame.
- Ensure the lid is well-insulated too, as heat loss can occur through it.
What are some plant protection strategies for cold frames?
- **Hardening Off**: Gradually acclimate plants to outdoor conditions before moving them into the cold frame.
- **Row Covers**: Use lightweight fabric covers to provide an extra layer of protection against frost.
- **Heat Sources**: Place a heat source like a heating cable or a light bulb (ensure safety measures are taken) inside the cold frame for extra warmth.
- **Ventilation**: Open the lid during the day to release excess heat and prevent overheating, and close it at night to retain warmth.
How do I ensure proper ventilation in my cold frame?
- **Automatic Vent Opener**: Install an automatic vent opener that opens the lid when the temperature inside reaches a certain level and closes it when it drops.
- **Manual Ventilation**: Open and close the lid manually throughout the day, especially during warmer periods.
- **Ventilation Windows**: Install windows on the sides or top of the cold frame that can be opened for additional airflow.
- **Shade Cloth**: Use shade cloth to reduce the amount of sunlight entering the cold frame, which can help prevent overheating.
What are some cold-hardy crops suitable for a cold frame?
- **Leafy Greens**: Lettuce, spinach, kale, and arugula can thrive in cold frames and even taste sweeter after a light frost.
- **Root Vegetables**: Carrots, beets, radishes, and turnips can be grown in cold frames and harvested throughout the winter.
- **Brassicas**: Cabbage, broccoli, and cauliflower can tolerate cooler temperatures and can be started in a cold frame before transplanting outside.
- **Herbs**: Many herbs like parsley, cilantro, and chives can grow well in cold frames.
How do I prepare my cold frame for winter?
- **Clean Up**: Remove any dead plants and debris to prevent disease and pests from overwintering.
- **Inspect**: Check for any damage or wear and tear, and make repairs as needed.
- **Insulate**: Add extra insulation to the lid and sides for better heat retention.
- **Ventilation**: Ensure the ventilation system is working properly to prevent condensation buildup.
- **Cover**: Consider covering the cold frame with a protective layer, like a tarp or row cover, for added protection against heavy snow or wind.
Can I use a cold frame to start seeds in the spring?
- **Prepare the Soil**: Fill the cold frame with well-draining, fertile soil and rake it smooth.
- **Sow Seeds**: Sow seeds according to the package instructions, usually about 2-4 weeks before your last spring frost date.
- **Water**: Keep the soil consistently moist but not waterlogged.
- **Ventilation**: Open the lid daily to provide fresh air and prevent overheating once the seedlings emerge.
- **Hardening Off**: Before transplanting, gradually acclimate the seedlings to outdoor conditions by opening the lid for longer periods each day.


