Ever found yourself in the great outdoors, only to have your trusty hiking boots spring a leak, or your tent’s rainfly tear under the relentless downpour? You’re not alone. According to a survey by the Outdoor Industry Association, 72% of Americans participate in outdoor activities each year, and with great adventure comes great wear and tear on our gear. But what if you could turn that frustrating situation into an opportunity? Welcome to the world of survival sewing, where the needle is mightier than the knife, and a simple thread can save the day.
You might be wondering, ‘What exactly is survival sewing, and why should I care?’ Well, imagine this: you’re miles from the nearest town, and your jacket, the one that’s been keeping you warm and dry, suddenly develops a hole big enough to drive a truck through. You could sit there and shiver, waiting for a miracle, or you could whip out your sewing kit and fix it yourself. That, my friend, is the power of survival sewing.
Now, you might be thinking, ‘I’m not exactly a seamstress. I can barely sew a button back on.’ But fear not, dear reader, for this article is here to change that. The purpose of ‘Survival Sewing: Essential Skills and Projects’ is to empower you, the intrepid adventurer, with the knowledge and skills to maintain and repair your clothing and gear, turning you into a lean, mean, sewing machine. By the end of this article, you’ll be able to tackle gear repair and clothing maintenance like a pro, ensuring that your equipment lasts longer and performs better, even in the toughest conditions.
So, are you ready to become a master of the thread, to turn your gear’s frown upside down, and to never again be held hostage by a simple tear? Then buckle up, because we’re about to embark on an adventure that will change the way you look at your sewing kit. Let’s dive in!
Mastering the Art of Survival Sewing: Gear Repair, Clothing Maintenance, and DIY Equipment
In the grand tapestry of self-sufficiency, few skills are as versatile and rewarding as survival sewing. This art form, often overlooked in our fast-paced, disposable world, is a lifeline to a simpler, more sustainable existence. Imagine transforming a worn-out jacket into a functional, weather-resistant companion, or crafting a sturdy, handmade backpack to carry your wilderness essentials. Survival sewing is not just about patching holes; it’s about understanding the language of fabric, the strength of stitches, and the art of repurposing. It’s about turning old into new, waste into resource, and necessity into creativity. Whether you’re a seasoned outdoors enthusiast, a homesteader, or simply someone who wants to reduce, reuse, and recycle, mastering the art of survival sewing is a journey that promises not just practical skills, but also a deeper connection to the world around you. So, let’s roll up our sleeves, thread our needles, and dive into the fascinating world of gear repair, clothing maintenance, and DIY equipment. After all, in the realm of survival sewing, every stitch tells a story, and every story is a testament to resilience and resourcefulness.
Understanding Your Gear: Fabric Types and Care
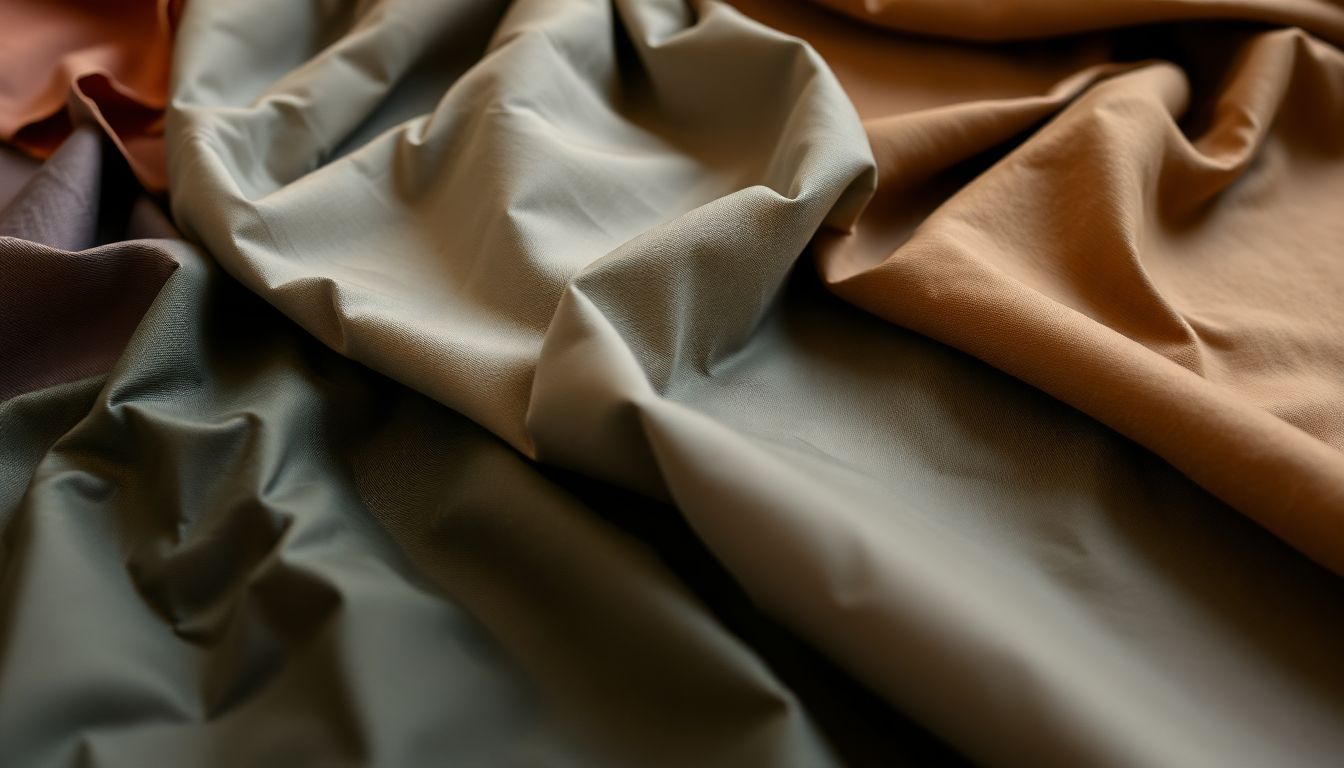
Embarking on an outdoor adventure is an exhilarating experience, but it’s crucial to understand the language of your gear to ensure a safe and enjoyable journey. Fabrics, the backbone of your outdoor clothing and equipment, come in a myriad of types, each with its unique strengths and weaknesses. Let’s dive into the world of fabrics, their care requirements, and how understanding them can enhance your gear’s lifespan and performance.
The first fabric that deserves a nod is Nylon. It’s lightweight, durable, and has an exceptional strength-to-weight ratio. Nylon is often used in tents, rain gear, and backpacks due to its water resistance and ability to dry quickly. However, it’s susceptible to UV damage and can degrade over time when exposed to sunlight. To care for nylon, avoid high heat when drying, and store it away from direct sunlight.
Next, we have Polyester, another popular choice in the outdoor world. It’s known for its quick-drying properties, making it ideal for base layers and hiking pants. Polyester is also resistant to wrinkles and mildew, ensuring your gear looks fresh even after a long day in the wild. However, it’s not as breathable as other fabrics, so it may trap sweat. To care for polyester, wash it in cold water and avoid high heat when drying.
Cotton is a classic fabric, but it’s not the best choice for outdoor gear due to its slow drying time. When cotton gets wet, it can lead to chafing and discomfort. However, it’s soft, breathable, and comfortable, making it a good choice for camp clothing. To care for cotton, wash it in warm water and dry it on low heat.
Understanding these fabrics is not just about knowing what to pack, but also about how to repair and maintain your gear. For instance, knowing that nylon can be weakened by high heat can help you avoid using high heat when drying your tent. Similarly, understanding that cotton doesn’t dry quickly can help you pack extra clothes for a multi-day trip. By understanding your gear, you’re not just investing in its longevity, but also in your comfort and safety on your outdoor adventures.
Essential Sewing Tools for Survival
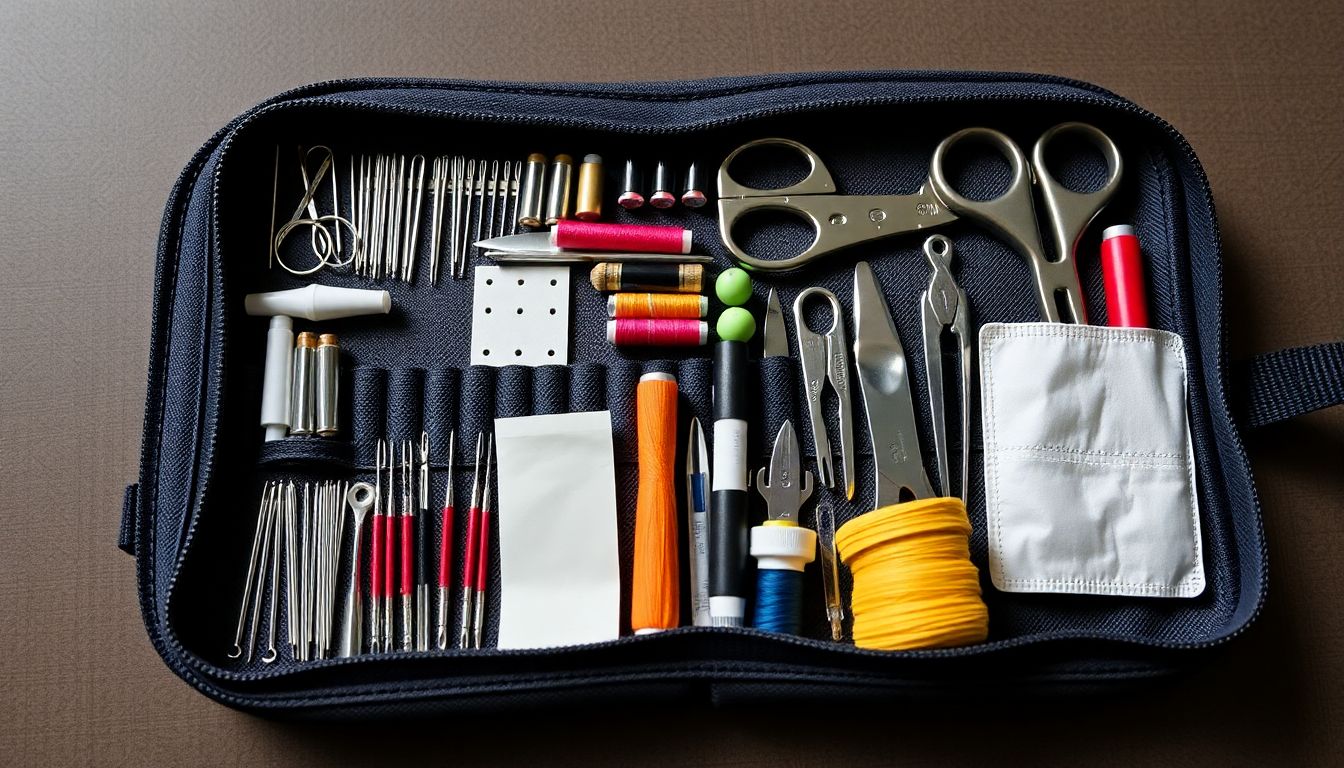
Embarking on outdoor adventures often means putting your gear through its paces, and sometimes, that means repairs are necessary. Having the right sewing tools on hand can make all the difference in keeping your gear in tip-top shape and ensuring your next expedition goes smoothly. Let’s dive into the essential sewing tools every outdoor enthusiast should have in their pack.
The backbone of any sewing kit is, of course, the humble needle and thread. You’ll want to have a variety of sizes and types to tackle different fabrics and materials. For instance, a sharp, thin needle is perfect for repairing lightweight fabrics like nylon or silk, while a heavier-duty needle is ideal for canvas or denim. As for thread, opt for a strong, durable option that matches the color of your gear as closely as possible. This will help you make repairs that are both functional and discreet.
Next up, we have scissors. A good pair of sharp scissors is indispensable for cutting fabric, trimming threads, and making precise snips. Look for a pair with a comfortable grip and a safety catch to prevent accidents. Some outdoor enthusiasts also swear by using a pair of trauma shears, which are designed for cutting through tough materials like webbing or rope.
Now, let’s talk about some specialty items that can make your gear repair and maintenance tasks a breeze.
- Seam Ripper: This handy tool is perfect for undoing seams without damaging the fabric. It’s great for when you need to make adjustments or want to salvage a piece of gear with a faulty seam.
- Awl: An awl is a sharp, pointed tool used for making holes in leather or other thick materials. It’s essential for reattaching hardware or making new lacing holes.
- Pliers: A good pair of pliers can help you grip, bend, and cut materials that would be difficult to handle with just your fingers. They’re also great for holding things in place while you sew.
- Sewing Machine: If you’re serious about gear repair and maintenance, consider investing in a portable sewing machine. It can save you time and effort when tackling larger projects.
Having these essential sewing tools in your kit can mean the difference between a gear malfunction ruining your trip and being able to make a quick repair and carry on. So, pack them up and hit the trail with confidence, knowing you’re prepared for whatever adventures come your way.
The Art of Thread Selection
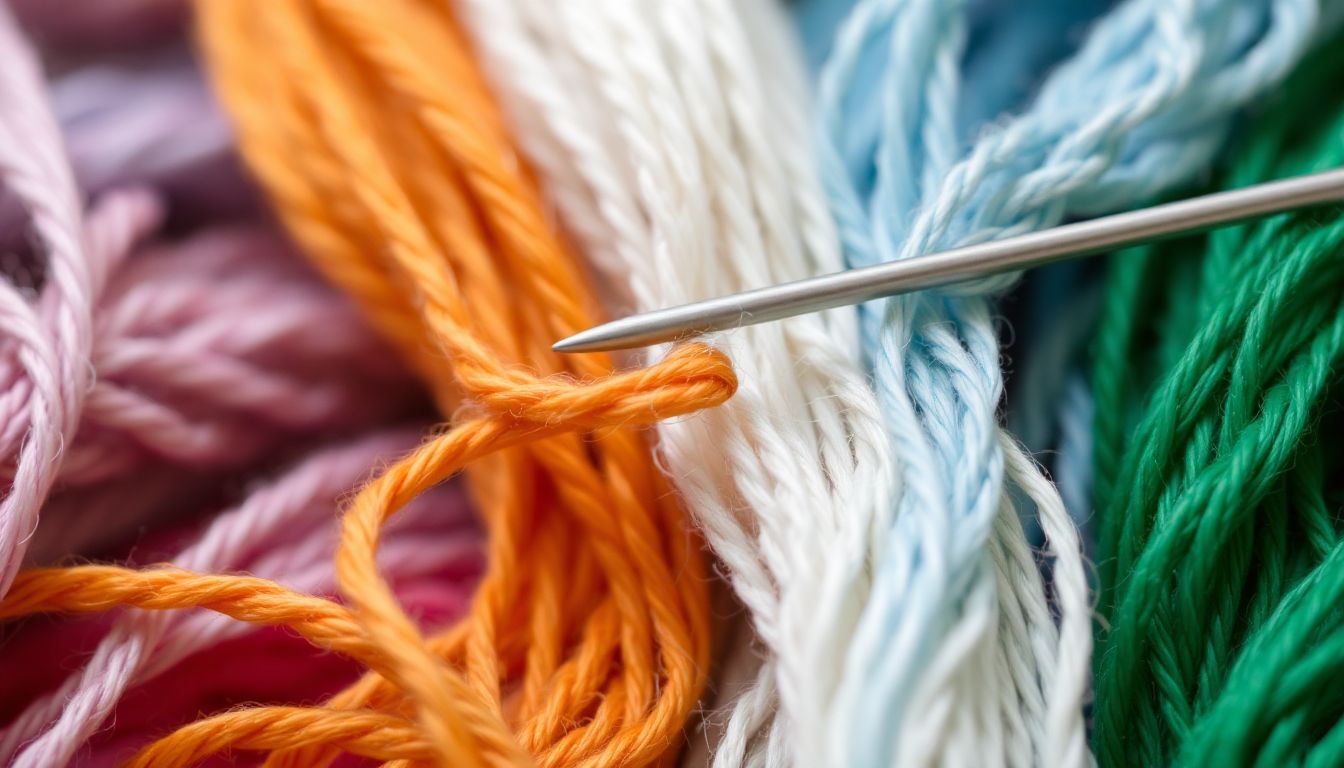
In the realm of gear repair, the art of thread selection is often overlooked, yet it’s a critical factor that can mean the difference between a quick fix and a lasting solution. The right thread can fortify your repairs, ensuring your gear stands up to the elements and the test of time. Let’s delve into the fascinating world of threads, their types, strengths, and when to use each.
The thread universe is as vast and varied as the fabrics it binds. At its core, thread is classified into two main types: natural and synthetic. Natural threads, like cotton and wool, are breathable, soft, and have excellent moisture-wicking properties. They’re ideal for repairing outdoor gear exposed to harsh conditions, as they can help regulate temperature and wick away sweat or rain. However, they’re not as durable or resistant to mildew as synthetic threads.
Synthetic threads, on the other hand, are made from materials like polyester, nylon, or polypropylene. They’re incredibly strong, resistant to mildew, and dry quickly. Polyester threads, for instance, are excellent for repairing waterproof gear, as they maintain their strength even when wet. Nylon threads are highly durable and resistant to abrasion, making them perfect for repairing backpacks, tents, and other gear that endures frequent wear and tear.
When selecting a thread, it’s crucial to match it to the fabric of your gear. Here’s a simple guide:
- For cotton or canvas fabrics, use cotton or polyester thread. Polyester offers more durability and resistance to rot.
- For synthetic fabrics like nylon or polyester, use nylon or polyester thread to ensure the best bond and longevity.
- For waterproof/breathable fabrics, use waterproof thread to maintain the fabric’s barrier properties.
Another vital aspect is thread weight. Heavier threads are stronger but can be bulkier and more visible. Lighter threads are more discreet but may not provide the same level of strength. The general rule is to use a thread weight that’s as close as possible to the weight of the fabric’s original thread.
Lastly, always ensure your thread is UV-resistant to prevent degradation from sunlight exposure. With these considerations in mind, you’re well on your way to mastering the art of thread selection. Happy repairing!
Repairing Tears and Holes: Patching Techniques
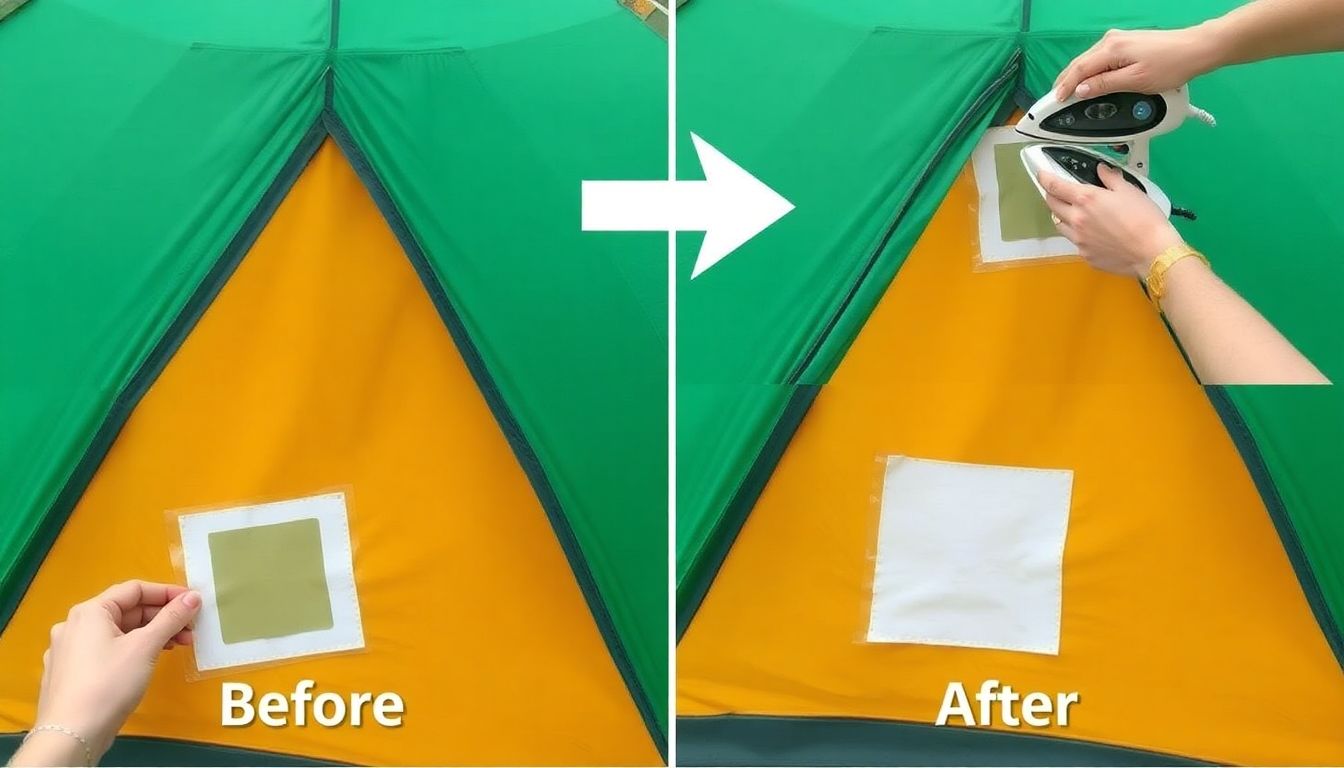
When our beloved gear starts to show signs of wear and tear, it’s time to roll up our sleeves and give it a new lease on life. Today, we’re going to explore three effective methods to patch tears and holes in your gear: iron-on patches, sewing on patches, and using seam sealers. Each method has its own set of advantages and disadvantages, so let’s dive right in!
Iron-on Patches: The Quick and Easy Fix
Iron-on patches are a lifesaver when you need a quick fix. They’re perfect for those small tears that seem to appear out of nowhere. Here’s how to use them:
- Clean the area around the hole to ensure a good bond.
- Position the patch over the hole, with the adhesive side facing the fabric.
- Using a medium-hot iron, press down on the patch for about 10-15 seconds.
- Let it cool, then peel off the backing paper.
Pros: They’re fast, easy, and require no sewing skills. Cons: They may not last as long as sewn-on patches, especially with heavy use or in high-wear areas.
Sewing on Patches: The Durable Solution
For larger holes or gear that sees heavy use, sewing on a patch is the way to go. It might take a bit more time, but the results are well worth it.
- Choose a patch that’s slightly larger than the hole.
- Position the patch over the hole, then pin it in place.
- Using a strong thread that matches your gear, sew around the edge of the patch, reinforcing the edges of the hole as you go.
- For added durability, you can also sew a second layer of fabric or a reinforcing patch on the inside.
Pros: Sewn-on patches are incredibly durable and can last for years. Cons: They require sewing skills and more time than iron-on patches.
Seam Sealers: The Waterproof Fix
If your gear has sprung a leak, a seam sealer can be your best friend. These products come in various forms, from liquids to tapes, and can be used to repair leaks and prevent new ones.
- Clean the area around the hole to ensure a good bond.
- Apply the seam sealer according to the manufacturer’s instructions, usually by painting it onto the seam or hole.
- Allow it to dry completely.
Pros: Seam sealers can make your gear waterproof again, and they’re great for preventing future leaks. Cons: They may not be suitable for all types of fabric, and they can be messy to apply.
So there you have it! Three methods to repair tears and holes in your gear. Each has its place, so choose the one that best suits your needs. Happy repairing!
Reinforcing Stress Points: Preventative Maintenance
In the realm of gear maintenance, one of the most proactive measures you can take is to identify and reinforce stress points. Stress points are areas in your gear where the most wear and tear occurs, often due to repeated use or high-pressure situations. By reinforcing these points, you can significantly extend the lifespan of your gear and prevent costly damage. Let’s delve into some techniques to help you achieve this.
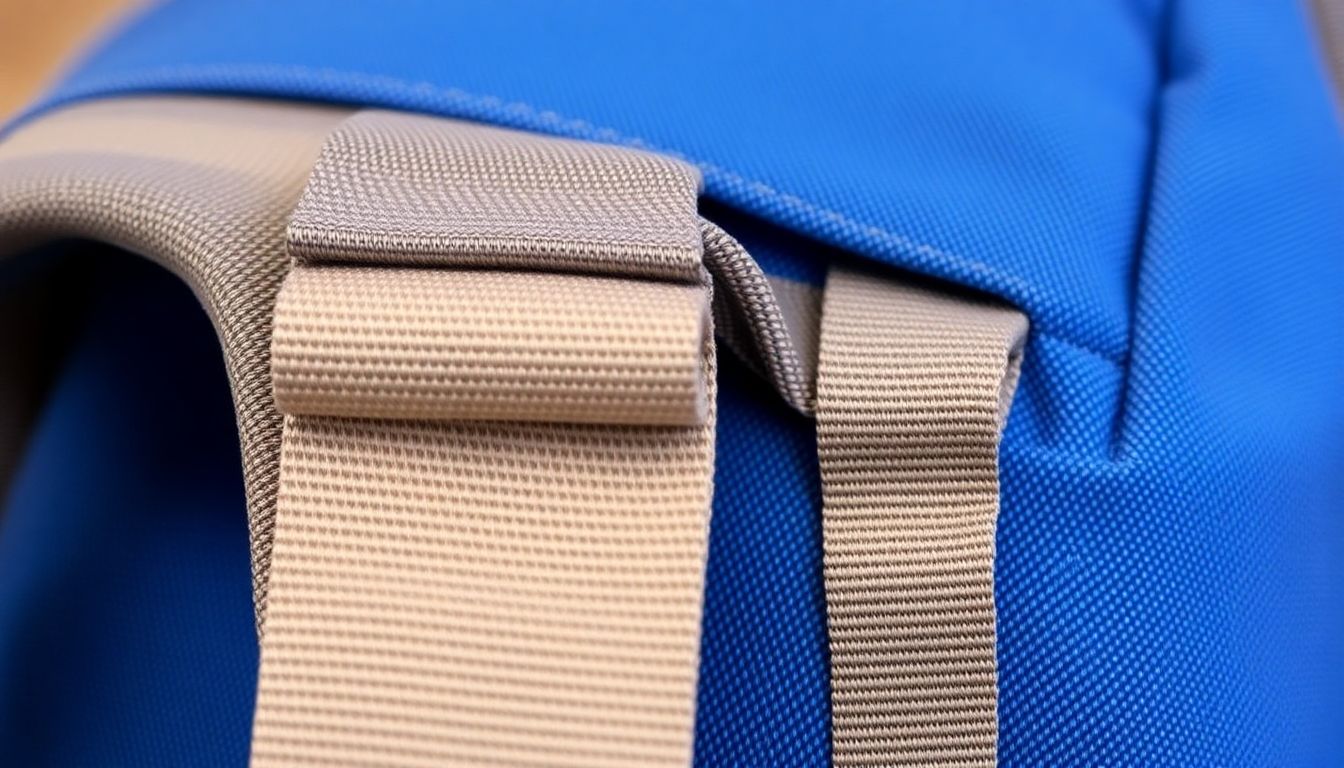
The first step is to identify these stress points. Common areas include seams, edges, and points where different materials meet. For instance, on a backpack, stress points might be the shoulder straps, the base where the bag rests on the ground, and the seams around the pockets.
Once you’ve identified these points, it’s time to reinforce them. One simple yet effective technique is to add webbing. Webbing is a strong, durable fabric that can be sewn onto stress points to distribute pressure more evenly and reduce wear. For example, adding webbing to the base of a backpack can prevent the fabric from fraying and tearing.
Another technique is taping seams. This involves using a special tape, often made of nylon or polyester, to reinforce seams. The tape is sewn onto the seam, providing an extra layer of protection. This is particularly useful for waterproof gear, as it can help prevent leaks.
For larger stress points or areas with significant wear, reinforcement patches can be used. These are typically made of heavy-duty fabric and are sewn onto the stress point. They can be found in various shapes and sizes to fit different needs. For instance, a reinforcement patch on the base of a tent can prevent it from wearing out too quickly.
Remember, prevention is always better than cure. Regularly inspecting your gear for stress points and reinforcing them as needed can save you from expensive repairs or replacements in the long run. So, grab your sewing kit, some webbing, tape, and patches, and let’s get started on reinforcing those stress points!
Fixing Zippers: A Step-by-Step Guide
Ah, the humble zipper! A marvel of modern engineering, yet so often the cause of our fashion woes. Fear not, for I am here to guide you through the treacherous waters of zipper repair. Let’s dive in, shall we?
Replacing Sliders: The Zipper’s Heartbeat
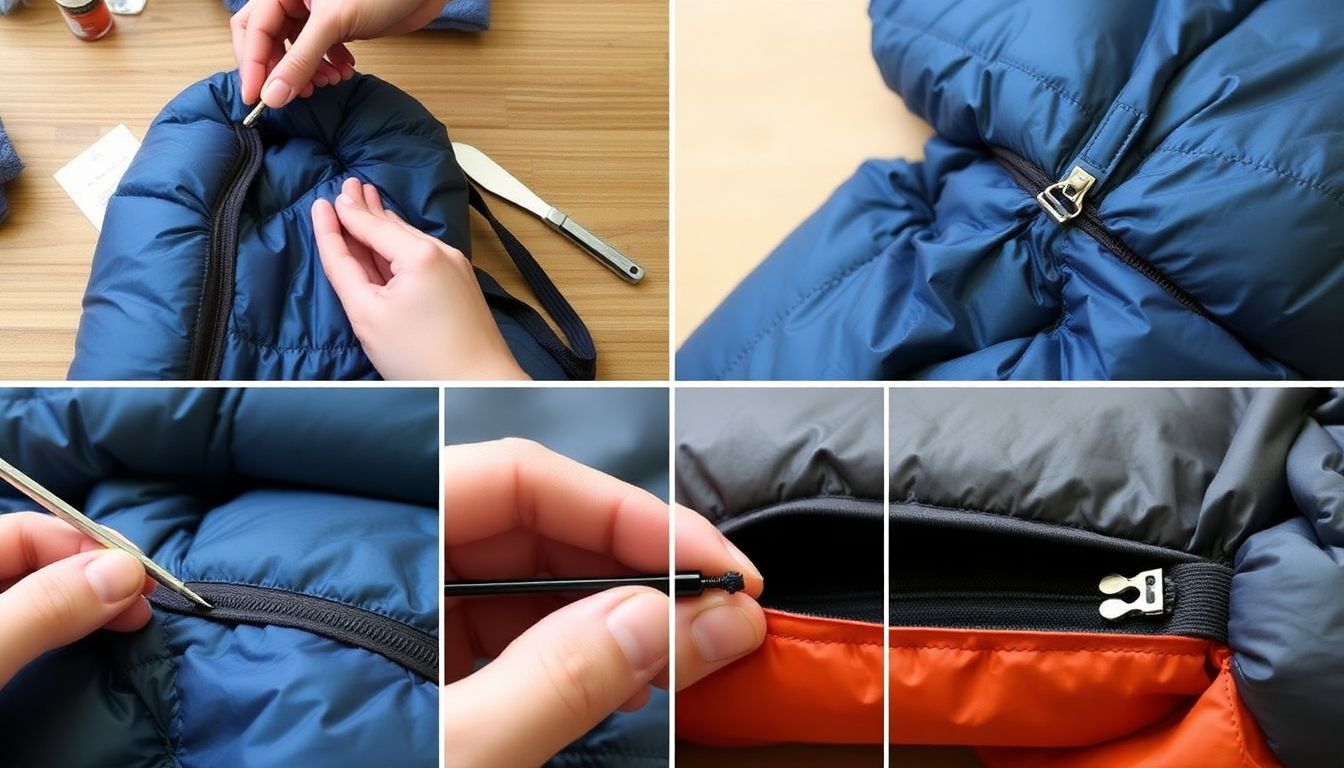
The slider, that little metal or plastic piece that zips and unzips, is the zipper’s lifeblood. If it’s broken or lost, don’t despair. Here’s how to replace it:
- First, remove the old slider by gently prying it off with a flathead screwdriver. Be careful not to damage the zipper tape.
- Next, insert the new slider onto the zipper, ensuring it’s facing the right way. The teeth should be on the side with the opening.
- Gently pull the slider along the zipper to ensure it’s working smoothly. If it’s not, you might need to adjust the zipper’s tension.
Fixing Broken Teeth: The Zipper’s Dental Care
Broken teeth can cause your zipper to malfunction. Here’s how to fix them:
- For a single broken tooth, you can use a pair of pliers to gently bend the remaining teeth back into place. Be careful not to bend them too much, or you’ll create a new problem.
- For multiple broken teeth, it might be easier to replace the entire zipper. See the next section for that.
Replacing Entire Zippers: The Zipper’s Facelift
Sometimes, the best solution is to replace the entire zipper. Here’s how:
- First, remove the old zipper by carefully cutting the stitches that hold it in place. Be sure to leave enough fabric to sew the new zipper onto.
- Next, measure the new zipper to ensure it’s the right size. Most zippers come in standard sizes, but it’s always a good idea to double-check.
- Sew the new zipper onto the fabric, ensuring it’s straight and even. Backstitch for extra strength.
- Once the zipper is sewn on, test it to make sure it works properly. If it doesn’t, you might need to adjust the tension.
And there you have it! With these steps, you’re well on your way to becoming a zipper whisperer. Happy fixing!
DIY Equipment: Upscaling Your Gear
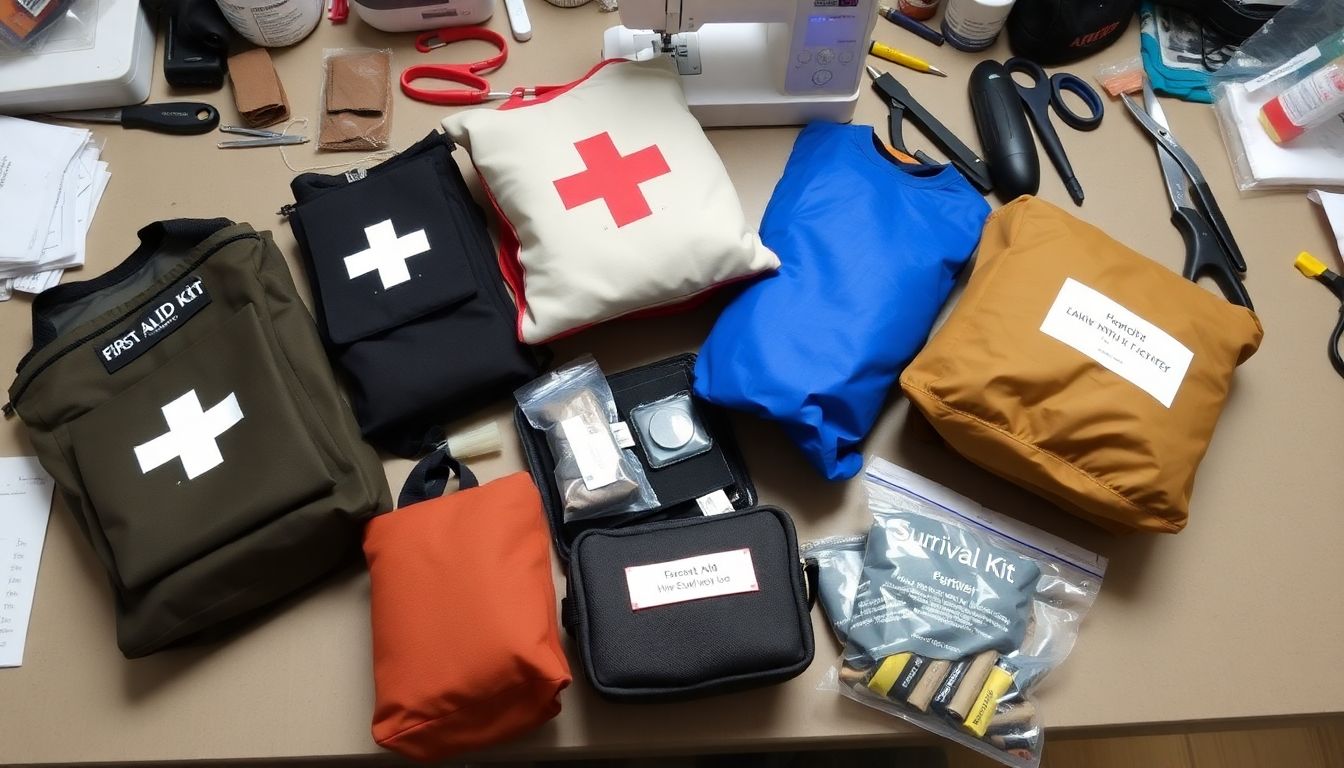
Embarking on outdoor adventures often requires a well-equipped kit, but high-quality gear can come at a hefty price. Fear not, intrepid explorer! With a little creativity, basic sewing skills, and everyday materials, you can upscale your gear and create your own DIY equipment. Let’s dive into three simple yet practical projects that will enhance your outdoor experience.
First Aid Kit Pouch:
A well-stocked first aid kit is essential, but keeping it organized and accessible can be a challenge. A custom pouch is the perfect solution. You’ll need some ripstop nylon, webbing for straps, Velcro, and basic sewing supplies. First, measure your first aid kit to determine the size of your pouch. Cut the nylon accordingly and sew the sides and bottom together. Attach the Velcro to the inside of the pouch and the webbing straps to the outside. Voila! A secure and stylish home for your medical essentials.
Stuff Sack:
Stuff sacks are versatile and invaluable for keeping your gear organized and dry. For this project, you’ll need some lightweight nylon fabric, a drawstring cord, and a sewing machine. Cut two identical pieces of fabric, then sew them together, leaving an opening for the drawstring. Turn the sack right-side out and insert the drawstring. Pull the cord tight to close the sack, and you’re ready to compress and protect your gear.
DIY Survival Kit:
A survival kit is a must-have for any outdoor enthusiast. To create your own, gather essential items like a whistle, compass, firestarter, first aid supplies, and a multi-tool. Next, find a waterproof container to house your gear. A small plastic box or even an old film canister will do the trick. Once you’ve assembled your kit, wrap it in duct tape for added water resistance and durability. Now you’re prepared for any unexpected situation.
These DIY projects not only save you money but also allow you to customize your gear to your specific needs. So, grab your sewing kit and let’s get crafty! The great outdoors awaits.
Clothing Maintenance: Extending the Life of Your Wardrobe
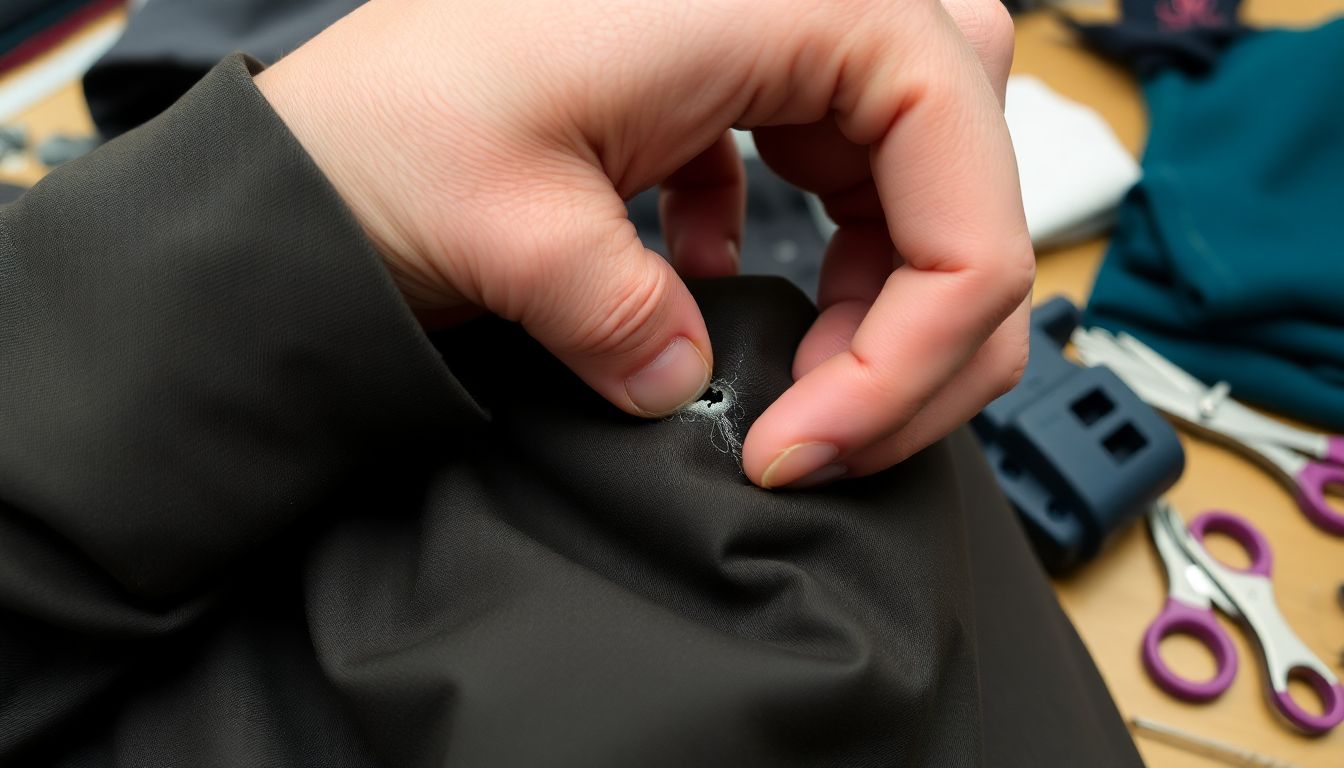
Embarking on outdoor adventures often means subjecting our clothing to rigorous conditions, but with a little TLC, you can extend the life of your wardrobe and keep your favorite pieces in tip-top shape. Let’s dive into some practical tips on maintaining and repairing your outdoor clothing, focusing on fixing tears, reinforcing seams, and caring for specialized fabrics like Gore-Tex.
First things first, prevention is key. Always check your clothing for any signs of wear and tear before heading out. A quick once-over can help you spot potential issues early, preventing them from becoming bigger problems. For instance, if you notice a small tear, address it promptly to prevent it from growing.
Now, let’s talk about fixing tears. For small tears, a simple sewing machine repair can do the trick. Use a strong, durable thread that matches your garment’s color. If the tear is larger, consider using a fabric patch. Cut the patch slightly larger than the tear, place it on the wrong side of the fabric, and sew it in place. For added strength, you can reinforce the patch by sewing a piece of ripstop fabric or lightweight canvas on the wrong side.
Reinforcing seams is another crucial aspect of clothing maintenance. Seams are often the first to go, especially under heavy use. To reinforce them, you can use a technique called ‘backstitching’. This involves sewing along the seam line, then going back over your stitches, creating a strong, reinforced seam. You can also use seam tape or seam sealant for added protection.
Caring for specialized fabrics like Gore-Tex requires a bit of extra attention. Gore-Tex is a waterproof, breathable fabric that’s fantastic for outdoor activities, but it can lose its effectiveness over time. To maintain its performance, always clean your Gore-Tex gear after each use. Use a gentle detergent and avoid fabric softeners, as they can damage the fabric’s water-repellent coating. After washing, tumble dry on low heat to reactivate the water-repellent finish.
In addition to these repair and maintenance tips, always follow the care instructions provided by the manufacturer. These instructions are tailored to the specific fabric and construction of your garment, ensuring you’re giving it the best possible care.
By following these tips, you’ll not only extend the life of your outdoor clothing but also ensure you’re always ready for your next adventure. Happy trails!
The Role of Sewing in Bushcraft and Survival Situations
In the realm of bushcraft and survival situations, the humble art of sewing often goes unsung, yet it’s an invaluable skill that can make the difference between discomfort and comfort, or even safety and danger. Sewing allows us to transform raw materials found in nature into functional tools and essential gear, making it a cornerstone of self-sufficiency in the wild.
Let’s start with shelter, a primary concern in any survival situation. With basic sewing skills and some natural materials like animal hides, leaves, or even large leaves, you can create makeshift tarps or blankets to protect you from the elements. For instance, you can sew together large leaves to create a waterproof layer, or stitch animal hides together to fashion a warm, protective blanket. The key is to use strong, flexible threads, which can be made from plant fibers, sinew, or even shoelaces.
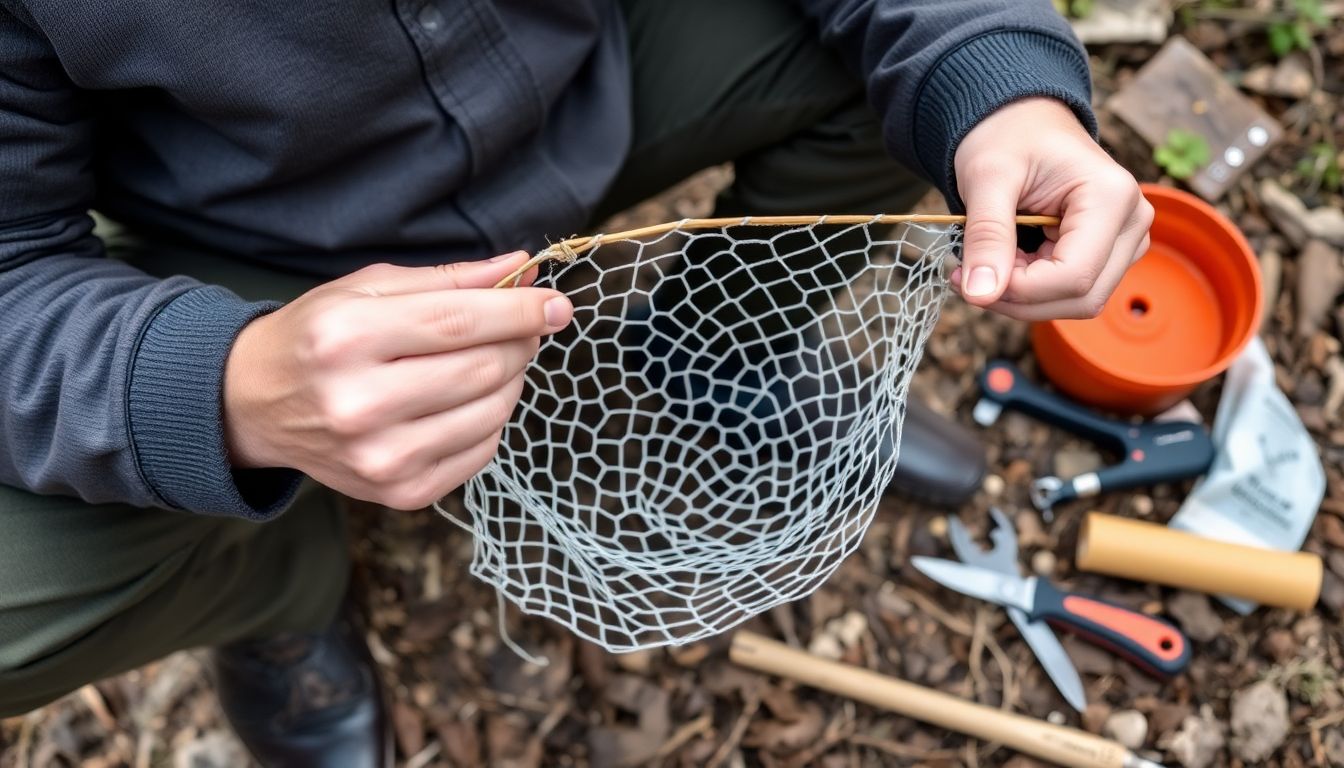
Sewing also plays a pivotal role in tool creation. Need a new belt to hold up your pants, or a strap for your pack? With a sharp knife and some sewing skills, you can fashion one from a length of rope or a strip of hide. You can also create fishing nets, traps, or even simple containers for carrying water or food. The possibilities are vast and limited only by your imagination and the materials at hand.
Moreover, sewing can help you repair and repurpose items, extending their lifespan and reducing waste. A torn jacket can be mended, a broken shoe sole can be replaced, and a worn-out pack can be reinforced. These repairs can mean the difference between having functional gear and being stranded with useless items.
In essence, sewing is not just about stitching together fabric; it’s about understanding the properties of materials, the principles of construction, and the art of making do with what you have. It’s about turning a pile of leaves into a bed, a length of rope into a belt, and a hide into a shelter. So, the next time you’re in the wild, don’t underestimate the power of a needle and thread. They might just be your most valuable tools.
FAQ
What is survival sewing and why is it an essential skill?
What kind of gear and clothing can I repair or maintain with survival sewing?
What are the basic sewing tools and materials I need to get started?
How do I choose the right thread for my sewing projects?
What are some essential sewing techniques for gear repair and clothing maintenance?
- Running stitch: A simple, strong stitch used for joining fabrics and creating seams.
- Backstitch: A strong, secure stitch used for hems, edges, and seams where strength is crucial.
- Whipstitch: A decorative stitch used for joining edges and creating a neat, finished look.
- Saddle stitch: A strong, durable stitch used for sewing leather and heavy fabrics.
- Basting: A temporary stitch used to hold fabrics in place before permanent stitching.
Practice these techniques on scrap materials until you’re comfortable with them, then apply them to your repair and maintenance projects.
How can I create DIY equipment using survival sewing?
What are some common mistakes to avoid when starting out with survival sewing?
- Not testing your stitches: Always pull on your stitches to ensure they’re secure and strong before cutting the thread.
- Using the wrong thread: Always choose a thread that’s suitable for your fabric and the task at hand.
- Not backstitching: Backstitching reinforces your stitches and helps prevent them from unraveling. It’s especially important for hems, edges, and seams under stress.
- Rushing: Take your time and work carefully. Rushing can lead to sloppy stitches and mistakes that may compromise the integrity of your repair or project.
Learn from your mistakes, and don’t be discouraged if your first attempts aren’t perfect. With practice, you’ll improve and gain confidence in your sewing skills.


